Reclaim Your Homestead's Heritage: Restoring Barn Siding for Better Homes and Harvests
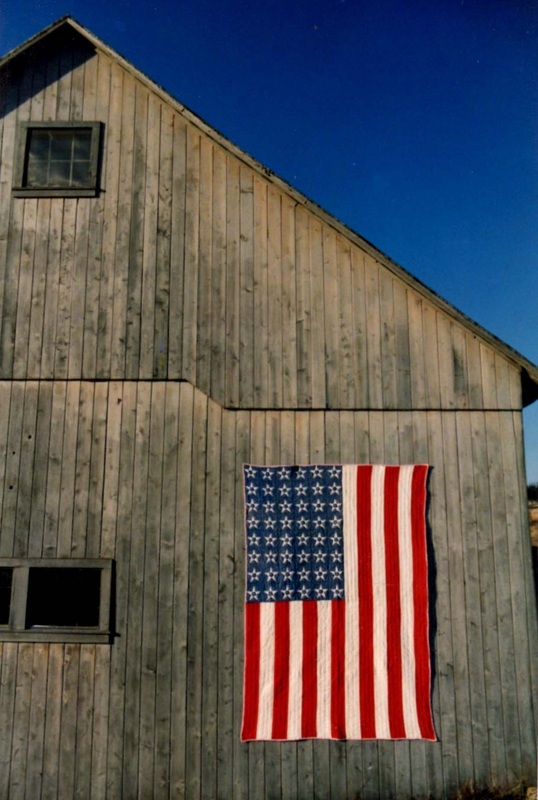
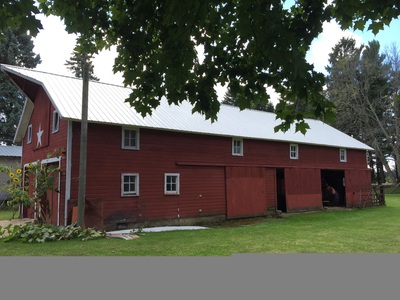
For generations, our barn has stood sentinel over this land, a silent witness to births, harvests, and the ebb and flow of family life. Its weathered timbers and familiar silhouette against the horizon are more than just a structure; they're a tangible link to our homestead's past. But time and the elements have taken their toll. The siding, once a proud shield against wind and rain, had begun to rot and crumble, threatening the barn's structural integrity and whispering of slow decay. We knew we couldn't stand by and watch a piece of our history disappear. This wasn't just about fixing a barn; it was about preserving our heritage and building a future where this iconic structure continues to serve our family and our harvests.
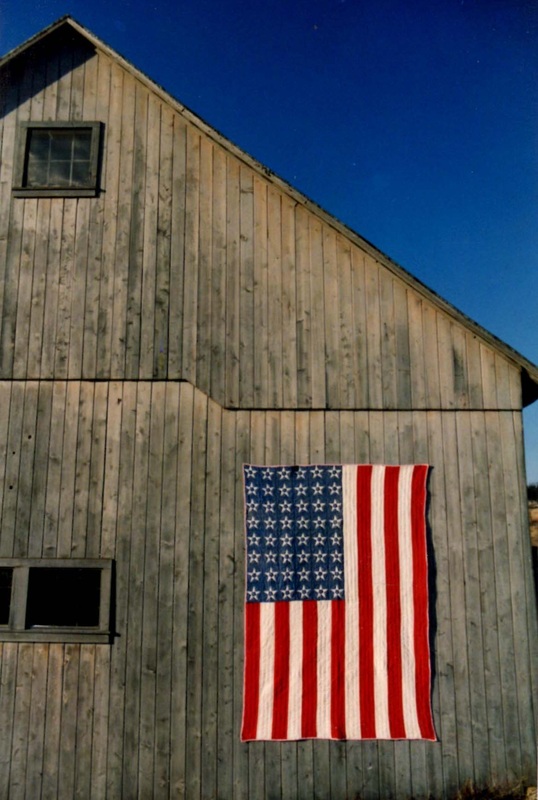
This blog post will detail our journey of restoring a section of our barn's severely damaged siding. We'll share our step-by-step process, the tools and materials we used, the challenges we faced, and the lessons we learned. Our hope is that this experience inspires and equips you to tackle your own barn restoration projects, preserving these vital pieces of homestead history for generations to come. We will be focusing on barn siding repair.
Understanding the Scope: Assessing the Damage
Before diving into the project, it's crucial to assess the extent of the damage. We conducted a thorough inspection, carefully examining each board for signs of rot, insect infestation, and structural weakness. Probing the wood with a screwdriver helped us identify areas where the rot had penetrated deep. We also checked for loose nails, damaged flashing, and any signs of water intrusion. Documenting the damage with photographs was essential for planning our approach and estimating material needs. This is where you will determine if you will replace a section or the entire siding.
Preparing for the Project: Tools, Materials, and Safety
With a clear understanding of the damage, we gathered the necessary tools and materials. Here's a list of what we used:
- Tools:
- Hammer
- Nail puller or pry bar
- Circular saw
- Measuring tape
- Level
- Drill with various bits
- Safety glasses
- Work gloves
- Dust mask
- Ladder or scaffolding
- Chisel
- Wood mallet
- Materials:
- New siding boards (we chose locally sourced rough-sawn pine to match the existing siding and for sustainable barn restoration)
- Nails (galvanized to prevent rust)
- Wood screws (exterior grade)
- Wood preservative (eco-friendly, low-VOC)
- Caulk (exterior grade, paintable)
- Flashing (aluminum or galvanized steel)
Safety was our top priority. We wore safety glasses and work gloves at all times. When working at heights, we used a sturdy ladder and ensured it was properly secured. We also wore a dust mask to protect ourselves from wood particles and mold spores.
Step-by-Step: Replacing Rotted Barn Siding
Here’s the process we followed to replace the rotted siding:
1. Removing the Old Siding:
Carefully remove the damaged siding boards using a nail puller or pry bar. Be gentle to avoid damaging the surrounding boards. In some cases, the nails were so corroded that we had to use a chisel and mallet to carefully split the wood around the nail heads. Be extra cautious if your barn was constructed before 1980, it may contain asbestos.
2. Inspecting the Underlying Structure:
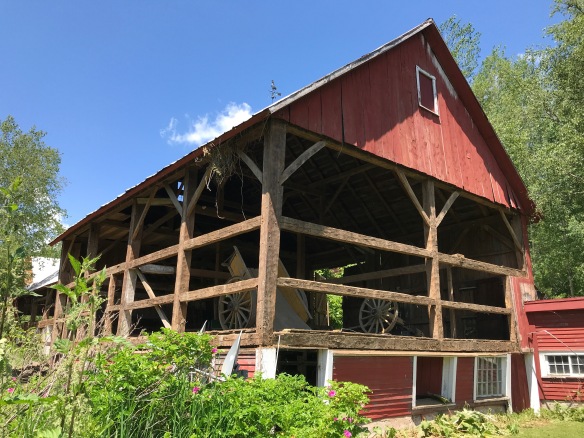
Once the old siding was removed, we inspected the underlying framing for any signs of rot or damage. We replaced any compromised studs or bracing to ensure a solid foundation for the new siding. This included some mortise and tenon joint repair.
3. Cutting and Fitting the New Siding:
Measure the dimensions of the old siding boards and cut the new boards to match. If the original siding has a specific profile or pattern, try to replicate it as closely as possible for a seamless look. We used a circular saw to cut the boards to length and a combination square to ensure accurate angles.
4. Applying Wood Preservative:
Before installing the new siding, we applied a generous coat of wood preservative to all sides of the boards. This will help protect the wood from moisture, insects, and decay, extending its lifespan. Be sure to choose an eco-friendly, low-VOC preservative to minimize environmental impact.
5. Installing the New Siding:
Attach the new siding boards to the framing using galvanized nails or exterior-grade wood screws. Overlap the boards slightly, following the original siding pattern. Use a level to ensure the boards are straight and aligned. We found that pre-drilling pilot holes helped prevent the wood from splitting, especially when working with older, drier lumber.
6. Sealing and Caulking:
After the siding was installed, we sealed any gaps or cracks with exterior-grade caulk. This will help prevent water intrusion and protect the underlying structure from moisture damage. Pay close attention to the joints between the siding and the trim, as these are common areas for leaks.
7. Adding Flashing:
Install flashing around windows, doors, and any other areas where water could potentially penetrate the siding. Flashing is typically made of aluminum or galvanized steel and is designed to divert water away from vulnerable areas. We used tin snips to cut the flashing to the appropriate size and shape, and then secured it with nails or screws.
Cost Breakdown: Budget-Friendly Barn Restoration
We aimed for a budget-friendly approach throughout the project. Here’s a rough estimate of our costs:
- Siding lumber: $200
- Nails and screws: $20
- Wood preservative: $30
- Caulk: $10
- Flashing: $20
Total: $280
By sourcing local materials and doing the work ourselves, we saved a significant amount of money compared to hiring a contractor.
Challenges and Solutions: Lessons Learned
We encountered a few challenges along the way. One of the biggest was matching the new siding to the existing weathered siding. To achieve a more seamless look, we considered using a wire brush to roughen up the surface of the new boards and applying a stain to mimic the aged appearance of the original siding.
Another challenge was dealing with some unexpected rot in the underlying framing. We had to carefully remove the damaged sections and replace them with new lumber, ensuring a solid and secure connection to the existing structure.
The Emotional Payoff: Preserving Our Heritage
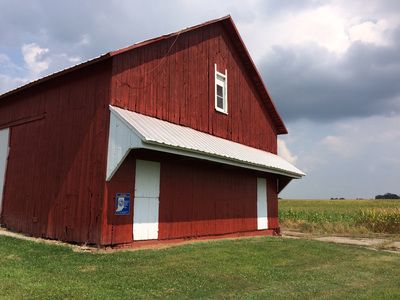
Beyond the practical aspects of the project, restoring our barn siding was a deeply rewarding experience. It was a chance to connect with our homestead's history, learn new skills, and work together as a family. Seeing the barn slowly transformed from a state of disrepair to a symbol of renewed strength and resilience filled us with a sense of pride and accomplishment.
My grandfather built this barn with his own two hands. Knowing that we're preserving his legacy and ensuring that this barn will continue to stand for generations to come makes all the hard work worthwhile. It is our connection to rural living.
Conclusion: A Call to Action
Restoring a barn is a labor of love, but it's an investment that pays dividends in both tangible and intangible ways. Not only does it enhance the functionality and beauty of your homestead, but it also preserves a valuable piece of history for future generations. We encourage you to embrace the challenge and embark on your own barn restoration journey.
Have you undertaken a barn restoration project? Share your experiences, tips, and challenges in the comments below! We'd love to hear your stories and learn from your expertise. Also, feel free to ask any questions you may have about our project. Together, we can ensure that these iconic structures continue to grace our landscapes for years to come.
Author Bio:
[Your Name] is a homesteader, DIY enthusiast, and advocate for sustainable living. [He/She] shares practical tips and inspiring stories on [his/her] website and social media channels, encouraging others to embrace a more self-sufficient and fulfilling lifestyle.
[Link to Homestead Website/Blog]
[Link to Social Media Channel]