Reclaim Your Home & Grow Your Independence: DIY Indoor Herb Garden from Repurposed Materials Guide for Thriving Homesteads
Introduction:
Better Homes and Harvests readers, you're driven by a deep desire for self-reliance, a profound connection with nature, and the satisfaction of creating a truly sustainable lifestyle. That's why we're excited to share a project that aligns perfectly with your values: building a DIY indoor herb garden using repurposed materials, all for under $20! Imagine the joy of fresh herbs year-round, adding vibrant flavors to your meals, and the pride of knowing you created something beautiful and useful from what others might discard. Let’s tap into that.
This image illustrates a vibrant DIY project, inspiring you to start building your herb garden and step towards resilient homesteading.
Imagine…
Imagine stepping into your kitchen on a chilly winter day and clipping fresh basil for your pasta sauce, or snipping fragrant mint for a comforting cup of tea. Imagine never having to buy those expensive, pre-packaged herbs from the grocery store again. This isn’t just a project; it's a step towards a more resilient and fulfilling homesteading life. We'll show you how.
Project Overview:
This DIY indoor herb garden project allows you to grow your favorite culinary herbs right in your own home, regardless of the season. By using repurposed materials, you'll not only save money but also reduce waste and contribute to a more sustainable lifestyle. It's perfect for busy homesteaders because it's quick, easy, and requires minimal space. The project is incredibly cost-effective, allowing you to create a thriving herb garden for under $20. Plus, growing your own herbs reduces your reliance on commercially grown produce, supports local and sustainable food systems, and provides you with fresh, flavorful ingredients for your meals.
Step-by-Step Instructions:
Here's how to build your own DIY indoor herb garden using repurposed materials:
- Materials & Tools:
- Repurposed Containers: Look for old mason jars, tin cans, plastic bottles (cut in half), wooden crates, or even old dresser drawers. Aim for at least 3-5 containers, depending on how many herbs you want to grow.
- Potting Soil: A small bag of organic potting soil will provide the necessary nutrients for your herbs. Find it at your local garden center or online.
- Herb Seeds or Seedlings: Choose your favorite herbs! Basil, mint, chives, parsley, oregano, and thyme are all great options for indoor growing. You can find seeds or seedlings at most garden centers.
- Gravel or Pebbles: For drainage.
- Spray Paint (Optional): To decorate your containers.
- Tools:
- Gloves
- Small trowel or spoon
- Scissors or a utility knife (for cutting plastic bottles)
- Preparation:
- Clean Your Containers: Thoroughly wash and clean all your repurposed containers with soap and water. Remove any labels or residue.
This image showcases the preparation step, highlighting the importance of clean containers for a successful herb garden.
- Drill Drainage Holes (if necessary): If your containers don't have drainage holes, carefully drill a few holes in the bottom. This is crucial to prevent waterlogging and root rot.
- Paint Your Containers (Optional): If you want to add a personal touch, spray paint your containers in your favorite colors. Be sure to use paint that is safe for planting, or line the inside of the painted container.
- Gather Your Materials: Assemble all the materials and tools in a well-lit workspace.
Safety First: When using sharp tools like scissors or a utility knife, always wear gloves and exercise caution. If drilling drainage holes, wear safety glasses to protect your eyes.
- Construction/Installation:
- Add Drainage Layer: Place a layer of gravel or pebbles at the bottom of each container. This will help with drainage and prevent the soil from becoming waterlogged.
- Fill with Potting Soil: Fill the containers with potting soil, leaving about an inch of space at the top.
This image demonstrates filling containers with potting soil and using tools such as gloves, adding soil, and small trowel.
- Plant Your Herbs:
- From Seeds: Sprinkle the seeds evenly over the soil surface and cover them with a thin layer of soil. Gently water the soil.
- From Seedlings: Dig a small hole in the soil and carefully remove the seedling from its container. Place the seedling in the hole and gently pat the soil around the base.
- Water Thoroughly: Water the soil thoroughly after planting.
- Label Your Herbs: Use labels to identify each herb, especially if you're growing multiple varieties.
- Finishing Touches:
- Arrange Your Herb Garden: Find a sunny spot in your home, such as a windowsill or countertop, to place your herb garden.
- Add Decorative Elements (Optional): Personalize your herb garden with decorative stones, small figurines, or other embellishments.
- Maintenance:
- Water Regularly: Water your herbs regularly, keeping the soil moist but not waterlogged. Check the soil moisture by sticking your finger into the soil. If it feels dry, it's time to water.
- Provide Sunlight: Most herbs need at least 6 hours of sunlight per day. If you don't have a sunny windowsill, consider using a grow light.
- Fertilize Occasionally: Fertilize your herbs every few weeks with a diluted organic fertilizer.
- Prune Regularly: Prune your herbs regularly to encourage growth and prevent them from becoming leggy. Simply pinch off the tips of the stems.
Results and Benefits:
Imagine harvesting fresh herbs from your indoor garden to add to your favorite dishes! One homesteader reports saving approximately $15-$20 per month by growing their own herbs instead of buying them from the store. Another enjoys the satisfaction of knowing exactly where their food comes from and that it is free from harmful pesticides. The long-term value of this project extends beyond monetary savings; it's about self-sufficiency, sustainability, and the joy of connecting with nature.
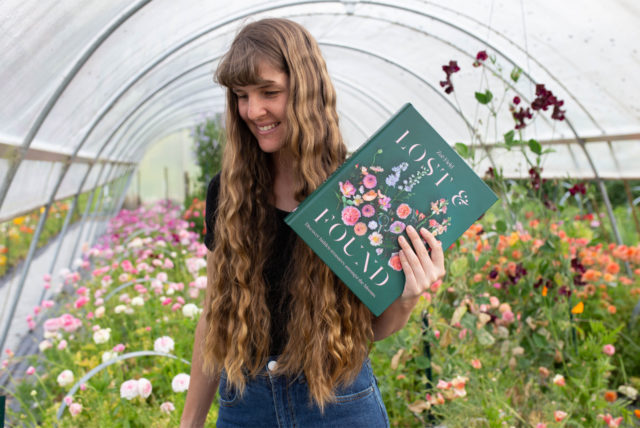
This image captures the essence of gardening and illustrates herbs that can be harvested from herb garden, highlighting the satisfying results.
Call to Action:
What are you waiting for? Start building your DIY Indoor Herb Garden today and take another step towards a more resilient and rewarding homesteading life! Gather your repurposed materials, choose your favorite herbs, and follow these simple steps to create a thriving indoor garden. Share your photos and questions in the comments below. Don't forget to share this post with your fellow homesteaders!
Recommended Further Reading:
- "The Complete Book of Herbs" by Penny Woodward
- "Rodale's Basic Organic Gardening" by Deborah L. Martin
- "Gaia's Garden: A Guide to Home-Scale Permaculture" by Toby Hemenway
Keywords: DIY, homesteading, DIY Indoor Herb Garden, sustainable living, self-sufficiency, repurposed materials, cost-effective, indoor gardening, beginner herb garden, upcycled herb garden.
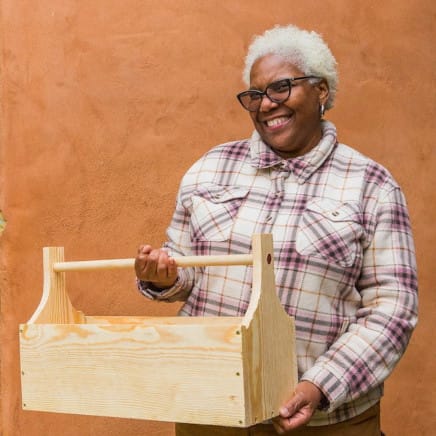
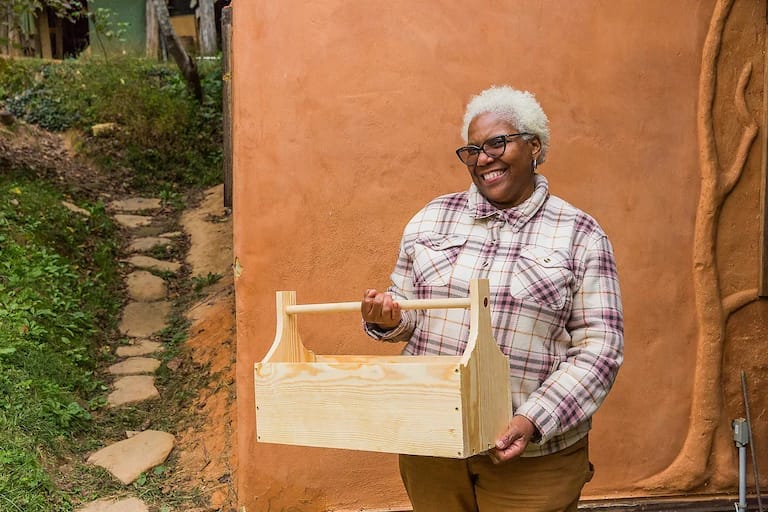
This image captures the essence of DIY and homesteading, providing insights into sustainable living through hands-on activities such as carpentry.