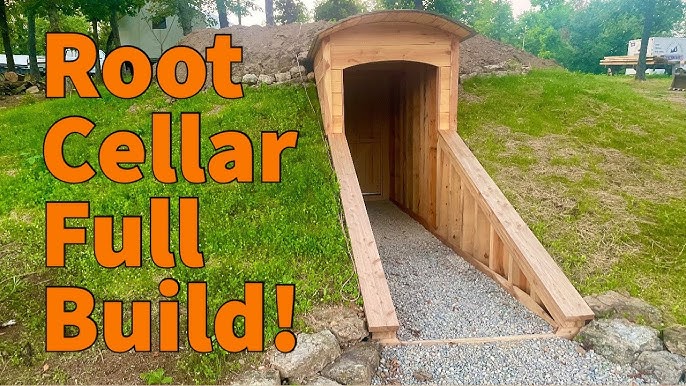
Reclaim Your Food Security: Build a DIY Root Cellar for Long-Term Food Storage on a Budget
Are you tired of relying on grocery stores for your winter produce? Do you dream of enjoying the fruits (and vegetables!) of your labor year-round? Then it's time to consider building a DIY root cellar! For generations, root cellars have been a cornerstone of homesteading, offering a natural and effective way to preserve the harvest. They provide the ideal cool, dark, and humid environment to keep your homegrown (or locally sourced) bounty fresh for months, extending your food independence and saving you money. Let's embark on this journey together and construct a small, affordable, and functional root cellar that will nourish your family and connect you with the wisdom of the past.
I remember the first winter after my husband and I started our garden. We had a bumper crop of potatoes and carrots, more than we could possibly eat in a few weeks. The thought of them going to waste was heartbreaking. That's when we decided to explore root cellaring. The satisfaction of pulling out a perfectly preserved potato in January, tasting the summer sunshine, was incredible. We knew we were onto something special.
This guide will walk you through building a small, semi-underground root cellar, approximately 6ft x 8ft, using readily available and affordable materials. While it might seem daunting, we'll break down each step into manageable tasks, empowering you to create your own sustainable food storage solution.
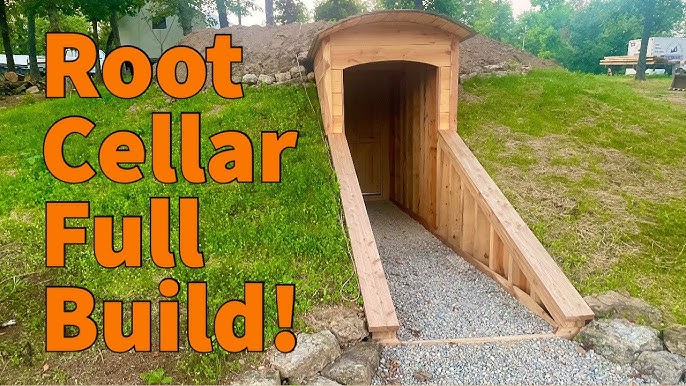
Planning and Site Selection: Laying the Groundwork for Success
Careful planning is crucial for a successful DIY root cellar. Here's what to consider:
- Drainage: This is paramount! Choose a site with well-draining soil to prevent flooding. A slight slope can be beneficial. If drainage is poor, consider installing drainage tiles.
- Sunlight: Opt for a shady location, preferably on the north side of a building or under a tree. Direct sunlight will heat the cellar and compromise its effectiveness.
- Accessibility: Think about convenience. You'll be hauling produce in and out, especially during harvest season. A location close to your garden and home is ideal.
- Local Building Codes: Check with your local municipality about permits and regulations before you start digging. You may need to obtain a building permit.
- Water Table: Check where your water table is located. A root cellar is best placed where ground water won't seep into the cellar.
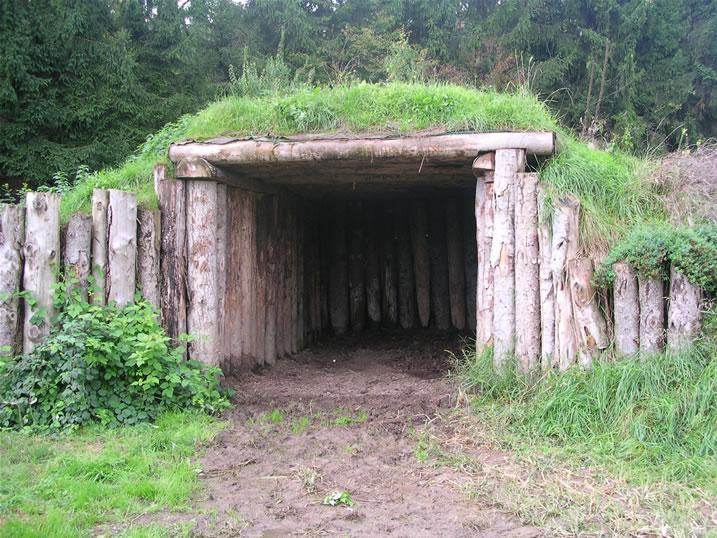
Materials List: Gathering Your Supplies on a Budget
Here's a sample materials list for a 6ft x 8ft semi-underground budget root cellar. Prices are estimates and may vary depending on your location and availability.
- Reclaimed Concrete Blocks: (Approx. 100-150) - $100-$300 (Look for these on Craigslist, Facebook Marketplace, or local construction sites.)
- Repurposed Lumber: For framing the roof and door (Varies depending on availability. Scour salvage yards, construction sites, or ask local contractors.)
- Straw Bales: For insulation (Approx. 20-30 bales) - $5-$10 per bale
- Plastic Sheeting: For moisture barrier - $20-$50
- Gravel: For drainage (Approx. 2-3 cubic yards) - $50-$100
- Roofing Material: Corrugated metal, shingles, or reclaimed roofing materials (Varies greatly depending on choice.)
- Ventilation Pipes: (2 x 4" PVC pipes) - $10-$20
- Door: Reclaimed door or build your own from repurposed lumber.
- Hardware: Nails, screws, hinges, latches - $20-$50
Alternative Options:
- Walls: Instead of concrete blocks, consider using stacked stone, earthbags, or even tires filled with compacted soil.
- Roofing: A living roof (covered with soil and plants) provides excellent insulation and blends seamlessly with the landscape.
- Insulation: Consider using wool or recycled denim for a more environmentally friendly insulation option.
Excavation: Digging In (Safely!)
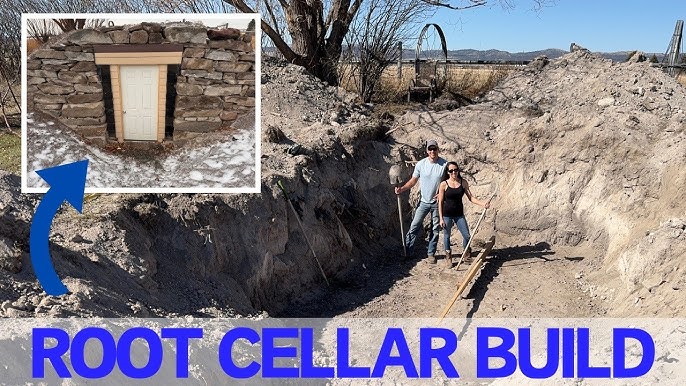
- Mark the Area: Use stakes and string to outline the 6ft x 8ft footprint of your root cellar.
- Dig Down: Excavate to a depth of about 4 feet. This will provide the necessary insulation from the earth.
- Slope the Walls: Angle the walls slightly outward as you dig. This adds stability and reduces the risk of collapse.
- Safety First: Always call 811 (Call Before You Dig) to locate underground utilities before you start digging. Wear safety glasses, gloves, and sturdy boots. Be mindful of soil stability and potential cave-ins. If you're digging in loose soil, consider shoring up the walls with temporary supports.
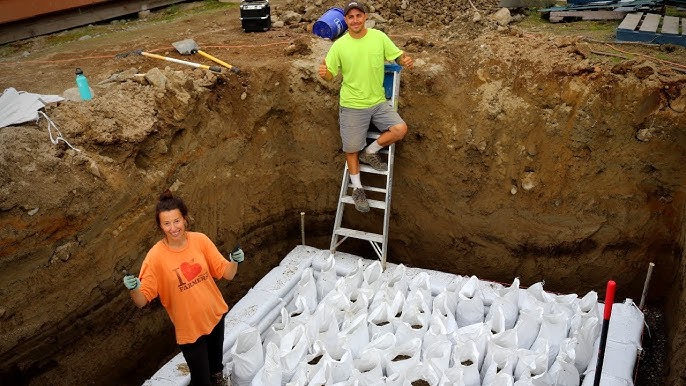
Wall Construction: Building a Solid Foundation
- Gravel Base: Add a 6-inch layer of gravel to the bottom of the excavated area. This improves drainage and prevents moisture from wicking up into the walls.
- Concrete Block Placement: Begin laying the concrete blocks, ensuring they are level and aligned. Use a mortar mix to bind the blocks together for added stability, although dry-stacking the blocks works if you prioritize speed and budget. Consider using a staggered pattern for strength.
- Backfilling: As you build the walls, backfill around them with the excavated soil. Compact the soil in layers to prevent settling.
- Entrance: Plan for an entrance with sufficient space for a door. Frame the doorway with sturdy lumber.
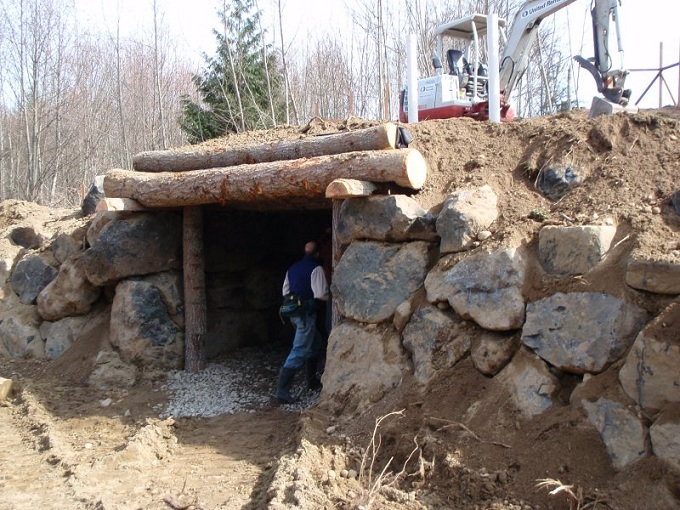
Roofing: Keeping Out the Elements
- Framing: Construct a roof frame using repurposed lumber. Ensure the frame is strong enough to support the weight of the roofing material and any potential snow load. A slightly sloped roof is ideal for water runoff.
- Plastic Sheeting: Cover the roof frame with plastic sheeting to create a moisture barrier.
- Insulation: Add a thick layer of straw bales on top of the plastic sheeting for insulation.
- Roofing Material: Cover the straw bales with your chosen roofing material (corrugated metal, shingles, etc.). Overlap the material to prevent leaks.
- Living Roof (Optional): If you opt for a living roof, add a layer of soil on top of the roofing material and plant drought-tolerant, shallow-rooted plants.
Ventilation: Ensuring Proper Air Circulation
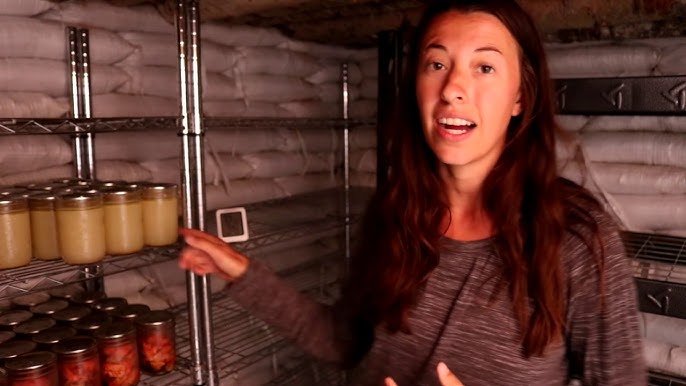
Proper ventilation is essential for maintaining the ideal temperature and humidity levels in your DIY root cellar.
- Intake Vent: Install one 4" PVC pipe near the floor on one side of the cellar. This will allow cool air to enter.
- Exhaust Vent: Install a second 4" PVC pipe near the ceiling on the opposite side of the cellar. This will allow warm, moist air to escape.
- Adjustable Dampers: Consider adding adjustable dampers to the ventilation pipes to control airflow.
Shelving and Storage: Organizing Your Produce
- Shelving: Build shelves from repurposed lumber to maximize storage space. Ensure the shelves are sturdy enough to hold heavy produce.
- Storage Containers: Use a variety of containers to store different types of produce. Wooden crates, baskets, and plastic bins work well.
- Organization: Label your storage containers clearly. Rotate your produce regularly, using the oldest items first.
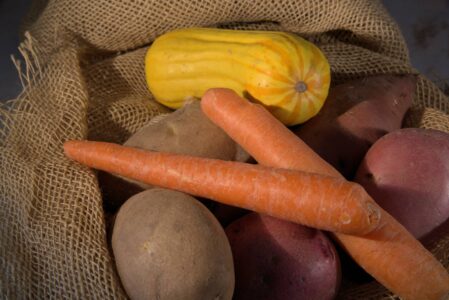
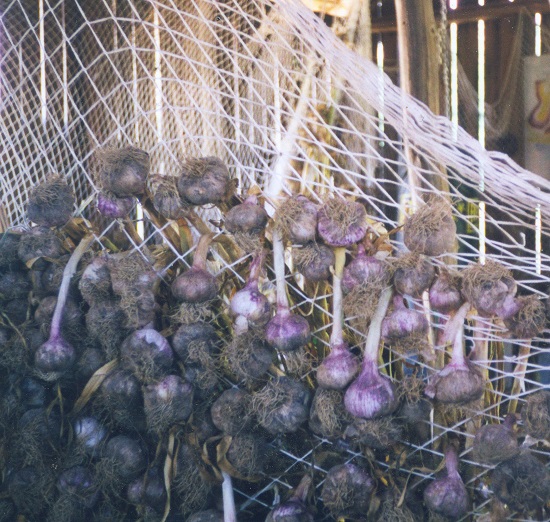
- Optimal Conditions: Store vegetables like potatoes and carrots in bins or crates covered with slightly damp sand or sawdust to help maintain humidity. Onions and garlic should be stored in mesh bags or hanging to promote air circulation and prevent mold.
Common Challenges and Troubleshooting
- Excess Moisture: If your cellar is too damp, improve ventilation and drainage.
- Rodents: Seal any cracks or openings in the walls and roof. Consider using traps or natural deterrents.
- Temperature Fluctuations: Insulate the cellar thoroughly to minimize temperature swings.
- Mold: Ensure proper ventilation and remove any spoiled produce promptly.
Ready to Get Started?
Building a DIY root cellar is a rewarding project that will provide you with fresh, homegrown food throughout the year. It's a step towards greater food security, sustainable living, and a deeper connection with the earth. So, gather your materials, roll up your sleeves, and start building!
Do you have any food storage tips or experiences to share? Leave a comment below! We'd love to hear from you.
For more tips on gardening, canning, and other homesteading skills, check out other articles on Better Homes and Harvests. And don't forget to subscribe to our newsletter for exclusive content and special offers. https://images.booksense.com/images/824/092/9781495092824.jpg
Take control of your food future and reap the benefits of a well-stocked root cellar – happy building!