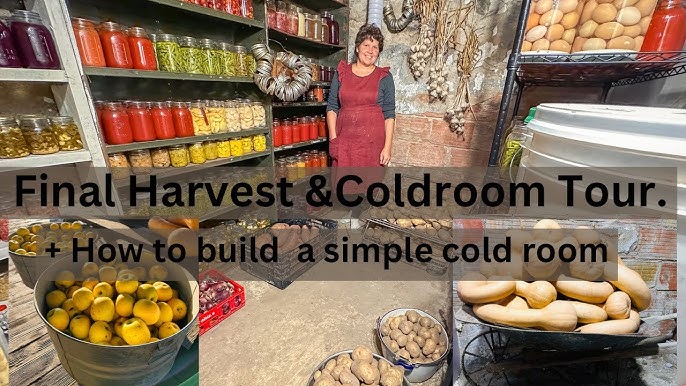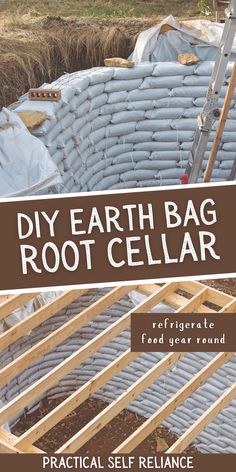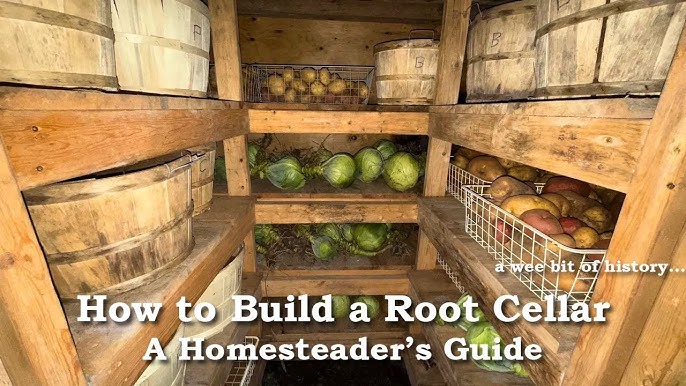
Ready to Level Up Your Homestead? Let's Build a Game-Changing Root Cellar!
"Better Homes and Harvests" readers are all about practical self-sufficiency. This month, we're diving into a project that will revolutionize your winter food storage: building a backyard root cellar. Forget those astronomical grocery bills and wilted veggies! Imagine crisp carrots, robust potatoes, and sweet apples lasting all winter long, all thanks to your own ingenuity.
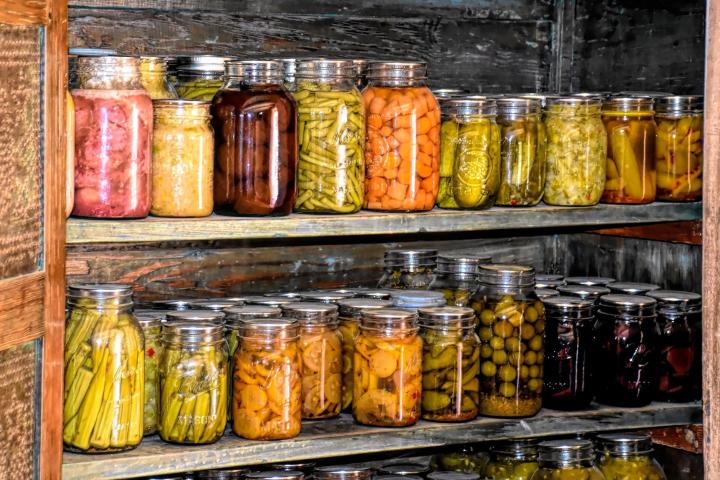
I remember one particularly harsh winter a few years back. Our garden had been bountiful that summer, but without proper storage, we watched our hard-earned harvest slowly dwindle. We were making weekly trips to the grocery store, shelling out serious cash for produce that frankly tasted like it had traveled halfway across the globe – because it probably had! That's when I knew we needed a root cellar. And if you're tired of the same old winter food woes, you probably need one too!
So, grab your shovels, because we're about to embark on a journey to build a simple, yet effective, backyard root cellar. Don’t worry, this project is designed to be accessible to beginners and utilizes readily available, affordable materials. Think of it as a "choose your own adventure" in self-sufficiency!
The Undeniable Benefits of a Root Cellar
Before we dive into the "how," let's quickly recap the "why." Why should you dedicate precious time and energy to building a root cellar? Here are just a few compelling reasons:
- Reduced Grocery Bills: Say goodbye to those exorbitant winter produce prices! A root cellar allows you to store your own harvest, drastically cutting down on grocery expenses.
- Fresher Produce: Imagine enjoying crisp, garden-fresh carrots in January. Root cellars provide the ideal environment to keep your produce fresher for longer, preserving their flavor and nutritional value.
- Food Security: In an increasingly uncertain world, food security is paramount. A root cellar provides a buffer against supply chain disruptions and ensures you have a reliable source of food throughout the winter.
- Connection to Traditional Methods: There’s something deeply satisfying about connecting with traditional methods of food preservation. Building a root cellar is a tangible way to honor our ancestors and embrace a more sustainable lifestyle.
- Bragging Rights! Let's be honest, there's a certain pride that comes with saying, "Oh, these potatoes? I grew them and stored them myself!"
Designing Your DIY Root Cellar: The "Hobbit Hole" Approach
We're going to focus on a simple, partially underground root cellar design. We call it the "Hobbit Hole" because it's cozy, effective, and relatively easy to build. This design is great for beginners and can be adapted to suit your specific needs and space constraints.
Important Note: Before you start digging, check your local building codes and regulations. You may need a permit for this type of structure.
Step-by-Step Instructions: Building Your "Hobbit Hole" Root Cellar
Alright, let's get down to brass tacks! Here's a step-by-step guide to building your own backyard root cellar. Remember to always prioritize safety and wear appropriate protective gear.
Step 1: Site Selection and Preparation
- Location, Location, Location: Choose a site that is well-drained, shaded, and preferably on a slight slope. This will help with drainage and temperature regulation. A north-facing slope is ideal to minimize sun exposure.
- Clear the Area: Remove any vegetation, rocks, or debris from the area where you plan to build your root cellar.
- Dig the Hole: Excavate a hole approximately 6 feet wide, 8 feet long, and 4 feet deep. The exact dimensions will depend on your desired storage capacity. Make sure the walls are relatively straight and stable.
Step 2: Building the Foundation
- Gravel Base: Lay a 6-inch layer of gravel at the bottom of the hole to provide drainage. This is crucial to prevent water from seeping into your root cellar.
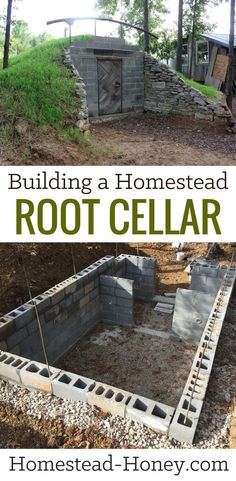
- Concrete Blocks or Treated Lumber: Build a foundation using concrete blocks or treated lumber. This will provide a stable base for the walls and prevent them from coming into direct contact with the soil. Ensure the foundation is level.
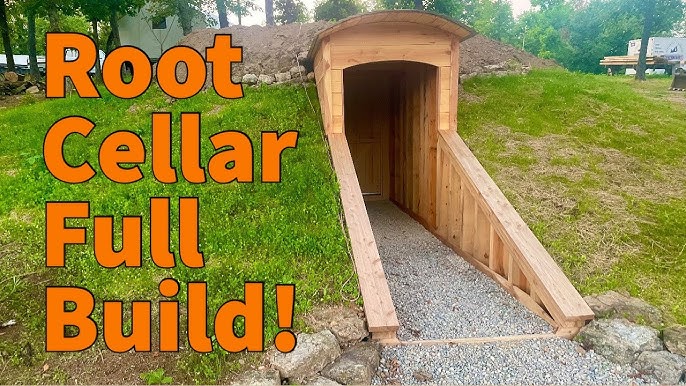
Step 3: Constructing the Walls
- Materials: Use concrete blocks, treated lumber, or even repurposed materials like old tires filled with dirt to build the walls.
- Build Upwards: Carefully stack the materials to create sturdy walls. Ensure they are plumb and level. If using lumber, be sure to use screws or nails that are rated for outdoor use.
- Ventilation: Include ventilation pipes near the top of the walls to allow for air circulation. This is essential for maintaining proper temperature and humidity levels. We'll cover ventilation in more detail later.
Step 4: Creating the Roof
- Support Beams: Install sturdy support beams across the top of the walls. These can be made from treated lumber or metal.
- Roofing Material: Cover the support beams with plywood or corrugated metal. Ensure the roofing material is waterproof to prevent leaks.
- Insulation: Add a layer of insulation on top of the roofing material. Straw bales, soil, or even old blankets can be used for insulation. This will help regulate the temperature inside the root cellar.
Step 5: Burying the Root Cellar
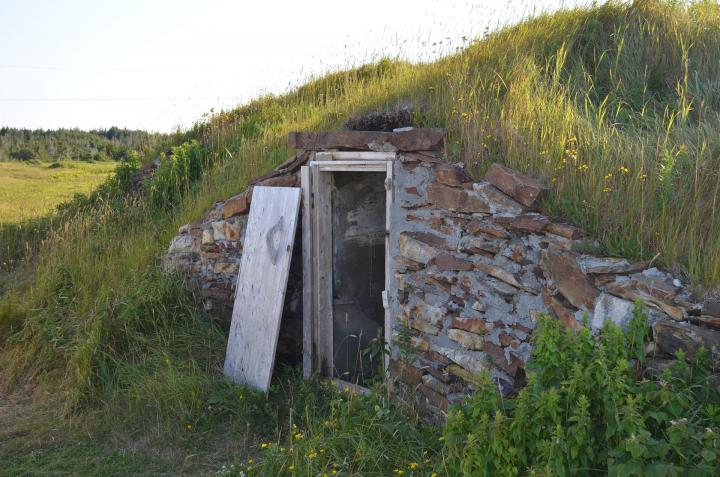
- Backfill: Carefully backfill around the walls and over the roof of the root cellar with soil. This will provide insulation and help maintain a consistent temperature.
- Compaction: Compact the soil as you backfill to prevent settling.
- Vegetation: Plant grass or other vegetation on top of the root cellar to further insulate it and blend it into the surrounding landscape.
Step 6: Installing the Door
- Weatherproof Door: Install a sturdy, weatherproof door to keep out pests and maintain a stable temperature. Consider using an insulated door for added protection.
- Secure Latch: Ensure the door has a secure latch to prevent unwanted visitors.
Step 7: Interior Design (and Functionality!)
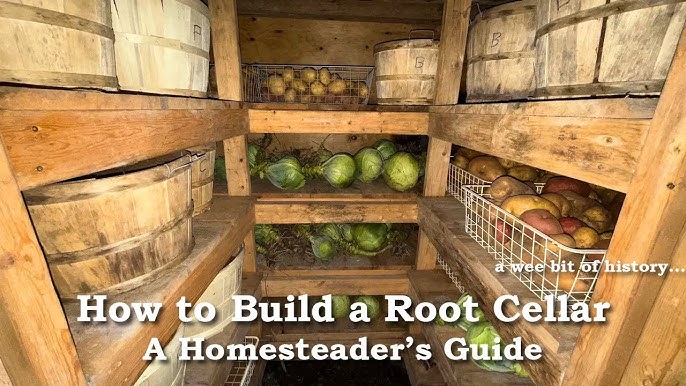
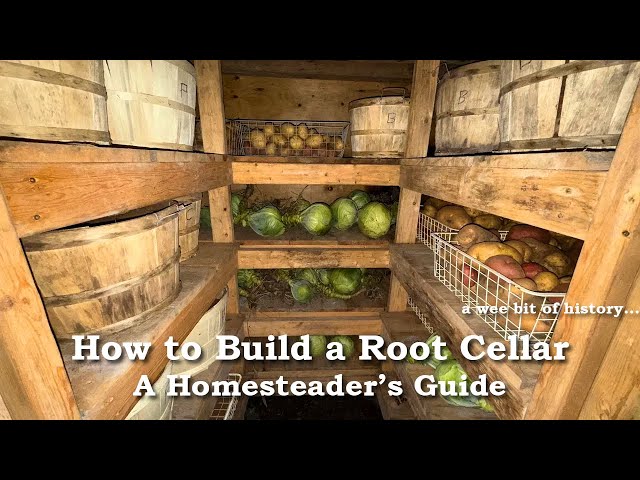
- Shelving: Install shelving to organize your produce. Use wooden planks, wire racks, or even repurposed pallets.
- Storage Containers: Use crates, bins, and baskets to store different types of produce.
- Organization is Key: Label your storage containers to easily identify the contents.
Materials List and Budget Breakdown
Here's a rough estimate of the materials you'll need and their approximate costs:
- Lumber (Treated): $200 - $400 (depending on size and grade)
- Concrete Blocks: $100 - $200
- Gravel: $50 - $100
- Plywood or Corrugated Metal: $100 - $200
- Insulation (Straw Bales, Soil, etc.): $50 - $100
- Door (Weatherproof): $100 - $300
- Ventilation Pipes: $20 - $50
- Shelving Materials: $50 - $100
- Fasteners (Nails, Screws, etc.): $20 - $50
Total Estimated Cost: $700 - $1500
Pro Tip: Save money by repurposing materials! Check salvage yards for used lumber, concrete blocks, and even doors.
Troubleshooting Tips for Your Root Cellar Adventure
Building a root cellar is a rewarding experience, but it can also present some challenges. Here are some common issues and how to address them:
- Drainage Issues: If your root cellar is prone to flooding, consider installing a French drain around the perimeter to divert water away from the structure.
- Pest Control: To prevent rodents and other pests from invading your root cellar, seal any cracks or openings in the walls and door. Consider using traps or deterrents. Peppermint oil is a natural rodent repellent.
- Temperature Regulation: Maintaining a consistent temperature is crucial for successful food storage. Use insulation to regulate the temperature and consider installing a thermometer to monitor it. Ideal temperatures are between 32-40°F (0-4°C).
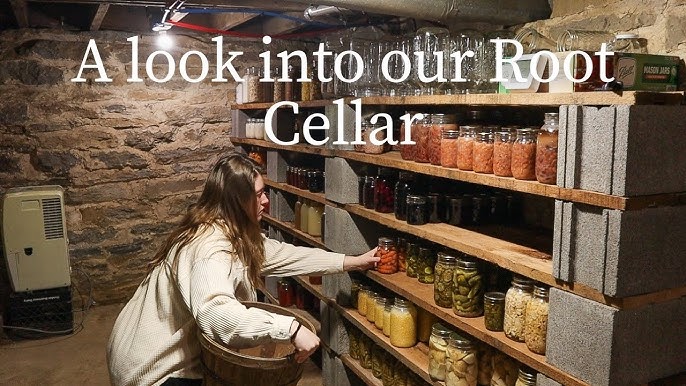
- Humidity Control: Different vegetables require different humidity levels. Use ventilation to control humidity and consider using containers with varying levels of ventilation. Root vegetables like carrots and potatoes thrive in high humidity (90-95%), while onions and garlic prefer drier conditions (60-70%).
- Condensation: Ensure proper ventilation to prevent condensation buildup. You can also use a dehumidifier if necessary.
Homesteader Hack: Place a bowl of charcoal inside the root cellar to absorb excess moisture and odors.
Homesteader Hacks for Root Cellar Success
- Ventilation is Key: Proper ventilation is crucial for maintaining optimal temperature and humidity levels. Install two ventilation pipes: one near the floor for cool air intake and one near the ceiling for warm air exhaust.
- Store Produce Properly: Different types of produce require different storage conditions. Research the specific needs of each vegetable you plan to store. For example, apples should be stored separately from other produce because they release ethylene gas, which can cause other vegetables to ripen and spoil more quickly.
- Regular Inspection: Regularly inspect your produce for signs of spoilage and remove any damaged items to prevent them from affecting the rest of your harvest.
- Maximize Space: Utilize vertical space by installing shelving and stacking containers.
- Embrace the Imperfect: Don't be afraid to experiment and learn from your mistakes. Every root cellar is unique, and what works for one homesteader may not work for another.
Time to Get Digging!
Building a root cellar is an investment in your self-sufficiency and a tangible way to connect with traditional methods of food preservation. It might seem daunting at first, but with careful planning and a little elbow grease, you can build a game-changing root cellar that will revolutionize your winter food storage.
So, what are you waiting for? Grab your shovels, gather your materials, and get ready to level up your homestead!
Now it's your turn! Share your root cellar building experiences, ask questions in the comments below, and subscribe to the "Better Homes and Harvests" newsletter for more tips and tricks on sustainable living. We can't wait to see what you create!
Happy Homesteading!