Quench Their Thirst: DIY Pollinator Water Feature for a Buzzing Garden
We’ve all been there, haven't we? Stepping out into the garden on a sweltering summer day, only to witness our precious pollinators struggling to find a drop of water. Bees buzzing frantically around dry flowerbeds, butterflies desperately seeking moisture on sun-baked leaves. It's a heartbreaking sight, especially knowing how vital water is to their survival and reproduction. In hot, dry climates, providing a reliable water source can be the single most impactful thing you do for your local pollinator population.
This blog post is your guide to creating attractive and functional water features that will transform your garden into a pollinator paradise. We'll explore simple DIY options, elevated designs, and crucial placement strategies. Get ready to enhance your garden's biodiversity and beauty – one refreshing sip at a time! We'll cover simple dishes, birdbath modifications, and even elevated options.

Understanding Pollinator Watering Needs
Before diving into the fun DIY projects, it's essential to understand how pollinators drink. Unlike us, they can't simply belly up to a lake or pond for a refreshing gulp. Large, open bodies of water present a drowning hazard for these tiny creatures. Their delicate wings become waterlogged, leaving them struggling and often unable to escape.
The key is to provide shallow water sources with ample landing areas. Think of it as creating a miniature beach for bees and butterflies! This allows them to safely access the water without risking a plunge.
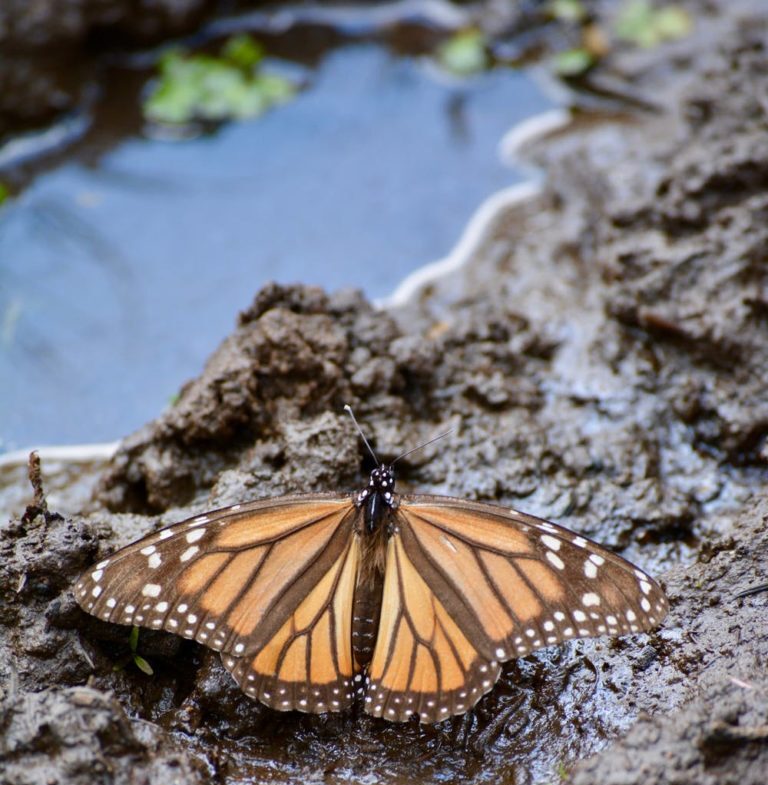
Each type of pollinator has slightly different needs. Bees often prefer to land on damp surfaces, drawing water up through their proboscis. Butterflies need shallow puddles or damp spots where they can land and sip. Hummingbirds, on the other hand, hover near water, lapping it up with their long tongues.
Finally, the importance of clean water can't be overstated. Stagnant water breeds mosquitoes and can harbor harmful bacteria or fungi. Regularly cleaning your pollinator water feature is vital.
Key Takeaways:
- Pollinators need shallow water to prevent drowning.
- Landing areas are essential for access.
- Clean water is crucial for pollinator health.
DIY Pollinator Water Feature Ideas: Simple & Budget-Friendly
The good news is that creating a pollinator water feature doesn't require breaking the bank or extensive DIY skills. Here are three simple, budget-friendly options to get you started:
Option 1: Shallow Dish with Pebbles
This is perhaps the easiest and most versatile option. Simply grab a shallow dish (terracotta plant saucers work perfectly), add a layer of pebbles, marbles, or even glass beads, and fill it with water until it's just below the top of the pebbles. The pebbles provide a safe landing zone for pollinators to access the water.
- Step 1: Select a shallow dish (ceramic, terracotta, or plastic all work).
- Step 2: Add a layer of clean pebbles, marbles, or glass beads to provide landing pads. Ensure these are non-toxic and clean.
- Step 3: Fill with water until it almost covers the pebbles/marbles.
- Step 4: Place in a sunny or partially shady spot in your garden.
Option 2: Birdbath Modification
If you already have a traditional birdbath, you can easily adapt it to be more pollinator-friendly. The key is to shallow the water and create landing areas.
- Step 1: Place a pile of large rocks or bricks inside the birdbath to reduce the water depth.
- Step 2: Cover the rocks with smaller pebbles or gravel to create a textured surface that pollinators can grip.
- Step 3: Ensure the water level is shallow enough that the pebbles are partially exposed.
- Step 4: Regularly check the water level and replenish as needed.
Option 3: Saucer Watering Station
Plant saucers aren't just for catching drips! They also make excellent watering stations for pollinators.
- Step 1: Choose a plant saucer (terracotta is a great option as it allows for some evaporation, creating a slightly damp surface).
- Step 2: Place it on the ground or on a raised surface.
- Step 3: Add a few pebbles or marbles to provide landing areas.
- Step 4 (Optional): Set up a slow drip system using a recycled plastic bottle with tiny holes poked in the cap, placed upside down in the saucer. This will provide a constant supply of fresh water.

Key Takeaways:
- Creating a water feature doesn't have to be expensive.
- Simple materials can be repurposed into effective watering stations.
- Regular cleaning is vital for maintaining water quality.
Elevated Water Features: Added Appeal and Safety
While ground-level water features are effective, elevated options offer several advantages. They are more visible to pollinators, less accessible to ground-dwelling pests like ants, and can add a touch of elegance to your garden.
Option 1: Tiered Water Feature
Tiered fountains or staggered bowls create multiple levels of water access, catering to different pollinator sizes and preferences.
- Step 1: Purchase or build a tiered fountain. Ensure the water flow isn't too strong. Gentle trickles are best.
- Step 2: Place small pebbles or rocks in each tier to provide landing areas.
- Step 3: Regularly clean the tiers to prevent algae buildup.
Option 2: DIY Drip System
A slow-drip system provides a constant, reliable water source and can be easily elevated.
- Step 1: Repurpose a plastic water bottle or an old IV bag.
- Step 2: Poke tiny holes in the cap or use a flow regulator (for IV bags) to control the drip rate.
- Step 3: Hang the bottle or bag upside down on a post or tree branch above a plant saucer or shallow dish.
- Step 4: Monitor the drip rate and adjust as needed to keep the saucer consistently damp.
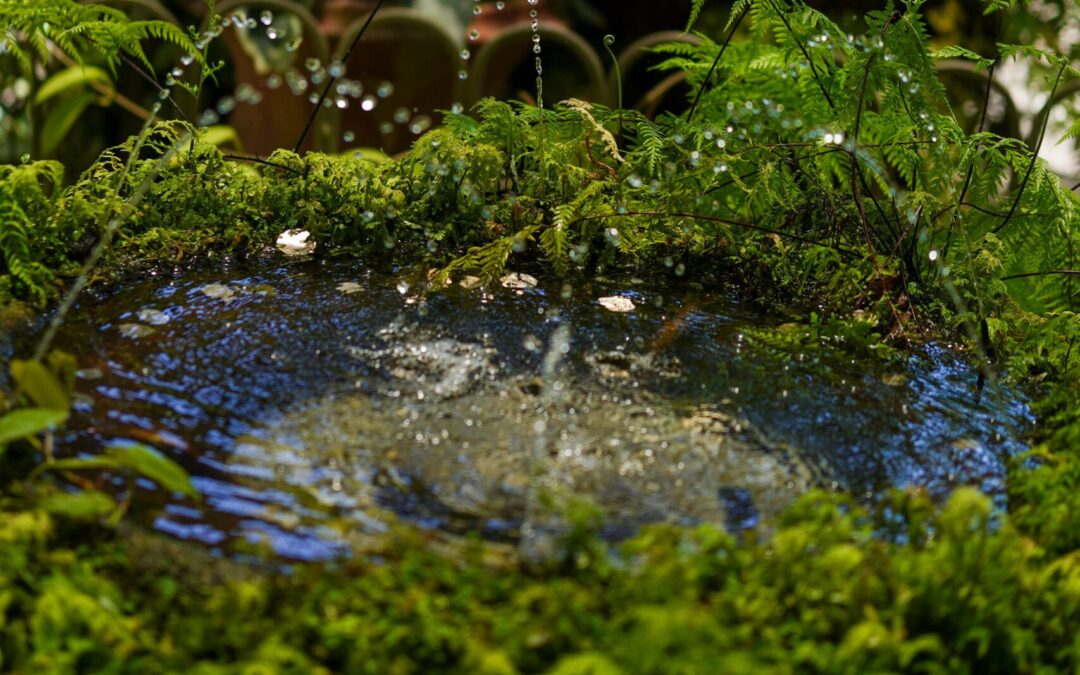
Option 3: Pollinator-Friendly Fountain
While requiring a pump, fountains can be low-maintenance and aesthetically pleasing.
- Step 1: Choose a fountain with a shallow basin and gentle water flow. Avoid fountains with strong jets of water.
- Step 2: Add pebbles or stones to the basin to provide landing areas.
- Step 3: Regularly clean the fountain and replace the water to prevent algae growth.

Key Takeaways:
- Elevated features offer increased visibility and prevent ground insect access
- Tiered designs can accommodate different pollinator sizes
- Safety remains paramount, always ensuring shallow water depth.
Location, Location, Location: Optimizing Placement
The placement of your pollinator water feature is just as important as the design. Consider these factors:
- Sunlight: Choose a sunny or partially sunny location. Pollinators are more active in warm weather.
- Shelter: Position the water feature in a spot that's sheltered from strong winds, which can quickly evaporate the water.
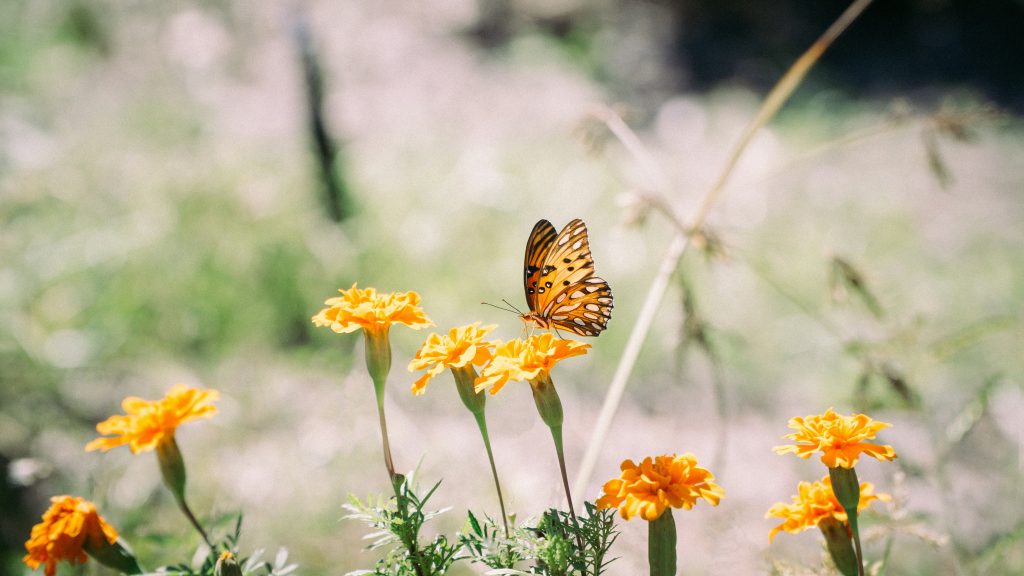
- Proximity to Pollinator-Friendly Plants: Place the water feature near flowering plants that attract pollinators, such as bee balm, lavender, and coneflowers. This creates a convenient refueling station for thirsty visitors.
- Protection from Predators: Place the water feature in an area that's relatively safe from predators, such as cats or birds.
- Easy Access: Ensure pollinators have a clear flight path to the water feature, avoiding obstacles like dense foliage or thorny bushes.
Important: Check the water level daily, especially during hot weather, and replenish as needed. For drip systems, ensure the flow is consistent and the saucer remains damp.

Key Takeaways:
- Placement significantly affects a water feature's effectiveness.
- Consider the needs and safety of pollinators when choosing a location.
- Easy access ensures frequent use.
Maintaining Your Pollinator Oasis: Cleanliness is Key
Regular maintenance is crucial to keeping your pollinator water feature healthy and inviting.
- Cleaning Schedule: Clean the water feature at least once a week, or more often if you notice algae growth or debris accumulation.
- Cleaning Method: Use a natural scrub brush and rinse with fresh water. Avoid using soap or harsh chemicals, which can harm pollinators.
- Mosquito Control: Regularly empty and scrub the water feature to prevent mosquito larvae from hatching. You can also add mosquito dunks, which are safe for pollinators but toxic to mosquito larvae. Be sure to use them according to package instructions.
- Water Changes: Change the water frequently, especially during hot weather, to prevent stagnation.
- Penny Myth Debunked (with Caveats): Some gardeners add copper pennies to their water features to inhibit algae growth. While copper can have antimicrobial properties, the effectiveness is debated, and newer pennies contain less copper and more zinc, which can be harmful in acidic water. If you choose to use pennies, ensure they are pre-1982 US pennies (mostly copper) and that your water source is not heavily acidic. Proceed with caution.

Key Takeaways:
- Regular maintenance is essential for pollinator health.
- Natural cleaning methods are best.
- Prevention is better than cure (avoid stagnant water).
A Sip of Success
Creating a pollinator water feature is a simple, rewarding project that can have a profound impact on your garden's ecosystem. By providing a reliable source of clean water, you're helping to support these vital creatures and ensuring the continued health and beauty of your garden. As the summer progresses and the days grow hotter, remember to keep your pollinators hydrated! A small effort can make a big difference.
Now it's your turn! Share photos of your own pollinator water features on social media using #BetterHomesPollinator. What are your favorite pollinator-friendly plants? Share them in the comments below! And be sure to check out our other blog posts on native plants for pollinators and building a bee house. Sign up for the Better Homes and Harvests newsletter for more gardening tips and inspiration!