Preserving the Summer's Bounty: A Guide to Home Canning
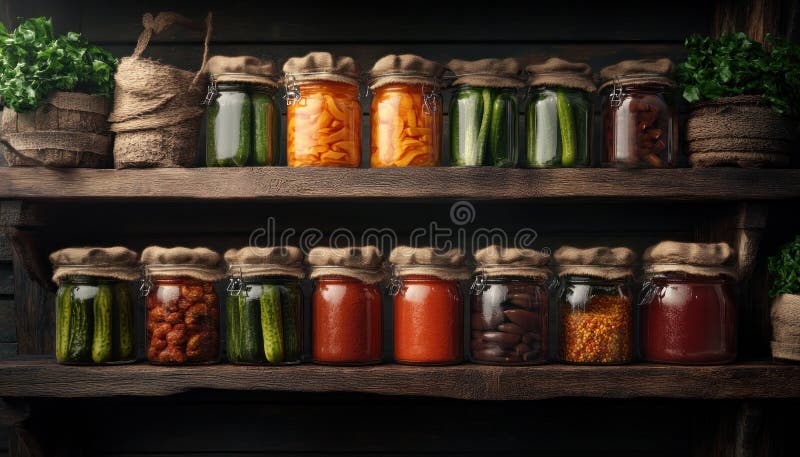
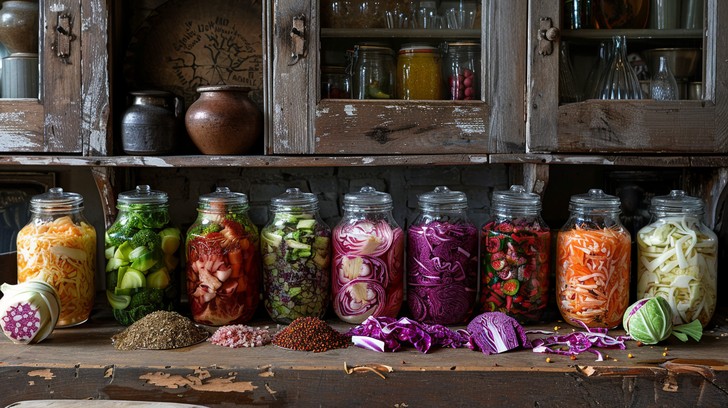
The days are getting shorter, a cool breeze rustles through the trees, and the vibrant hues of summer flowers are slowly fading. But before we bid adieu to the season of abundance, let's capture the flavors of summer to savor throughout the colder months. Home canning, an age-old tradition, is the perfect way to preserve your garden's bounty and bring a taste of sunshine to your winter table. This simple act allows you to enjoy organic gardening efforts long after the last tomato has ripened on the vine, ensuring your cozy living is filled with homegrown goodness all year round. Get ready to transform your farmhouse kitchen into a haven of delicious, shelf-stable delights!
Why Choose Home Canning?
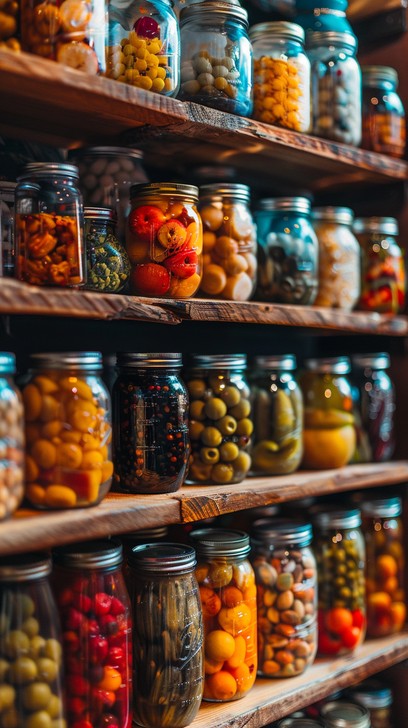
Beyond the sheer joy of preserving your own food, home canning offers a wealth of benefits. You control the ingredients, ensuring that only the freshest, most wholesome produce makes its way into your jars. No added preservatives, artificial colors, or mystery ingredients – just pure, unadulterated flavor. Plus, it's a fantastic way to reduce food waste and embrace a more sustainable home. I remember one year when my tomato crop exploded. I was overwhelmed until I dusted off my grandmother's canning equipment and turned that surplus into jars of vibrant sauce that lasted all winter. It felt incredibly satisfying and connected me to generations of homesteaders before me.
Essential Equipment for Home Canning
Before you dive in, gather your canning essentials. A water bath canner is sufficient for high-acid foods like fruits, jams, jellies, pickles, and tomatoes. For low-acid foods such as vegetables and meats, a pressure canner is a must to ensure safety. Beyond the canner, you'll need:
- Canning jars: Ball jars and Kerr jars are reliable and readily available.
- Canning lids and rings: Use new lids for each canning session to ensure a proper seal.
- Jar lifter: This tool safely lifts hot jars from the canner.
- Funnel: A wide-mouth funnel helps fill jars without spills.
- Bubble remover/headspace tool: This removes air bubbles and measures headspace in the jar.
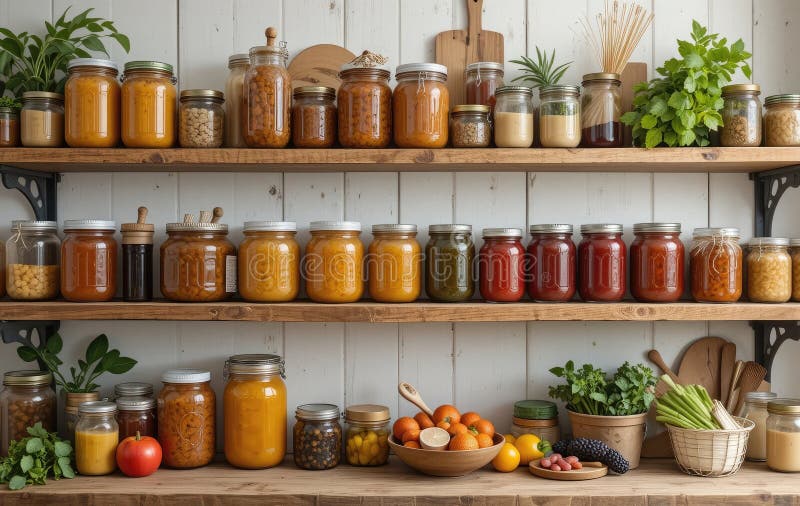
Water Bath Canning: Perfect for High-Acid Foods
Water bath canning is ideal for beginners due to its simplicity. Here's a basic overview:
- Prepare your jars: Wash jars in hot, soapy water and sterilize them by boiling them in water for 10 minutes. Keep them hot until ready to fill.
- Prepare your produce: Wash, peel, chop, or slice your fruits or tomatoes according to your recipe.
- Cook your recipe: Follow a tested canning recipe for jams, jellies, sauces, or pickles. The National Center for Home Food Preservation (NCHFP) is an excellent resource.
- Fill the jars: Ladle the hot mixture into the hot jars, leaving the recommended headspace (usually ¼ inch for jams and jellies, and ½ inch for tomatoes).
- Remove air bubbles: Use a bubble remover to release any trapped air.
- Wipe the jar rims: Clean the rims with a damp cloth to ensure a good seal.
- Place lids and rings: Center the lid on the jar and screw on the ring fingertip-tight.
- Process in the canner: Lower the filled jars into the boiling water bath canner, ensuring they are covered by at least 1 inch of water. Bring the water back to a rolling boil and process for the time specified in your recipe.
- Cool and check seals: Carefully remove the jars from the canner and let them cool completely on a towel-lined surface. As they cool, you should hear a "pop" as the lids seal. After 24 hours, check the seals by pressing down on the center of the lid. If it doesn't flex, the jar is sealed. If it flexes, refrigerate the jar and use the contents within a few days.
Pressure Canning: Ensuring Safety with Low-Acid Foods
Pressure canning is necessary for low-acid foods like vegetables, meats, and soups, as it reaches higher temperatures that kill botulism spores. Always follow tested recipes from reputable sources like the NCHFP or your local extension office. Pressure canning requires specific procedures for venting and pressure control, so be sure to familiarize yourself with your canner's instructions. Understanding this is key to sustainable living.
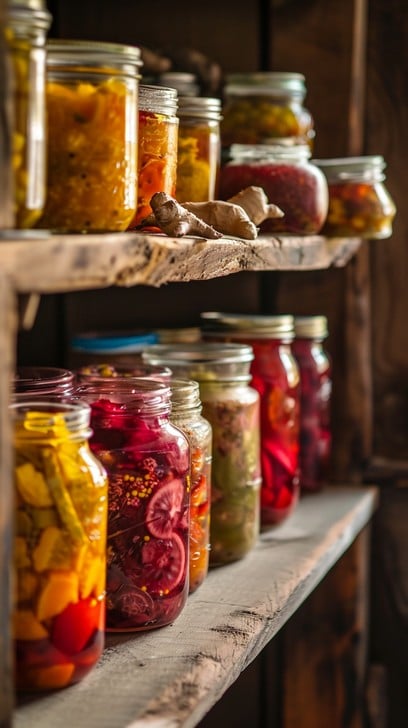
A Simple Refrigerator Pickle Recipe
Even if you're new to canning, refrigerator pickles are a great place to start!
Ingredients:
- 1 pound pickling cucumbers, sliced
- 1 small onion, thinly sliced
- 1/2 cup white vinegar
- 1/4 cup water
- 2 tablespoons sugar
- 1 teaspoon salt
- 1/2 teaspoon mustard seed
- 1/4 teaspoon celery seed
Instructions:
- Combine cucumbers and onion in a bowl.
- In a saucepan, combine vinegar, water, sugar, salt, mustard seed, and celery seed. Bring to a boil, stirring until sugar is dissolved.
- Pour the hot brine over the cucumbers and onions.
- Let cool slightly, then transfer to a jar or container.
- Refrigerate for at least 24 hours before serving. These will keep in the refrigerator for up to 2 weeks.
Actionable Tips for Successful Home Canning
Ready to embark on your canning journey? Here are some actionable tips:
- Challenge #1: Start small. Begin with a simple recipe like jam or refrigerator pickles to build confidence.
- Challenge #2: Invest in quality equipment. A good canner and jar lifter are worth the investment for safety and ease of use.
- Challenge #3: Follow tested recipes. Always use recipes from reputable sources to ensure food safety. Don't wing it!
- Challenge #4: Label and date your jars. This will help you keep track of what you've canned and when.
- Challenge #5: Store your canned goods properly. Store jars in a cool, dark, and dry place.
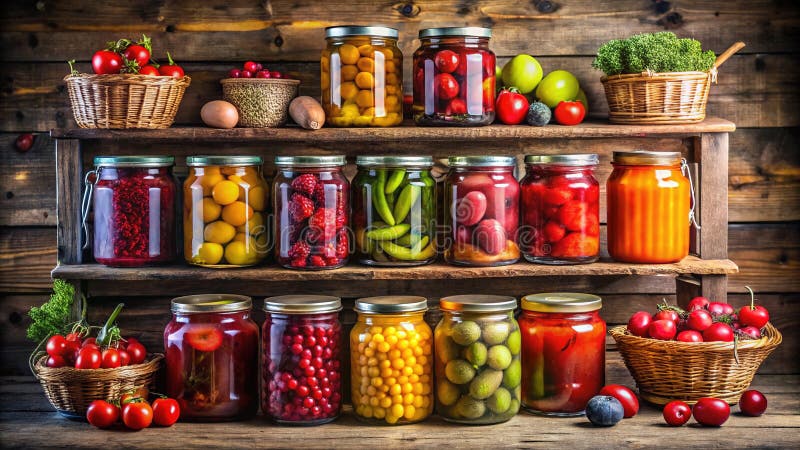
Troubleshooting Common Canning Problems
Even experienced canners encounter occasional challenges. Here are a few common issues and their solutions:
- Siphoning: This occurs when liquid is lost from the jars during processing. Ensure proper headspace and avoid overcrowding the canner.
- Cloudy brine: This can be caused by hard water or using iodized salt. Use filtered water and canning salt.
- Mold growth: This indicates a failed seal. Discard the contents of the jar.
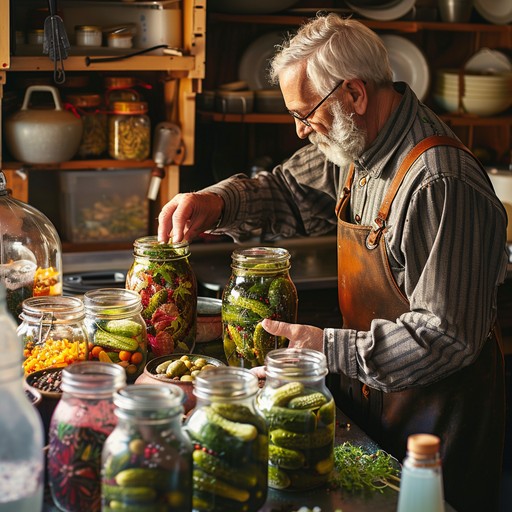
Finding Resources and Inspiration
There are many resources available to help you master the art of home canning. Check out the National Center for Home Food Preservation (NCHFP) website, your local extension office, and online canning communities for recipes, tips, and troubleshooting advice. Social media platforms like Pinterest and Instagram can also provide inspiration and visual guides. Canning tomatoes, canning vegetables, and canning fruits are popular search terms for finding recipes.
Embrace the Joys of Preserving
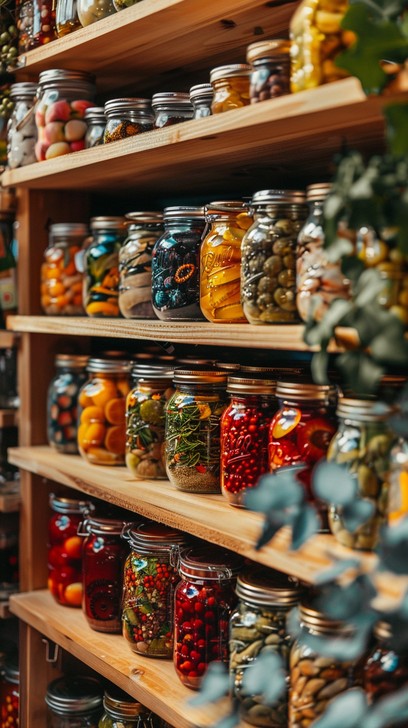
Preserving the summer's bounty through home canning is a rewarding experience that connects you to nature, your food, and generations of homesteaders. So, gather your produce, dust off your canning equipment, and get ready to fill your pantry with the flavors of summer. With a little practice and patience, you'll be enjoying homegrown goodness all year long, enriching your farmhouse life and ensuring a sustainable home.
Now it's your turn! What are your favorite canning recipes or tips? Share your experiences in the comments below! What canning recipes for a bountiful summer harvest are you using?
