Preserving the Harvest: Turning Your Bumper Crop into Winter Comfort
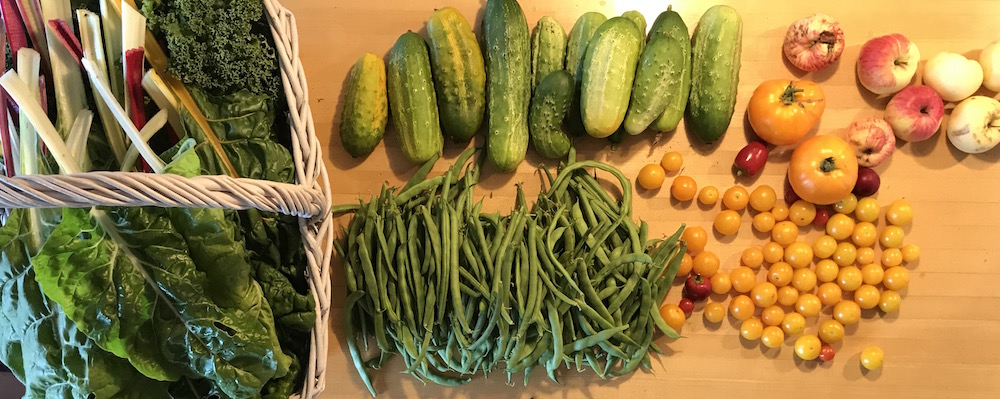
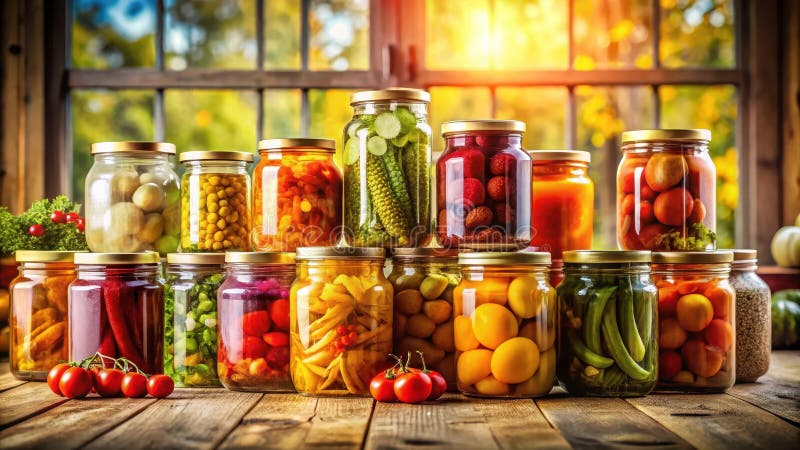
The first frost has kissed the pumpkin vines, turning their sprawling greenery a shade of faded yellow. A chill wind whispers through the bare branches of the apple trees, laden just weeks ago with their ruby bounty. The garden, once a riot of color and abundance, now slumbers, waiting for the spring. But inside, the kitchen is warm with the comforting scent of simmering apples and the low hum of the canner. Jars filled with the summer's hard work stand like jewels on the shelves of the pantry, a testament to the season's generosity. If you're a gardener, you know the bittersweet feeling of the season's end. The abundance is wonderful, but the short growing season can be daunting. How do you hold onto the sunshine and flavor for the long winter months?
By the end of this post, you'll have the tools and knowledge to transform your surplus harvest into a pantry brimming with winter comfort. You'll discover that preserving the harvest is more than just putting food away; it's an act of connection to the land and a celebration of self-sufficiency.
Embracing the Bountiful Harvest: Methods for Winter's Table
The key to enjoying your garden's gifts all winter long lies in mastering the art of food preservation. Fortunately, there are many effective methods to choose from, each with its own unique advantages. Let's explore a few essential techniques that will help you extend the flavors of summer well into the colder months.
The Art of Canning: Sealing in Summer's Goodness
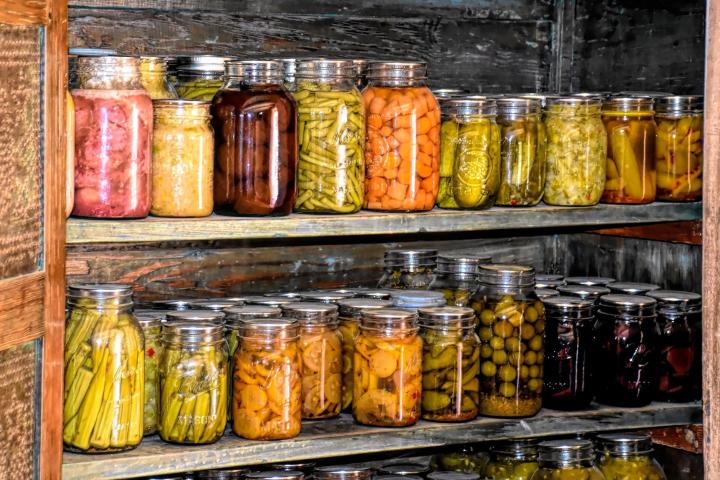
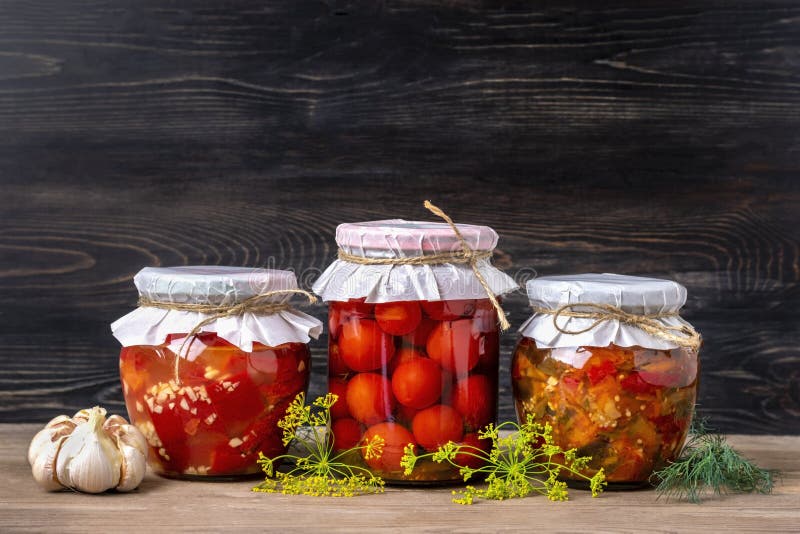
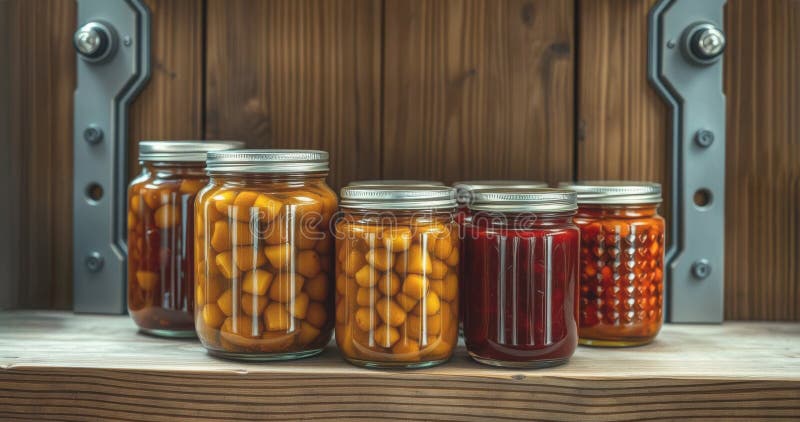
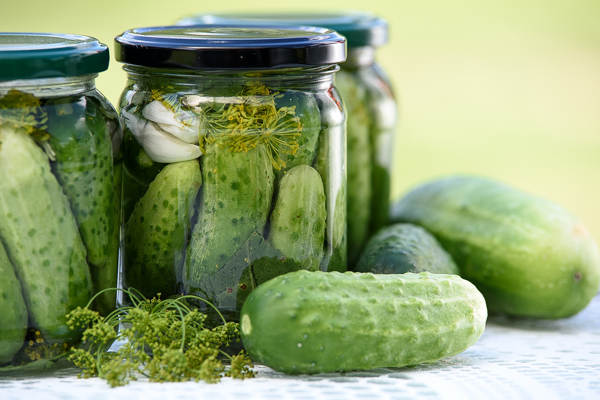
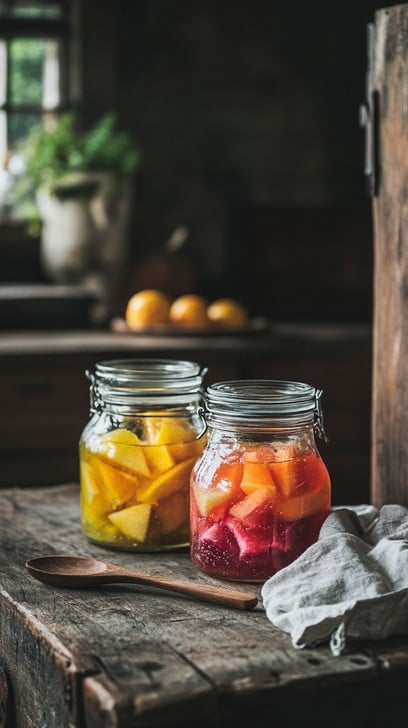
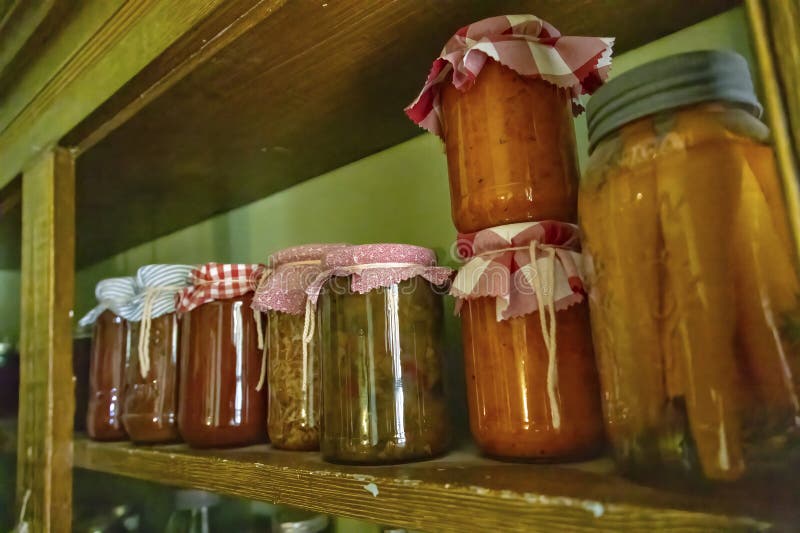
Canning, a tried-and-true method, involves preserving food in sealed jars using heat. This process creates a vacuum seal, preventing spoilage and allowing you to safely store food at room temperature for extended periods. This is an amazing way to use organic gardening to enhance your farmhouse life.
Step-by-Step Instructions:
- Prepare your jars: Wash jars, lids, and rings in hot, soapy water. Sterilize jars by boiling them for 10 minutes. Keep them hot until ready to fill.
- Prepare your food: Follow a tested canning recipe, paying close attention to acidity levels. High-acid foods like fruits and tomatoes are safe to can using a water bath canner, while low-acid foods like vegetables and meats require a pressure canner.
- Pack the jars: Fill hot jars with the prepared food, leaving the recommended headspace (usually ½ to 1 inch).
- Remove air bubbles: Run a non-metallic spatula around the inside of the jar to release trapped air.
- Wipe the rims: Ensure the jar rims are clean for a proper seal.
- Place lids and rings: Center the lid on the jar and screw on the ring fingertip tight.
- Process in a canner: Follow the recipe's instructions for processing time based on your altitude and the type of food.
- Cool and check seals: After processing, let the jars cool completely. Check the seals by pressing down on the center of each lid. If it doesn't flex, it's sealed.
Pro Tip: I learned the hard way to always leave a little headspace in my jars! Too much food can prevent a proper seal.
Looking for some great tested recipes? Check out the National Center for Home Food Preservation.
Freezing the Freshness: A Quick and Easy Method
Freezing is a simple and effective way to preserve many fruits, vegetables, and herbs. It's particularly well-suited for foods that don't hold up well to canning or dehydrating. Think of freezing berries for winter smoothies and sustainable food storage!
Step-by-Step Instructions:
- Prepare your produce: Wash and trim vegetables and fruits. Blanch vegetables in boiling water for a few minutes to stop enzyme activity and preserve color and flavor.
- Cool quickly: Immediately plunge blanched vegetables into an ice bath to stop the cooking process.
- Dry thoroughly: Pat dry fruits and vegetables to prevent ice crystals from forming.
- Package properly: Use freezer-safe bags or containers. Remove as much air as possible to prevent freezer burn.
- Label and date: Clearly label each package with the contents and date.
- Freeze quickly: Arrange packages in a single layer in the freezer for rapid freezing.
Personal Anecdote: My grandmother always froze her extra berries on a baking sheet before bagging them. This kept them from clumping together, making it easier to use just a handful at a time.
Dehydrating: Concentrating Flavor and Extending Shelf Life
Dehydrating removes moisture from food, preventing spoilage and concentrating flavors. This method is ideal for herbs, fruits, vegetables, and even meats. Dried foods are lightweight, easy to store, and perfect for snacking or adding to recipes.
Step-by-Step Instructions:
- Prepare your food: Wash and slice fruits and vegetables into thin, even pieces.
- Pre-treat (optional): Some fruits benefit from pre-treatment to prevent browning. Dip apple slices in lemon juice or pineapple juice.
- Arrange on dehydrator trays: Spread the food in a single layer on dehydrator trays, ensuring good airflow.
- Dehydrate: Follow the manufacturer's instructions for temperature and drying time. Drying times vary depending on the food and dehydrator.
- Condition: After dehydrating, allow the food to cool completely. Then, place it in an airtight container and check for any signs of moisture. If moisture appears, return the food to the dehydrator for further drying.
Pro Tip: Don't overcrowd the trays! Good airflow is essential for even drying.
Root Cellaring: Nature's Refrigerator
For those with the space and inclination, a root cellar provides a natural, low-energy way to store root vegetables like potatoes, carrots, beets, and onions. This method relies on cool, humid conditions to keep produce fresh for months. You can store homegrown vegetables for the winter season with this.
Essentials for Root Cellaring:
- Cool temperature: Aim for a temperature between 32°F and 40°F (0°C and 4°C).
- High humidity: Maintain a humidity level of 85% to 95% to prevent vegetables from drying out.
- Good ventilation: Ensure adequate airflow to prevent mold and rot.
- Proper storage: Store vegetables in bins, crates, or on shelves. Separate different types of vegetables to prevent cross-contamination.
Personal Anecdote: My grandfather built a small root cellar under his porch. He always said the trick was keeping a bucket of water down there to maintain the humidity.
Beyond the Basics: Winter Comfort on Your Plate
Now that you've preserved your harvest, it's time to enjoy the fruits (and vegetables!) of your labor. Imagine the warmth of a hearty stew simmered with your own homemade tomato sauce, or the bright flavor of dehydrated herbs sprinkled over a winter roast. A simple apple pie made with canned apples can transform a gray winter day into a cozy celebration. Don't forget the joy of sharing these homemade treasures with family and friends! A jar of homemade jam or a bag of dried apples makes a thoughtful and heartfelt gift.
Call to Action & Closing
The season of harvest is ending, but the season of preservation is just beginning. This weekend, choose one of the methods we've discussed—canning, freezing, dehydrating, or root cellaring—and give it a try. Even preserving one small batch of your garden's bounty will connect you to the land and fill your heart with satisfaction. Share a photo of your preserved goods on Instagram using the hashtag #BHHarvestPreserves.
Enjoy the warmth and security of your homemade goods all winter long. You’ve created more than just food; you’ve created memories.
