
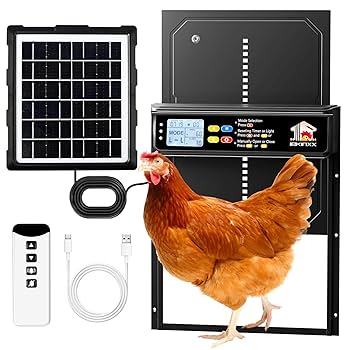
Powering Your Coop: Building a Small Solar System for Happy Hens
Imagine a frosty winter morning. The landscape is blanketed in white, and the sun struggles to peek through the clouds. While the outside world is cold and dormant, inside your chicken coop, a soft, warm glow emanates. This isn't just any light; it's solar-powered, providing your hens with the supplemental light they need to maintain healthy egg production. Using solar power for your chicken coop isn't just ecologically sound; it’s economically smart, reducing your reliance on the grid and harnessing the power of the sun.
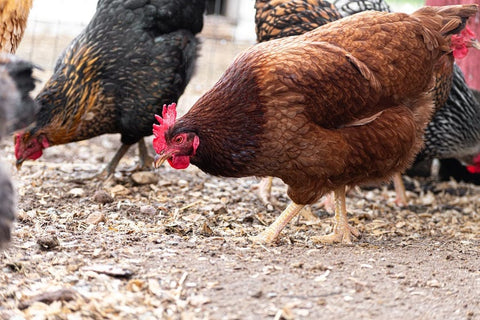
This project is all about building a simple, low-cost, off-grid solar power system perfect for a small chicken coop. The installation is surprisingly easy, even for beginners, and the benefits are undeniable, especially for reliable egg-layers like Rhode Island Reds. Picture this: your hens happily clucking under the gentle, consistent light, continuing to provide you with fresh eggs throughout the winter months. Let's dive in and learn how to make it happen!
Materials List:
- One (1) 100-watt Renogy solar panel (black frame, monocrystalline).
- One (1) 12V deep-cycle marine battery (flooded lead-acid type).
- One (1) 400-watt pure sine wave inverter (compact design, with clear voltage display).
- One (1) Charge controller (PWM type recommended for small systems, with LCD screen).
- Wiring (appropriate gauge for solar applications – 12 AWG recommended, red and black sheathing).
- Connectors (MC4 connectors for the solar panel, weatherproof).
- Battery terminals (wing nut style for easy connections).
- Light fixture (LED, low wattage, warm white color temperature, about 6-8 watts).
- Timer switch (digital, programmable).
- Mounting hardware for the solar panel (adjustable tilt mounts).
- Weatherproof enclosure for the battery and inverter (grey plastic, hinged lid).
- Conduit for wiring (optional, for added protection, PVC pipe).
Tools List:
- Wire stripper/cutter (with multiple gauge settings).
- Crimping tool (for MC4 connectors, ratcheting type).
- Screwdrivers (various sizes, Phillips head and flathead).
- Drill with various drill bits (including wood and metal drill bits).
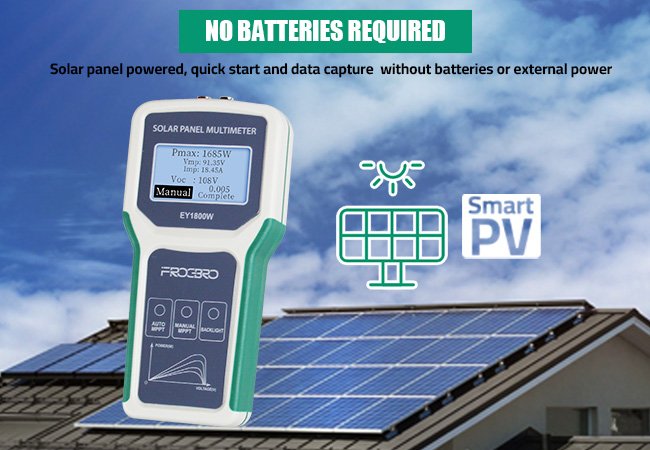
- Multimeter (digital display, accurate readings).
- Adjustable wrench (for tightening bolts).
- Safety glasses (ANSI Z87.1 rated).
- Gloves (insulated work gloves).
Step-by-Step Instructions:
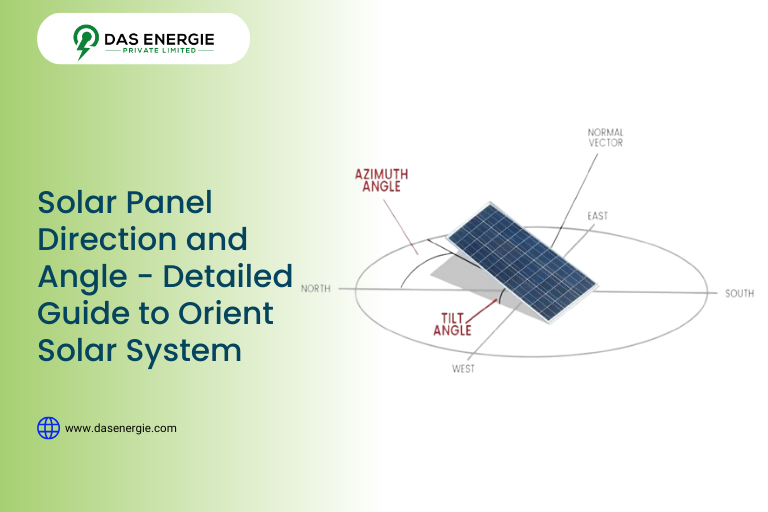
Mount the Solar Panel:
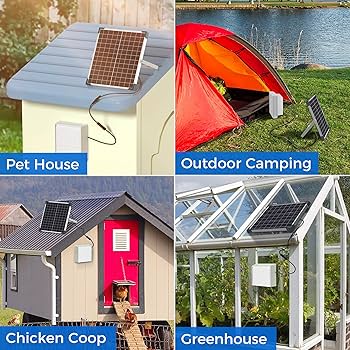
The first step is choosing the best spot for your solar panel. It needs direct sunlight for most of the day, especially during the shorter winter days. A south-facing location (in the Northern Hemisphere) is ideal. Securely mount the 100-watt Renogy solar panel to your chicken coop roof. An angle of approximately 45 degrees will help capture the most sunlight during the winter months. Ensure the mounting hardware is robust enough to withstand strong winds and weather conditions. Picture the panel, a beacon of clean energy, gleaming against a clear blue winter sky.
Connect the Solar Panel to the Charge Controller:
Next, connect the solar panel to the PWM charge controller. This crucial device regulates the voltage coming from the panel, preventing overcharging and damage to your battery. Using MC4 connectors ensures a weatherproof and secure connection. Always double-check the polarity (+ and -) before connecting. Incorrect polarity can damage your equipment. Use 12 AWG wiring for the best current flow and wrap all connections with electrical tape for added protection against the elements. Follow the charge controller's specific instructions.
Connect the Charge Controller to the Battery:
Now, connect the charge controller to the 12V deep-cycle marine battery. Again, pay very close attention to polarity! Use wing nuts to secure the battery terminals, ensuring a tight connection. The battery should be housed inside the weatherproof enclosure to protect it from rain, snow, and extreme temperatures. Deep-cycle marine batteries are designed to handle the repeated charging and discharging cycles common in solar power systems.
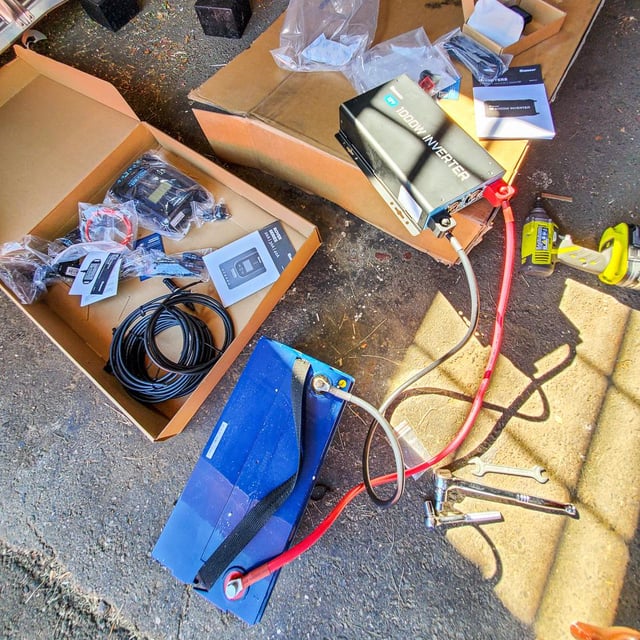
Connect the Inverter to the Battery:
Place the battery and the 400-watt pure sine wave inverter inside the weatherproof enclosure. The inverter converts the 12V DC power from the battery into 120V AC power, which is needed to run the LED light fixture. Connect the inverter to the battery using short, heavy-gauge cables. Make sure the inverter's on/off switch is easily accessible for maintenance. A pure sine wave inverter provides a cleaner, more stable power output, which is essential for sensitive electronics.
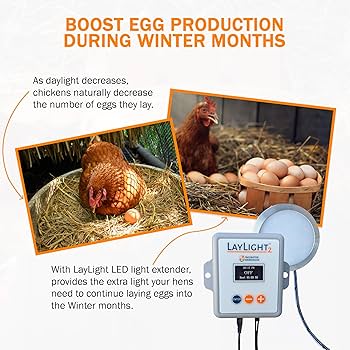
Wire the Light Fixture:
Connect the LED light fixture to the inverter, incorporating the digital timer switch to automate the lighting schedule. This is where the magic happens! Set the timer to provide supplemental light for approximately 4 hours in the early morning (e.g., 4:00 AM to 8:00 AM) during the winter. This artificial "sunrise" tricks the hens into thinking the days are longer, stimulating egg production. The LED light should cast a warm, inviting glow inside the coop, making it a comfortable and productive environment for your flock.
Test the System:
Before you unleash the power of the sun, it's crucial to test everything. Use a multimeter to verify that the system is functioning correctly. Check the voltage and current at various points, including the solar panel output, the charge controller input and output, and the battery voltage. This will ensure that the solar panel is charging the battery correctly, and the inverter is providing power to the light fixture. Listen for the faint hum of the inverter, confirming its proper function.
Troubleshooting:
- Low Battery Voltage: Ensure the solar panel is receiving adequate sunlight. Check all connections are secure and clean. Clean the solar panel with a soft cloth to remove any dust or snow.
- Light Not Working: Check the LED light bulb, timer switch, and wiring connections. Verify the inverter is powered on.
- Charge Controller Error: Consult the charge controller's manual. Check for loose connections or damaged wiring.
Maintenance:
- Regularly clean the solar panel with a soft brush and soapy water.
- Check the battery terminals for corrosion monthly and clean with baking soda and water.
- Monitor the battery's voltage regularly.
- Inspect wiring for damage every few months.
Benefits for Rhode Island Reds (or similar breeds):
Rhode Island Reds are known for their reliable egg-laying, but even these hardy hens can experience a drop in production during the winter months due to reduced daylight. Providing supplemental light through your solar-powered system effectively extends their "day," encouraging consistent egg-laying. This not only increases your overall egg yield but also improves the health and activity levels of your flock. Happier hens mean more eggs, and a more self-sufficient homestead. The steady, quiet hum of the inverter and the consistent, gentle solar lighting system ensures the birds are comfortable and stress-free, further boosting egg production.
Conclusion:
Building a small solar power system for your chicken coop offers a multitude of benefits, from increased egg production and energy independence to sustainability and environmental responsibility. It's a relatively simple project that can significantly improve your homestead's efficiency and reduce your carbon footprint. Imagine the feeling of satisfaction knowing you're providing for your hens in an environmentally friendly way, all while enjoying a steady supply of fresh, delicious eggs throughout the year.
Ready to embrace the power of the sun? Build your own solar-powered chicken coop and enjoy fresh eggs all winter long! Share your pictures and tips in the comments below!