Pasture-Perfect Poultry: Build Your Own DIY Chicken Tractor
Imagine your chickens, happily pecking at lush green grass, feasting on insects, and turning over the soil, all while fertilizing your pasture. We all know the joy of collecting fresh, golden-yolked eggs from happy hens. But keeping them safe from predators and preventing them from decimating your precious garden can be a challenge. That’s where the ingenious chicken tractor comes in. This mobile coop allows you to harness the benefits of free-range chickens without the chaos!
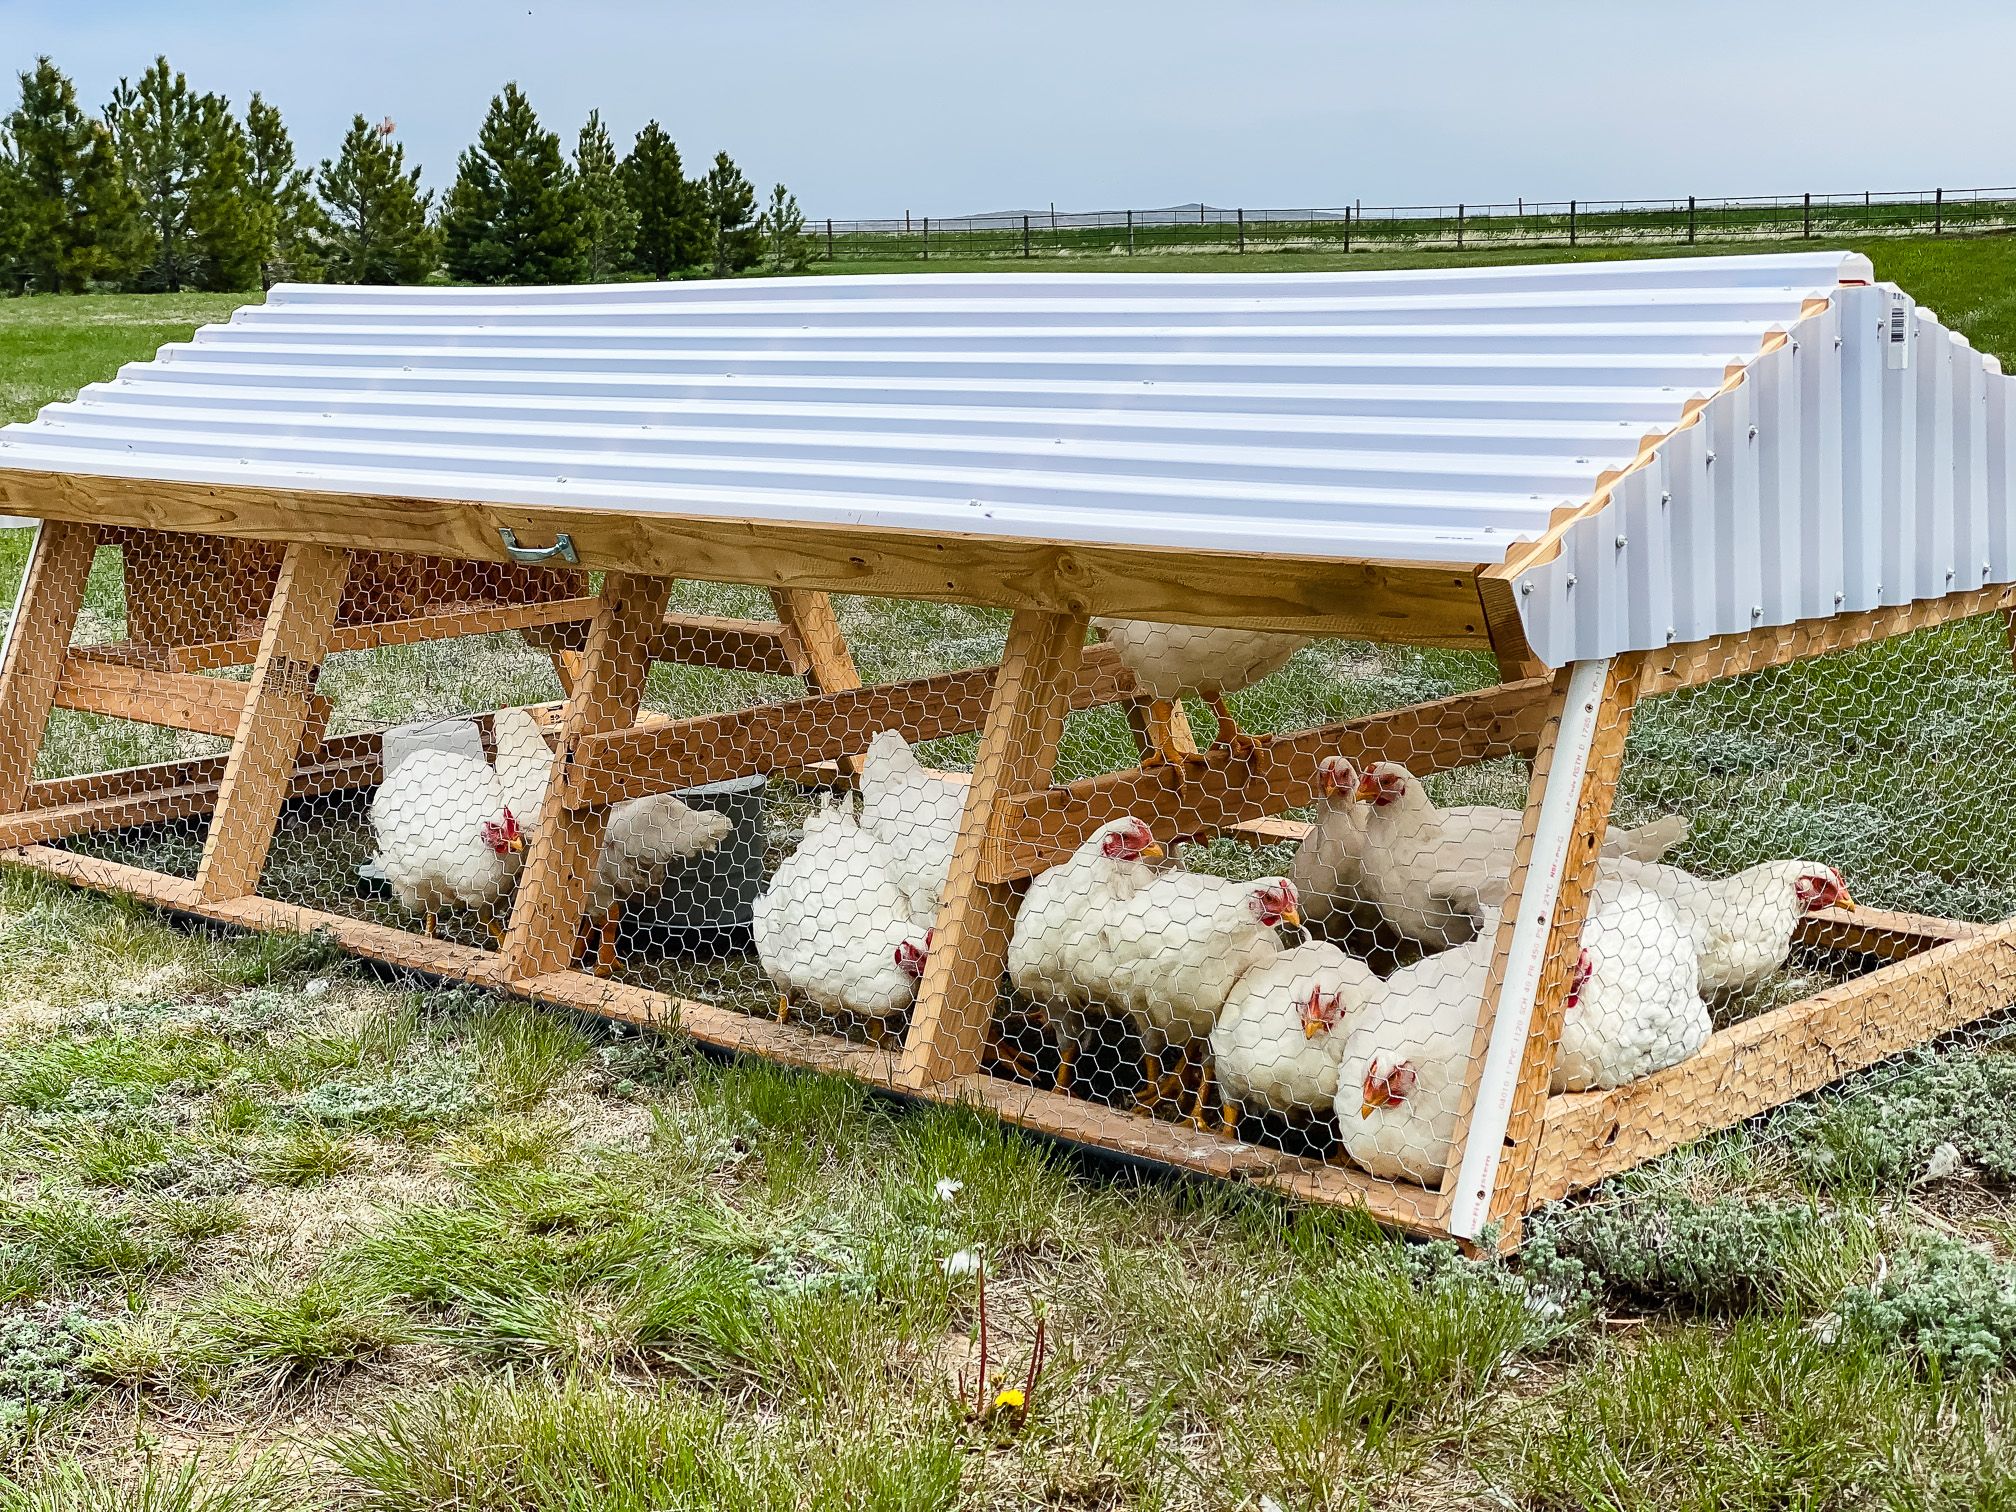
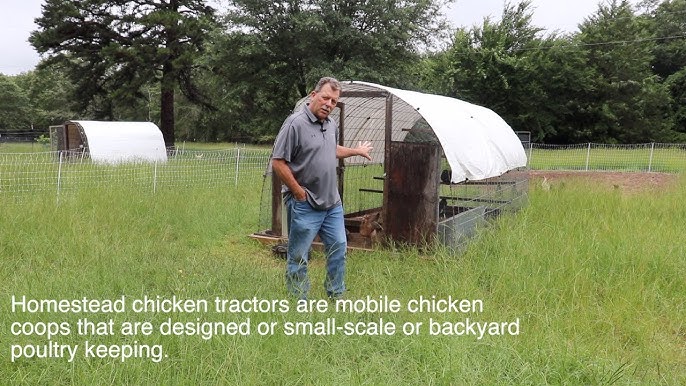
A chicken tractor, also known as a poultry ark or chicken caravan, is essentially a portable chicken coop. It allows you to move your flock around your homestead, providing them with fresh pasture while naturally controlling pests, weeds, and fertilizing the soil. And the best part? You can build one yourself for a fraction of the cost of a permanent coop. Get ready to embrace the DIY spirit with our step-by-step guide to building a sturdy and functional chicken tractor!
[ ]
]
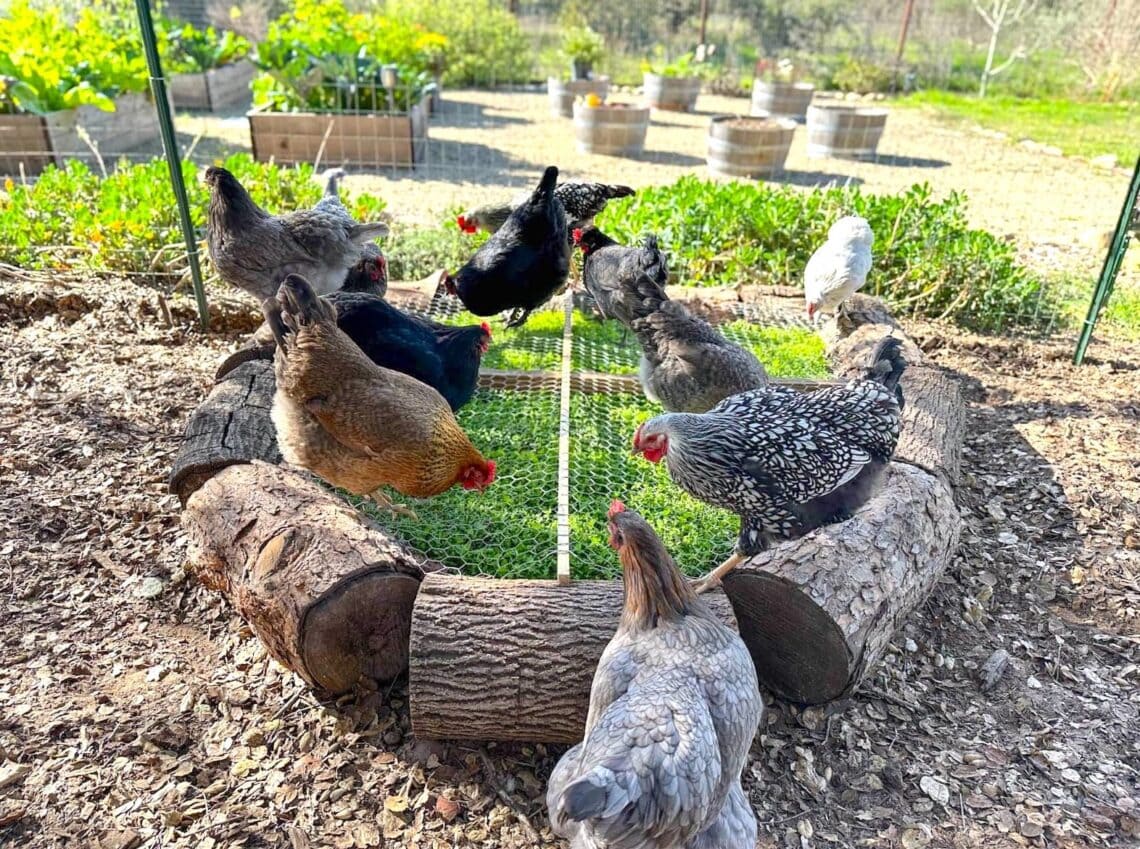
Chickens grazing contentedly in a lush, green pasture within the safety of their chicken tractor.
This project is perfect for beginner to intermediate homesteaders looking to improve their pasture management and chicken health.
- Difficulty: Moderate (requires basic carpentry skills and tools)
- Estimated build time: 1-2 days
- Estimated cost: $150 - $300 (depending on materials used)
Section 1: Planning and Design
Before you start cutting lumber, it's essential to plan your chicken tractor design. This will ensure you build a coop that meets your specific needs and resources.
Chicken Capacity: The most important factor is the number of chickens you have or plan to have. A good rule of thumb is to provide at least 4 square feet of space per chicken inside the tractor. For example, if you have six chickens, you'll need a minimum of 24 square feet of floor space.
Design Considerations: Consider the available materials, your budget, and desired features. Do you want built-in nesting boxes? Roosting bars? Easy access doors for cleaning and egg collection? Draw a simple sketch of your desired chicken tractor, including dimensions and placement of key features.
Terrain: Think about the terrain of your property. If you have uneven ground, you'll need a sturdier frame and larger wheels to ensure easy movement. Pneumatic tires are a great option for rough or hilly terrain.
Maneuverability: Ease of movement is crucial. Design your chicken tractor to be lightweight and easily maneuverable, even when filled with chickens. Consider adding handles or a rope for pulling.
Careful planning is crucial for a functional and efficient chicken tractor that meets your specific needs. Take the time to consider all these factors before you start building.
[ ]
]
Detailed blueprint of chicken tractor design.
Section 2: Gathering Materials and Tools
Having the right materials and tools on hand will make the building process smoother and more efficient. Here's a comprehensive list:
Lumber:
- Pressure-treated 2x4 lumber for the frame (amount depends on your design)
- Untreated 1x4 lumber for nesting boxes and roosting bars (optional)
Chicken Wire/Hardware Cloth: Hardware cloth is more secure against predators.
Roofing Material: Options include metal roofing sheets, wood shingles, or repurposed corrugated plastic.
Hardware:
- Hinges for access doors
- Latches to secure doors
- Screws and nails
- Staples for attaching chicken wire
Wheels: Two wheels for easy movement (consider pneumatic tires for rough terrain)
Tools:
- Saw (circular saw or hand saw)
- Drill with various drill bits
- Measuring tape
- Hammer
- Staple gun
- Wire cutters
- Safety glasses
- Gloves
Eco-Friendly Alternatives:
- Reclaimed Lumber: Check local salvage yards or construction sites for reclaimed lumber, saving you money and reducing waste.
- Repurposed Roofing: Use old metal roofing sheets or corrugated plastic for a sustainable roofing solution.
You can source materials from local lumber yards, hardware stores, or online retailers. Don't be afraid to ask for discounts on bulk purchases. Using pressure-treated lumber for the frame, especially the parts in ground contact, is essential for longevity.
Section 3: Building the Frame
The frame is the foundation of your chicken tractor. Take your time and ensure it's built correctly.
- Cut the Lumber: Cut the pressure-treated lumber according to your design dimensions. A common size for a chicken tractor is 4 feet wide by 8 feet long.
- Assemble the Frame: Join the frame pieces using screws and nails. Make sure the corners are square and the frame is sturdy. Use wood glue for added strength.
- Add Cross Supports: Install cross supports within the frame for added stability. These will also provide a surface for attaching the chicken wire or hardware cloth.
- Attach the Wheels: Secure the wheels to one end of the frame using bolts and washers. Make sure the wheels are properly aligned for easy movement.
A solid frame is the foundation of your chicken tractor. Double-check all measurements and connections to ensure it's strong and stable.
Section 4: Adding Chicken Wire/Hardware Cloth and Roofing
Protecting your chickens from predators and the elements is essential for their health and well-being.
- Attach Chicken Wire/Hardware Cloth: Starting at one corner of the frame, securely attach the chicken wire or hardware cloth using staples. Overlap the edges of the wire and staple it tightly to the frame every few inches.
- Cover the Sides and Bottom: Cover all sides of the frame with chicken wire or hardware cloth, including the bottom if you want to prevent chickens from digging out.
- Install Roofing Material: Attach the roofing material to the top of the frame using screws or nails. Overlap the edges of the roofing material to prevent leaks.
- Ventilation: Consider leaving part of the roof open for ventilation and sunlight. Cover the opening with chicken wire or hardware cloth to prevent chickens from escaping.
Remember, hardware cloth offers better protection against predators like raccoons and foxes. Overlap the edges of the wire generously and staple it tightly to the frame for maximum security.
Section 5: Incorporating Nesting Boxes and Roosting Bars
Nesting boxes and roosting bars provide essential comfort and security for your chickens, encouraging egg-laying and proper rest.
- Build Nesting Boxes: Construct simple nesting boxes using 1x4 lumber. A good size for a nesting box is 12 inches wide, 12 inches deep, and 12 inches high.
- Install Nesting Boxes: Attach the nesting boxes inside the chicken tractor, preferably in a shaded area.
- Create Roosting Bars: Use branches or lumber to create roosting bars. Round the edges of the bars to prevent injury.
- Place Roosting Bars: Install the roosting bars at different heights inside the chicken tractor.
A comfortable and safe environment will encourage your chickens to lay eggs and sleep soundly. Provide plenty of bedding material, such as straw or wood shavings, in the nesting boxes.
[ ]
]
A hen sits comfortably in her nesting box
Section 6: Adding Access Doors and Finishing Touches
Easy access and regular maintenance will make managing your chickens and their coop much easier in the long run.
- Create Access Doors: Design and build access doors for cleaning the coop, collecting eggs, and accessing the chickens.
- Install Hinges and Latches: Attach hinges to the doors and install latches to secure them.
- Painting or Staining: Consider painting or staining the wood to protect it from the elements. Use non-toxic paint or stain.
- Regular Inspection: Regularly inspect and maintain the chicken tractor, repairing any damage as needed.
Don’t forget to add a handle or rope to make moving the chicken tractor easier. Regular cleaning and maintenance will help keep your chickens healthy and happy.
[ ]
]
Homesteader opening a chicken tractor latch.
Key Takeaways:
- Careful planning is crucial for a functional and efficient chicken tractor.
- Having the right materials and tools makes the building process smoother.
- A solid frame is the foundation of your chicken tractor.
- Protecting your chickens from predators and the weather is essential.
- Nesting boxes and roosting bars provide comfort and security.
- Easy access and regular maintenance are vital for long-term use.
Conclusion
Building a chicken tractor is a rewarding project that can greatly benefit your homestead. By providing your chickens with fresh pasture, you'll improve their health and well-being, control pests and weeds, and naturally fertilize your soil. This DIY project is not only affordable but also contributes to a more self-sufficient and sustainable lifestyle.
Remember, you can customize these plans to fit your specific needs and resources. Don't be afraid to get creative and adapt the design to your unique homesteading situation. The satisfaction of building something yourself and contributing to a more sustainable way of life is truly rewarding.
[ ]
]
Call to Action
Share your chicken tractor building experiences and photos in the comments below! We'd love to see your creations and hear about your successes (and challenges!). What are some modifications you made to the design? What kind of materials did you use? Let’s learn from each other and build a community of happy homesteaders! And if you found this guide helpful, share it with your friends who are looking to improve their pasture management and chicken health!