Naturally Dyeing Linen and Cotton with Kitchen Scraps: A Beginner's Guide to Sustainable Shibori
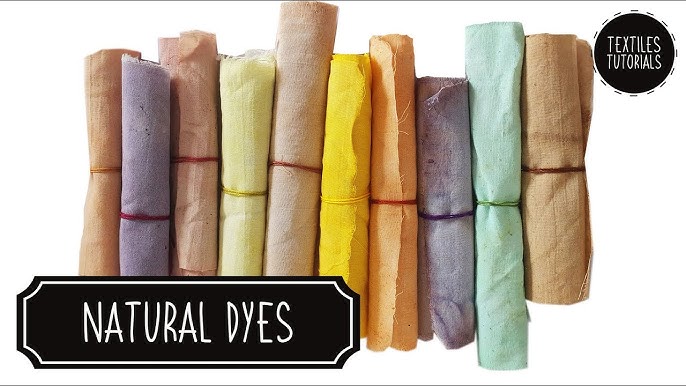
Imagine transforming humble kitchen scraps – the peels of onions, the pits of avocados – into breathtakingly beautiful hues to adorn your home. Natural dyeing is a slow, mindful craft that connects us to the earth's bounty. It's an invitation to embrace the imperfect, the unpredictable, and the deeply satisfying process of creating unique textiles infused with the colors of nature. This guide will walk you through the basics of naturally dyeing linen napkins and cotton tea towels with food waste, using simple shibori techniques to add captivating patterns. Get ready to unleash your inner artist and breathe new life into your linens!
1. Gathering and Preparing Your Dye Materials
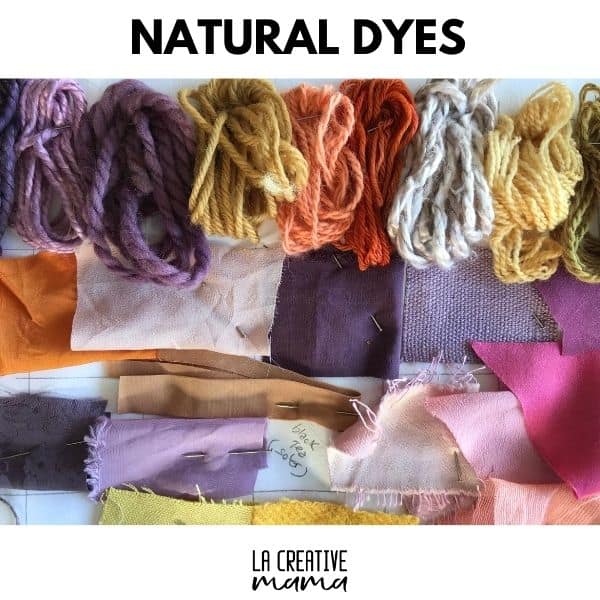
The beauty of natural dyeing lies in its resourcefulness. Instead of discarding food waste, we transform it into a vibrant source of color.
Avocado Pits and Skins: Save your avocado pits and skins after enjoying this delicious fruit. Rinse them clean and allow them to air dry. For a small batch suitable for 4-6 napkins/tea towels, aim for 4-6 avocado pits and skins. If you’re not ready to use them immediately, freeze the pits to prevent mold.
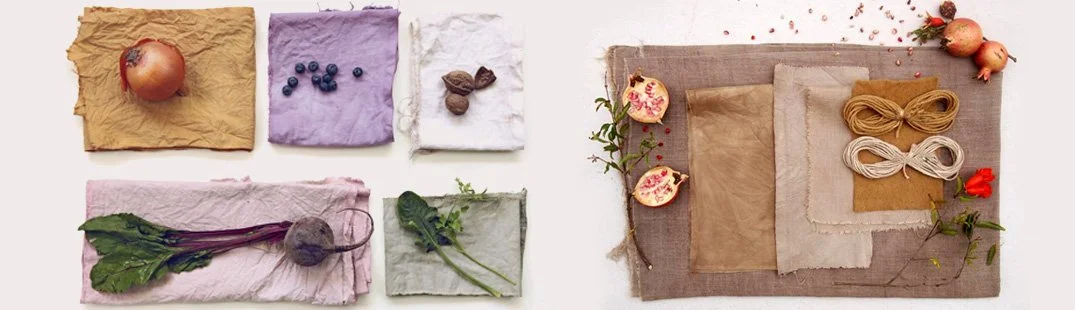
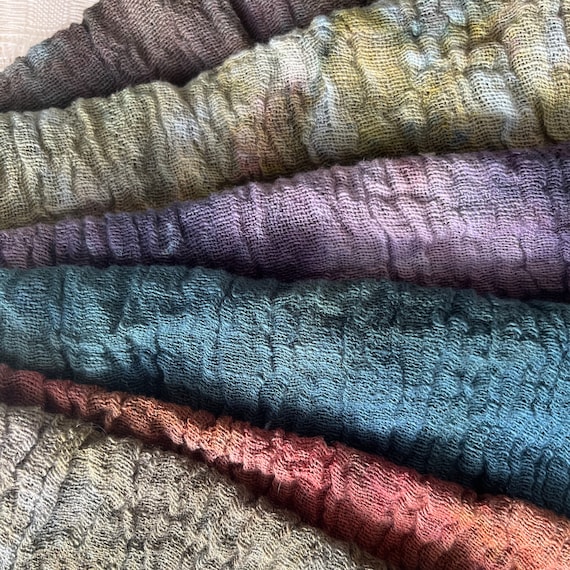
Onion Skins: Collect the outer skins from red and yellow onions. The more variety, the richer the color range you'll achieve, from warm yellows and oranges to deep browns. You'll need the outer skins from about 6-8 onions for a small batch. Store them in a dry place until you're ready to use them.
2. Preparing the Dye Bath
Now, let's unlock the colors hidden within our kitchen scraps!
- Simmer the Dye Materials: Place your chosen dye material (avocado pits/skins OR onion skins) in a stainless steel or enamel pot. Add approximately 8 cups of water.
- Avocado Dye Bath: Simmer the avocado pits and skins for at least one hour. The longer you simmer, the richer the color will be.
- Onion Skin Dye Bath: Simmer the onion skins for about 30 minutes. Again, simmering for a longer time can deepen the color.
- Strain the Dye Bath: Once simmered, carefully strain the dye bath through a fine-mesh sieve or cheesecloth to remove all solid particles. This ensures a smoother, more even dye application.
3. Mordanting the Fabric (Using Alum)
Mordanting is a crucial step in natural dyeing. It helps the dye bond permanently to the fabric, preventing the color from washing out easily. Alum (aluminum potassium sulfate) is a common and relatively safe mordant. Natural Dyeing Kit
- Prepare the Alum Solution: In a non-reactive container (stainless steel or plastic), dissolve 1 tablespoon of alum per half gallon of warm water. Stir until the alum is completely dissolved. Alum Mordant for Dyeing
- Soak the Fabric: Submerge your linen napkins and cotton tea towels in the alum solution. Ensure they are fully saturated.
- Mordant: Soak the fabric for at least one hour, or preferably overnight, stirring occasionally to ensure even mordanting.
- Rinse Thoroughly: After mordanting, rinse the fabric thoroughly in cold water until all traces of alum are gone. Squeeze out excess water.
4. Low-Immersion Dyeing and Shibori Techniques
Low-immersion dyeing is a sustainable technique that uses less water compared to traditional dyeing methods. Since our textiles have been properly mordanted, we can proceed with low immersion, maximizing the dye bath's effectiveness and minimizing our environmental impact.
Dampen the Fabric: Lightly dampen the mordanted fabric. This helps the dye penetrate the fibers more evenly.
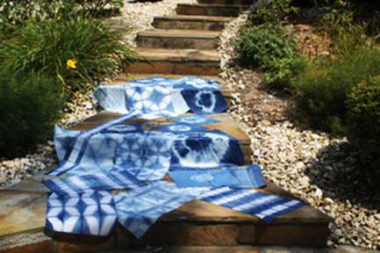
Shibori Techniques: Shibori is a Japanese resist-dyeing technique that involves folding, clamping, wrapping, and binding fabric to create intricate patterns. We'll explore two beginner-friendly methods: itajime and arashi.
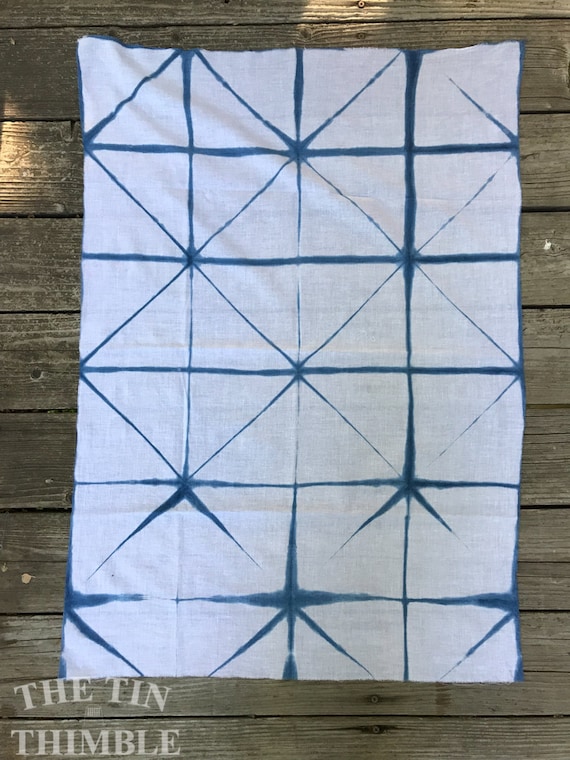
Itajime (Shape-Resist): This technique involves folding the fabric and clamping it between shaped resists, such as wood or acrylic pieces.

- Fold the fabric accordion-style (like a fan).
- Fold the accordion-folded fabric in half, then in half again.
- Place the folded fabric between two pieces of wood or acrylic. Squares or triangles work well. The shape of the resist will determine the pattern. Itajime Shibori Techniques
- Clamp the resists tightly together using clamps or binder clips.
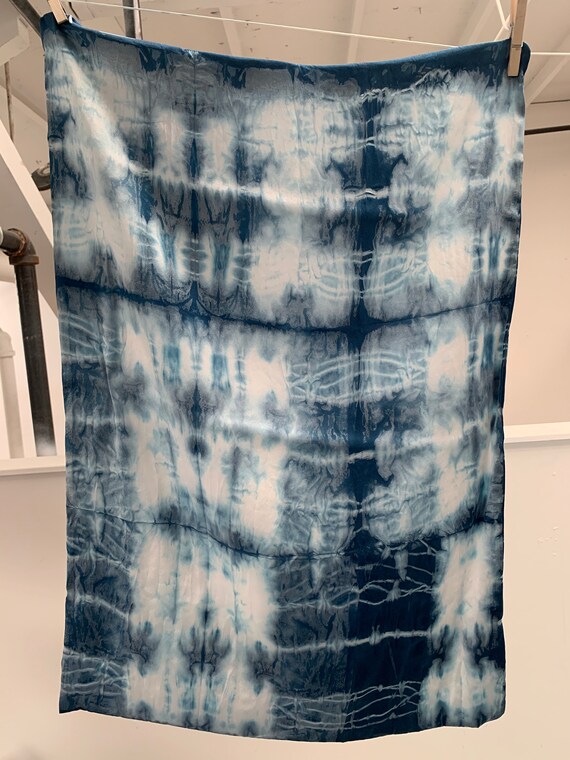
Arashi (Pole-Wrapping): This technique involves wrapping the fabric around a pole and binding it tightly to create diagonal patterns. Arashi Shibori Tutorial
- Wrap the fabric around a PVC pipe or wooden pole.
- Bind the fabric tightly to the pole with string, starting at one end.
- Scrunch the fabric down as you wrap, creating pleats and folds.
- Once fully wrapped, slide the fabric off the pole and secure it with string to maintain the bundled shape.
Dyeing: Carefully pour the dye bath over the prepared fabric, ensuring even coverage. For itajime, pour the dye over the clamped fabric, allowing it to seep into the folds. For arashi, pour the dye over the bundled fabric, making sure to saturate all the layers. You may choose to add 1-2 tablespoons of vinegar to the dye bath to help set the colors.
Rest: Let the fabric sit in the dye bath for 2-4 hours, or overnight for a deeper, more intense color. The longer it sits, the more dye will be absorbed.
Rinse: After dyeing, rinse the fabric thoroughly in cold water until the water runs clear. Remove the clamps or string and unfold the fabric to reveal the shibori pattern.

5. Finishing and Caring for Your Dyed Textiles
Proper care will help prolong the life and vibrancy of your naturally dyed creations.
- Wash Separately: Wash the dyed napkins and tea towels separately in cold water with a mild detergent.
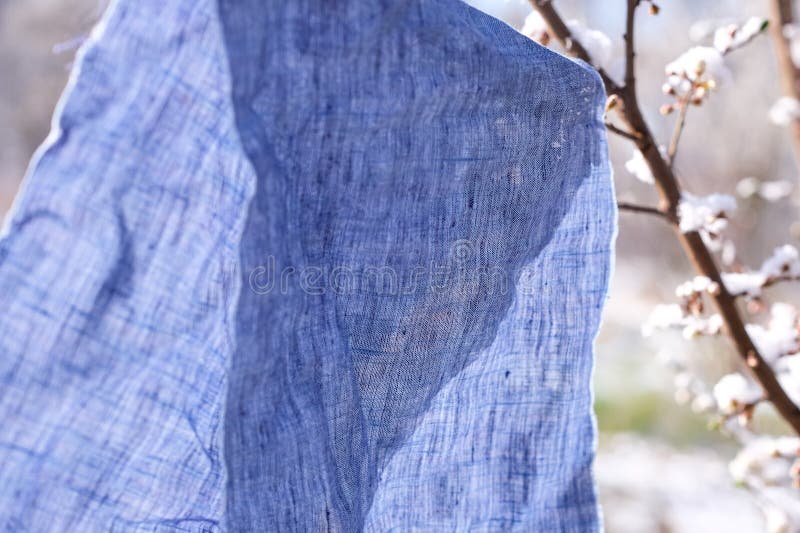
- Line Dry: Line drying is the best way to preserve the color. Avoid using a machine dryer, as the heat can cause the colors to fade more quickly.
- Embrace the Fade: Over time, the colors may fade slightly, adding to their unique and vintage-inspired character. Consider this part of the natural beauty of the process.
6. Sustainable Sourcing and Additional Tips
- Thrifted Textiles: Source pre-loved linen napkins and cotton tea towels from thrift stores or online marketplaces. This reduces waste and gives new life to forgotten textiles. Upcycled Clothing
- Dye Garden: Consider starting a small dye garden with plants like marigolds or coreopsis for future dyeing projects. This is a wonderful way to connect with nature and create your own sustainable dye source.
- Embrace Imperfection: Remember that natural dyeing is an art, and variations in color are part of the charm. Embrace the imperfections and celebrate the unique character of your hand-dyed textiles.
So, gather your kitchen scraps, prepare your dye bath, and let your creativity flow! Embrace the slow, sustainable practice of natural dyeing and create beautiful, one-of-a-kind textiles that tell a story of resourcefulness and connection to the earth. There is beauty to be found in the unexpected results of using organic matter to add color to the fabric of our lives. With a touch of patience and a spirit of experimentation, you can turn ordinary items into treasured keepsakes. Happy dyeing!