Naturally Dyed Winter Greens: A Simple, Sustainable Holiday Garland
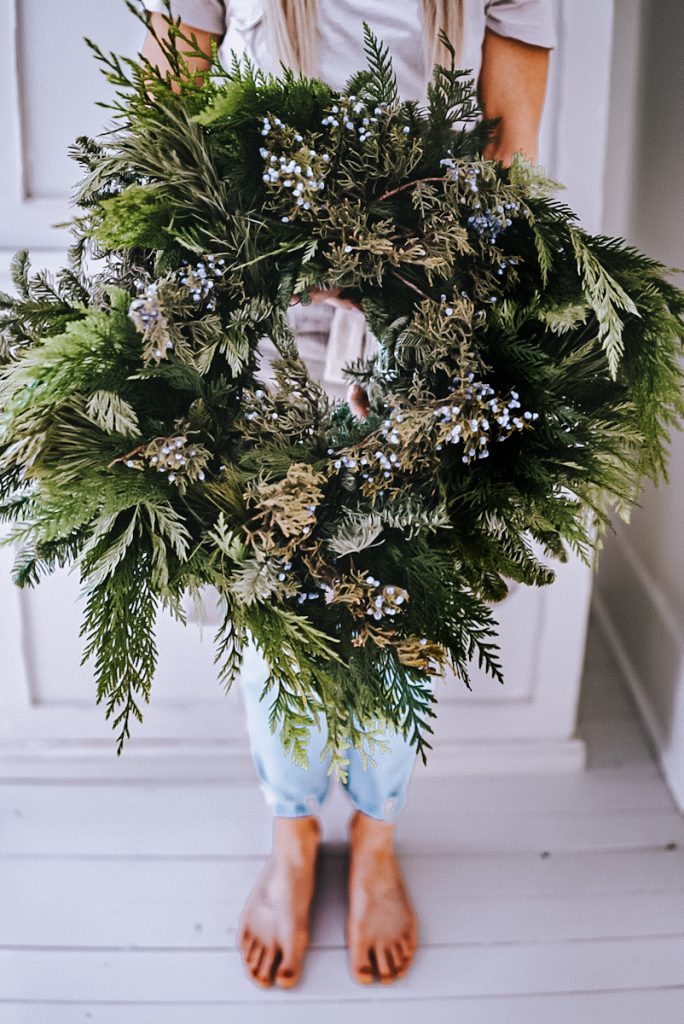
Imagine crisp winter air filling your lungs as you wander through a snow-dusted forest. Sunlight filters through the branches, illuminating the deep greens and rich browns of the evergreens. What if you could capture that feeling and bring it into your home, not with plastic and glitter, but with the very essence of the season? This year, let's ditch the mass-produced holiday decor and embrace a slower, more sustainable approach. I'm excited to share a cherished tradition: creating a holiday garland using foraged winter greens and natural dyes. It's a simple, seasonal project that connects us to nature, our families, and a more meaningful holiday spirit. We'll forage, we'll dye, we'll craft, and we'll create a beautiful, one-of-a-kind garland that embodies the heart of winter. And while it may take a bit more time than a quick trip to the store, I promise the result – and the memories made – are well worth the effort.

Foraging Sustainably for Winter Greens
The foundation of our garland lies in the natural bounty around us. But before you grab your clippers and head into the woods, it's crucial to understand and practice ethical foraging. This isn't about stripping the landscape bare; it's about respectfully harvesting what nature offers.
- Permission is Paramount: Always obtain permission before foraging on private land. Contact landowners or local authorities to ensure you have the right to collect greens. On public land, check local regulations regarding foraging.
- Take Only What You Need: Assess how much material you realistically need for your garland. Avoid taking excessive amounts, leaving plenty for wildlife and the continued growth of the plants.
- Leave No Trace: Pack out everything you pack in. Avoid disturbing the surrounding environment, and leave the area as you found it.
- Know Your Plants: Accurate identification is essential to avoid accidentally harvesting poisonous plants. Use reliable field guides, online resources, or consult with local experts to confirm the identity of any plant before you collect it. Some common and safe options include pine branches, cedar, juniper, and even holly (use gloves and exercise caution with the berries, as they are toxic if ingested).
- Consider Color and Texture: When selecting greens, think about how they will look in your garland. Pine offers a classic, fragrant green, while cedar provides a softer, more feathery texture. Juniper can add a touch of silvery-blue, and holly can provide vibrant pops of red (again, handle with care).
- Time It Right: Late fall or early winter is the ideal time to forage for evergreens. The plants are dormant, and the cooler temperatures help to preserve their freshness.

Key Takeaway: Sustainable foraging is crucial. Know what you're taking and take responsibly. A little research and mindful harvesting go a long way in preserving our natural resources.
Natural Dyeing: Unlocking Winter's Palette
Now for the fun part: adding color to our foraged greens using natural dyes! This process is surprisingly simple and allows you to create unique, earthy tones that complement the winter landscape.
- Embrace the Winter Palette: Look to readily available materials that offer rich, seasonal hues. Onion skins yield beautiful yellows and browns, while beets can create soft pinks and reds. Black walnuts provide deep browns and blacks, and hibiscus tea can create subtle purples.
- Preparing the Dye Bath: For onion skins, use the outer layers from about 8-10 onions. Place them in a large pot with enough water to cover the greens you plan to dye. Simmer for at least an hour, or longer for a deeper color. For beets, chop 2-3 medium-sized beets and follow the same process. For black walnuts, use the hulls (the outer green covering) from about 5-6 walnuts. For hibiscus tea, brew a very strong concentrate using about 6-8 tea bags per quart of water.
- Mordanting (Optional): Mordanting helps the dye adhere to the fabric (or in this case, the greens) and improve colorfastness. Alum (potassium aluminum sulfate) is a common and relatively safe mordant. To use it, soak your greens in a solution of 1 tablespoon of alum per gallon of water for at least an hour before dyeing. This step is optional, especially for a project like this that is inherently seasonal.
- Dyeing the Greens: Once your dye bath is ready, strain out the solids. Gently submerge the greens in the dye bath, ensuring they are fully covered. Simmer for 30-60 minutes, or longer for a more intense color. Keep in mind that the color will often appear lighter once the greens are dry.
- Achieving Different Shades: Experiment with simmering times, dye concentrations, and even adding modifiers like vinegar or baking soda to alter the color.
- Safety First: Always wear gloves when working with dyes, especially black walnut hulls, which can stain your skin. Use pots and utensils that are dedicated to dyeing and not used for food preparation. Work in a well-ventilated area.

Key Takeaway: Natural dyeing is a simple and rewarding way to add unique color to your garland. Experiment with different plants to expand your palette. Each dye bath creates a unique color that is only possible from nature.
Assembling Your Winter Greens Garland
With your foraged and dyed greens prepared, it's time to bring your vision to life! This is where your creativity can really shine.
- Gather Your Materials: You'll need your dyed greens, natural twine or jute, scissors, and any optional embellishments you'd like to add, such as dried orange slices, pinecones, cinnamon sticks, or foraged berries (remember to be mindful of toxicity if you have pets or children).
- Lay the Foundation: Cut a length of twine that is long enough for your desired garland length, plus some extra for hanging.
- Layering the Greens: Start by attaching small bundles of greens to the twine, overlapping each bundle slightly to create a full and lush effect. Secure each bundle tightly with the twine.
- Creating a Balanced Design: Consider alternating different types of greens and colors to create visual interest. Play with asymmetry and varying textures to add a touch of whimsy.
- Adding Embellishments: Attach your chosen embellishments using twine or hot glue (use sparingly). Dried orange slices can be strung onto the twine, while pinecones and cinnamon sticks can be attached individually.
- Drying Process: To prevent mold, make sure the space the garland hangs in has adequate airflow. Allow the garland to dry. This may take a couple of days depending on humidity and the amount of moisture in the greens.

Key Takeaway: Get creative with your garland design! Use your own personal style and the materials you have available. There is no right or wrong way to arrange the garland.
Displaying and Caring for Your Garland
Your beautiful, handmade garland is ready to adorn your home! Proper display and care will help to extend its life and beauty.
- Where to Hang: Consider hanging your garland over a mantel, along a staircase railing, framing a doorway, or even as a table centerpiece.
- Keeping it Fresh: Mist your garland with water every few days to help keep the greens hydrated. Avoid placing it in direct sunlight or near heat sources, as this will cause it to dry out more quickly.
- Preserving the Dried Garland: Once your garland has dried, you can preserve it by spraying it with hairspray or a floral sealant. This will help to prevent the needles from falling off.
- Ethical Disposal: When the season is over, avoid throwing your garland in the trash. Compost the greens or return them to nature, spreading them around your garden or wooded area.

Key Takeaway: Proper display and care will extend the life and beauty of your handmade garland. Even when dried, the memory of creating the garland will brighten the home.
This tradition has evolved over the years. When my children were small, foraging became a treasure hunt, and dyeing was an experimental art session. Now, with grown children, it is a moment of connection and remembering. It is a reminder to slow down, to appreciate the simple beauty around us, and to create memories that will last long after the holidays are over.
Now, I encourage you to try this simple yet rewarding project yourself. Share your creations on social media using #BetterHomesHarvestsGarland. What are your favorite natural dyeing tips or foraging experiences? What small changes are you making this year to focus on simplicity and connection? Share your thoughts in the comments below!
This year, let's choose connection over consumption, nature over plastic, and the joy of creating over the ease of buying. Let's fill our homes with the warmth of handmade treasures and the spirit of a simpler, more sustainable holiday.