Mudroom to Bloomroom: Embracing Hygge in the Late Winter Thaw
The late winter thaw. A time of both anticipation and… well, mud. Tracked-in dirt, soggy outerwear, and a general sense of winter's lingering chill can leave your mudroom feeling less than inviting. But what if you could transform this hardworking space into a cozy and functional haven? Enter Hygge (pronounced "hoo-gah"), the Scandinavian philosophy of embracing warmth, comfort, and simplicity. By incorporating Hygge principles into your mudroom, you can create a welcoming transition zone, improve organization, and lift your spirits as you eagerly await the arrival of spring. It’s time to ditch the winter blues and cultivate a space that’s both practical and soul-soothing.

Birch and Willow: Nature's Embrace
Infuse your mudroom with the serenity of nature by incorporating birch branches and willow twigs. These natural elements bring texture, visual interest, and a touch of the outdoors inside, perfectly embodying the Hygge spirit. Think beyond mere decoration; consider how you can use these materials for both function and aesthetics.
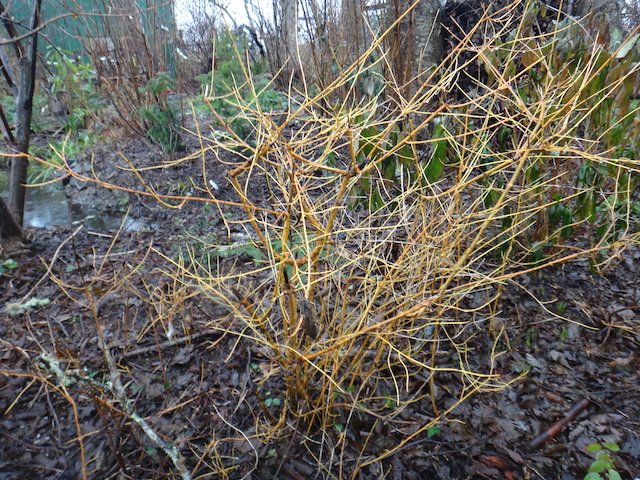
One standout idea is to construct a rustic coat rack using sturdy birch branches. Select branches with interesting natural curves and textures to add unique character. The organic shapes will bring visual appeal to your mudroom.
For smaller items, weave supple willow twigs into small, open-weave baskets. These are perfect for holding winter gloves, wool hats, or even packets of spring seeds, making them readily accessible as you prepare for planting season.
Finally, arrange birch branches of varying heights in a tall, narrow galvanized bucket. This creates a striking sculptural element on the floor, bringing a touch of the forest into your home.
DIY Birch Branch Coat Rack: A Step-by-Step Guide
Ready to get your hands dirty? Building your own birch branch coat rack is a rewarding project that adds a unique, personal touch to your mudroom. Here’s a beginner-friendly guide to get you started:
Materials:
- Three to five sturdy birch branches (diameter 2-3 inches, length 4-5 feet)
- Hand saw (or pruning saw)
- Medium-grit sandpaper
- Drill with various sized drill bits
- Wood screws (1.5-inch and 2.5-inch)
- Heavy-duty D-ring hangers (two per branch)
- Optional: Matte clear wood sealant
Instructions:
Gather and Clean: Source your birch branches responsibly. Clean them thoroughly with a damp cloth and allow them to dry completely. This ensures any dirt or debris is removed.
Trim and Shape: Trim the branches to your desired lengths using the saw. Consider staggering the lengths for visual interest and creating a dynamic arrangement.
Smooth the Edges: Use sandpaper to smooth any rough edges or splintered areas, making the branches safe to handle and aesthetically pleasing.
Pre-Drill Pilot Holes: Pre-drill pilot holes for the screws, spacing them evenly along the back of each branch. This will prevent the wood from splitting when you attach the D-ring hangers.
Attach D-Ring Hangers: Securely attach D-ring hangers to the back of each branch using 1.5-inch wood screws. Ensure they are level for easy and stable hanging.
Mark and Mount: Mark the desired location for the coat rack on the wall using a level. Drill pilot holes into the wall studs and securely mount the coat rack branches using 2.5-inch wood screws.
Seal (Optional): Apply a thin coat of matte clear wood sealant to protect the branches from moisture, especially if your mudroom is prone to dampness.
Remember, each coat rack will be unique due to the natural variations in the branches. Embrace the imperfections and enjoy the one-of-a-kind piece you’ve created!
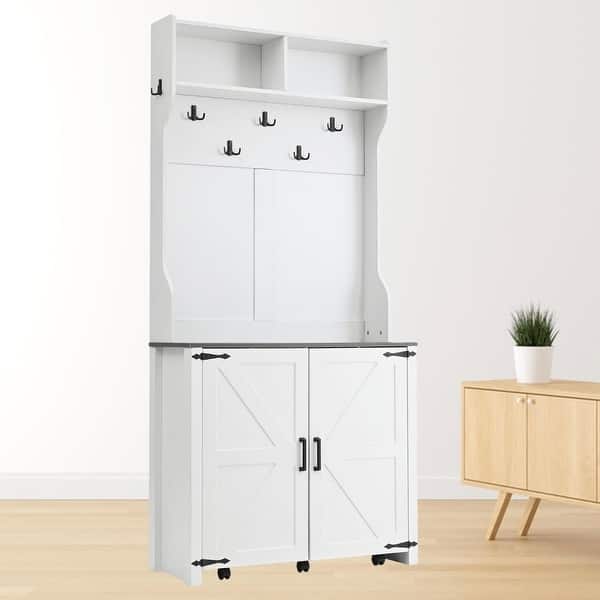
Conquering the Chaos: Organization Solutions
Even the most beautifully decorated mudroom can fall short if it's not well-organized. Combat the chaos of the late winter thaw with practical storage solutions specifically designed to tackle mud and moisture.
Utilize sturdy, open shelving made from reclaimed wood or painted in a soft grey to store mud boots, gardening clogs, and folded outdoor blankets. The open design allows for proper ventilation and easy access.
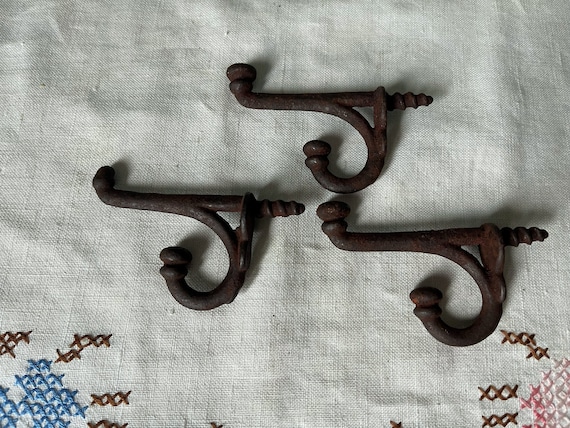
Hang a row of antique iron hooks for coats, scarves, and dog leashes. Their vintage charm adds character while keeping essentials within reach.
Clear, labeled plastic bins with tight-fitting lids are ideal for storing out-of-season items, such as snow boots and ice scrapers. Labeling ensures you can easily find what you need when the time comes.
Cultivating Hygge: Ambiance and Atmosphere
Creating a Hygge-infused atmosphere is all about layering textures, embracing soft lighting, and incorporating natural elements. Here are some concrete tips to transform your mudroom into a warm and inviting space:

Choose a color palette of creamy whites (think "Swiss Coffee" or "Antique White"), soft greys ("Dove Grey" or "Pewter"), and the natural, warm tones of birch wood. These calming colors create a sense of tranquility.
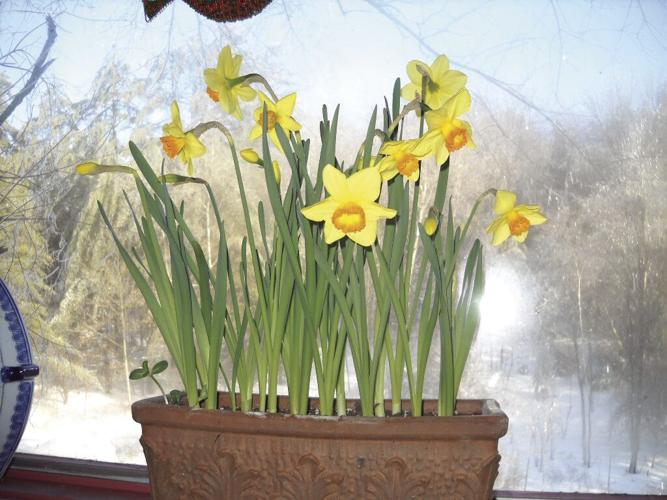
Force paperwhite narcissus or small hyacinth bulbs in rustic terracotta pots or vintage enamelware containers. Place them on a windowsill or shelf to add pops of early spring green and fragrance.

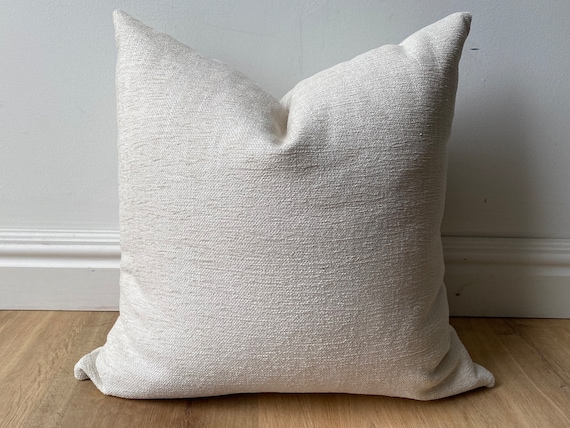
Layer textures with a sheepskin rug to warm cold feet, a chunky knit throw draped over a bench, and woven baskets to hold essential items.
String warm white fairy lights along a birch branch to create soft, ambient lighting, perfect for those grey late winter days.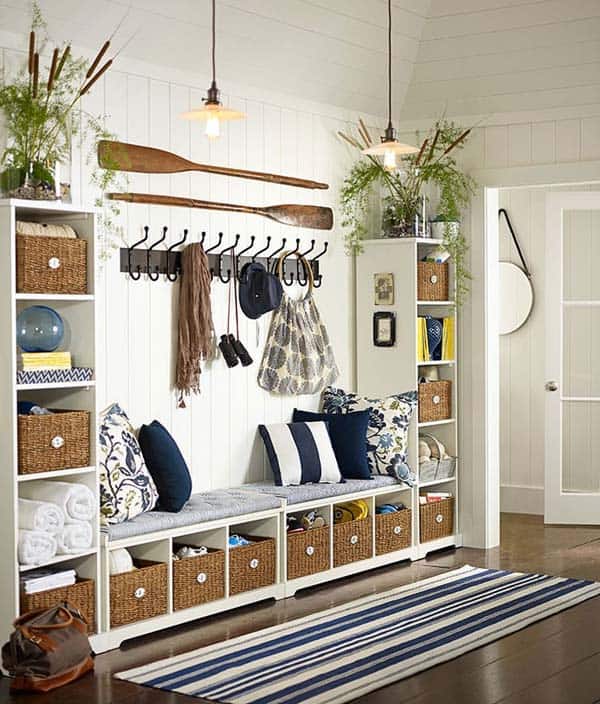
Conclusion
By embracing these steps, you can transform your mudroom into a Hygge-inspired haven, welcoming both residents and guests with warmth and charm. Transition smoothly from winter's end to the promise of spring, fostering a sense of calm and readiness for the gardening season ahead. Say goodbye to the muddy chaos and hello to a functional, beautiful, and soul-soothing space!