Mobilize Your Homestead: Building a Beginner-Friendly Chicken Tractor for Happy Hens and Healthy Pastures
Welcome, fellow homesteaders! Here at Better Homes and Harvests, we believe in the power of self-sufficiency and the joy of connecting with the land. If you're just starting your homesteading journey, the sheer volume of information can feel overwhelming. That's why we're focusing on practical, high-impact projects that deliver immediate results.
Today, we're diving into a fantastic project that addresses several key concerns for new homesteaders: cost-effectiveness, immediate benefits, and manageable complexity – building a beginner-friendly chicken tractor!
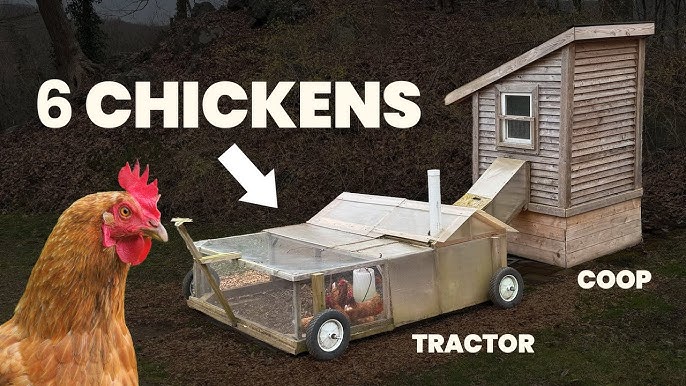
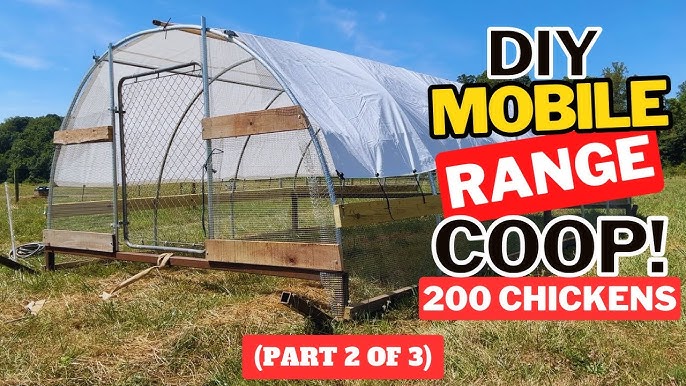
A chicken tractor, also known as a mobile chicken coop or portable chicken pen, is a movable pen designed to house chickens while allowing them access to fresh pasture. It's a game-changer for egg production, pasture management with chickens, and reducing your reliance on store-bought feed. Think of it as a win-win for you and your flock!
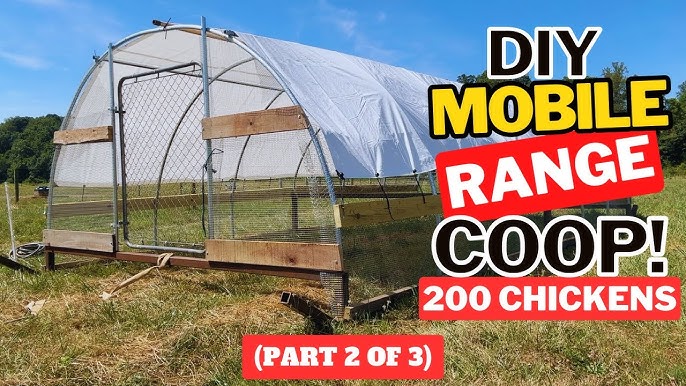
Ready to get started? Let's build!
Why Build a Chicken Tractor? The Benefits Unveiled
Before we get into the how-to, let's talk about the why. A chicken tractor offers a plethora of benefits, making it a valuable addition to any homesteading operation:
- Increased Egg Production: Happy hens lay more eggs! Access to fresh greens and bugs boosts their nutritional intake, leading to higher and more consistent egg production.
- Improved Pasture Health: Chickens naturally fertilize the soil with their droppings and help control pests by eating insects and larvae. The rotational grazing chickens perform enhances soil health.
- Reduced Feed Costs: By foraging for a significant portion of their diet, your chickens will consume less store-bought feed, saving you money. This can significantly reduce chicken feed costs.
- Enhanced Chicken Well-being: Fresh air, sunshine, and the freedom to forage contribute to healthier, happier chickens.
- Natural Pest Control: Chickens are voracious insect eaters. Moving the tractor around your garden can help control pests naturally, reducing your reliance on chemical pesticides.
- Improved Soil Fertility: Chicken manure is a fantastic natural fertilizer. The chicken tractor distributes it evenly across your pasture, enriching the soil.
The Beginner-Friendly Chicken Tractor: A Step-by-Step Guide
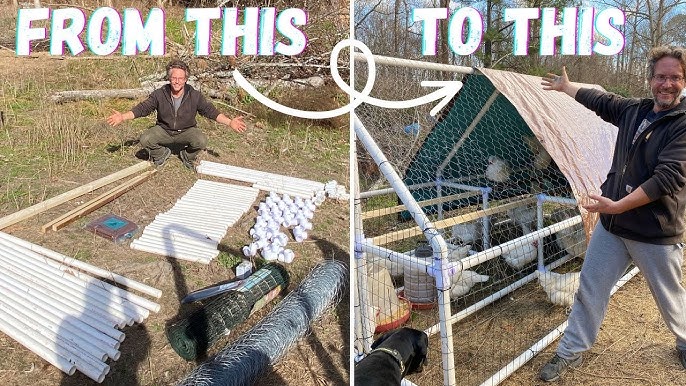
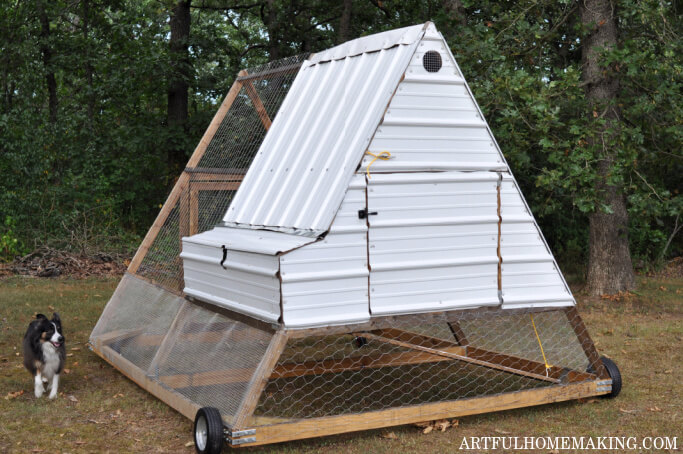
This guide focuses on a simple A-frame chicken tractor design, perfect for beginners. It's lightweight, easy to move, and provides ample space for a small flock (3-5 chickens).
1. Material List & Budget Breakdown:
- Lumber:
- (4) 8ft 2x4s (Frame) - $20-40
- (2) 8ft 1x4s (Bracing) - $5-10
- Hardware Cloth: 25ft of 1/2 inch galvanized hardware cloth (sides and bottom) - $30-50
- Chicken Wire: 10ft of chicken wire (for top) - $10-20 (can substitute with more hardware cloth for enhanced predator protection)
- Wheels: (2) Swivel Casters with brakes - $15-30
- Hardware:
- Screws (1 1/4 inch and 2 1/2 inch) - $10
- Staples for hardware cloth - $5
- Hinges (2) - $5-10
- Latch - $3-5
- Optional:
- Roofing Material (Shingles, Metal Roofing scraps, or Tarp) - $0-20 (depending on availability of scrap materials)
- Roosting Bar (Branch or Scrap Wood) - $0
Total Estimated Cost: $98 - $195 (depending on material choices and availability)
Budget-Friendly Alternatives:
- Repurpose old lumber if available.
- Check with local construction sites for scrap wood.
- Use a tarp for the roof instead of shingles or metal roofing.
2. Tools Required:
- Saw (Circular saw or hand saw)
- Drill with screwdriver bits
- Staple gun
- Wire cutters
- Measuring tape
- Pencil
- Safety glasses
- Gloves
3. Construction Steps:
Step 1: Cut the Lumber.
Cut the 2x4s according to the following dimensions:
- (4) 6ft pieces (for the A-frame sides)
- (2) 3ft pieces (for the base supports)
Cut the 1x4s into (2) 3ft pieces (for bracing).
Step 2: Assemble the A-Frames.
Lay two 6ft 2x4 pieces on the ground, forming an "A" shape. The width at the base should be approximately 3ft. Secure the top with screws, creating a sturdy joint. Repeat to create the second A-frame.
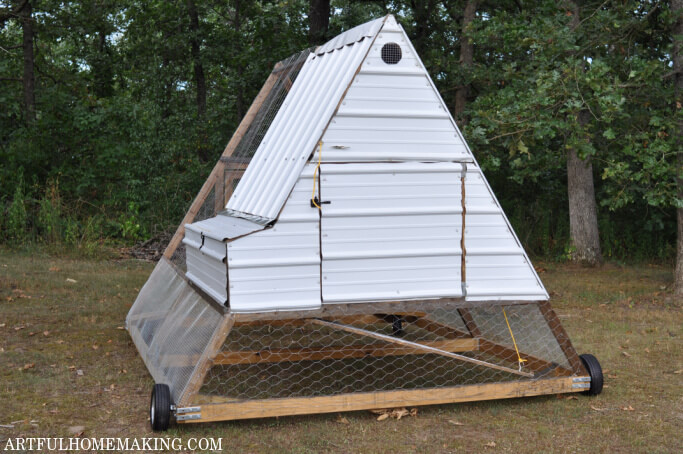
Step 3: Connect the A-Frames.
Attach the 3ft 2x4 base supports to the bottom of each A-frame, connecting them and forming the rectangular base of the chicken tractor. Use screws to ensure a strong connection.
Step 4: Add Bracing.
Attach the 1x4 bracing pieces diagonally across each side of the A-frame, adding stability. Secure with screws.
Step 5: Attach the Hardware Cloth.
Using the staple gun, attach the hardware cloth to the sides and bottom of the frame. Ensure the hardware cloth is taut and securely fastened to prevent chickens from escaping and predators from entering. This is your primary defense against predators, so don’t skimp!
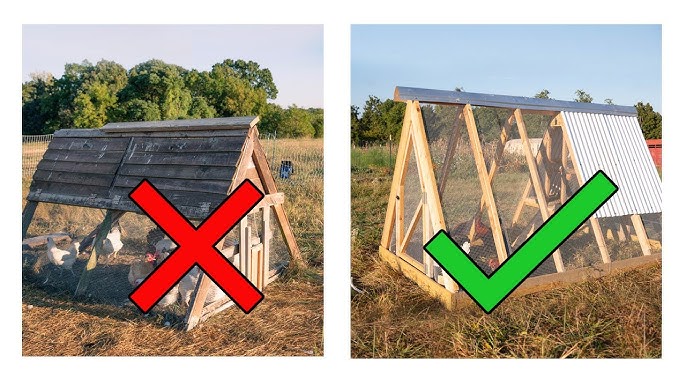
Step 6: Create the Door.
Cut an opening on one side of the chicken tractor for the door. Use the remaining lumber to create a simple door frame. Attach the door frame with hinges and secure it with a latch. Cover the door frame with hardware cloth.
Step 7: Add Chicken Wire to the Top.
Cover the top of the chicken tractor with chicken wire, securing it with staples. For enhanced predator protection, consider using hardware cloth instead of chicken wire.
Step 8: Attach Wheels.
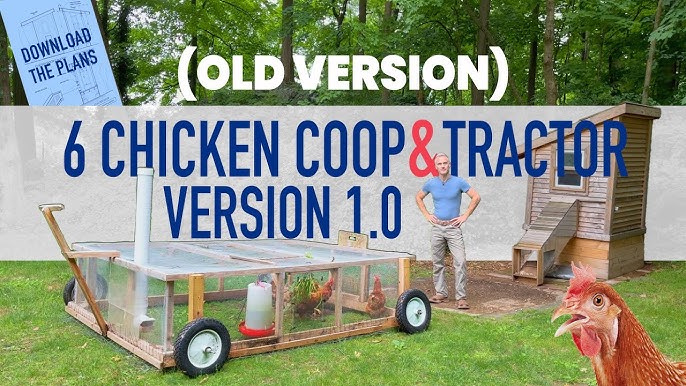
Attach the swivel casters to one end of the base. This will allow you to easily move the chicken tractor around your pasture. Make sure to select a wheel size that can handle varied terrain.
Step 9: Add Roofing (Optional).
Cover part of the top of the chicken tractor with roofing material (shingles, metal roofing scraps, or a tarp) to provide shade and protection from the rain.
Step 10: Add Roosting Bar (Optional).
Install a roosting bar inside the chicken tractor for your chickens to perch on. A simple branch or piece of scrap wood will work perfectly.
Step 11: Inspect and Reinforce.
Thoroughly inspect your chicken tractor for any gaps or weak points. Reinforce as needed to ensure it is secure and predator-proof.
4. Troubleshooting Tips & Common Mistakes:
- Problem: Hardware cloth not securely attached.
- Solution: Use plenty of staples and ensure they are driven in straight. Consider using washers under the staples for extra hold.
- Problem: Chickens escaping under the sides.
- Solution: Add extra hardware cloth along the bottom edges, burying it slightly in the ground for added security.
- Problem: The tractor is too heavy to move easily.
- Solution: Consider using larger wheels or a lighter roofing material. Ensure the frame is not excessively overbuilt.
- Common Mistake: Using chicken wire on the sides. Chicken wire is not predator-proof. Always use hardware cloth for the sides and bottom.
- Common Mistake: Insufficient ventilation. Ensure there is adequate ventilation to prevent moisture buildup inside the chicken tractor.
Putting Your Chicken Tractor to Work: Tips for Success
- Move the tractor daily or every other day: This ensures your chickens always have access to fresh pasture and prevents overgrazing in one area.
- Provide water and supplemental feed: While your chickens will forage, they still need access to fresh water and supplemental feed, especially during periods of limited forage availability.
- Monitor for predators: Regularly check the chicken tractor for signs of predator activity and take steps to reinforce it if necessary.
- Consider the weather: During extreme weather conditions (heavy rain, snow, or extreme heat), provide extra shelter and protection for your chickens.
The Ripple Effect: Homestead Self-Sufficiency and Beyond
Building a chicken tractor is more than just a DIY project; it's an investment in your homestead's self-sufficiency and sustainability. By providing your chickens with access to fresh pasture, you'll not only increase egg production and reduce feed costs, but you'll also improve the health of your land and contribute to a more sustainable food system.
Imagine: You move your chicken tractor every day, observing your chickens happily pecking and scratching, naturally fertilizing your garden beds for the next season’s harvest. The eggs they produce are richer in flavor and nutrients. And you feel a sense of accomplishment, knowing you've taken a tangible step towards a more self-sufficient and fulfilling life.
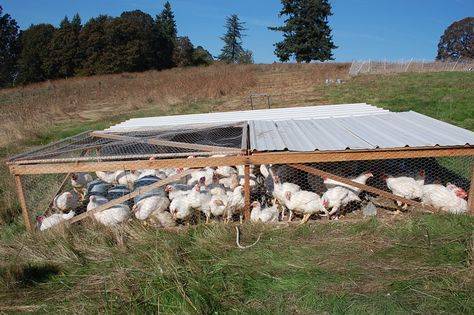
This project is a gateway to understanding the interconnectedness of your homestead. You'll begin to observe the impact of your chickens on the pasture, the effect of the pasture on their egg production, and the overall contribution of this small system to your larger homestead goals.
Ready to build your own chicken tractor and experience the rewards of self-sufficient living? Don't hesitate to share your progress, ask questions, and connect with other homesteaders in the comments section below! We're here to support you every step of the way.
And for more homesteading tips, tricks, and inspiration, subscribe to the Better Homes and Harvests newsletter! Let's build a more sustainable future, one chicken tractor at a time.