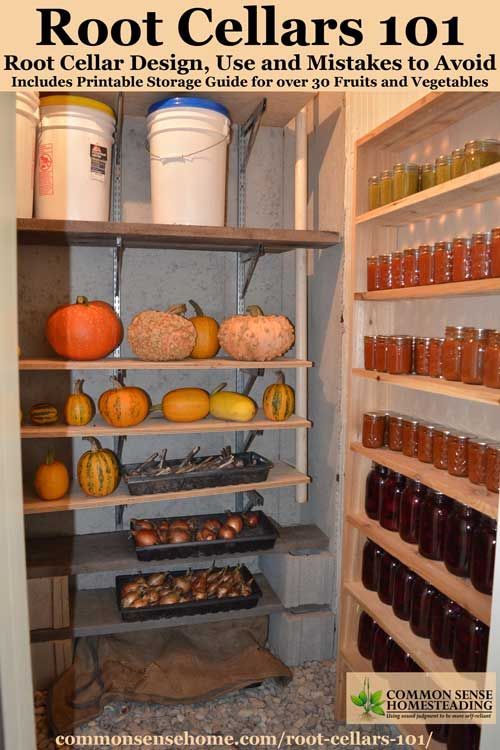
Level Up Your Homestead: Build a DIY Root Cellar Shelf System (Beginner-Friendly!)
Are you tired of watching your hard-earned harvest rot before you can enjoy it? Do you dream of a well-organized root cellar where you can easily find and access your stored produce? You're not alone! Many homesteaders struggle with maximizing space and preventing food spoilage in their root cellars. But fear not! This blog post will guide you through building a simple, cost-effective DIY root cellar shelving system that will transform your food storage game.
I remember my first winter on the homestead. I was so proud of my bumper crop of potatoes and carrots. I carefully stored them in what I thought was a suitable corner of the basement. By January, a disheartening number of them had succumbed to rot. That's when I realized the importance of proper storage and, specifically, a well-organized root cellar. This DIY shelving system is the answer to my past struggles, and I'm excited to share it with you!
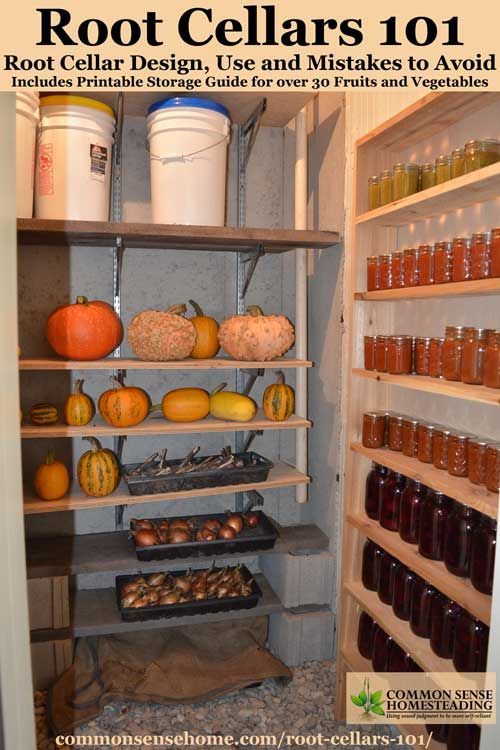
Why Build a Root Cellar Shelf System?
A well-organized root cellar offers numerous benefits:
- Reduced Food Waste: Proper storage conditions extend the shelf life of your produce, minimizing spoilage.
- Enhanced Organization: A shelving system allows you to easily see and access your stored goods.
- Increased Storage Capacity: Shelves maximize vertical space, allowing you to store more food in the same area.
- Improved Airflow: Proper shelf design promotes airflow, which helps prevent mold and rot.
- Greater Self-Sufficiency: By preserving your harvest, you become less reliant on external food sources.
Getting Started: Planning Your Root Cellar Shelving Project
Before you start building, take some time to plan your shelving system. Consider the following:
- Root Cellar Size and Shape: Measure the available space to determine the dimensions of your shelving unit.
- Storage Needs: What types of produce will you be storing, and how much of each? This will influence shelf spacing and weight capacity.
- Material Selection: Choose materials that are durable, moisture-resistant, and food-safe.
- Budget: Determine how much you're willing to spend on materials.
Materials and Tools
Here's a list of the materials and tools you'll need for this project:
Materials:
- Lumber: (Approximate cost: $50-$100 depending on wood type and amount)
- 4x4 posts (for vertical supports) - Quantity depends on shelf height and length
- 2x4 lumber (for shelf frames) - Quantity depends on shelf dimensions
- 1x4 lumber or plywood (for shelf surfaces) - Quantity depends on shelf dimensions
- Consider using reclaimed wood for a budget-friendly and eco-conscious option!
- Fasteners:
- Wood screws (various sizes)
- Construction adhesive (optional)
- Finishing (Optional):
- Food-safe sealant or paint (if desired)
Tools:
- Safety Glasses
- Measuring Tape
- Pencil
- Circular Saw or Hand Saw
- Drill with Drill Bits
- Screwdriver
- Level
- Sandpaper (optional)
Step-by-Step Instructions: Building Your DIY Root Cellar Shelving
Safety First: Always wear safety glasses when cutting and drilling. Use proper lifting techniques to avoid back injuries.
Step 1: Measure and Cut the Lumber
Using your measurements from the planning stage, cut the lumber to the required lengths.
- Vertical Supports: Cut the 4x4 posts to the desired height of your shelving unit.
- Shelf Frames: Cut the 2x4 lumber to create the frames for each shelf. Remember to account for the width of the vertical supports when calculating the length of the frame pieces.
- Shelf Surfaces: Cut the 1x4 lumber or plywood to fit inside the shelf frames.
Alt Text: Lumber pieces being cut to size for constructing the root cellar shelving system.
Step 2: Assemble the Shelf Frames
Using wood screws and construction adhesive (optional), assemble the shelf frames. Ensure the corners are square and the frames are sturdy.
Alt Text: A wooden frame for the root cellar shelf is being assembled using screws.
Step 3: Attach the Vertical Supports
Position the vertical supports at the corners of each shelf frame. Use wood screws to securely attach the frames to the supports. Ensure the supports are plumb (perfectly vertical) using a level.
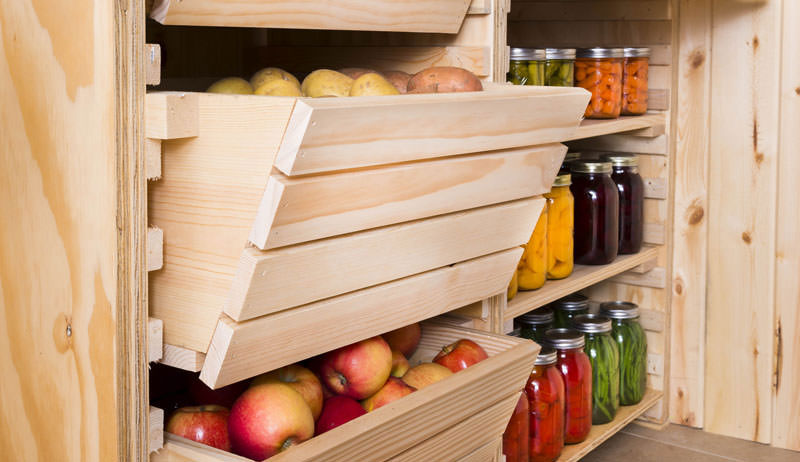
Alt Text: Vertical support posts are being attached to the shelf frames to create the shelving structure.
Step 4: Install the Shelf Surfaces
Place the 1x4 lumber or plywood pieces inside the shelf frames. Use wood screws to attach them to the frames. Consider leaving small gaps between the boards to improve airflow.
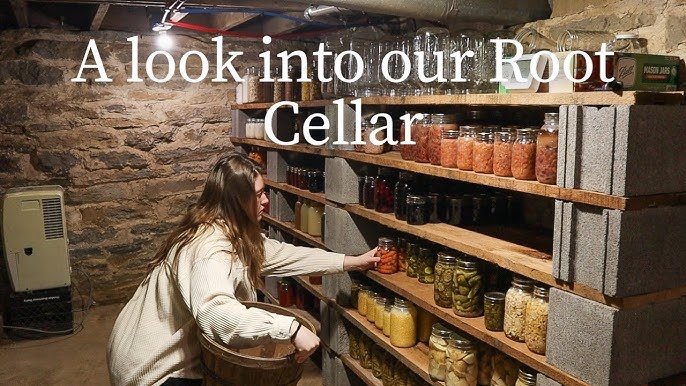
Alt Text: Wooden slats being installed to form the shelf surface inside the wooden frame.
Step 5: Sand and Finish (Optional)
If desired, sand the shelving unit to remove any splinters or rough edges. Apply a food-safe sealant or paint to protect the wood from moisture and mold.
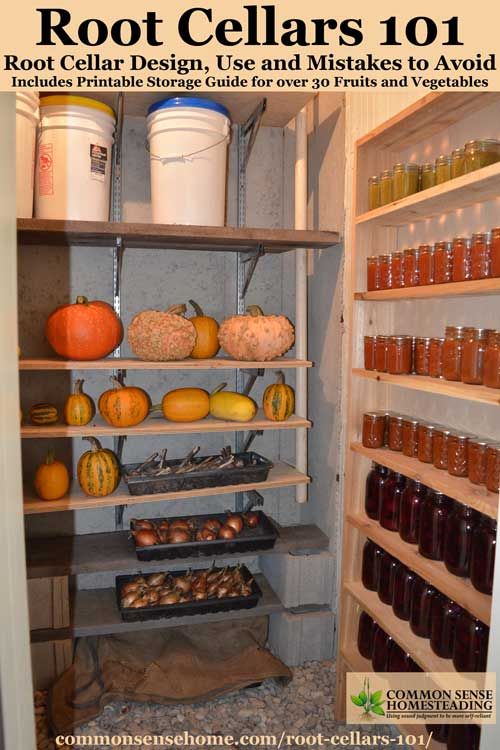
Alt Text: A completed root cellar shelving unit after sanding and finishing.
Step 6: Place and Load
Carefully place your new shelving unit in your root cellar. Distribute the weight evenly across the shelves.
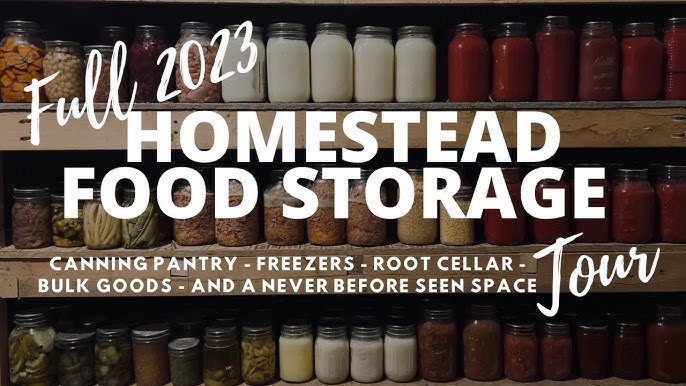
Alt Text: The completed DIY root cellar shelving system is now installed and ready to use in the root cellar.
Troubleshooting Tips
- Uneven Floor: If your root cellar floor is uneven, use shims under the vertical supports to level the shelving unit.
- Custom Dimensions: Feel free to adjust the shelf dimensions to fit your specific needs and available space.
- Mold Prevention: Ensure adequate ventilation in your root cellar to prevent mold growth. You can also use a dehumidifier if necessary.
- Shelf Strength: For heavier items, use thicker lumber for the shelf frames and surfaces to increase weight capacity.
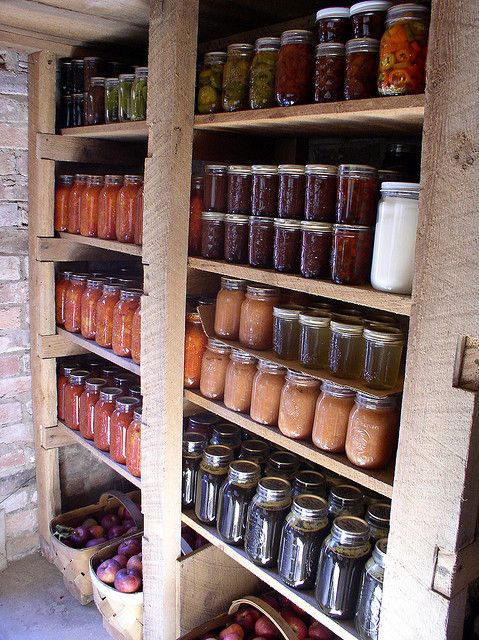
Alt Text: Vegetables and canned goods are neatly arranged on the newly built root cellar shelving.
Maximizing Airflow
Proper airflow is crucial for preventing mold and rot in your root cellar. Here are some tips for maximizing airflow in your shelving system:
- Space Between Boards: Leave small gaps between the boards on the shelf surfaces to allow air to circulate.
- Open Design: Avoid solid shelves that block airflow. Opt for an open design with slats or wire mesh.
- Ventilation: Ensure your root cellar has adequate ventilation to allow fresh air to circulate.
Alt Text: A close-up view of the root cellar shelves, highlighting the gaps between the wooden slats to allow airflow.
Cost Breakdown (Approximate)
- Lumber: $50 - $100
- Fasteners: $10
- Finishing (optional): $10 - $20
Total: $70 - $130
Alternative Materials and Designs
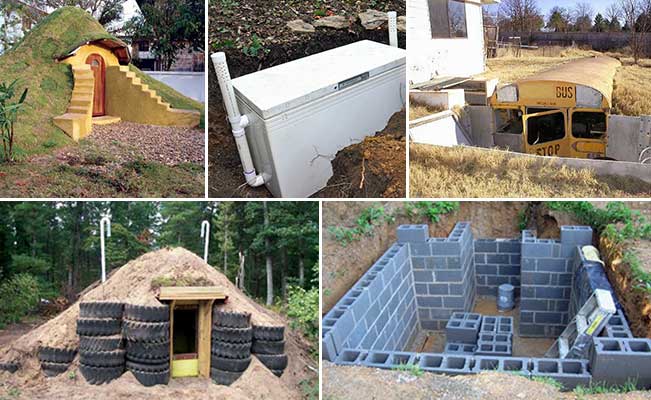
- Concrete Blocks and Lumber: Use concrete blocks as vertical supports and lumber for the shelf frames and surfaces. This is a durable and cost-effective option.
- Metal Shelving: Consider using metal shelving units designed for garages or storage rooms. Ensure they are rust-resistant and food-safe.
- Wire Shelving: Wire shelving is another option that promotes excellent airflow.
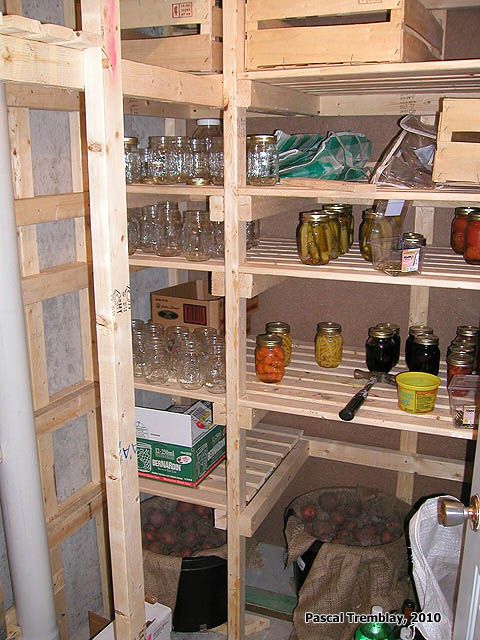
Alt Text: A completed root cellar filled with various produce items neatly arranged on the shelves.
Conclusion
Building a DIY root cellar shelving system is a simple and rewarding project that can significantly improve your food storage capabilities. By following these step-by-step instructions, you can create a sturdy, well-organized shelving system that will help you reduce food waste, maximize space, and enjoy the fruits (and vegetables!) of your labor for months to come. Don't let your precious harvest go to waste!
Ready to take your homestead to the next level? Try this DIY root cellar shelving project and share your results in the comments below! What other root cellar tips have you found helpful? We'd love to hear from you! Happy homesteading!