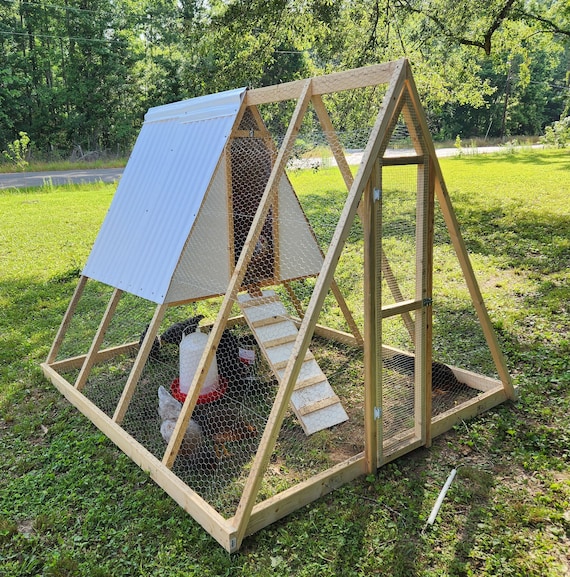
Level Up Your Homestead: Build a Chicken Tractor This Weekend!
Better Homes and Harvests readers, are you dreaming of fresh eggs every morning and a more mobile, manageable chicken coop? This weekend, let's tackle a fulfilling project perfect for beginner homesteaders: building a portable chicken tractor! This simple structure allows you to easily move your chickens to fresh pasture, providing them with nutrient-rich forage and protecting your garden from overgrazing.
Forget intimidating barn restorations – this project is designed for a weekend warrior. We'll break down each step with clear, easy-to-follow instructions and plenty of photos (think before-and-after transformations!). We'll also share tips for sourcing affordable, reclaimed materials to save money and stay sustainable. This is a great DIY Chicken Coop project for homesteading.
This isn't just about building a chicken coop; it's about creating a more resilient, efficient, and self-sufficient homestead. By the end of this weekend, you'll have a functional, portable chicken tractor that enhances your flock's health, protects your garden, and brings you one step closer to your homesteading goals.
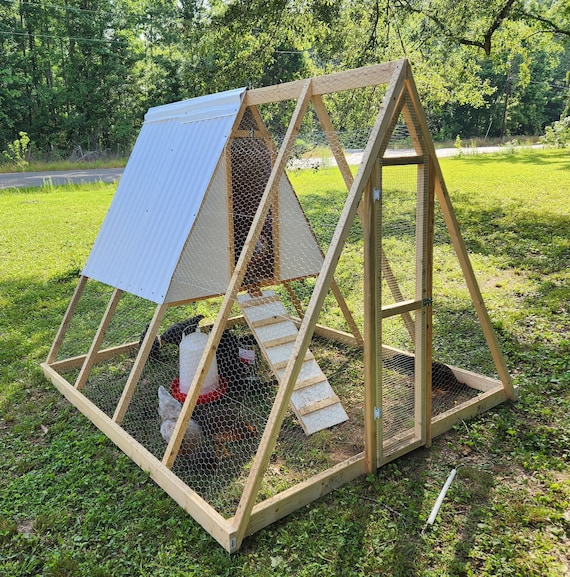
Follow These Steps:
1. Planning & Materials
Before you start hammering, let's gather our resources. Planning is crucial for a successful DIY Chicken Coop project. Here's what you'll need:
- Lumber: (Reclaimed wood is fantastic!)
- (8) 2x4s at 8 feet long (for the frame)
- (2) 2x4s at 4 feet long (for cross supports)
- Hardware Cloth: ½-inch mesh, 25 feet roll (for secure enclosure)
- [Affiliate Link to Hardware Cloth on Better Homes and Harvests] (This is a placeholder - replace with actual link)
- Chicken Wire: (Optional, for added security, but hardware cloth is preferred)
- Wheels or Skids: (For easy movement)
- (2) Swivel casters or (2) 4x4s for skids
- Fasteners:
- 3-inch exterior wood screws
- 1-inch staples (for attaching mesh)
- Tools:
- Saw (circular saw or hand saw)
- Drill with screwdriver bits
- Staple gun
- Measuring tape
- Pencil
- Safety glasses
- Gloves
Considerations:
- Size: A 4x8 foot chicken tractor is a good starting point for 4-6 chickens. Adjust based on your flock size.
- Location: Think about where you'll be moving the tractor. Is the ground uneven? Will you need larger wheels?
- Climate: Consider the weather in your area. You might need to add a tarp or solid roof section for rain protection.
2. Building the Frame
The frame is the backbone of your portable chicken coop. Here’s how to build it:
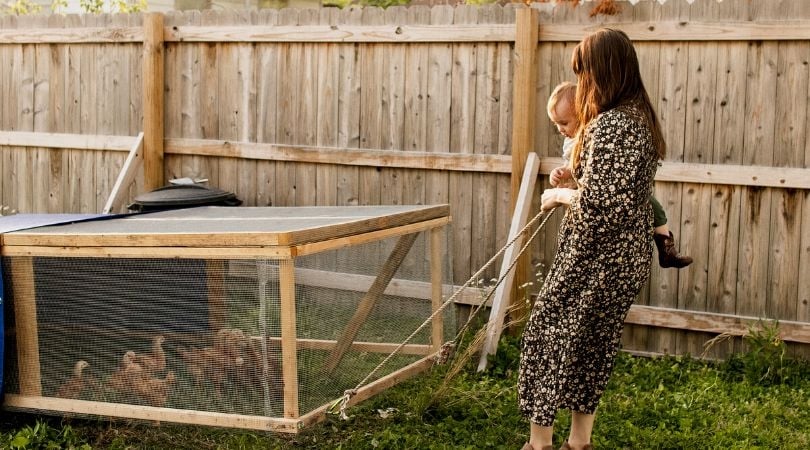
- Cut the Lumber: Cut four of the 8-foot 2x4s in half so that you have eight 4-foot pieces. These will be used to create the top and bottom rectangles that will form the primary structure of the coop.
- Assemble the Rectangles: Using wood screws, assemble two 4-foot by 8-foot rectangles. These will form the top and bottom of the chicken tractor frame. Ensure the corners are square. Using a carpenter square can help with this.
- Upright Supports: Stand the two rectangles up, and using the other four 4-foot 2x4s, connect the corners to form a rectangular prism. Use wood screws to securely attach the uprights to the top and bottom frames.
- Add Cross Supports: Attach the two 4-foot 2x4s across the width of the bottom rectangle for added stability. Space them evenly.
Tips for Using Reclaimed Wood:
- Inspect: Check for rot, nails, and other imperfections. Remove any hazards.
- Clean: Power wash or scrub the wood to remove dirt and debris.
- Sand: Smooth rough edges and splinters.
- Treat: Apply a wood preservative to protect against the elements.
3. Adding the Mesh
Now it's time to enclose the frame and protect your chickens from predators with a DIY Chicken Coop predator proof design.
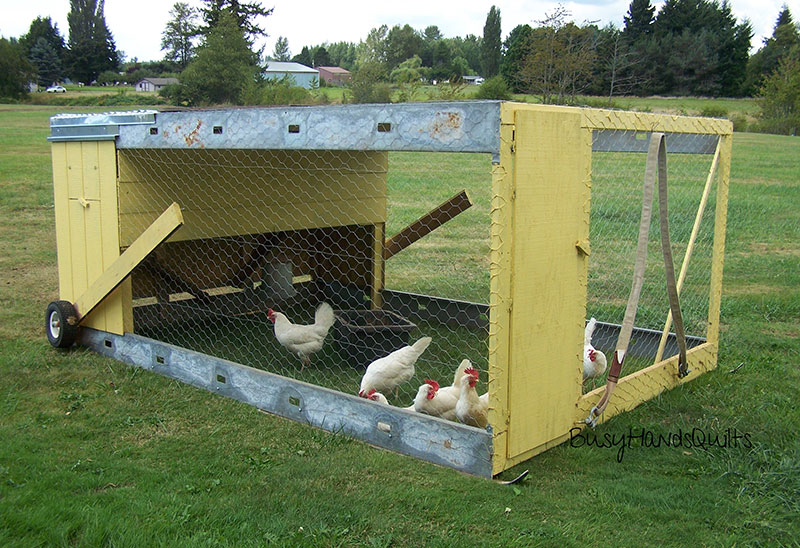
- Cut the Mesh: Unroll the hardware cloth and cut sections to fit each side of the frame, leaving a few inches extra for overlap.
- Attach the Mesh: Using a staple gun, attach the mesh to the frame, pulling it taut as you go. Overlap the edges slightly for added security.
- Secure the Bottom: Ensure the bottom of the chicken tractor is completely enclosed with mesh to prevent digging predators from entering.
Predator Protection:
- Hardware Cloth vs. Chicken Wire: Hardware cloth is much stronger and more resistant to predators than chicken wire. Invest in hardware cloth for the best protection.
- Bury the Edges: For added security, you can bury the edges of the hardware cloth a few inches into the ground.
- Reinforce Corners: Corners are weak points. Reinforce them with extra staples or screws.
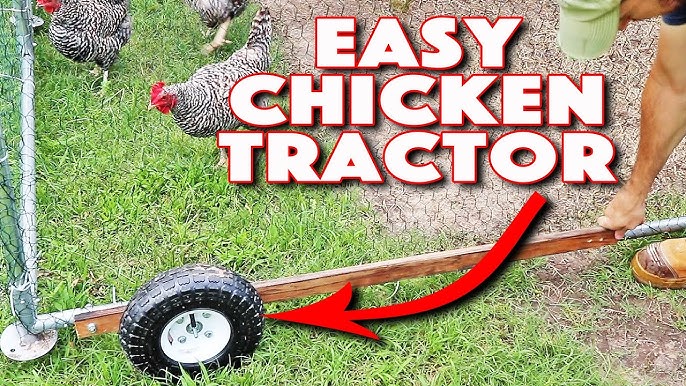
4. Creating the Entrance
Your chickens need a way in and out!
- Decide on Location: Choose a location for the entrance on one of the sides.
- Cut an Opening: Cut a rectangular opening in the mesh, large enough for your chickens to easily pass through.
- Build a Door: Create a simple door using a small piece of wood and hardware cloth. Attach it to the frame with hinges.
- Secure the Door: Add a latch or hook to keep the door closed and secure.
Ease of Access:
- Ramp: Consider adding a small ramp to make it easier for chicks to enter and exit.
- Size: Make sure the opening is large enough for your largest chicken to pass through comfortably.
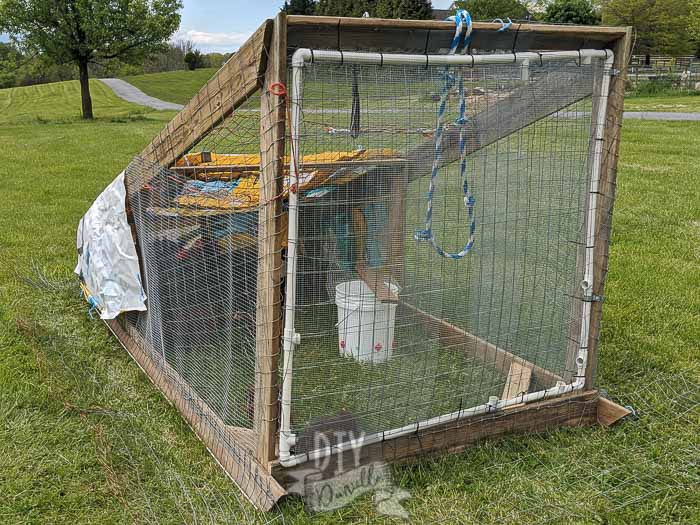
5. Adding Wheels or Skids
Time to make it portable!
- Wheels: Attach swivel casters to the bottom corners of the frame using screws.
- Skids: Attach 4x4s to the bottom of the frame, running lengthwise. Angle the front edges to make it easier to drag.
Making it Truly Portable:
- Placement: Position the wheels or skids strategically for easy movement.
- Size: Use larger wheels for rough terrain.
- Handles: Add handles to the frame for easier pulling and maneuvering.
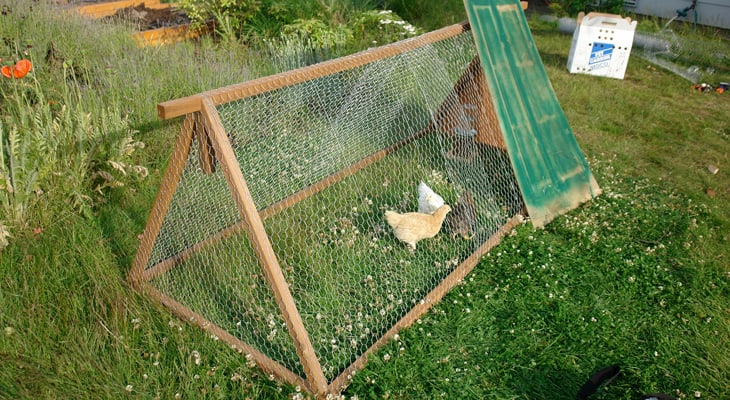
6. Finishing Touches
Almost there!
- Painting: Paint the frame with exterior paint to protect it from the elements. Choose a color that complements your homestead.
- Weatherproofing: Add a tarp or solid roof section to provide shade and protection from rain.
- Check for Hazards: Inspect the chicken tractor for sharp edges or loose staples that could harm your chickens.
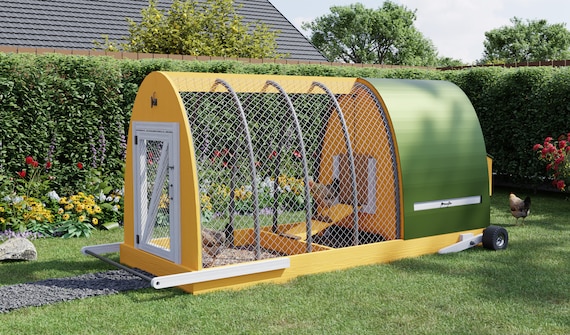
Troubleshooting Tips
- Frame Not Square: If your frame isn't square, use a carpenter's square to adjust the corners before securing the screws.
- Mesh Sagging: If the mesh is sagging, tighten it with pliers and add more staples.
- Wheels Not Rolling Smoothly: Make sure the wheels are properly lubricated and the ground is relatively level.
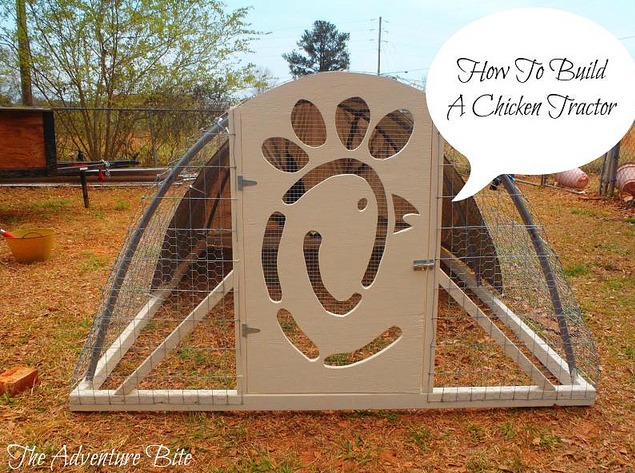
Key Takeaways:
- Improved Chicken Health: By moving your chickens to fresh pasture regularly, you'll provide them with nutrient-rich forage and reduce the risk of disease. Healthier chickens produce better eggs!
- Garden Protection: The chicken tractor allows you to control where your chickens graze, protecting your garden from hungry beaks and scratching claws.
- Increased Self-Sufficiency: Building your own chicken tractor is a fulfilling project that brings you one step closer to your homesteading dreams.
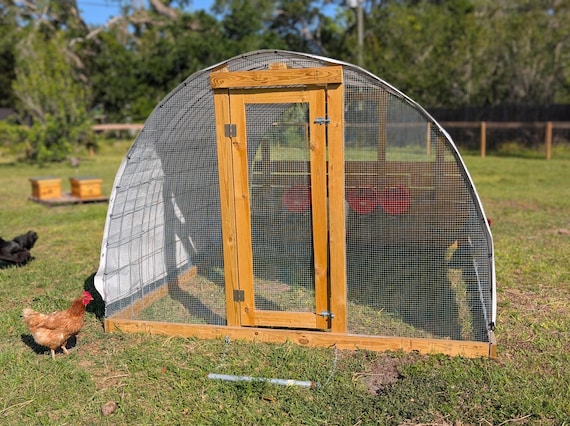
Call to Action:
Ready to roll up your sleeves? Share your progress with us in the comments below! Got questions? We're here to help. And don't forget to share this post with your fellow homesteaders!
Check out these related articles on Better Homes and Harvests:
- Beginner's Guide to Chicken Keeping (This is a placeholder - replace with actual link)
- Protecting Your Garden from Pests (This is a placeholder - replace with actual link)
Also, use the hashtag #BHHomesteading #ChickenTractor to show off your creations on Instagram! We will be featuring the best projects on our page!
Remember to ensure your Chicken Coop Design is safe from predators: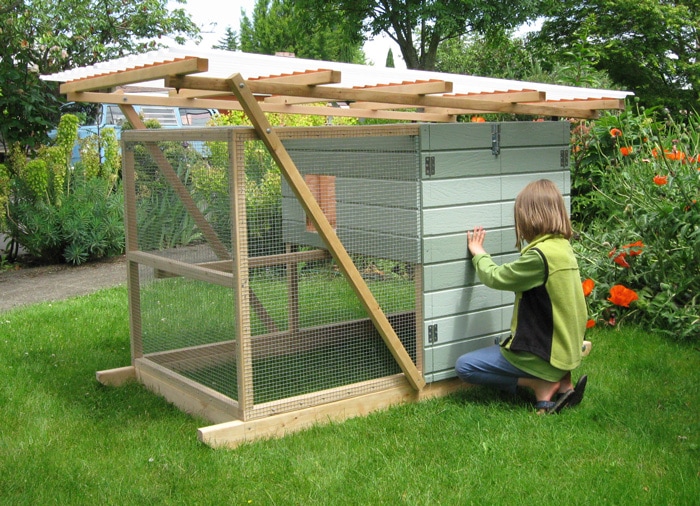
SEO Keywords: Chicken Tractor, DIY Chicken Coop, Homesteading Project, Self-Sufficiency, Chicken Keeping, Portable Chicken Coop, Garden Protection, Reclaimed Wood Projects, Backyard Chickens, Chicken Coop Plans, Beginner Chicken Coop.