Level Up Your Homestead: Build a Budget-Friendly, Space-Saving Chicken Tractor This Weekend!
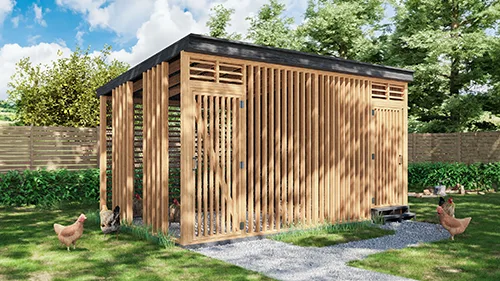
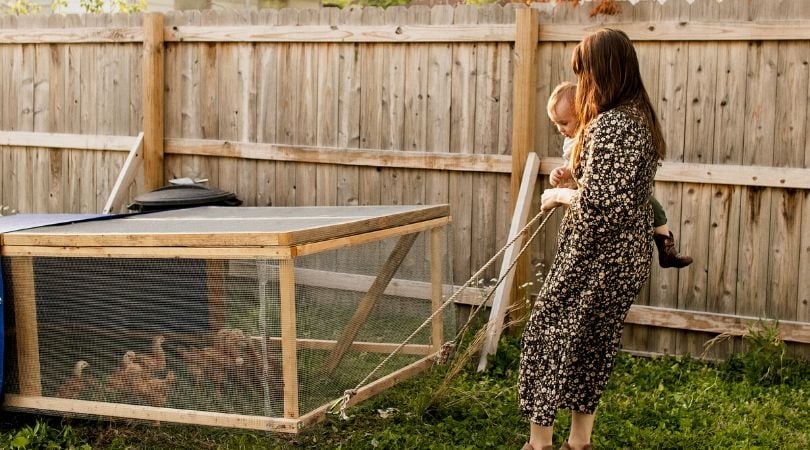
Dreaming of fresh eggs straight from your backyard and a natural way to keep those pesky garden bugs at bay? A chicken tractor might be just what your homestead needs! This mobile coop is a game-changer for small homesteads and urban farmers alike, offering a space-efficient and budget-friendly way to raise chickens, fertilize your garden, and control pests – all while providing your feathered friends with fresh grazing.
This weekend, let's dive into building your very own DIY chicken tractor. We'll focus on affordability, using reclaimed materials and simple techniques to keep your costs under $100. Get ready to roll up your sleeves, because fresh eggs and a healthier garden are just a weekend away!
Why a Chicken Tractor? The Homesteading Benefits
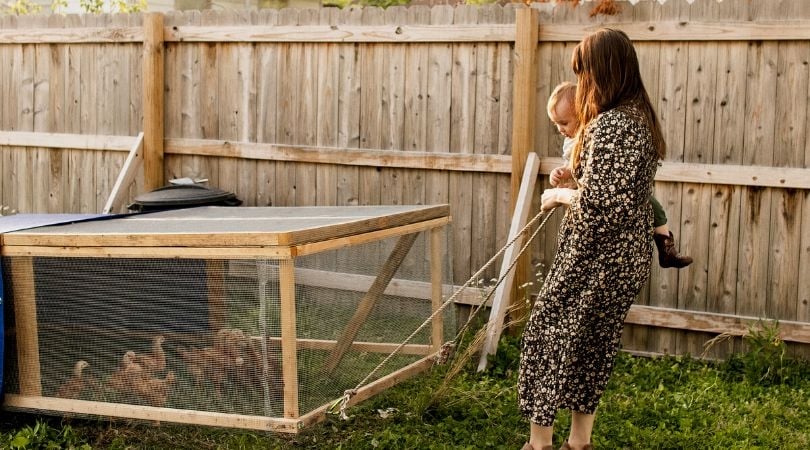
Before we get into the nitty-gritty of construction, let's talk about why a chicken tractor is a fantastic addition to any homestead:
- Fresh Eggs: Need I say more? Enjoy the delicious reward of farm-fresh eggs daily.
- Natural Pest Control: Chickens love to eat bugs! A chicken tractor allows them to roam safely, devouring pests in your garden beds before you plant.
- Fertilization on the Go: As your chickens roam, they naturally fertilize the soil with their droppings, enriching your garden beds. This significantly reduces the need for synthetic fertilizers.
- Weed Control: Chickens are excellent weed eaters! They'll happily munch on unwanted plants, saving you time and effort in the garden.
- Space Efficiency: Chicken tractors are perfect for small backyards or urban homesteads where space is limited.
- Improved Chicken Health: Moving your chickens to fresh grass daily keeps them healthier and happier, reducing the risk of disease.
- Increased Resilience: By integrating chickens into your garden system, you're creating a more resilient and self-sufficient homestead.
Budget-Friendly Chicken Tractor: Materials & Cost Estimates
Our goal is to build a functional and durable chicken tractor without breaking the bank. Here's a breakdown of the materials we'll use and estimated costs:
- Lumber:
- Pallet wood (free - check local businesses) OR
- Pine 2x4s (8 ft): $30-40 (depending on lumber prices)
- Pine 1x2s (8 ft): $10-15
- Hardware Cloth (Chicken Wire): 25 ft roll, $30-40
- Screws/Nails: $5-10 (use what you have on hand!)
- Wheels: (optional, but highly recommended for ease of movement) $10-20 (reclaimed wheels are a great option!)
- Roofing Material: (scrap metal, tarpaulin, or reclaimed wood) $0-10
- Door Hinges & Latch: $5-10
- Total Estimated Cost: $80 - $135 (depending on material choices)
Remember, these are just estimates. Scrounging for reclaimed materials can significantly reduce your costs. Keep an eye out for free pallets, scrap lumber, and used hardware.
Step-by-Step Guide: Building Your Mobile Chicken Coop
Alright, let's get building! This guide assumes basic carpentry skills and access to common tools like a saw, drill, measuring tape, and screwdriver.
Step 1: Design and Planning
Before you start cutting wood, it's crucial to plan the size and design of your chicken tractor. Consider the number of chickens you plan to house and the available space in your garden. A good starting size for 3-5 chickens is 4ft x 8ft.
- Important Considerations:
- Height: Ensure the tractor is tall enough for your chickens to stand comfortably.
- Ventilation: Proper ventilation is essential to prevent moisture build-up and ammonia fumes.
- Predator Protection: Use hardware cloth with small openings to keep out predators like raccoons and foxes.
Step 2: Building the Frame
Cut the lumber according to your chosen dimensions. Construct a rectangular frame using the 2x4s. Secure the corners with screws or nails. Ensure the frame is square and sturdy. This will be the base of your chicken tractor.
Step 3: Adding the Wheels (Optional but Recommended)
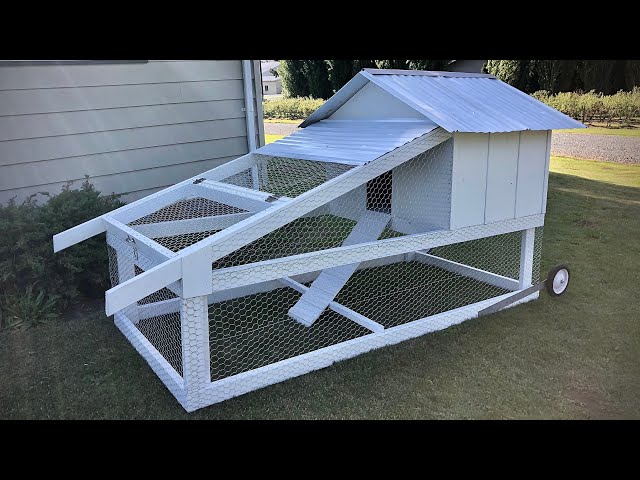
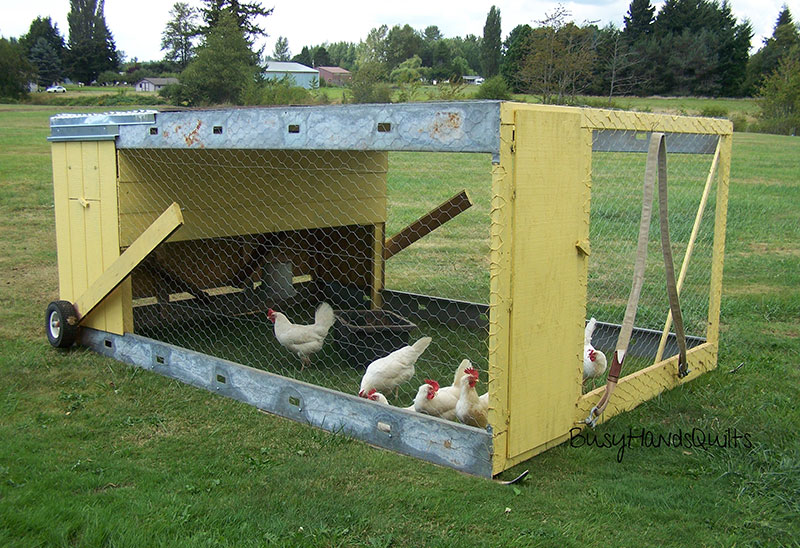
Attaching wheels to one end of the tractor makes it much easier to move. Attach the wheels to a reinforced section of the frame using bolts and washers. Alternatively, you can build a simple axle and attach the wheels to that.
Step 4: Constructing the Walls
Attach the hardware cloth to the frame using staples or screws with washers. Make sure the hardware cloth is taut and securely fastened to prevent predators from getting in. Overlap the edges of the hardware cloth to ensure a tight seal.

Step 5: Building the Roof
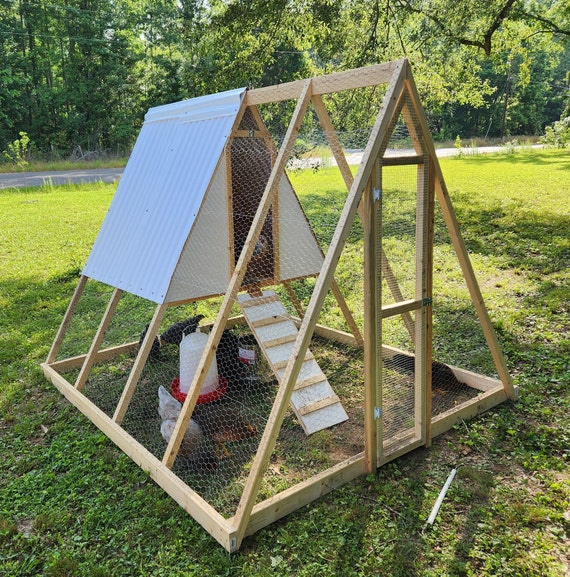
The roof can be made from various materials, such as scrap metal, tarpaulin, or reclaimed wood. A slanted roof will help with water runoff. Attach the roofing material securely to the frame, ensuring it's weatherproof.
Step 6: Creating the Door
Build a simple door using lumber and hardware cloth. Attach it to the frame with hinges and install a secure latch to keep the chickens safe inside.
Step 7: Adding a Roosting Bar
Provide your chickens with a comfortable place to roost by adding a roosting bar inside the tractor. A simple 2x4 attached horizontally to the frame will do the trick.
Step 8: Finishing Touches
Inspect the entire chicken tractor for any sharp edges or potential hazards. Sand down any rough spots and add any additional features you desire, such as a water feeder or a dust bath area.
Practical Tips & Troubleshooting
- Predator Protection: Reinforce the bottom edges of the hardware cloth by burying them a few inches into the ground or adding a skirt of hardware cloth that extends outwards.
- Manure Management: Regularly move the chicken tractor to fresh grass to prevent manure buildup. You can also add bedding material like straw or wood shavings to absorb moisture and make cleaning easier.
- Mobility: If you're having trouble moving the tractor, consider adding larger wheels or a handle for easier pulling.
- Ventilation: Ensure adequate ventilation by leaving gaps in the roof or adding screened vents to the sides.
- Customization: Feel free to customize the design to suit your specific needs and preferences. Add a nesting box, a covered feeding area, or any other features that will make your chickens happy.
Chicken Tractor in Action: My Homestead Experience
I remember when I first introduced my chickens to the chicken tractor. They were a bit hesitant at first, but they quickly adapted to their new mobile home. Watching them scratch and peck at the grass, devouring bugs and fertilizing the soil, was incredibly satisfying. My garden has never been healthier, and the eggs are simply divine! The ability to rotate them through different garden beds has significantly reduced my weeding chores and eliminated the need for chemical fertilizers. It’s a win-win!
Level Up Your Homestead Today!
Building a chicken tractor is a rewarding project that will bring numerous benefits to your homestead. It's a budget-friendly, space-saving, and environmentally friendly way to raise chickens, improve your garden, and increase your self-sufficiency. So, grab your tools, gather your materials, and get ready to level up your homestead this weekend!
Don't forget to share your own chicken tractor designs and experiences in the comments below! We'd love to see what you come up with.
