Level Up Your Homestead: Build a Beginner-Friendly Raised Garden Bed for Maximum Veggie Yield!
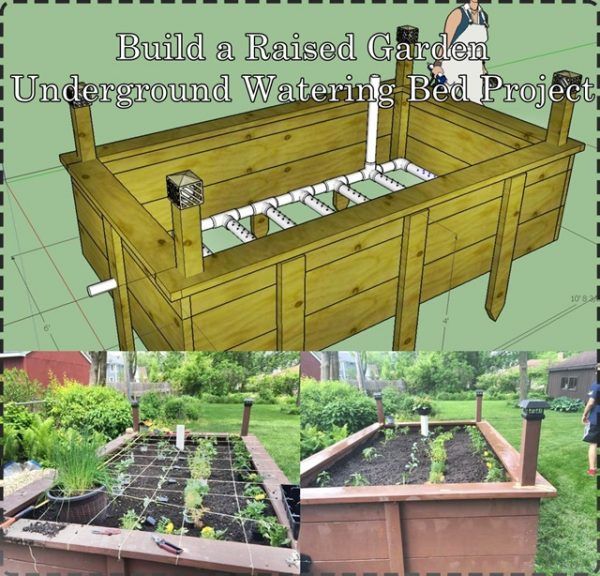
Better Homes and Harvests readers, are you ready to transform your backyard into a thriving food source? This week, we’re diving into a simple yet incredibly rewarding DIY project: building a raised garden bed. Even if you're new to homesteading or carpentry, this step-by-step guide will empower you to create a productive and aesthetically pleasing addition to your property. Picture yourself harvesting fresh, organic vegetables right outside your door – that's the promise of this project! Raised garden beds offer numerous advantages, including better drainage, improved soil quality, and reduced back strain. They also warm up faster in the spring, allowing for an extended growing season. Let's get started and learn how to build your own beginner raised garden bed.
Project Overview: A 4' x 8' Beginner Raised Garden Bed
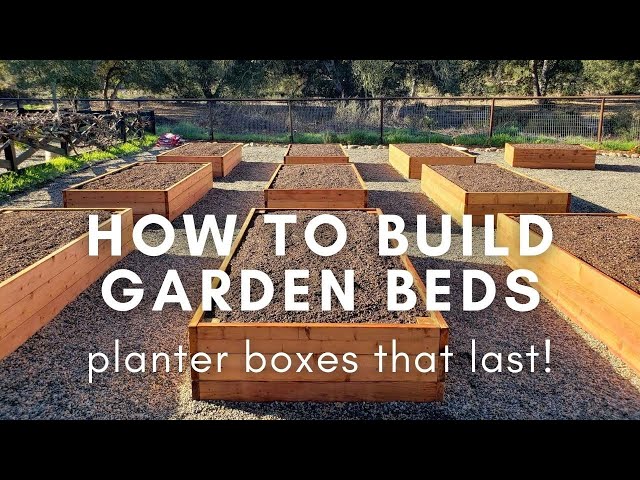
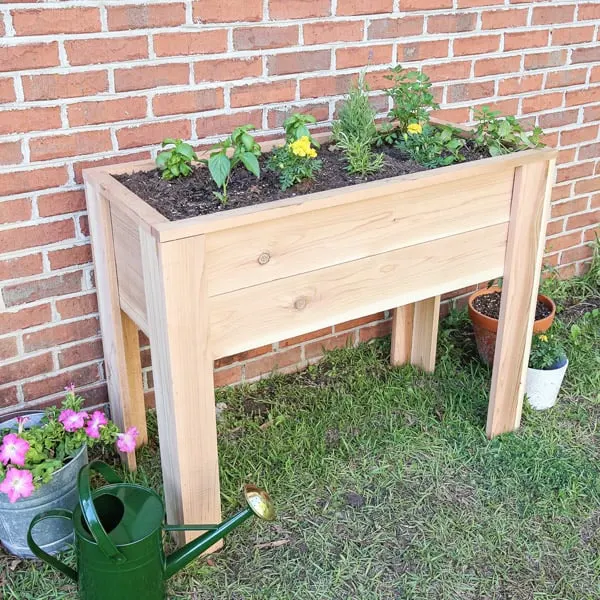
We'll walk you through building a 4' x 8' raised garden bed, ideal for maximizing yield in a small space. This size provides ample room for a variety of vegetables while remaining manageable for beginners. This DIY raised garden bed project is perfect for beginners, requiring minimal tools and readily available materials. We'll focus on using untreated lumber for a safe and sustainable garden environment. Get ready to learn how to build a raised garden bed and create the ultimate DIY garden.
Step-by-Step Instructions: Building Your DIY Garden
1. Gather Your Materials
Before you begin, gather all the necessary materials. This will streamline the construction process and prevent unnecessary interruptions.
- Untreated Lumber: Four 8-foot long 2" x 6" boards (for the sides) and two 4-foot long 2" x 6" boards (for the ends). Untreated lumber is crucial to avoid chemicals leaching into your soil and vegetables. Approximately $60-$80, sourced from any local lumber yard or home improvement store.
- Corner Braces: Four metal corner braces for added stability. ($10-$15 at a hardware store)
- Screws: 3-inch exterior wood screws. ($10 at a hardware store)
- Landscape Fabric: Enough to line the inside of the bed. ($10-$15 at a garden center or hardware store)
- Soil Mixture: A blend of topsoil, compost, and peat moss or coconut coir. The amount you need will depend on the depth you desire, but aim for about 1-2 cubic yards. ($50-$100 from a local garden center or landscape supply company).
- Safety Glasses: Protect your eyes!
- Gloves: Protect your hands!
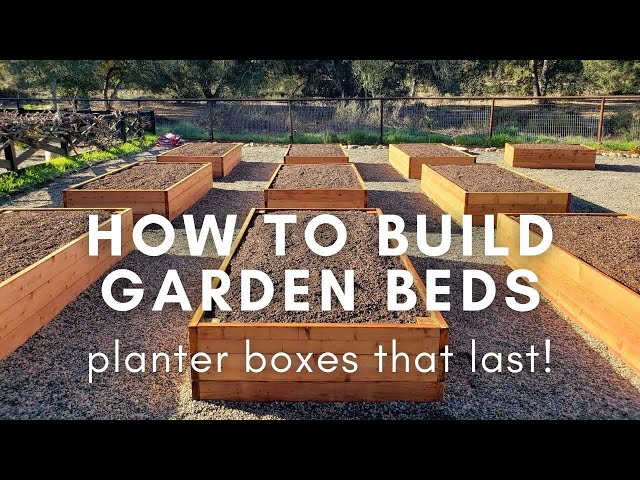
Here's an example of what your materials should look like:
2. Cut the Lumber
For this 4' x 8' raised garden bed, you will likely only need to cut the lumber if you purchase longer boards and need to cut them down to the specified sizes. If you buy the correct board lengths, skip this step. Double-check all measurements before cutting to avoid costly mistakes.
- Four boards at 8 feet long (sides)
- Two boards at 4 feet long (ends)
Here's a simple diagram for reference:
     (4 ft)
     _______
    |       |
 8ft|       |8ft
    |_______|
     (4 ft)
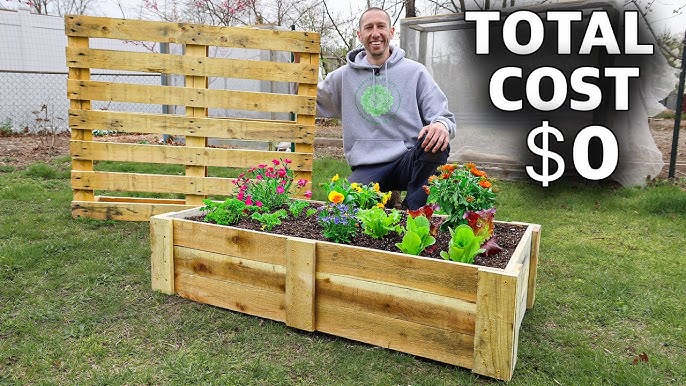
Here is a photo of someone cutting lumber to the correct size:
3. Assemble the Frame
Now, it's time to assemble the frame of your raised garden bed. This is where your vision starts to take shape!
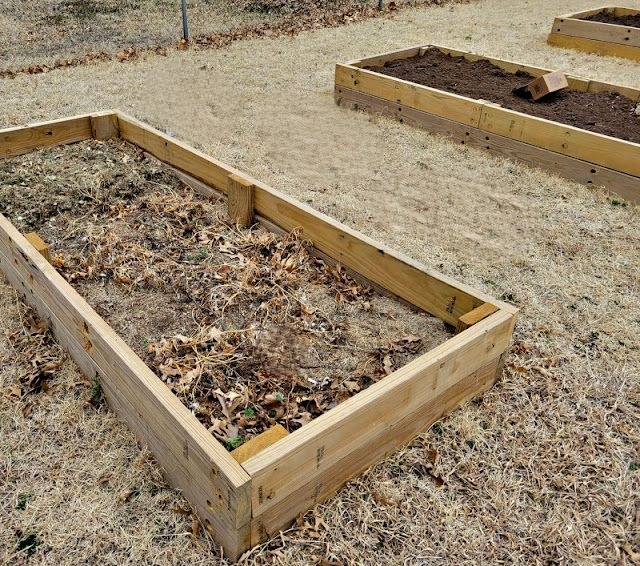
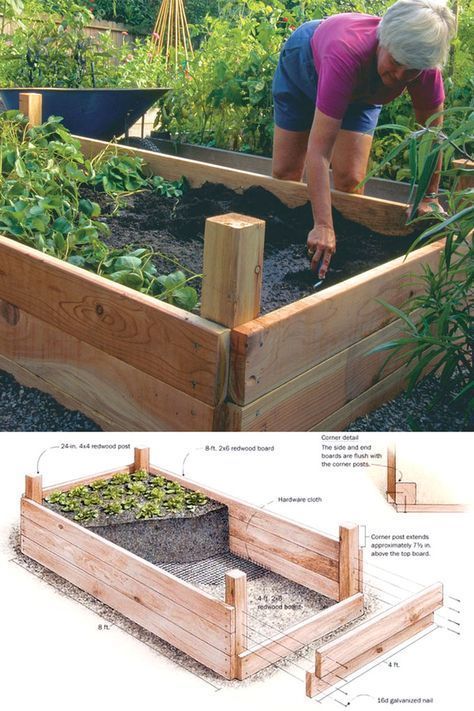
- Position the Boards: Place the 8-foot boards on their edges, forming the long sides of the rectangle. Position the 4-foot boards inside the 8-foot boards to form the ends.
- Attach the Corners: Use the 3-inch exterior wood screws to attach the corners. Pre-drilling pilot holes can prevent the wood from splitting. Use at least three screws per corner for a secure connection.
- Reinforce with Corner Braces: Attach the metal corner braces to the inside corners of the frame using screws. This will provide extra support and prevent the bed from bowing outwards when filled with soil.
 .jpg)
.jpg)
4. Line the Bed
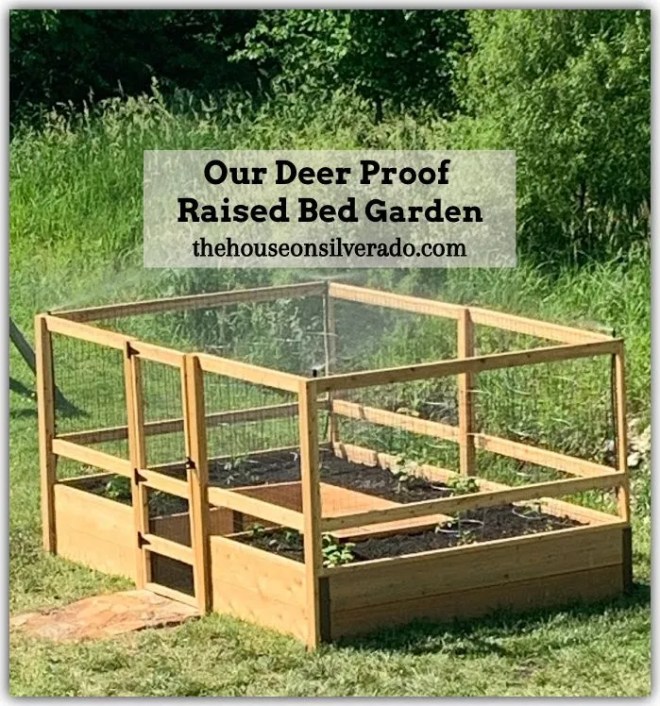
Lining your raised garden bed with landscape fabric is an essential step for weed control and soil preservation.
- Cut the Fabric: Cut a piece of landscape fabric large enough to cover the entire inside of the bed, with some overlap on the edges.
- Install the Liner: Place the fabric inside the bed, pressing it against the sides and bottom. Fold the excess fabric over the top edges of the frame and secure it with staples or tacks. This prevents soil from coming into direct contact with the wood, prolonging the life of your raised garden bed.
5. Fill with Soil
Choosing the right soil blend is crucial for optimal vegetable growth. A mixture of topsoil, compost, and peat moss or coconut coir provides the necessary nutrients, drainage, and water retention.
- Layering (Optional): Consider adding a layer of gravel at the bottom for better drainage (see tips and tricks below).
- Mix the Soil: Combine equal parts topsoil, compost, and peat moss or coconut coir in a wheelbarrow or on a tarp.
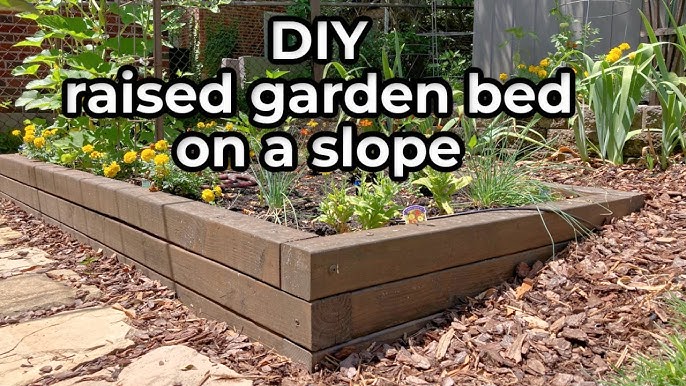
- Fill the Bed: Fill the raised garden bed with the soil mixture, leaving a few inches of space at the top.
- Water Thoroughly: Water the soil thoroughly to settle it and prepare it for planting.
6. Plant Your Seeds/Seedlings
Now for the fun part: planting! Choose beginner-friendly vegetables that thrive in raised beds. Lettuce, spinach, radishes, kale, and herbs are all excellent choices for a first-time garden. Be sure to research the specific needs of each plant and space them accordingly.
- Plan Your Layout: Decide where you want to plant each type of vegetable. Consider factors like sunlight and plant size.
- Plant Seeds or Seedlings: Follow the instructions on the seed packets or seedling labels for planting depth and spacing.
- Water Gently: Water the newly planted seeds or seedlings gently to avoid disturbing them.
- Label Your Plants: Use plant markers to label each row or section, so you know what's growing where.
Tips & Tricks for Maximizing Your Beginner Raised Garden Bed
- Enhance Drainage: Add a 2-3 inch layer of gravel at the bottom of the bed before adding soil. This improves drainage, especially in areas with heavy clay soil.
- Composting: Incorporate compost into your soil mixture. Compost adds essential nutrients and improves soil structure. Regularly adding compost will keep your soil healthy and productive.
- Pest Control: Implement companion planting strategies to naturally deter pests. For example, plant marigolds near tomatoes to repel nematodes, or basil near peppers to deter aphids. [Click here to read more about companion planting](link to related articles: companion planting).
- Sunlight: Ensure your raised garden bed is located in an area that receives at least 6-8 hours of direct sunlight per day. Most vegetables need plenty of sunlight to thrive.
- Watering: Water your raised garden bed regularly, especially during dry periods. Check the soil moisture by sticking your finger into the soil. If the top inch feels dry, it's time to water.
- Crop Rotation: Practice crop rotation to prevent soil depletion and pest buildup. Rotate your crops each season, so you're not planting the same vegetables in the same spot year after year.
Call to Action: Share Your DIY Garden!
Congratulations, you've successfully built your own beginner-friendly raised garden bed! Now it's time to show off your accomplishment and inspire others.
Share your progress! Post photos of your finished raised garden bed on Instagram using #BHHRaisedBed and tag @BetterHomesAndHarvests. We can't wait to see what you create!
Visit our website ([link to related articles: soil preparation](link to related articles: soil preparation), [companion planting](link to related articles: companion planting)) for more homesteading tips and inspiration.
We encourage you to share any questions or comments that you have in the comments below. Happy gardening!
