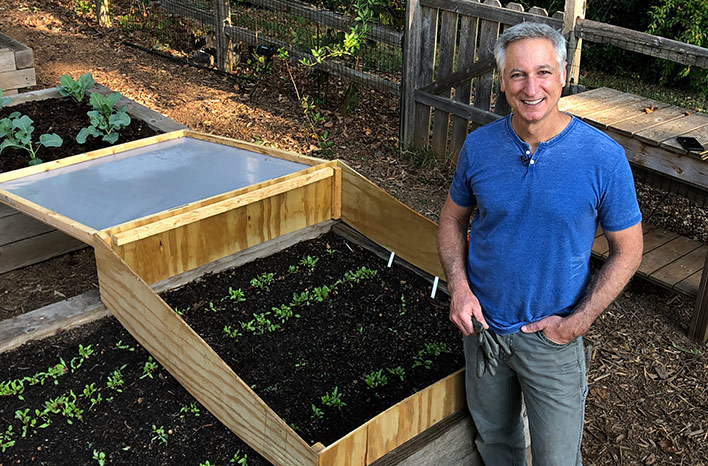
Level Up Your Homestead: Build a Beginner-Friendly Outdoor Cold Frame for Seed Starting
Winter's chill got you dreaming of spring planting? Here at Better Homes and Harvests, we're all about extending the growing season and maximizing our garden's potential. This blog post will guide you, even if you're a beginner, through building a simple, budget-friendly outdoor cold frame. Think of it as a mini-greenhouse that protects your seedlings from frost and gives them a head start on spring. Get ready to dive into early seed starting and boost your self-sufficiency!
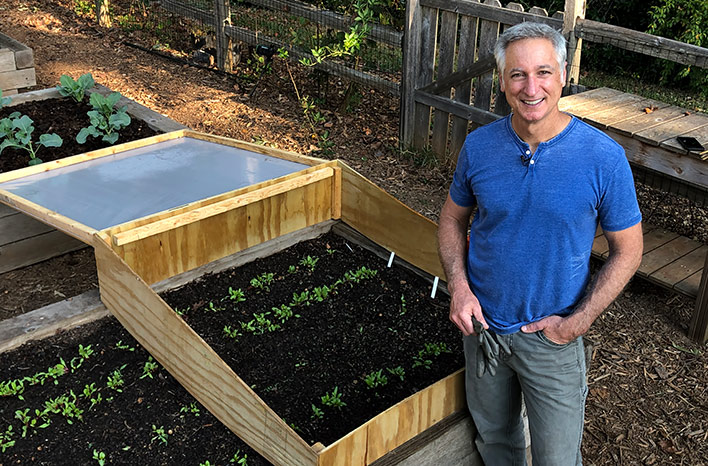
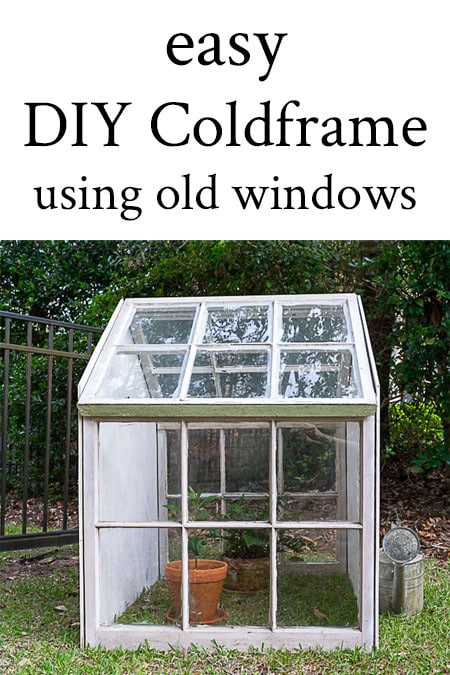
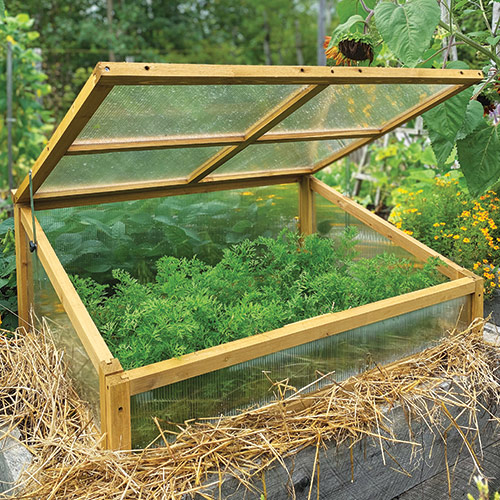
We'll be focusing on building a basic, hinged cold frame approximately 4' x 6' constructed from reclaimed lumber and repurposed windows or clear plastic sheeting (giving your project an upcycling angle!). The purpose is to efficiently germinate vegetable seeds early in the season, increasing self-sufficiency by growing your own produce. This DIY cold frame project is a fantastic way to extend your growing season and reduce reliance on purchased seedlings.
Why Build a Cold Frame? Homesteading Value Explained
A cold frame is more than just a box; it's a gateway to a longer, more productive growing season. Here's how this project contributes to a more self-sufficient, resilient, and efficient homestead:
- Extending the Growing Season: Protect your seedlings from late frosts and get a head start on spring planting. You can start seeds weeks, even months, earlier than you would be able to otherwise.
- Reducing Reliance on Purchased Seedlings: Grow your own vegetable seedlings from seed, saving money and ensuring you have the varieties you want. You'll have greater control over your garden's output.
- Growing Your Own Food Organically: Start your plants organically from the very beginning. Avoid the pesticides and herbicides sometimes used by commercial growers.
- Hardening Off Seedlings: Cold frames are perfect for acclimating (or "hardening off") seedlings to outdoor conditions before transplanting them into the garden. This reduces transplant shock and increases survival rates.
- Cost Savings: Reclaimed materials will help you save money on your gardening venture.
Building Your Beginner-Friendly Cold Frame: A Step-by-Step Guide
Here's a detailed, easy-to-follow guide to building your own 4' x 6' hinged cold frame.
1. Gather Your Materials
Here's what you'll need:
- Reclaimed Lumber:
- Four 6-foot long boards (2"x6" or similar) for the sides
- Four 4-foot long boards (2"x6" or similar) for the ends
- One 4-foot long board for center support (2"x4" or similar)
- Screws or nails for assembly
- Approximate cost: $0-$50 (depending on availability of reclaimed lumber)
- Glazing:
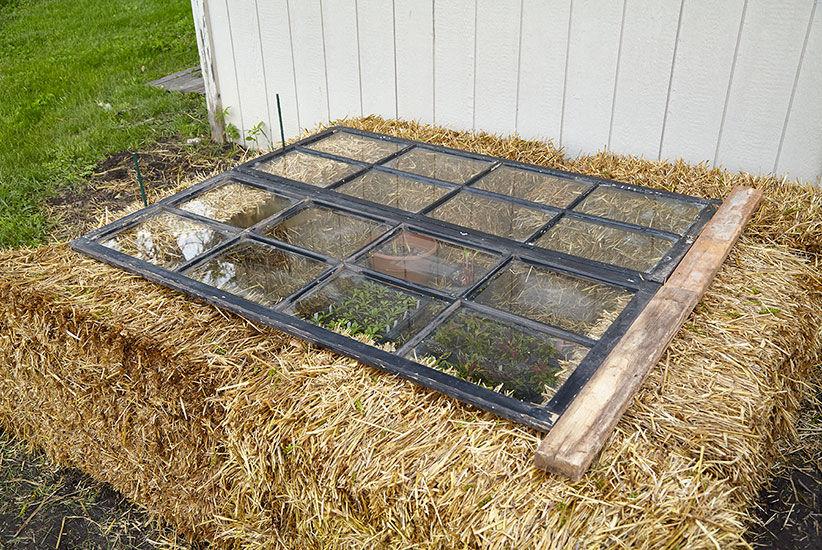
- Old window (approximately 4' x 6') or
- Heavy-duty clear plastic sheeting (6' x 8') and furring strips to secure it
- Approximate cost: $0-$40 (depending on the source of your window or the type of plastic)
- Hinges: Two heavy-duty hinges for attaching the lid.
- Approximate cost: $5-$15 (Example on Amazon)
- Handle/Latch (optional): For easy opening and closing.
- Approximate cost: $5-$10 (Example on Amazon)
- Paint or Wood Preservative (optional): To protect the wood from the elements.
- Approximate cost: $10-$20
Total Approximate Cost: $20 - $135 (depending on materials sourced)
2. Gather Your Tools
- Saw: Circular saw or hand saw
- Drill/Screwdriver: For assembling the frame.
- Measuring Tape: For accurate cuts.
- Pencil: For marking measurements.
- Safety Glasses: Essential for eye protection.
- Work Gloves: To protect your hands.
- Staple Gun (if using plastic sheeting): For securing the plastic to the frame.
- Hammer (if using nails):
- Level: To ensure the frame is square and level.
3. Constructing the Frame: Step-by-Step
Cut the Lumber: Cut the lumber to the specified lengths: four 6-foot pieces and four 4-foot pieces. Remember "measure twice, cut once!"
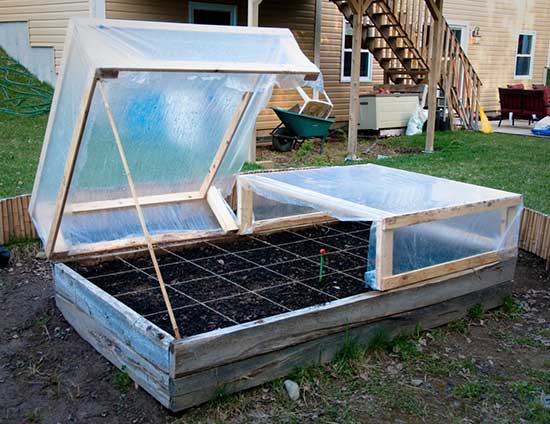
Assemble the Base: Assemble the frame by connecting the lumber pieces to form a 4' x 6' rectangle. Use screws or nails to secure the corners. Ensure the frame is square by measuring the diagonals; they should be equal.
Add the Center Support: Attach the 4-foot long center support board to the inside of the frame, running across the middle of the 4-foot width. This will add stability to the base.
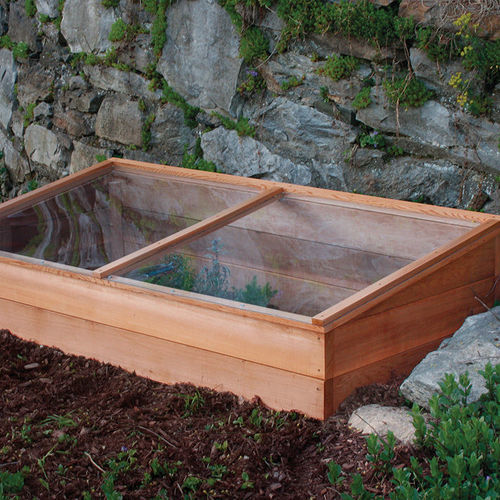
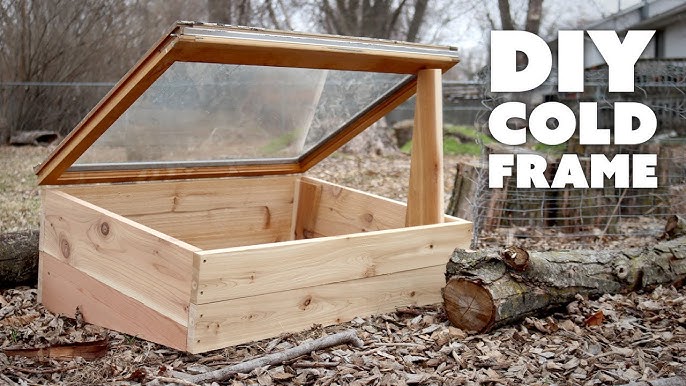
Building the Angled Back: To create a slope for better sunlight capture and water runoff, you'll need to make the back of the cold frame taller than the front. To achieve this, you can either use two different sized boards for the front and back, or you can cut the lumber for the back taller and the front shorter. Another method is to construct the cold frame in a level fashion and build up the ground in the back to create an angle. In this situation, no angled cuts would be required.
Attach the Glazing (Window or Plastic):
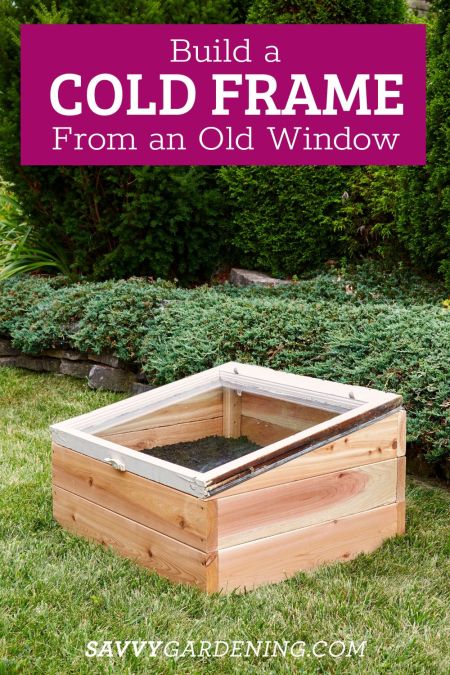
Window: Position the window on top of the frame, aligning it evenly. Attach the hinges to the back of the frame and the window. This will allow you to easily open and close the cold frame.
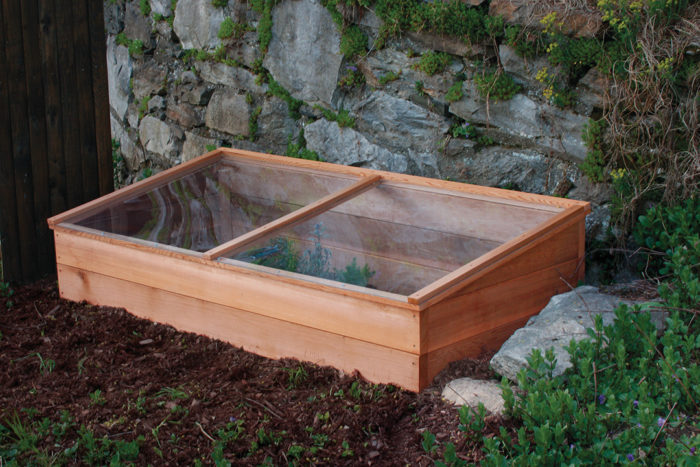
Plastic Sheeting: Create a frame for the plastic using furring strips. Staple the plastic sheeting securely to the furring strips, ensuring it is taut and wrinkle-free. Then, attach this plastic-covered frame to the base using hinges.
Add Handle/Latch (Optional): Attach a handle to the front of the lid for easy opening. A latch can also be added to secure the lid in windy conditions.
Paint or Preserve (Optional): Apply paint or a wood preservative to protect the wood from the elements and extend the life of your cold frame.
4. Safety Precautions
- Always wear safety glasses when cutting wood.
- Use work gloves to protect your hands from splinters and sharp edges.
- Be careful when using power tools. Follow the manufacturer's instructions.
- If using reclaimed lumber, check for nails or screws before cutting.
- When working with glass, wear appropriate gloves and eye protection to prevent cuts.
5. Troubleshooting Tips
- Frame not square: Double-check your measurements and adjust the corners until the diagonals are equal.
- Lid doesn't fit properly: Make sure the frame is square and the hinges are aligned correctly.
- Plastic sheeting rips: Use a thicker gauge plastic or reinforce the edges with duct tape.
- Condensation buildup: Ensure adequate ventilation by propping open the lid on warm days.
Putting Your Cold Frame to Work: Seed Starting Success
Now that your cold frame is built, it's time to start planting!
- Prepare the Soil: Fill seed trays or pots with a good-quality seed starting mix.
- Sow Your Seeds: Follow the instructions on your seed packets for proper planting depth and spacing.
- Water Gently: Water the seeds gently to avoid disturbing them.
- Place in Cold Frame: Place the seed trays or pots inside the cold frame.
- Monitor Temperature: Keep an eye on the temperature inside the cold frame. On sunny days, you may need to vent the cold frame by propping open the lid to prevent overheating.
- Water Regularly: Keep the soil moist but not waterlogged.
- Harden Off: A week or two before transplanting, gradually expose the seedlings to outdoor conditions by opening the cold frame for longer periods each day.
What to Plant in Your Cold Frame
Some of the best vegetables to start in a cold frame include:
- Lettuce
- Spinach
- Kale
- Broccoli
- Cabbage
- Onions
- Peppers
- Tomatoes
- Herbs (like parsley, cilantro, and thyme)
Tips for Successful Seed Starting in a Cold Frame
- Ventilation is Key: Proper ventilation is crucial to prevent overheating and fungal diseases.
- Monitor Soil Moisture: Check the soil moisture regularly and water as needed.
- Protect from Pests: Keep an eye out for pests and take appropriate action.
- Consider a Thermometer: Placing a thermometer inside the cold frame will help you monitor the temperature.
Share Your Success & Next Steps
We hope this guide has inspired you to build your own DIY cold frame and extend your growing season! We’d love to hear about your experiences. Share your modifications or tips for successful seed starting in the comments below.
Don’t forget to share photos of your completed cold frames on social media using the hashtag #BHHcoldframe!
Ready to learn more? Check out our other articles on Better Homes and Harvests:
- [Tips for Seed Selection](insert link to relevant article here)
- [Companion Planting Guide](insert link to relevant article here)
Conclusion: Embrace Early Seed Starting
Building a cold frame is a simple yet effective way to level up your homestead and take control of your food production. By extending the growing season and reducing reliance on purchased seedlings, you can enjoy fresh, homegrown vegetables earlier in the spring. So, gather your materials, follow our step-by-step guide, and get ready to embrace the joys of early seed starting!