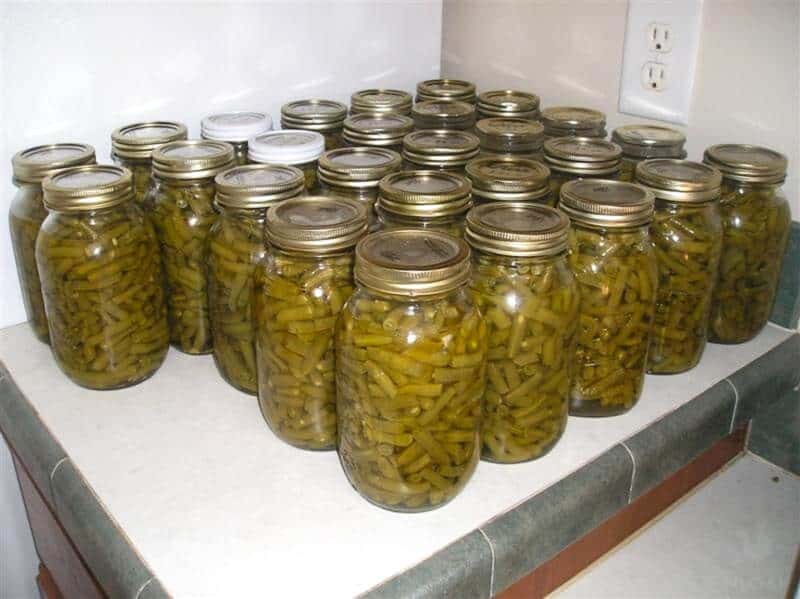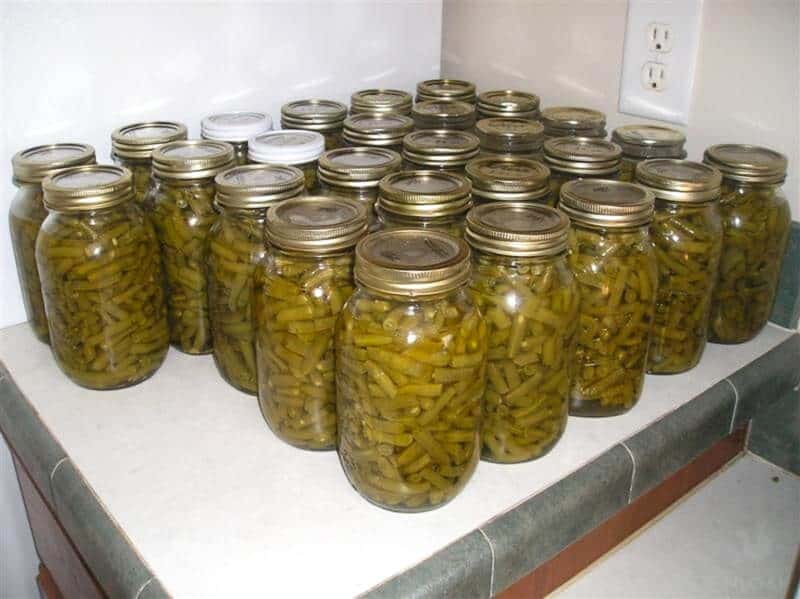
Late Summer Harvest Hack: Quick & Easy Pickled Green Beans for Winter Pantries
The late summer garden is a glorious sight. Rows of tomatoes ripening in the sun, fragrant herbs buzzing with bees, and of course, the ever-prolific green bean plants, practically begging to be harvested. But let's be honest, that abundance can quickly turn overwhelming. You blink, and suddenly you're swimming in more green beans than you know what to do with!
I remember my first attempt at preserving the harvest. I envisioned myself as a seasoned homesteader, effortlessly transforming garden bounty into jars of deliciousness. The reality? A kitchen disaster involving exploding jars and a very sticky, vinegary mess. But I learned from my mistakes, and now, I'm thrilled to share a quick and easy pickled green beans recipe that even the most novice canner can master. Imagine the satisfaction of pulling out a jar of these crisp, tangy beans in the dead of winter, a taste of summer sunshine brightening up a chilly evening. This is preserving food made simple, and it's absolutely worth the effort.
Why Pickle Green Beans?
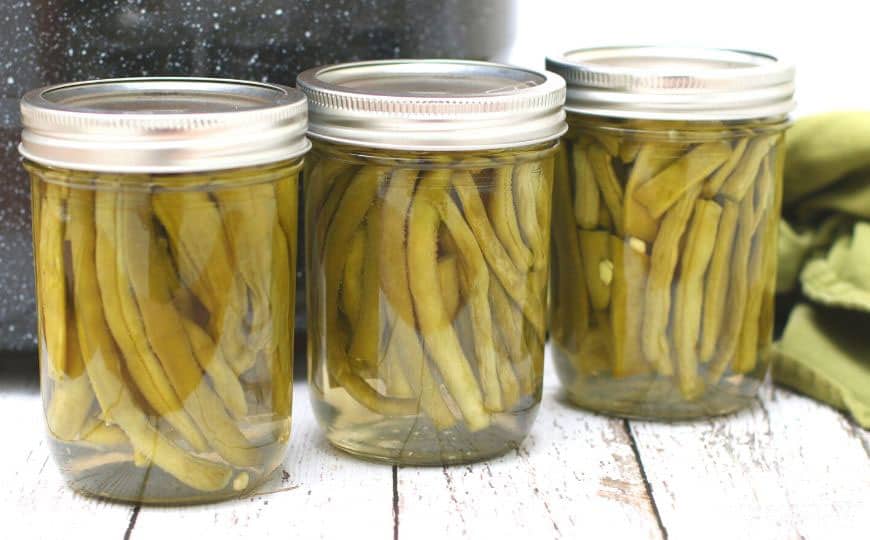
Beyond the obvious reason of preserving food for the winter pantry, pickling green beans offers a delightful burst of flavor and versatility. Pickled green beans, also known as "dilly beans," transform the humble green bean into a crunchy, tangy delight. They're perfect as a snack straight from the jar, an addition to a charcuterie board, a crisp element in salads, or a flavorful garnish for cocktails. Plus, pickling is a relatively no-fuss canning method, especially compared to other preservation techniques. It's a fantastic way to extend your late summer green bean harvest and enjoy homegrown green beans throughout the colder months.
The No-Fuss Method: A Beginner's Guide
Don't be intimidated by the thought of canning! This easy pickling recipe is designed for beginners. We're skipping complicated steps and focusing on a simple, straightforward process that yields delicious, crisp pickled green beans every time. With just a few ingredients and basic equipment, you'll be well on your way to stocking your winter pantry.
Detailed Recipe (with Step-by-Step Instructions): Quick Pickled Green Beans
This recipe is for a small batch, yielding about 4-pint jars. You can easily scale it up or down depending on your harvest.
Ingredients:
- 2 pounds fresh homegrown green beans, trimmed and cut to fit your jars (leaving about ½ inch of headspace)
- 4 cups white vinegar (5% acidity)
- 4 cups water
- 1/4 cup pickling salt (do not use table salt)
- 4 cloves garlic, peeled
- 4 teaspoons dill seeds (or fresh dill sprigs)
- 1 teaspoon red pepper flakes (optional, for heat)
- 1/2 teaspoon black peppercorns per jar
Equipment:
- 4-pint canning jars with lids and bands
- Large pot for boiling water
- Canning rack (optional, but recommended)
- Jar lifter
- Bubble remover/headspace tool
- Clean kitchen towels
Instructions:
- Prepare the Jars: Sterilize your canning jars, lids, and bands. You can do this by boiling them in a large pot of water for 10 minutes. Keep the jars hot until ready to use. A dishwasher with a sterilization cycle also works well.
- Prepare the Brine: In a large, non-reactive pot, combine the vinegar, water, and pickling salt. Bring to a boil, stirring until the salt dissolves.
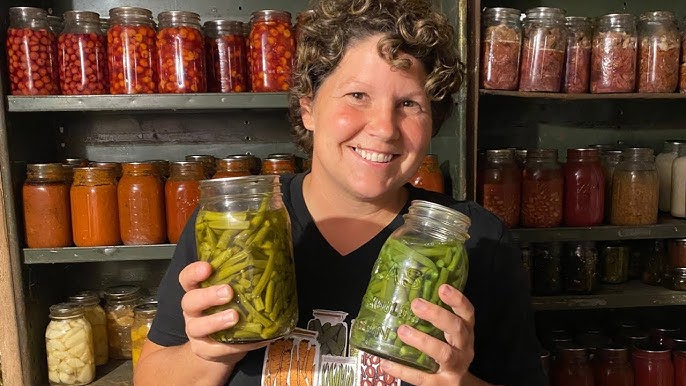
- Pack the Jars: Place one clove of garlic, 1 teaspoon of dill seeds (or a small sprig of fresh dill), a pinch of red pepper flakes (if using), and 1/2 teaspoon of peppercorns into each sterilized jar.
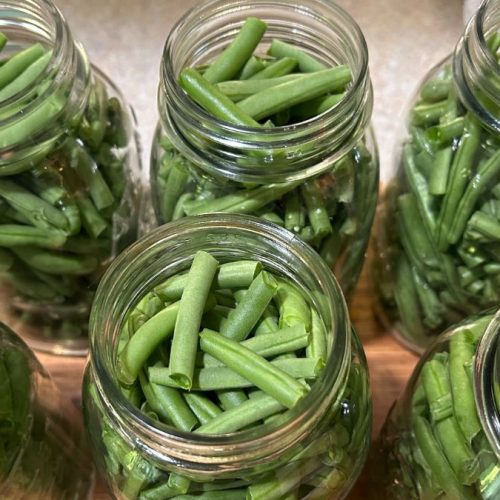
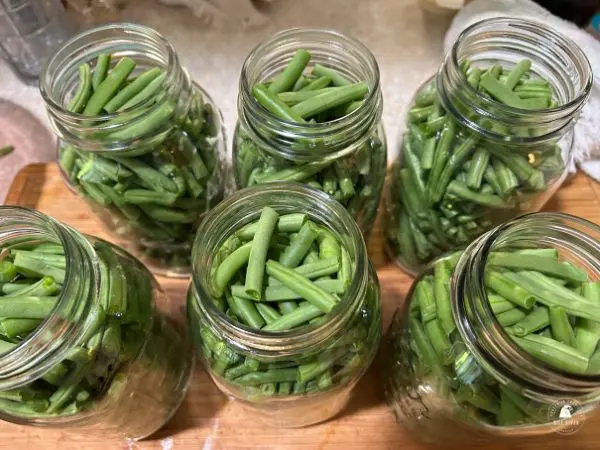
- Tightly pack the green beans vertically into the jars, leaving about ½ inch of headspace at the top.
- Pour the Brine: Carefully pour the hot brine over the green beans, ensuring they are completely submerged and still maintaining ½ inch headspace. Use a bubble remover or a clean utensil to release any trapped air bubbles.
- Wipe and Seal: Wipe the jar rims clean with a damp cloth. Place the lids on the jars, and screw on the bands finger-tight.
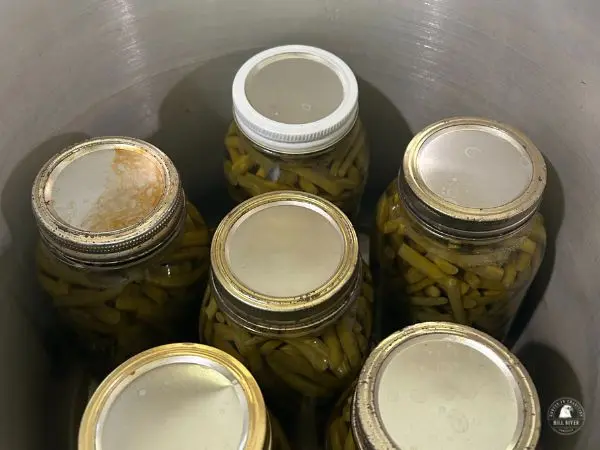
- Process in a Water Bath: Place the jars in a boiling water bath canner, ensuring they are covered by at least 1-2 inches of water. Bring the water to a rolling boil and process for 10 minutes. Adjust processing time for altitude if necessary (consult a reputable canning guide).
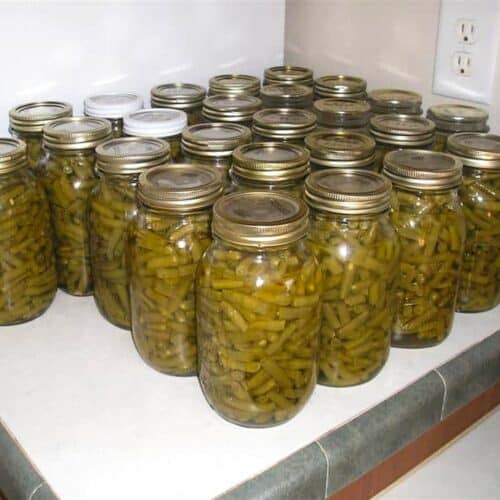
- Cool and Check Seals: Carefully remove the jars from the canner using a jar lifter and place them on a towel-lined surface to cool completely. As the jars cool, you should hear a "pop" sound, indicating that the lids have sealed properly.
- After 12-24 hours, check the seals by pressing down on the center of each lid. If the lid doesn't flex or pop back up, it's sealed. If a lid doesn't seal, refrigerate the jar and use the pickled green beans within a few weeks.
- Label and Store: Label each jar with the date and contents. Store in a cool, dark place for at least 2-3 weeks before enjoying to allow the flavors to develop.
Variations:
- Garlic Lovers: Add an extra clove or two of garlic to each jar.
- Spicy Dilly Beans: Increase the amount of red pepper flakes or add a small dried chili pepper to each jar.
- Herby Delight: Experiment with other herbs like mustard seed, dried oregano, or rosemary.
Troubleshooting Tips
- Cloudy Brine: This is usually caused by minerals in your water. It's harmless, but you can try using distilled water for a clearer brine.
- Soft Beans: Over-processing can lead to soft beans. Make sure you're following the processing time carefully. Fresh, crisp beans are also key!
- Lids Not Sealing: This could be due to improper jar preparation, insufficient headspace, or a faulty lid. Make sure to follow all steps carefully and use new lids each time.
Actionable Tips
- Printable Recipe Card: [Download the Quick & Easy Pickled Green Beans Recipe Card](link-to-printable-pdf - *placeholder, insert link here*) for easy reference!
- Safe Canning Practices: For more detailed information on safe canning practices, consult the National Center for Home Food Preservation: https://nchfp.uga.edu/
- Creative Uses: Enjoy your pickled green beans straight from the jar as a snack, add them to salads for a tangy crunch, serve them on a charcuterie board, or use them as a unique garnish for Bloody Marys. They're also fantastic chopped and added to potato salad or tuna salad.
Closing Reflection
There’s something incredibly rewarding about transforming a surplus of garden produce into a pantry full of delicious, homemade goods. This quick pickled green beans recipe is a perfect entry point into the world of preserving food, allowing you to connect with the seasons and enjoy the fruits (or in this case, vegetables!) of your labor all year round. Don’t be afraid to experiment with different flavors and make this recipe your own. I'd love to hear about your pickling adventures! Share your tips and experiences in the comments below.
Call to Action
Ready for more seasonal recipes and homesteading tips? Subscribe to the Better Homes and Harvests newsletter to stay in the loop! And don't forget to share photos of your beautiful pickled green beans on social media using the hashtag #BHHPickledBeans – we can't wait to see your creations!
