Lasting Harvests: Preserving Your Garden's Goodness All Year Long
The garden is overflowing! Tomatoes are bursting on the vine, squash are piled high, and you're knee-deep in herbs. It's a gardener's dream – and a preservationist's challenge. But what if you could extend that fresh-from-the-garden feeling beyond the harvest season, transforming your bumper crops into a winter pantry bursting with flavor? It’s time to think beyond canning and freezing and explore less common, but highly effective, storage methods.
This post explores sustainable, off-grid (or grid-independent) food preservation. We will cover techniques beyond traditional canning and freezing. Learn practical tips to maximize your garden's bounty and enjoy it all year long, reducing food waste and embracing self-sufficiency. Let’s dive in!
Section 1: Root Cellaring: Nature's Refrigerator
Root cellaring offers an energy-efficient way to store many crops for several months, preserving their flavor and nutrients. It’s a low-tech, low-energy solution for lasting harvests.
What is a Root Cellar?
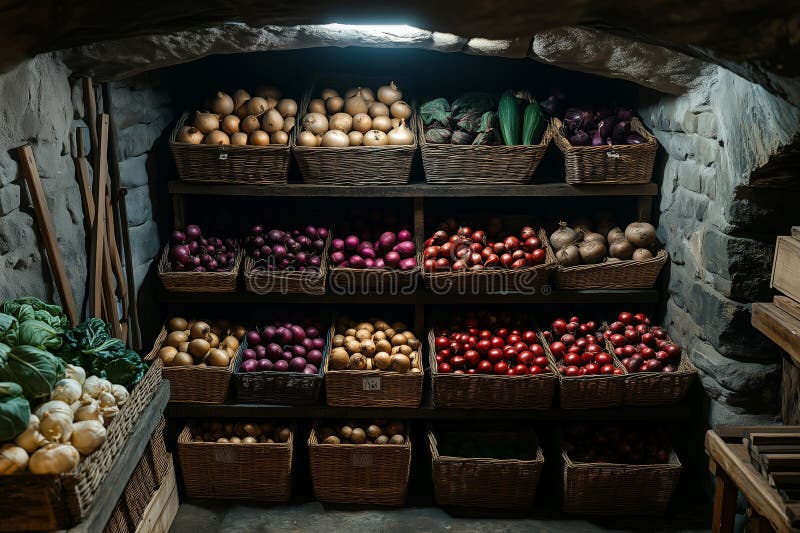
Simply put, a root cellar is a cool, dark, and humid environment, mimicking the conditions under the earth. This combination slows down the respiration process in fruits and vegetables, extending their shelf life significantly. The ideal temperature range is typically between 32°F and 40°F (0°C and 4°C), with high humidity (85-95%).
You don't necessarily need a traditional underground cellar to enjoy the benefits. Variations can include a repurposed corner of the basement, a well-insulated shed, or even a buried container. The key is to maintain consistent temperature and humidity. Think of it as nature's refrigerator, powered by the earth itself.
Best Crops for Root Cellaring
Not all produce thrives in root cellars. Here's a list of vegetables well-suited for this storage method:
- Potatoes
- Carrots
- Beets
- Turnips
- Onions
- Garlic
- Apples
- Cabbage
- Winter Squash
The best candidates are those that naturally store well and don't require specialized processing. Consider varieties bred for storage capabilities.
Preparing Produce for Storage
Proper preparation is crucial for successful root cellaring. Here are some important steps:
- Harvesting: Harvest when the produce is mature and dry. Avoid harvesting after a rain.
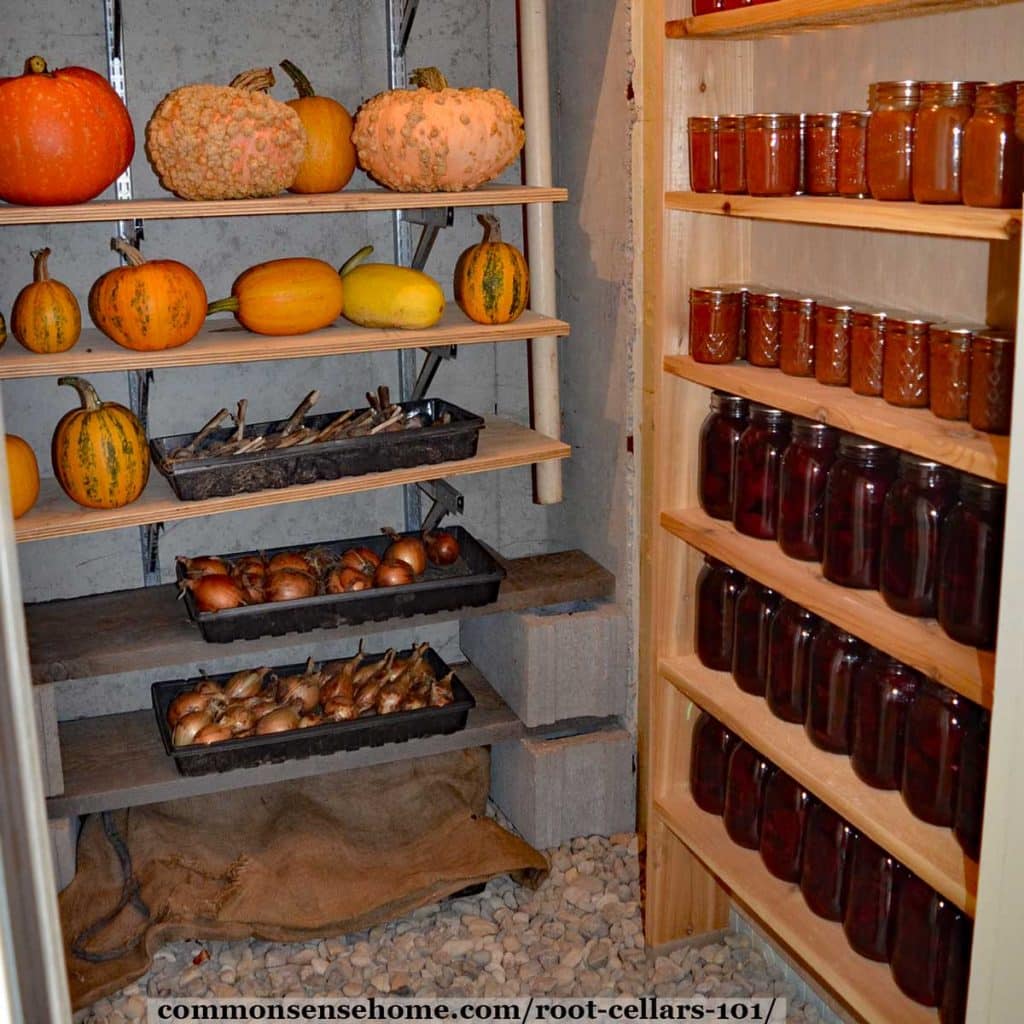
- Curing: For vegetables like onions, garlic, and winter squash, curing is essential. This involves drying the skins to create a protective layer. Cure onions and garlic by spreading them in a single layer in a dry, well-ventilated area for about two weeks. Cure squash by leaving them in a sunny location for a week or two.
- Cleaning: Remove excess soil, but avoid washing the produce unless absolutely necessary. Washing can introduce moisture and encourage rot. Gently brush off any dirt.

Storage Methods within the Root Cellar
There are several ways to store produce within a root cellar, depending on the vegetable:
- Crates and Boxes: Use well-ventilated crates or boxes for potatoes, carrots, and beets. Layer the vegetables with damp sand or sawdust to maintain humidity.
- Sand Beds: Bury root vegetables like carrots and beets in damp sand in a large container. This helps retain moisture and prevent shriveling.
- Hanging: Hang onions and garlic in mesh bags to allow for good air circulation.
- Shelves: Place squash in a single layer on shelves, ensuring they don't touch each other.
Maintaining Optimal Conditions
Maintaining the right temperature and humidity is vital. Use a thermometer and hygrometer to monitor the conditions. You may need to adjust ventilation to control humidity levels. Inspect your produce regularly, and remove any items showing signs of rot or spoilage to prevent it from spreading.
Section 2: Fermentation: Cultivating Flavor and Preservation
Fermentation is a versatile method that not only preserves food but also enhances its flavor and nutritional value. It also highlights the health benefits of fermented foods.
The Magic of Fermentation
Fermentation is an ancient method of food preservation that relies on beneficial bacteria to transform food. These bacteria consume sugars and starches, producing lactic acid, which acts as a natural preservative. This process creates an environment inhospitable to harmful bacteria, thus preventing spoilage. Fermented foods are also rich in probiotics, beneficial bacteria that can improve gut health.
Fermented Foods for Beginners
Ready to try your hand at fermentation? Here are a few easy starter recipes:
- Sauerkraut: Shred cabbage, mix with salt, and pack tightly into a fermentation crock or jar. Weigh it down to keep the cabbage submerged in its own brine. Ferment for 1-4 weeks, tasting regularly until it reaches your desired sourness.
- Kimchi (Simple Version): Combine chopped cabbage, carrots, radishes, garlic, ginger, and red pepper flakes. Mix with a salt brine and ferment in a jar for 3-7 days.
- Lacto-Fermented Pickles: Soak cucumbers in a salt brine with garlic, dill, and spices. Ferment for 3-7 days until they reach your desired sourness.
- Fermented Salsa: Combine chopped tomatoes, onions, peppers, garlic, cilantro, and salt. Ferment in a jar for 2-5 days.
Equipment and Ingredients
You don't need a lot of fancy equipment to get started with fermentation. Here are the basics:
- Fermentation Crocks/Jars: Wide-mouth glass jars or ceramic crocks are ideal.
- Weights: Glass weights, ceramic weights, or even a clean rock can be used to keep the food submerged.
- Airlocks (Optional): Airlocks allow gases to escape while preventing air from entering, reducing the risk of mold growth.
- Salt: Use non-iodized salt.
- Water: Filtered water is best.
- Spices: Experiment with different spices to add flavor to your ferments.
Troubleshooting Fermentation
Fermentation can sometimes be tricky. Here are some common issues and how to address them:
- Mold Growth: If you see fuzzy mold growing on top of your ferment, discard the entire batch. Kahm yeast, a harmless white film, is sometimes mistaken for mold.
- Brine Level: Ensure the food is always submerged in brine to prevent mold growth. Add more brine if needed.
- Off-Flavors: Off-flavors can be caused by incorrect salt levels, temperature fluctuations, or contamination. Follow recipes carefully and maintain consistent conditions.
Safe Fermentation Practices
Cleanliness and proper techniques are essential for safe fermentation. Always wash your hands and equipment thoroughly before starting. Use fresh, high-quality ingredients. Follow recipes carefully and monitor your ferments for any signs of spoilage.
Section 3: Drying and Dehydrating: From Garden to Jerky
Drying reduces moisture content, inhibiting microbial growth, and preserving food for long periods. You can also create unique and flavorful snacks and ingredients.
Drying Methods
There are several ways to dry food:
- Sun-Drying: This traditional method is best suited for hot, dry climates. Spread food on trays and place them in direct sunlight. Cover with cheesecloth to protect from insects.
- Oven Drying: Use a low oven temperature (around 170°F or 77°C) and leave the door slightly ajar to allow moisture to escape.
- Dehydrator Drying: Dehydrators offer the most consistent and efficient drying. Follow the manufacturer's instructions for specific foods.

Best Foods for Drying
Many foods can be dried, including:
- Fruits: Apples, berries, tomatoes
- Vegetables: Peppers, mushrooms, onions
- Herbs: Basil, oregano, thyme
- Meats: Beef, venison (for jerky)
Preparing Food for Drying
Proper preparation is key:
- Slicing: Slice food into thin, uniform pieces for even drying.
- Blanching: Blanching vegetables like green beans helps preserve their color and nutrients.
- Pre-Treatment: Dip fruits like apples in lemon juice to prevent browning.
Storage of Dried Foods
Store dried foods in airtight containers in a cool, dark, dry place. Glass jars or vacuum-sealed bags are ideal. Properly stored dried foods can last for several months to a year.
Rehydrating Dried Foods
To rehydrate dried foods, soak them in water until they plump up. The soaking time will vary depending on the food.
Section 4: Cold Storage: Maximizing Cool Spaces
Properly utilizing naturally cool spaces can significantly extend the shelf life of specific crops. It also focuses on adapting existing spaces for food storage.
Utilizing Cool Spaces
Not everyone has a dedicated root cellar. Fortunately, you can adapt other cool spaces for food storage:
- Unheated Garages
- Sheds
- Pantries
- Enclosed Porches
The key is to find a space that remains cool and relatively stable in temperature.
Suitable Crops
Certain crops benefit from cool storage, even if it's not as cold as a root cellar:
- Garlic
- Onions
- Winter Squash
- Pumpkins
- Apples
Storage Techniques
- Garlic and Onions: Hang them in mesh bags in a cool, dry place.
- Squash and Pumpkins: Store them in a single layer on shelves, ensuring they don't touch each other.
- Apples: Wrap each apple individually in newspaper and store them in a cool, dark place.

Temperature and Humidity Control
Use insulation, ventilation, and humidity control measures to maintain stable conditions.
Monitoring and Preventing Spoilage
Regularly inspect your stored produce for signs of mold, rot, or pests. Remove spoiled items promptly to prevent them from affecting the other produce.
Closing Reflection: Winter's Pantry Full of Summer's Memories
Long-term food storage offers numerous benefits: reduced food waste, increased self-sufficiency, and the joy of enjoying the flavors of your garden throughout the year. As the seasons shift, you can take pride in having prepared for winter, knowing your pantry is stocked with the goodness of your summer harvest. Now is the time to bring summer’s bounty into winter’s warmth.
What are your favorite tips and tricks for extending the harvest season? Share them in the comments below!