Kitchen to Compost: Turning Scraps into Garden Gold
Have you ever stood at your kitchen counter, peeling carrots for dinner, and felt a pang of guilt as the orange ribbons spiraled into the trash bin? I know I have. It's a sobering thought to consider how much perfectly good organic matter ends up in landfills, contributing to greenhouse gases and wasted resources. But what if I told you that those very carrot peels – along with coffee grounds, eggshells, and a host of other kitchen scraps – could be transformed into garden gold?
In this post, you'll learn how to turn your kitchen waste into nutrient-rich compost, a powerful tool for enriching your garden soil, reducing your environmental impact, and growing healthier, more abundant crops. We'll explore simple composting methods perfect for any space, from sprawling backyards to cozy apartment balconies. Get ready to unlock the magic of kitchen scrap composting and create a closed-loop system that benefits both your garden and the planet!

Understanding the Basics of Kitchen Scrap Composting
Composting might seem like a daunting task, conjuring images of complicated contraptions and pungent odors. But in reality, it's a simple and natural process that anyone can master. At its core, composting is the decomposition of organic matter into a nutrient-rich soil amendment. This decomposition is driven by microorganisms – bacteria, fungi, and other tiny creatures – that break down complex materials into simpler compounds that plants can easily absorb.
One of the biggest misconceptions about composting is that it's difficult or smelly. While it's true that a poorly managed compost pile can be unpleasant, a well-maintained one is surprisingly odorless and straightforward. The key lies in understanding the basic principles: providing the right mix of materials, maintaining adequate moisture, and ensuring sufficient air circulation.
What to Compost (and What NOT to Compost)
The first step to successful composting is knowing what to include and what to avoid. Here's a handy guide:
Yes, Compost These "Greens" (Nitrogen-Rich):
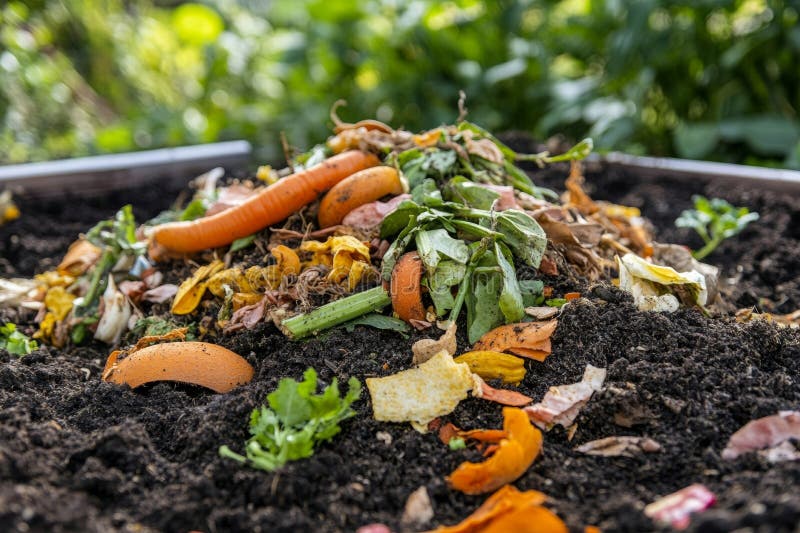
- Vegetable scraps (peels, cores, trimmings)
- Fruit scraps (peels, cores, overripe fruit)
- Coffee grounds and paper filters
- Tea bags (remove the staple)
- Eggshells (crushed)
- Fresh grass clippings (in moderation)
- Stale bread and cereal
Yes, Compost These "Browns" (Carbon-Rich):
- Dried leaves
- Shredded paper and cardboard (uncoated)
- Sawdust (from untreated wood)
- Straw and hay
- Small twigs and branches
- Paper towels and napkins (unbleached, in moderation)
No, Don't Compost These:
- Meat and fish scraps
- Dairy products (milk, cheese, yogurt)
- Oily foods (dressings, sauces, fried foods)
- Diseased plants (to prevent spreading disease)
- Pet waste (can contain harmful pathogens)
- Coal or charcoal ash
- Treated lumber or sawdust
- Glossy or coated paper
The reason for these restrictions? Meat, dairy, and oily foods attract pests and create unpleasant odors. Diseased plants can contaminate your compost. And certain materials can introduce harmful chemicals to your garden.
"Greens" vs. "Browns": The Perfect Balance
"Greens" are nitrogen-rich materials that provide the fuel for the microorganisms to thrive. "Browns" are carbon-rich materials that provide structure and aeration to the compost pile. The ideal ratio is roughly 2:1 or 3:1 browns to greens. Think of it like this: you need enough carbon to absorb excess moisture and prevent the pile from becoming soggy and smelly, but you also need enough nitrogen to kickstart the decomposition process. If your compost pile is too wet and smelly, add more browns. If it's dry and not decomposing, add more greens.
Choosing Your Composting Method
The best composting method for you will depend on your space, lifestyle, and composting goals. Here are a few popular options:
- Backyard Compost Pile: The classic choice for those with ample outdoor space. A simple three-bin system or even a freestanding pile can work wonders.
- Compost Tumbler: A rotating bin that makes turning the compost easier and speeds up decomposition.
- Vermicomposting: Using worms to break down food scraps in a contained bin. Perfect for small spaces, like apartments.
- Bokashi Composting: A fermentation process that uses inoculated bran to break down food waste, including meat and dairy.

Simple Kitchen Scrap Composting Methods for Every Gardener
Now that you understand the basics, let's dive into some practical composting methods.
The Classic Compost Pile (Backyard Composting)
This method is ideal if you have a yard and don't mind a bit of manual labor.
- Choose a Location: Select a well-drained spot that's partially shaded.
- Build a Pile: Start by layering browns at the bottom to provide drainage and aeration. Then, alternate layers of greens and browns, ensuring each layer is moistened. A good way to maintain moisture is with a simple garden hose.
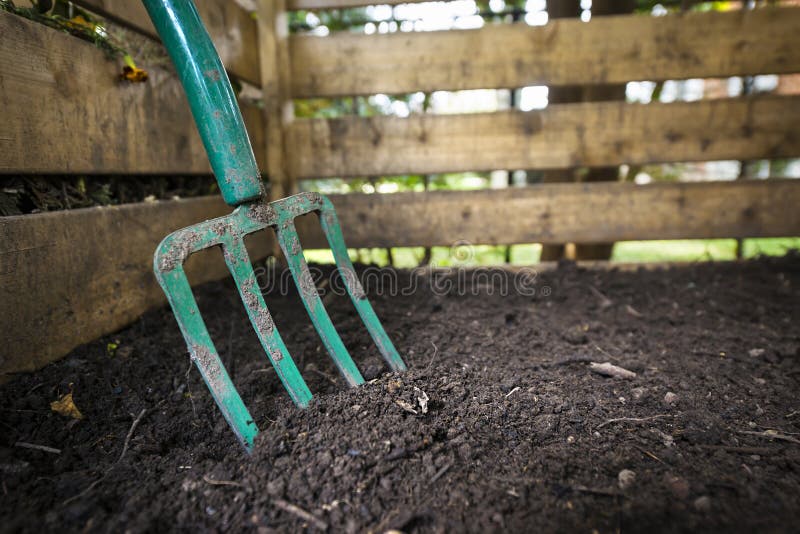
- Turn Regularly: Turn the pile every week or two to aerate it and speed up decomposition. Use a pitchfork or shovel to mix the materials thoroughly.
- Monitor Moisture: The compost should feel like a wrung-out sponge. Add water if it's too dry, or add more browns if it's too wet.
Compost Tumblers (Rotating Bins)
Tumblers are a convenient option for those who want to minimize the effort involved in turning the compost.
- Choose a Tumbler: Select a tumbler that's appropriately sized for your needs.
- Load the Tumbler: Add alternating layers of greens and browns, ensuring each layer is moistened.
- Rotate Regularly: Rotate the tumbler several times a week to aerate the compost.
- Monitor Moisture: As with a compost pile, the compost in the tumbler should feel like a wrung-out sponge.
Vermicomposting (Worm Composting)
Vermicomposting is a fantastic option for apartment dwellers or those with limited outdoor space. Red wiggler worms are the stars of the show, voraciously consuming food scraps and producing nutrient-rich castings.
- Set Up a Worm Bin: You can purchase a commercially available worm bin or build your own. The bin should have drainage holes and a lid.
- Add Bedding: Provide a layer of bedding for the worms to live in. Shredded paper, cardboard, and coconut coir are good options.
- Introduce the Worms: Purchase red wiggler worms from a local supplier or online. Start with about a pound of worms for a small bin.
- Feed the Worms: Bury food scraps in the bedding, alternating locations each time. Avoid feeding the worms meat, dairy, or oily foods.
- Harvest Vermicompost: After a few months, the bedding will be transformed into rich, dark vermicompost. Harvest the vermicompost by separating the worms from the castings.
Bokashi Composting (Fermenting Method)
Bokashi composting is an anaerobic process that uses inoculated bran to ferment food waste. This method can handle meat, dairy, and other materials that are typically off-limits to traditional composting.
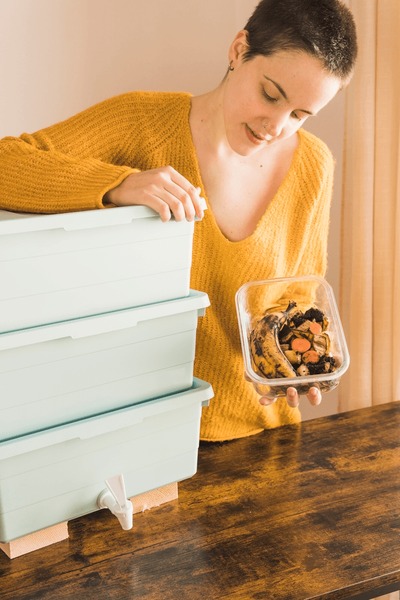
- Gather Your Supplies: You'll need a bokashi bucket with a spigot, bokashi bran, and food scraps.
- Layer the Ingredients: Add a layer of food scraps to the bucket, then sprinkle with bokashi bran.
- Press Down: Press down on the food scraps to remove air pockets.
- Drain Regularly: Drain the liquid that accumulates in the bucket every few days. This liquid, known as "bokashi tea," can be diluted and used as a fertilizer.
- Bury the Fermented Waste: Once the bucket is full, bury the fermented waste in your garden or compost pile. It will decompose quickly.

Troubleshooting Common Composting Problems
Even with the best intentions, composting can sometimes present challenges. Here are some common problems and how to solve them:
- Smelly Compost: This is usually caused by anaerobic conditions (lack of oxygen). Turn the pile more frequently to aerate it, and add more browns to absorb excess moisture.
- Slow Decomposition: This can be due to a lack of moisture, not enough air, or an imbalance of greens and browns. Water the pile if it's dry, turn it more frequently, and adjust the mix of materials.
- Pests and Critters: Use a secure bin to prevent pests from getting into your compost. Cover food scraps with browns to discourage them. If you have an existing infestation, inspect the pile, remove the infested material, and consider using a mesh cover.
- Dry Compost: This can be corrected by adding moisture, either from a garden hose or simply by pouring in used cooking water.

Using Your Homemade Compost in the Garden
Once your compost is ready, it's time to put it to work in your garden. Compost is a powerful soil amendment that can improve drainage, nutrient retention, and microbial activity.
- Amending Garden Beds: Before planting, incorporate compost into your garden beds by spreading a 2-4 inch layer over the surface and tilling it into the soil.
- Topdressing Plants: Use compost as a topdressing for established plants by spreading a thin layer around the base of the plants.
- Making Compost Tea: Compost tea is a liquid fertilizer that can be used to water plants. To make compost tea, steep a handful of compost in a bucket of water for 24-48 hours, then strain the liquid and use it to water your plants.
- Seed Starting Mix: Mix compost with peat moss and perlite to create a nutrient-rich seed starting mix.
Closing Reflection
Transforming kitchen scraps into valuable compost is one of the most rewarding and sustainable practices a gardener can adopt. It's a tangible way to reduce waste, enrich your soil, and grow healthier, more vibrant plants. Even if you only have a small space or limited time, you can still make a difference by composting your kitchen scraps. The earthworms will thank you, your garden will flourish, and you'll feel good knowing you're doing your part to create a more sustainable world.
As we transition into fall, consider collecting fallen leaves – a fantastic source of "browns" – to prepare for a winter of composting. What's your biggest composting challenge or success story? Share your experiences and tips in the comments below!