
Keeping Your Wooden Kitchen Tools Happy & Healthy: A Homesteader's Guide
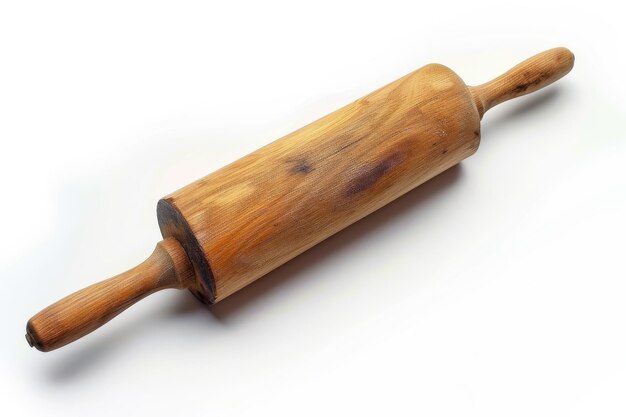
Welcome, fellow homesteaders! There’s a certain charm to wooden kitchen tools, isn't there? The feel of a well-worn wooden spoon in your hand, the satisfying thud of a rolling pin on dough, the comforting weight of a wooden cutting board under your knife… These aren't just tools; they're heirlooms in the making, imbued with the spirit of our kitchens and the flavors of our harvests.
But as any seasoned homesteader knows, these beautiful tools require a bit of TLC to ensure they last for generations. And when you're regularly fermenting foods – sauerkraut, kombucha, sourdough – keeping those tools clean and free of unwanted microbial guests becomes even more crucial. This guide will walk you through the best natural, food-safe methods for cleaning, disinfecting, oiling, and storing your wooden kitchen companions. Let's keep them happy, healthy, and ready for whatever culinary adventures await!
1. Cleaning: The Foundation of Happy Wood
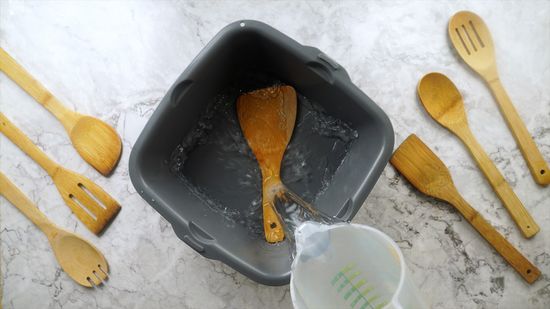
Just like we wash our hands after a day in the garden, our wooden tools need immediate attention after each use. Proper cleaning is the first line of defense against warping, cracking, and, most importantly, unwanted bacterial growth.
The Golden Rule: Hand-Washing Only! Dishwashers are the enemy of woodenware. The high heat and harsh detergents will quickly dry out and damage your beloved spoons and boards. Stick to hand-washing, always.
The Soap of Choice: Mild Castile Reach for a mild, unscented castile soap and warm water. Avoid heavily scented soaps, as their fragrances can leach into the wood and alter the taste of your food.
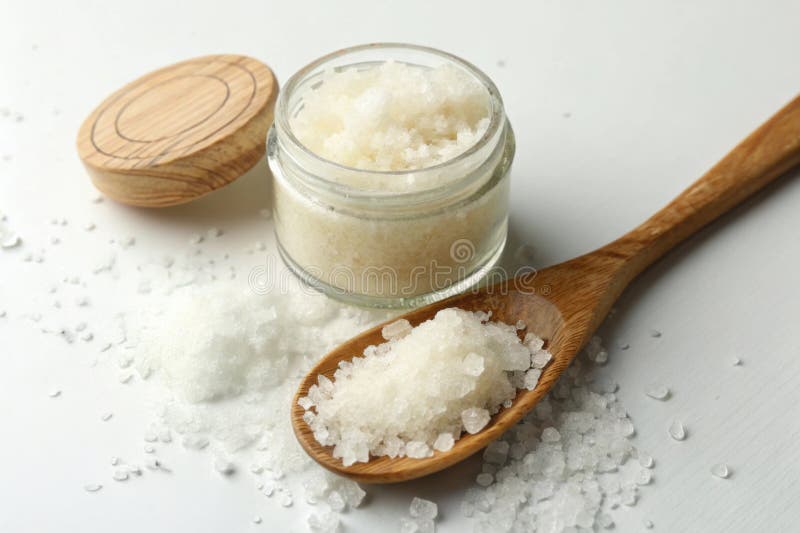
Abrasive Power: Sea Salt & Baking Soda Paste For stubborn food residue, especially sticky dough or fermented bits, a gentle abrasive scrub is your friend. Create a paste using fine sea salt and baking soda. Apply it to the affected area and gently scrub with a soft cloth or sponge. Remember, a little goes a long way! Excessive scrubbing can scratch the wood.
2. Disinfecting: Keeping Fermentation Friends, Not Foes
As homesteaders, we're no strangers to the wonders of fermentation. But with fermentation comes the responsibility of preventing cross-contamination. Wooden tools, with their porous nature, can harbor unwanted microbes if not properly disinfected.
The Disinfecting Solution: Diluted White Vinegar White vinegar is a natural, food-safe disinfectant that works wonders on wood. Create a solution of 1 part white vinegar to 5 parts water.
The Soaking Process: Submerge the wooden utensil in the vinegar solution for no more than 5 minutes. Then, rinse thoroughly with hot water. The hot water helps to remove any remaining vinegar residue and further sanitize the wood.
A Fermentation Caveat: When working with fermented foods, scrupulous cleaning is paramount. Kahm yeast and mold are common spoilers in fermentation, and they can easily take root in improperly cleaned wooden tools. Don't skip the disinfecting step, especially when dealing with tools used for sauerkraut, kimchi, or kombucha.

3. Oiling: The Elixir of Long Life for Wooden Tools
Oiling your wooden utensils is like giving them a nourishing drink. It prevents them from drying out, cracking, and warping. Think of it as moisturizing your skin – the same principle applies!
The Best Oils for the Job:
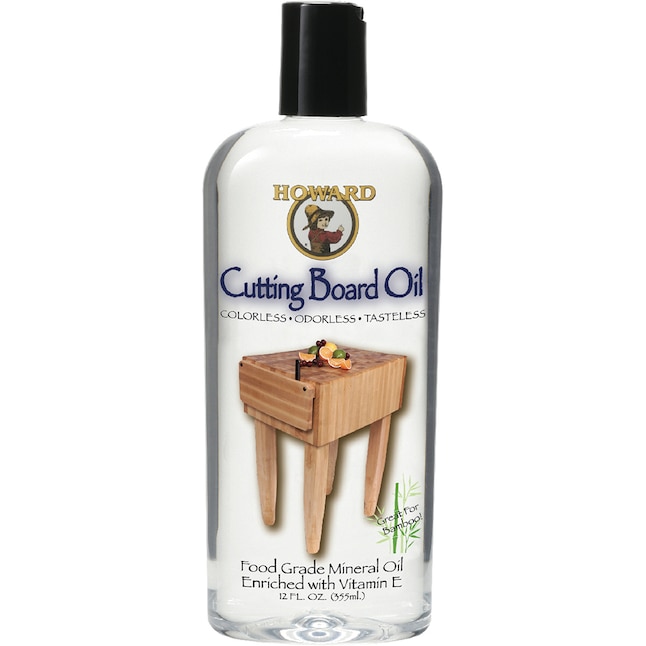
- Food-Grade Mineral Oil: This is a classic choice for its affordability and food safety. It's odorless, tasteless, and won't go rancid.
- Walnut Oil: Walnut oil is another excellent option, known for its drying properties, which help it to create a more durable finish. However, be mindful of nut allergies when using walnut oil.
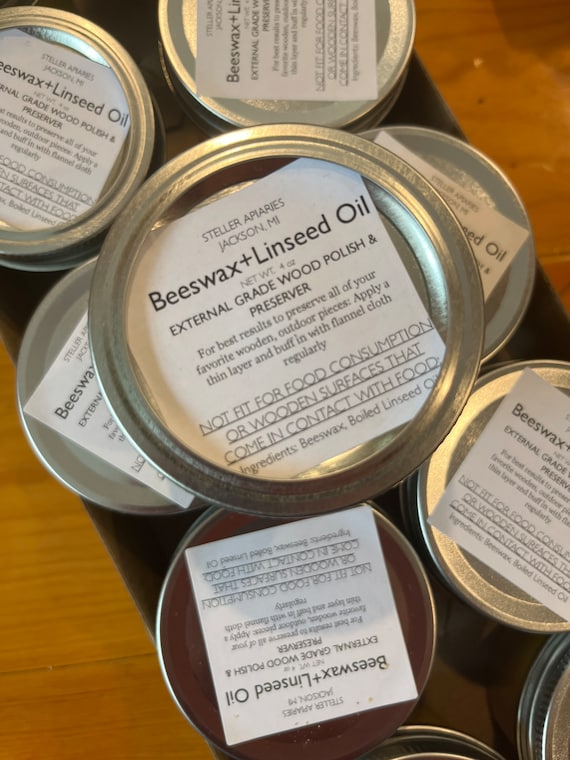
- Beeswax: Beeswax isn't an oil, but it creates a water-resistant finish, protecting the wood from moisture damage.
Oils to Avoid: Steer clear of olive oil or vegetable oil. These oils can turn rancid over time, leaving your woodenware with an unpleasant odor and potentially affecting the flavor of your food.
The Oiling Ritual:
- Ensure your wooden utensil is clean and completely dry.
- Liberally apply your chosen oil with a clean cloth.
- Let the oil soak in for several hours, or even overnight.
- Wipe off any excess oil with a clean cloth.
The Beeswax Finish: A Homesteader's Secret For an extra layer of protection, create a beeswax finish. Gently melt beeswax with mineral oil or walnut oil in a ratio of 1:4 (1 part beeswax to 4 parts oil). Apply the warm mixture to the wood with a cloth, let it cool, and then buff with a clean cloth. This creates a beautiful, water-resistant finish that will keep your tools looking their best.

4. Storage: A Home for Every Tool
Proper storage is the final piece of the puzzle in keeping your wooden kitchen tools happy and healthy.
The Key to Storage: Dry & Ventilated Store your wooden utensils in a dry, well-ventilated area, away from direct sunlight and heat sources (like the stove or oven). Direct sunlight can fade the wood, and heat can cause it to dry out and crack.
Avoid Stacking Wet Utensils: Never stack wet wooden utensils together. This traps moisture and can lead to mold growth.
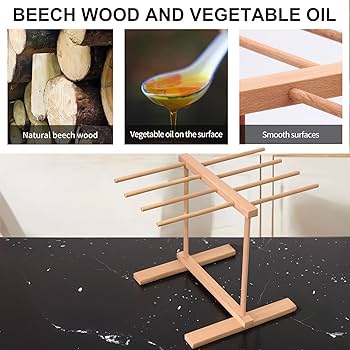
Vertical Storage is Your Friend: Use a utensil holder or hang your utensils on hooks to allow for proper air circulation. This helps them dry completely and prevents moisture buildup.
5. Sustainability Tip: Homesteading Harmony
Here are some tips to keep your woodenware care sustainable:
- Local Beeswax: Source local beeswax from sustainable beekeepers. It supports your community and ensures a responsible product.
- Reclaimed Wood Testing: Use reclaimed wood scraps from other homesteading projects for testing cleaning methods and oil finishes.
- Composting Wood Shavings: Compost any wood shavings from sanding or oiling.
With a little care and attention, your wooden kitchen tools will become cherished companions, adding warmth and character to your homestead kitchen for years to come. Happy homesteading!