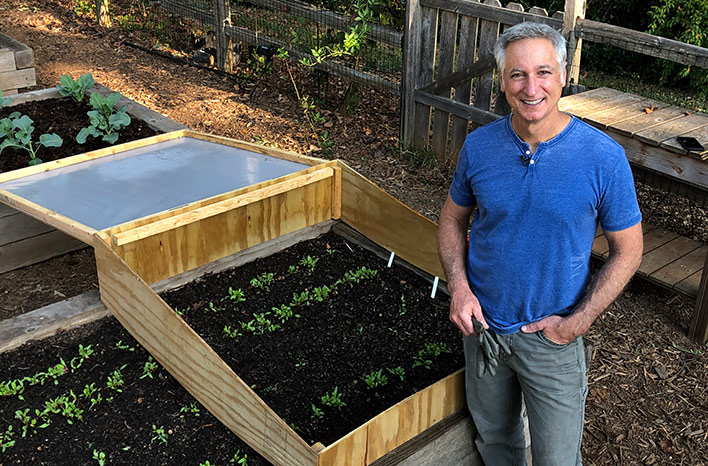
Jumpstart Your Spring Garden: Building a Low-Cost, Insulated Cold Frame
Are you dreaming of fresh salads and vibrant greens while winter still has its icy grip? As homesteaders, we know the joy of fresh, homegrown food, and the frustration of a short growing season. But what if you could extend your harvest and get a head start on spring planting? The answer lies in a simple yet powerful tool: the cold frame.
This blog post will guide you through building your own low-cost, insulated cold frame. It’s a beginner-friendly project that's perfect for seasoned homesteaders and aspiring gardeners alike. We’ll show you how to use readily available (and even repurposed!) materials to create a mini-greenhouse that will nurture your seedlings and provide you with fresh produce weeks before the traditional growing season begins. Let's get started!
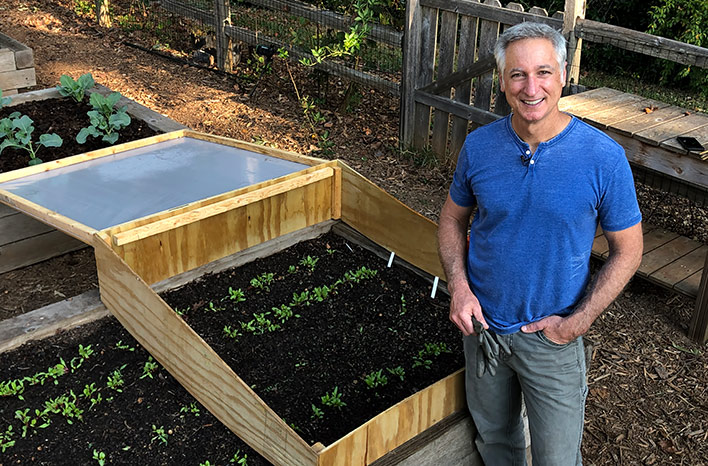
Why a Cold Frame? The Homesteading Advantage
Extending the growing season is a game-changer for self-sufficient living. Here’s why:
- Fresh Food Security: A cold frame allows you to grow your own vegetables and herbs earlier in the spring and later into the fall, reducing your reliance on grocery stores and ensuring a constant supply of fresh, healthy food.
- Reduced Reliance on External Sources: By starting your seedlings in a cold frame, you can avoid purchasing them from nurseries, saving money and ensuring you have the exact varieties you want.
- Increased Control Over Food Supply: You control the growing environment, minimizing the risk of frost damage and pests, and maximizing your chances of a successful harvest.
- Hardening Off: Cold frames are perfect for acclimating seedlings started indoors to outdoor conditions, a process called hardening off. This helps them transition smoothly and thrive once planted in your garden.
I remember one year when a late frost decimated my early tomato seedlings. I was devastated! That's when I decided to invest in cold frames. Now, I laugh in the face of late frosts, knowing my precious seedlings are safe and snug in their protected environment. It's a true homesteading victory!
Step-by-Step Guide: Building Your Low-Cost, Insulated Cold Frame
This project prioritizes affordability and ease of construction. We'll focus on using readily available and repurposed materials to minimize costs and environmental impact.
1. Gathering Your Materials:
The beauty of this project is its flexibility. Here's a list of suggested materials, but feel free to adapt based on what you have available:
Frame:
- Reclaimed lumber (pallets, old fence boards, etc.) - Aim for enough lumber to create a box approximately 4ft x 4ft x 1ft (adjust dimensions based on your needs and available materials)
- Concrete blocks or bricks (optional, for raising the frame)
Glazing (Top Cover):
- Old window or storm door (the ideal choice)
- Clear plastic sheeting (heavy-duty greenhouse plastic)
- Repurposed shower doors
Insulation:
- Straw bales
- Foam insulation board (reclaimed is best!)
- Bubble wrap
Hardware:
- Screws or nails
- Hinges (if using a window or door as a lid)
- Handles or latches (optional)
Tools:
- Saw
- Drill or hammer
- Screwdriver
- Measuring tape
- Staple gun (if using plastic sheeting)
- Utility knife
- Safety glasses
- Gloves
2. Planning and Design:
Before you start cutting wood, take a few minutes to plan your cold frame's design.
- Size: Consider the size of your garden and the number of seedlings you want to start. A 4ft x 4ft frame is a good starting point.
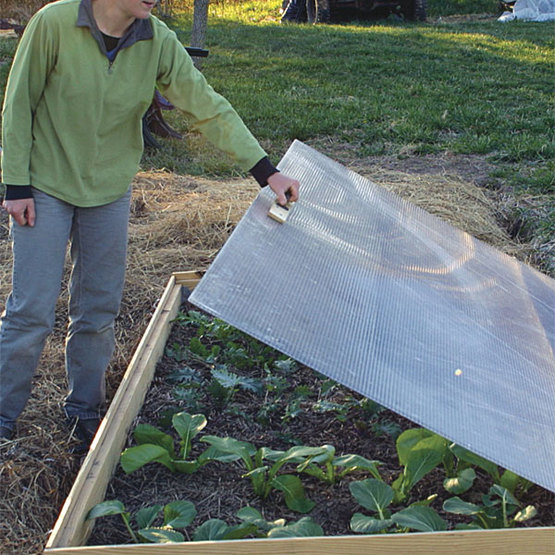
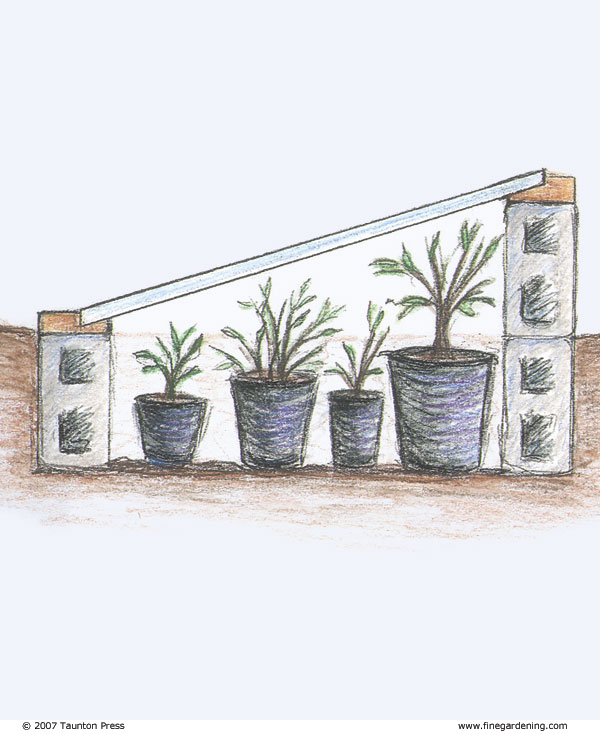
- Angle: The lid should be angled to maximize sunlight exposure. A south-facing slope of around 30 degrees is ideal.
- Accessibility: Make sure you can easily access the plants inside for watering and ventilation.
- Diagram: Here's a simple diagram illustrating the basic construction. Remember, adjust measurements to fit your materials!
3. Building the Frame:
- Cut the lumber: Cut the lumber to the desired lengths for the sides, front, and back of the cold frame. Remember to account for the angle of the lid when cutting the front and back pieces.
- Assemble the box: Assemble the frame using screws or nails. Ensure the corners are square and the structure is sturdy.
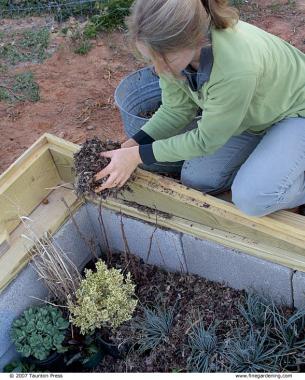
- Add a base (optional): If desired, place concrete blocks or bricks under the frame to raise it off the ground. This will improve drainage and prevent soilborne diseases.

4. Installing the Glazing:
- Window or Door: If using a window or door, attach hinges to the top of the frame and the glazing. This will allow you to easily open and close the cold frame for ventilation. Add handles or latches if desired.
- Plastic Sheeting: If using plastic sheeting, create a simple frame from lumber scraps. Stretch the plastic tightly over the frame and secure it with a staple gun. Attach the plastic-covered frame to the cold frame using hinges.
5. Adding Insulation:
Insulation is key to maintaining a stable temperature inside the cold frame, especially during cold nights.
- Straw Bales: Stack straw bales around the outside of the cold frame for excellent insulation.
- Foam Insulation Board: Cut foam insulation board to fit the inside walls of the cold frame. Secure it with construction adhesive or screws.
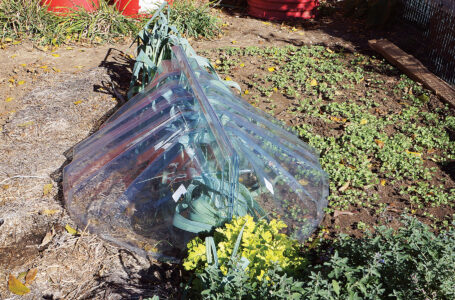
- Bubble Wrap: Line the inside of the cold frame with bubble wrap for additional insulation.
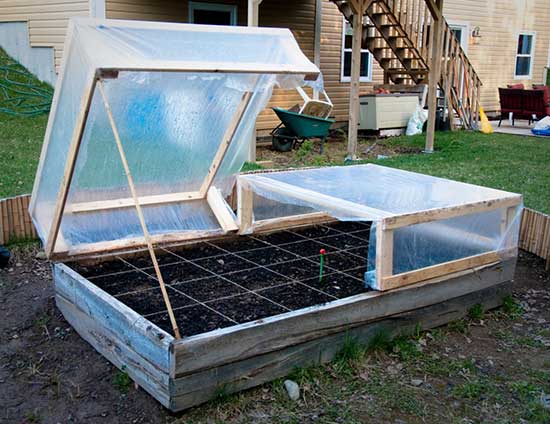
6. Placement and Preparation:
- Choose a sunny location: Select a location in your garden that receives at least 6-8 hours of sunlight per day, preferably with a southern exposure.
- Prepare the soil: Inside the cold frame, prepare the soil as you would for a raised bed. Amend it with compost and other organic matter to ensure good drainage and fertility.
7. Planting and Maintenance:
- Start seeds or transplant seedlings: Sow seeds directly into the soil or transplant seedlings into the cold frame.
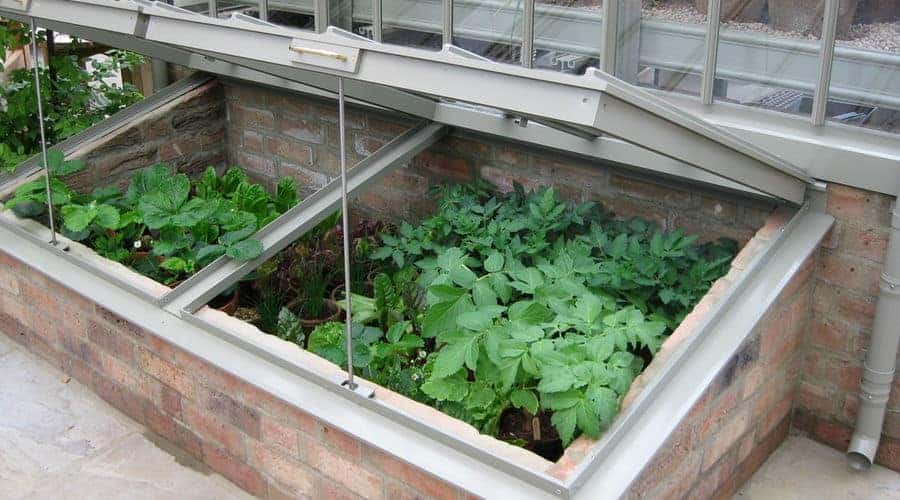
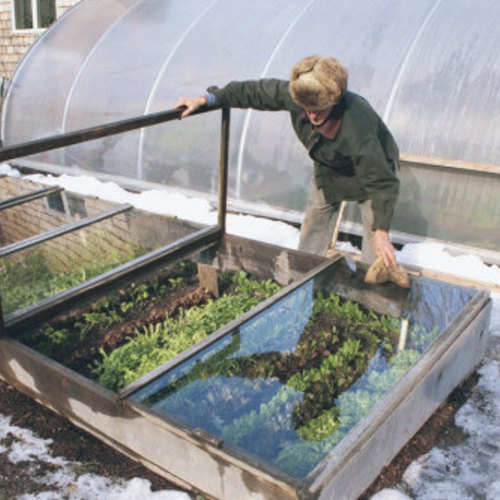
- Ventilate: On sunny days, open the lid of the cold frame to prevent overheating. Close it at night to trap heat.
- Water: Water the plants regularly, but avoid overwatering.
- Monitor temperature: Use a thermometer to monitor the temperature inside the cold frame. Adjust ventilation as needed to maintain a temperature between 60-70°F (15-21°C).
Mistakes I Made (So You Don't Have To!):
- Not enough ventilation: My first cold frame attempt turned into a sauna on sunny days, cooking my poor seedlings! Learn from my mistake: proper ventilation is crucial.
- Poor drainage: I didn't prepare the soil properly, and the seedlings sat in soggy soil. Make sure your soil drains well.
- Ignoring pests: Even in a protected environment, pests can find their way in. Regularly inspect your plants for signs of infestation.
Alternative Design Considerations:
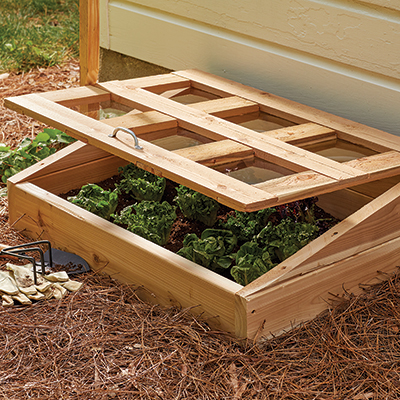
- Lean-to Cold Frame: Build your cold frame against a south-facing wall for added warmth and protection.
- Cold Frame with Automatic Vent Opener: Install an automatic vent opener that automatically opens and closes the lid based on temperature.
Enjoying the Fruits (and Vegetables!) of Your Labor
Building a cold frame is a rewarding project that will bring you closer to self-sufficiency and allow you to enjoy fresh, homegrown food earlier in the spring. With a little planning and effort, you can create a thriving mini-ecosystem that will nourish your body and soul. The satisfaction of harvesting your own salad greens in early spring is truly unbeatable!
Now it's your turn! Get out there, gather your materials, and start building your own low-cost, insulated cold frame. We can't wait to see what you create!
Share your cold frame creations on social media using #BetterHomesAndHarvestsColdFrame! And don't hesitate to ask questions, share your stories, and leave comments below. Happy homesteading!
Relevant internal links:
- Gardening Tips: [insert link to gardening tips article on Better Homes and Harvests website]
- Self-Sufficiency Guide: [insert link to self-sufficiency guide article on Better Homes and Harvests website]