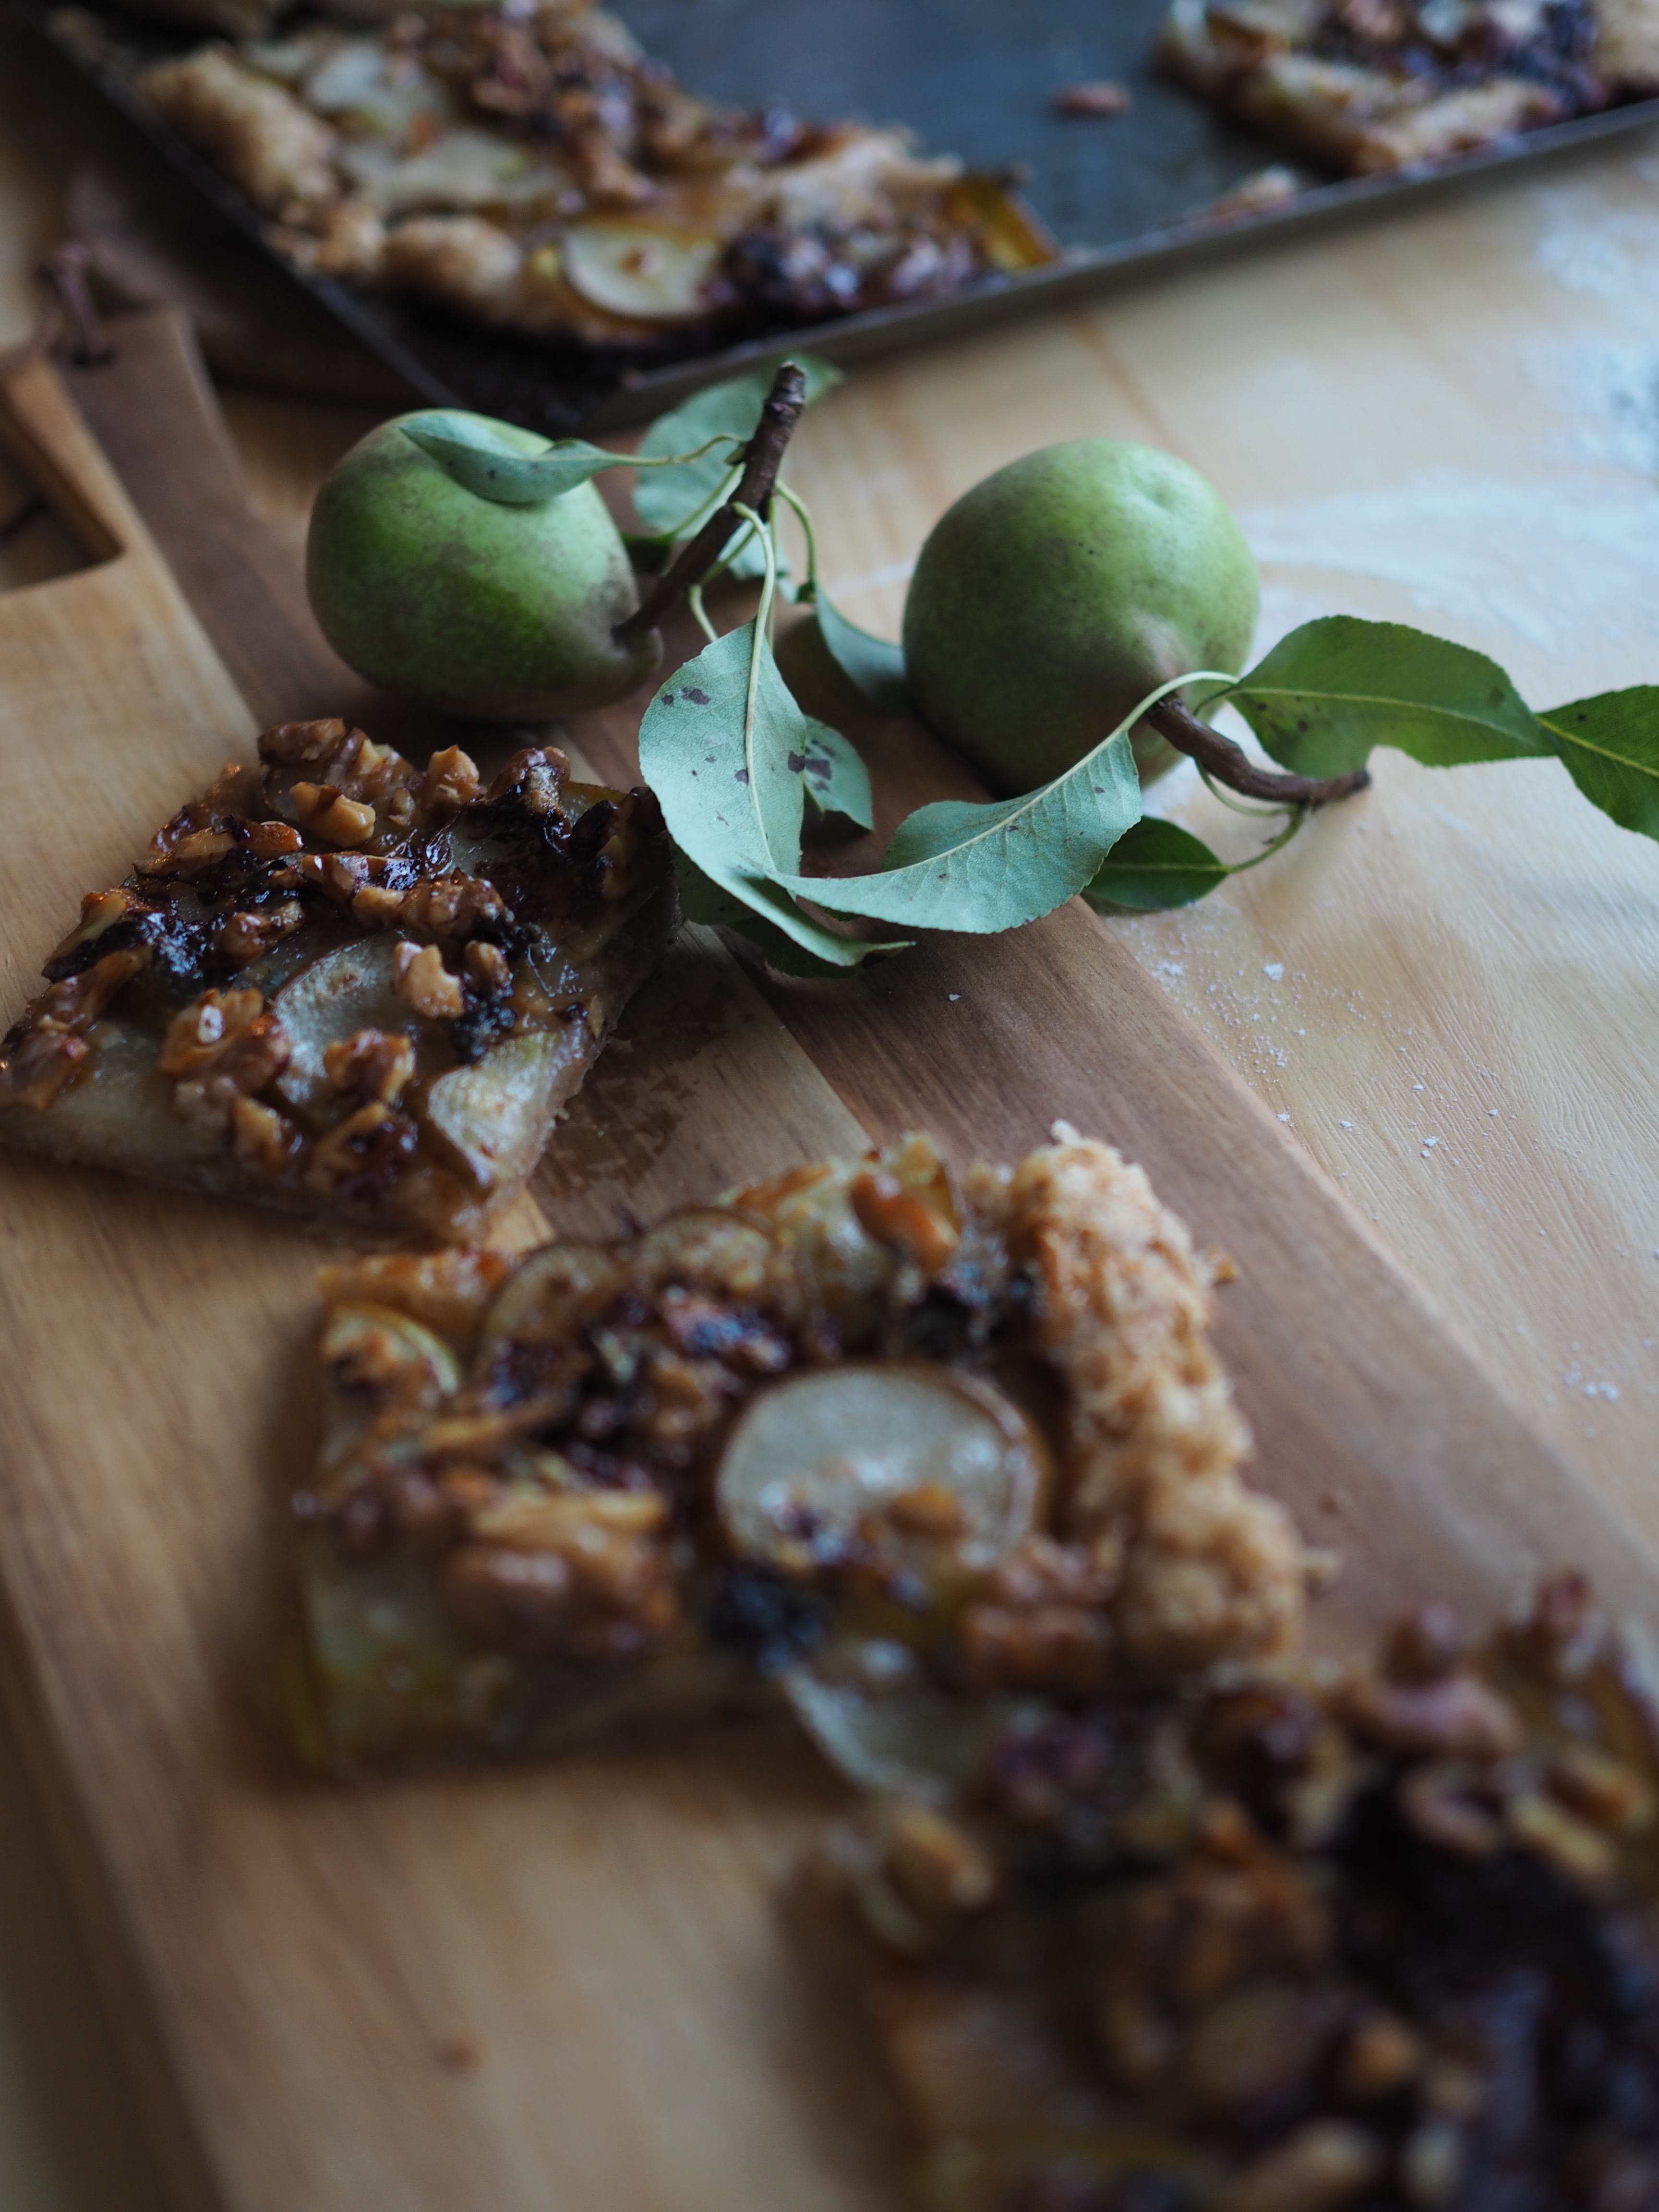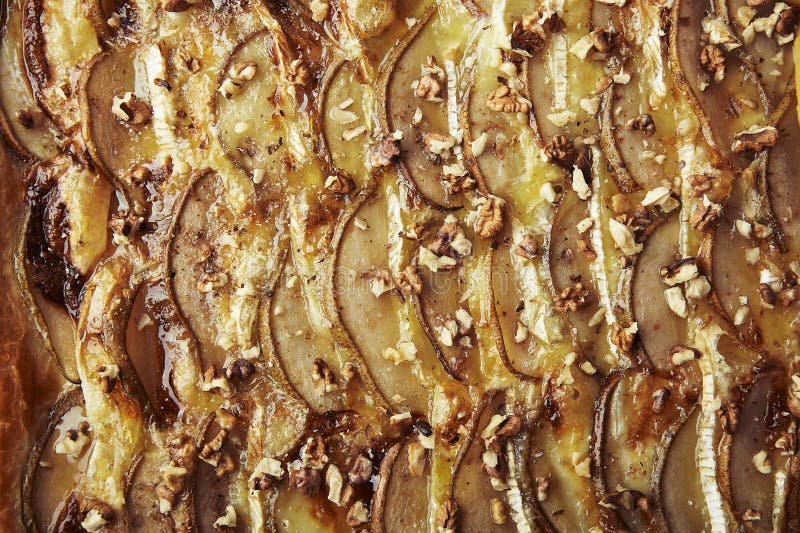
Honey-Kissed Pear Galette: Easy Fall Baking with Pantry Staples
The air is crisp, the leaves are turning a glorious tapestry of reds and golds, and the scent of cinnamon hangs in the air. It's pear season at Better Homes and Harvests, and that means our little orchard is overflowing with ripe, juicy fruit. There's nothing quite like the feeling of pulling a perfectly ripe pear from the branch, its skin warm from the autumn sun. While some find their way into lunchboxes and snacking bowls, a good portion of our pear bounty always ends up in something special: a rustic, free-form galette. This Honey-Kissed Pear Galette is the perfect way to celebrate the season's sweetness, with minimal fuss and maximum flavor.

Why You’ll Love This Recipe: Effortless Elegance
This isn’t your grandmother’s meticulously crimped pie. This Honey-Kissed Pear Galette embraces the beauty of imperfection. It’s a recipe that’s incredibly forgiving, making it perfect for beginner bakers and seasoned pros alike. But beyond its simplicity, here’s why this galette will quickly become a fall favorite:
- Effortless Baking: The rustic nature of a galette means no struggling with a perfect pie crust. A few simple folds and pleats create a beautiful and delicious dessert.
- Pantry-Friendly: This recipe relies on pantry staples, making it a convenient option when you're craving something sweet but don't want to make a trip to the store.
- Versatile: Feel free to experiment! Use different nuts, spices, or even other fruits depending on what you have on hand. Apples, cranberries, or even a mix of berries would be delightful.
- Perfect for Any Occasion: Whether it's a weeknight treat, a casual gathering with friends, or a cozy weekend dessert, this galette fits the bill.
- Allergy-Friendly Options: Easily adapt this recipe for dietary restrictions. Use a gluten-free flour blend for a gluten-free version, and maple syrup can replace honey for a vegan alternative.
Ingredients List: Simple & Seasonal
Here’s what you’ll need to create this autumnal masterpiece:
For the Crust:
- 1 ¼ cups all-purpose flour (or gluten-free blend)
- ½ teaspoon salt
- ½ cup (1 stick) unsalted butter, very cold and cut into cubes
- ¼ cup ice water
- 1 tablespoon granulated sugar (optional)
For the Filling:
- 3 ripe pears (Bosc, Anjou, or Bartlett work well), peeled, cored, and sliced
- ¼ cup packed light brown sugar
- ¼ cup walnuts, roughly chopped
- 1 teaspoon ground cinnamon
- ¼ teaspoon ground nutmeg
- ⅛ teaspoon ground ginger
- 1 tablespoon lemon juice
- 2 tablespoons honey (plus extra for drizzling)
For the Egg Wash/Drizzle:
- 1 egg, lightly beaten
- Honey, for drizzling
Sourcing Tips:
- We source our pears from our own small orchard, but local farmers' markets are a fantastic alternative.
- Walnuts are often available in bulk bins at health food stores, allowing you to buy just what you need.
- Our honey comes from a local beekeeper, ensuring its quality and supporting local agriculture.
Storage Tips:
- Unused flour should be stored in an airtight container in a cool, dry place.
- Store leftover chopped walnuts in the freezer to prevent them from going rancid.
Step-by-Step Instructions: Baking Made Easy
Follow these simple steps to create your Honey-Kissed Pear Galette:
Making the Crust:
Combine Dry Ingredients: In a medium bowl, whisk together the flour, salt, and sugar (if using).
Cut in the Butter: Add the cold, cubed butter to the flour mixture. Use a pastry blender or your fingertips to cut the butter into the flour until the mixture resembles coarse crumbs with some pea-sized pieces of butter remaining.
- Tip: The key to a flaky crust is to keep the butter cold! If your hands are warm, try using a pastry blender or food processor.
Add the Water: Gradually add the ice water, one tablespoon at a time, mixing lightly after each addition. Continue mixing until the dough just comes together. It should be slightly shaggy, but not sticky.
Shape and Chill: Gently flatten the dough into a disc, wrap it tightly in plastic wrap, and refrigerate for at least 30 minutes (or up to 2 hours). This chilling time allows the gluten to relax, resulting in a more tender crust.
Preparing the Filling:
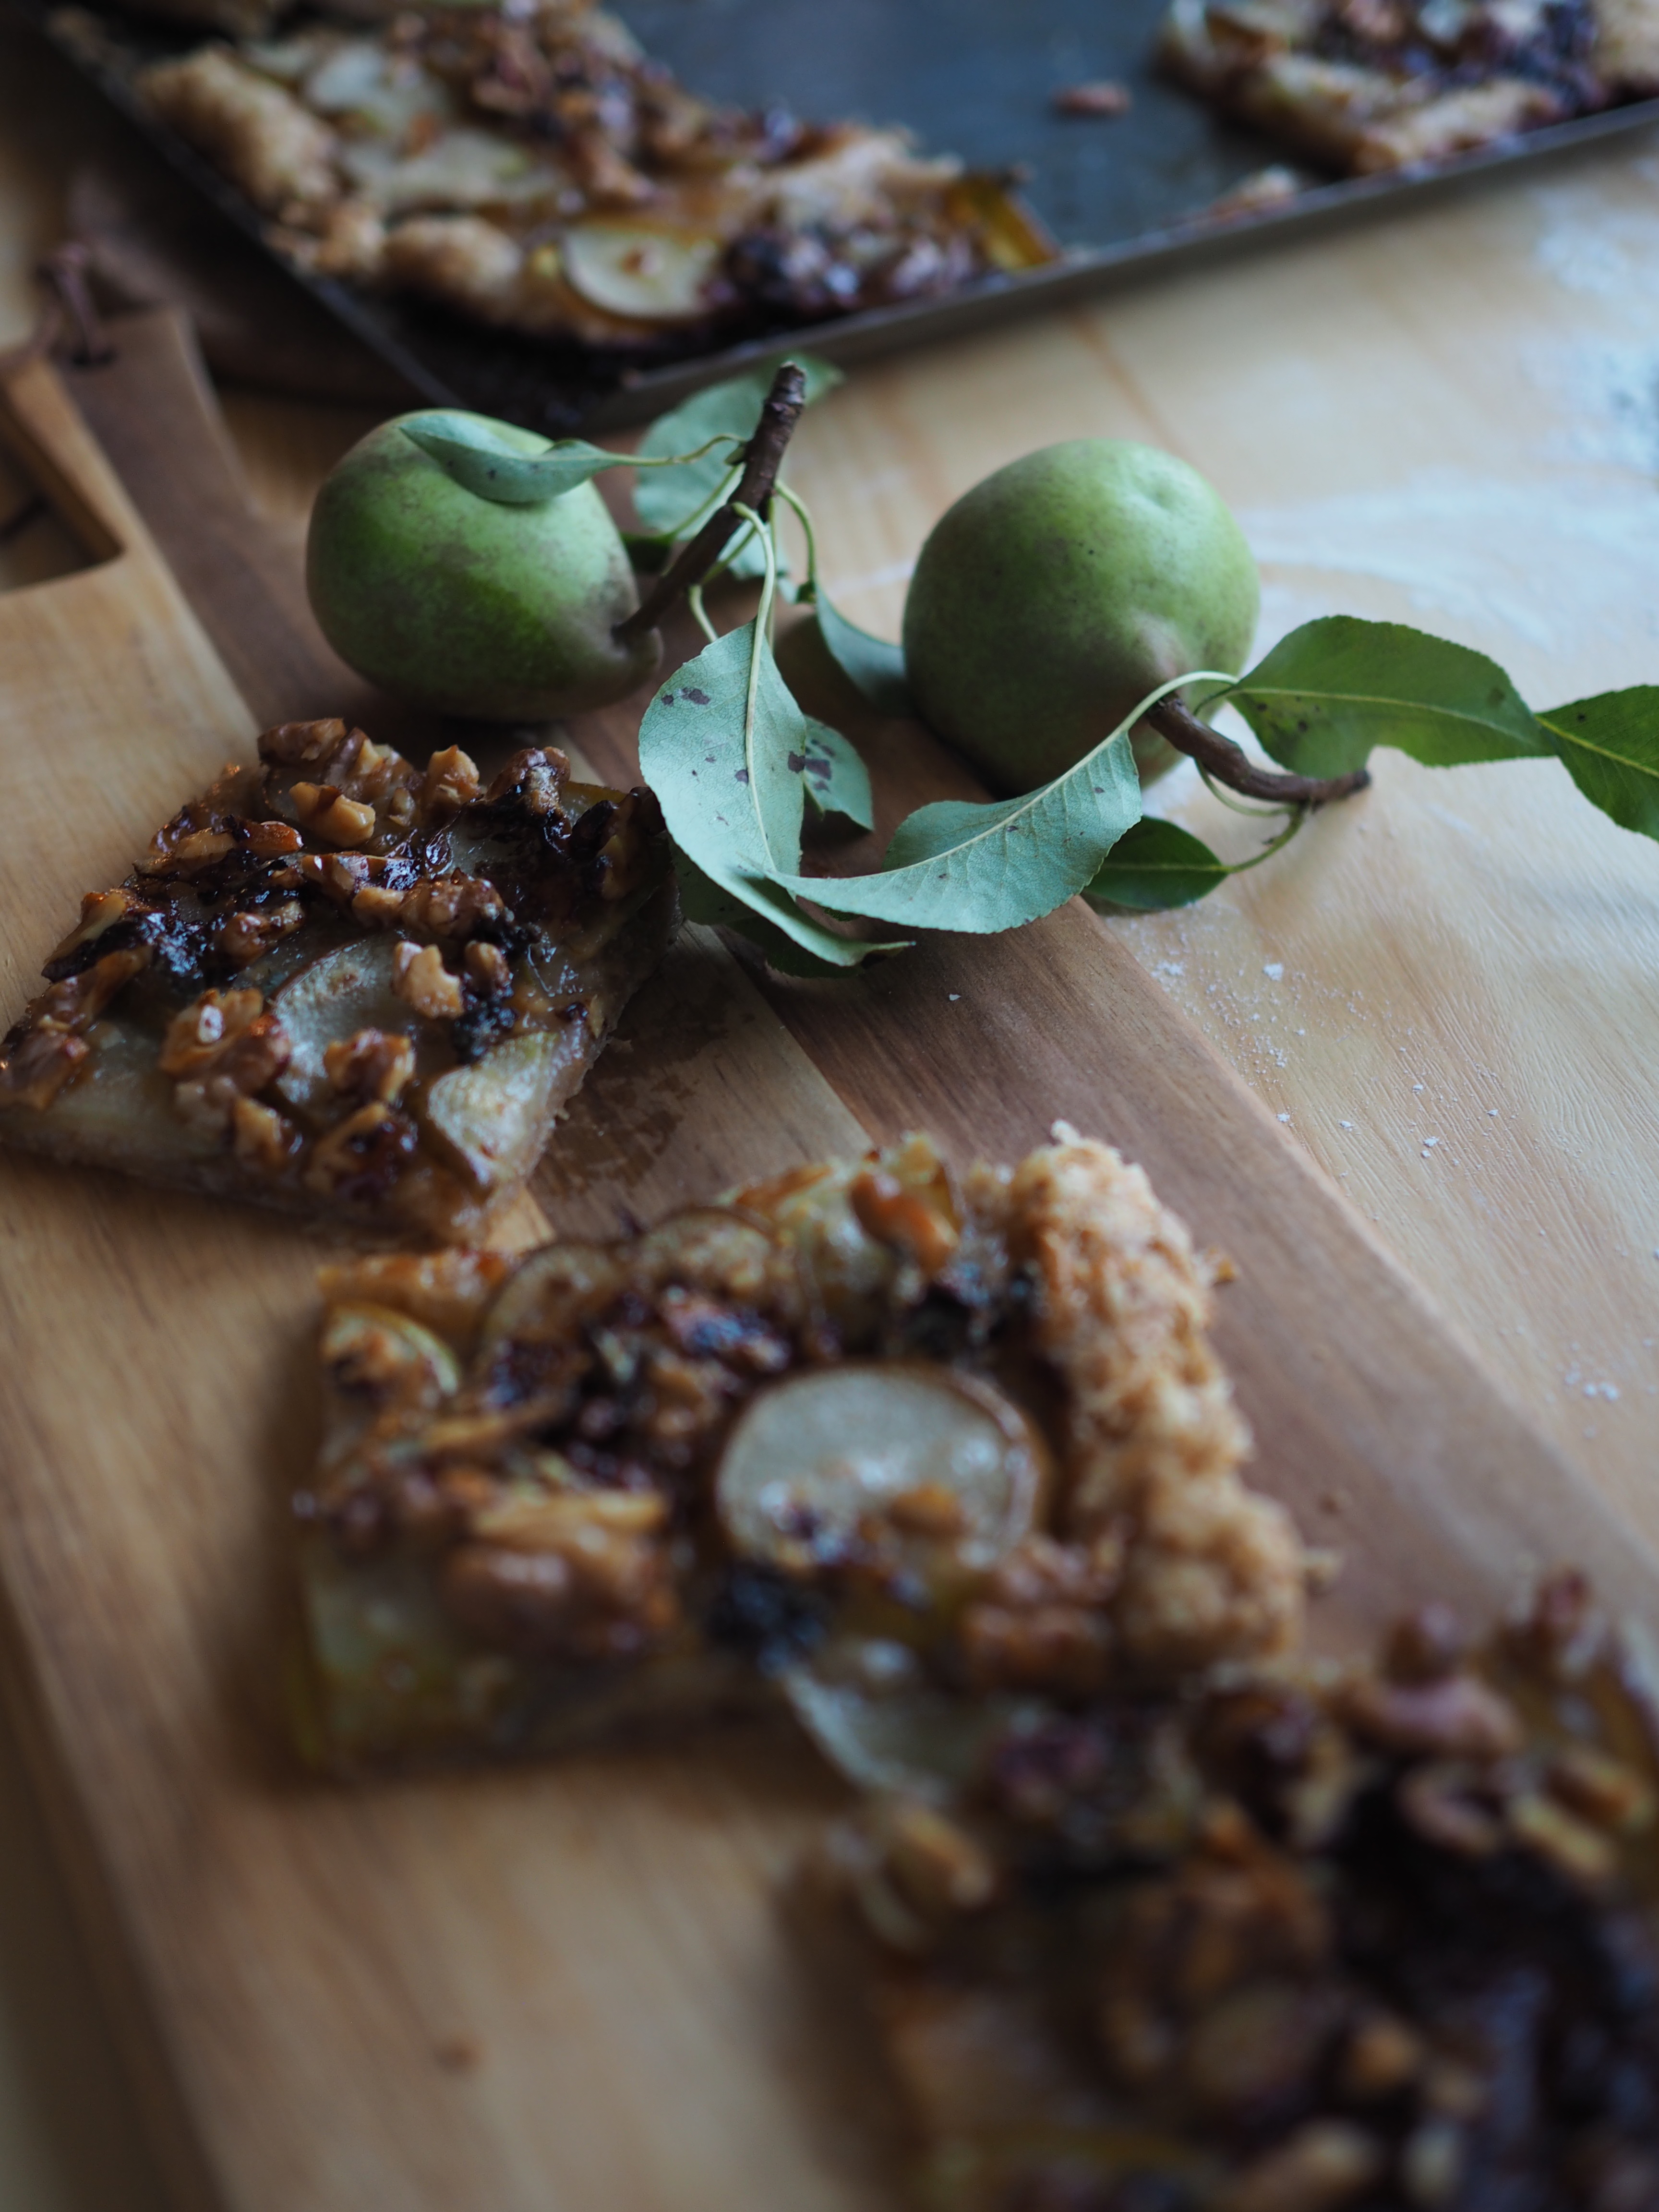
Prepare the Pears: Peel, core, and thinly slice the pears. A mandoline can be helpful for achieving even slices, but a sharp knife works just fine.
Combine Filling Ingredients: In a large bowl, gently toss the sliced pears with the brown sugar, chopped walnuts, cinnamon, nutmeg, ginger, and lemon juice.
- Tip: Don't overdo it with the sugar! The natural sweetness of the pears should be the star of the show.
Assembling and Baking:
Preheat and Prepare: Preheat your oven to 375°F (190°C). Line a baking sheet with parchment paper.
Roll Out the Dough: On a lightly floured surface, roll out the chilled dough into a circle approximately 12 inches in diameter. Don't worry about making it perfectly round; the rustic look is part of the charm.
Transfer to Baking Sheet: Carefully transfer the rolled-out dough to the prepared baking sheet.
Arrange the Filling: Arrange the pear mixture in the center of the dough, leaving a 2-inch border around the edge.
Fold the Edges: Gently fold the edges of the dough over the filling, pleating as you go to create a rustic border. Press gently to seal the pleats.
Brush with Egg Wash: Brush the crust with the lightly beaten egg wash. This will give it a beautiful golden-brown color.
Bake: Bake for 35-40 minutes, or until the crust is golden brown and the pears are tender. If the crust starts to brown too quickly, you can loosely cover it with foil.
Drizzle with Honey: Once the galette is out of the oven, drizzle it generously with honey.
Cool Slightly: Let the galette cool slightly on the baking sheet before slicing and serving.
Serving Suggestions: Warm & Wonderful
This Honey-Kissed Pear Galette is best enjoyed warm, with a scoop of vanilla ice cream, a dollop of whipped cream, or a spoonful of creamy Greek yogurt. It pairs perfectly with a cup of herbal tea, a glass of spiced apple cider, or even a light dessert wine. For an extra touch of elegance, dust it with powdered sugar just before serving. Serve this treat for dessert, brunch, or even a special breakfast on a crisp autumn morning. Its simple elegance makes it versatile for any occasion!
A Harvest Reflection & Invitation
As the days grow shorter and the nights get cooler, there’s nothing quite like the warmth of a freshly baked treat to bring comfort and joy. This Honey-Kissed Pear Galette is a simple yet elegant way to celebrate the bounty of the season and connect with the rhythms of the harvest. Embrace the rustic charm of this free-form dessert and don’t be afraid to experiment with different variations.
And remember those pear scraps? Don't toss them! Add them to your compost pile to enrich your garden soil for next year's harvest. Even better, use the pear cores and peels to make a flavorful pear stock - the perfect base for a seasonal soup or sauce!
Now, it's your turn. Bake this galette, share it with loved ones, and savor the sweet flavors of autumn.
What are your favorite fall baking traditions? Share them in the comments below! And don't forget to share your Spiced Pear & Walnut Galette creations on Instagram using #BetterHomesHarvestGalette – we can't wait to see what you bake!
