
Hearthside Herb Magic: Creating a Cottagecore Drying Station in Your Farmhouse Kitchen
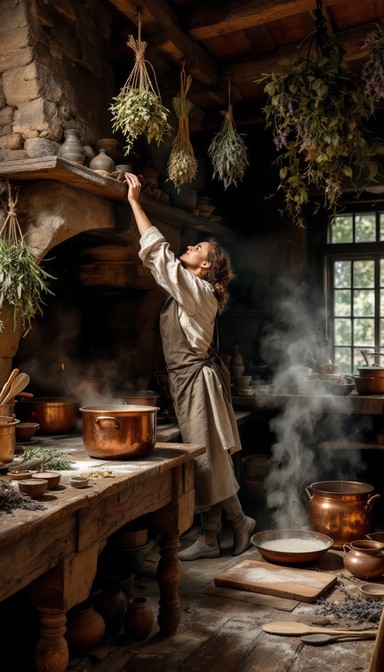
Transport yourself to a simpler time with a DIY herb-drying station that's as charming as it is practical. Breathe new life into your farmhouse kitchen by creating a beautiful and fragrant herb-drying setup, inspired by the timeless beauty of cottagecore aesthetics. Imagine the gentle scent of lavender filling the air, the soft glow of fairy lights illuminating drying chamomile, and the satisfaction of using homegrown herbs in your culinary creations. This post will guide you through every step of the process, ensuring a delightful and rewarding experience.
1. Herb Selection & Preparation: The Heart of Your Drying Station
Before diving into the aesthetics, let's focus on the herbs themselves. The best herb drying station starts with the best herbs! We'll use chamomile, lavender, rosemary, and thyme – all readily available at local nurseries or, even better, harvested directly from your own garden. Consider these herbs as your starting point, and feel free to expand your selection based on your preferences and what grows well in your area.
Harvesting for Success
Timing is key! Harvest your herbs early in the morning, after the dew has completely dried. This ensures the highest concentration of essential oils, which translates to a more potent flavor and aroma in your dried herbs.
Gentle Cleansing
Once harvested, gently wash the herbs to remove any dirt or debris. Pat them dry with a clean, soft cloth. Removing excess moisture at this stage will significantly reduce the risk of mold growth during the drying process.
Preparing for Perfection
Carefully inspect each sprig and remove any damaged or discolored leaves. These leaves won't dry properly and can compromise the quality of your entire batch. Don't discard them! These can be used immediately in cooking or infused in oils.

2. Repurposed Display: Bringing Cottagecore Charm to Life
Now for the fun part: creating the actual drying station! The goal here is to blend practicality with cottagecore aesthetics, using repurposed items to add character and charm.
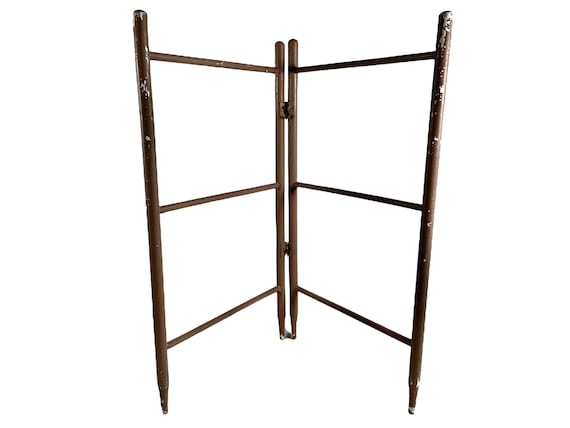
Antique Clothes Drying Rack: The Centerpiece
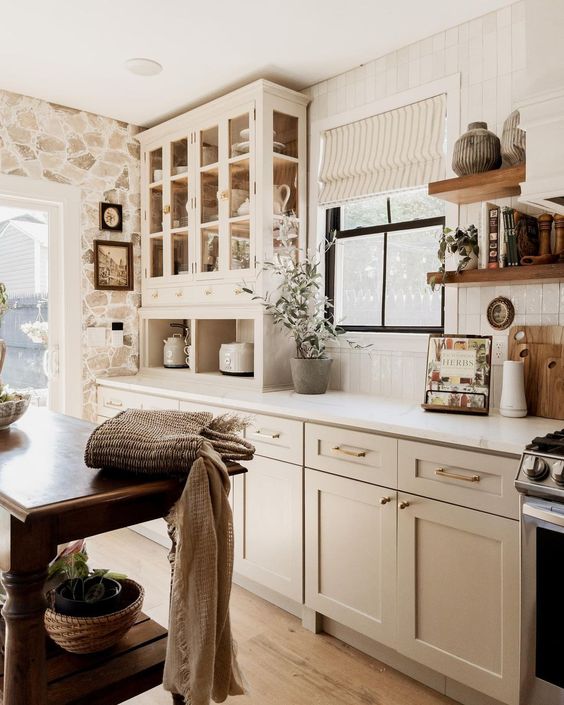
If you're lucky enough to have an antique wooden clothes drying rack, you've already won half the battle. Position it near a sunny window in your kitchen. The natural light will aid in the drying process, and the rack itself will serve as a stunning focal point. If an antique isn't available, a newer wooden rack can be distressed with sandpaper for a more vintage look.
Vintage Metal Buckets: A Touch of Rustic Elegance

Source small, vintage metal buckets (think galvanized steel or enamelware) from flea markets or antique stores. Hang them from the drying rack using S-hooks. Place small, loosely packed bundles of lavender and chamomile in these buckets. This not only looks beautiful but also allows for good air circulation.
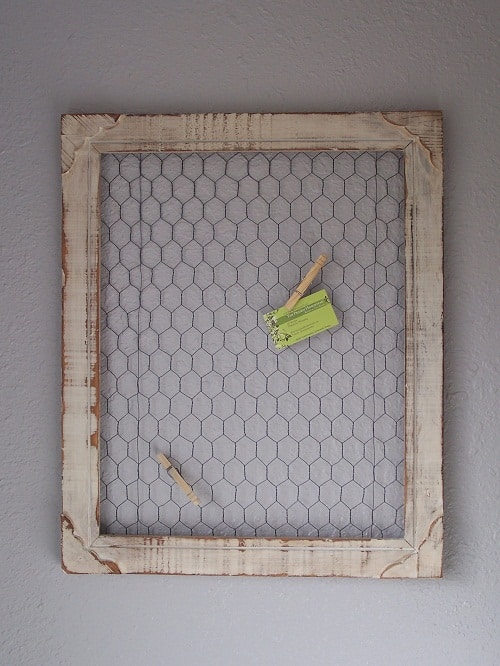
Chicken Wire Panel: Rustic Backdrop & Practical Hanger
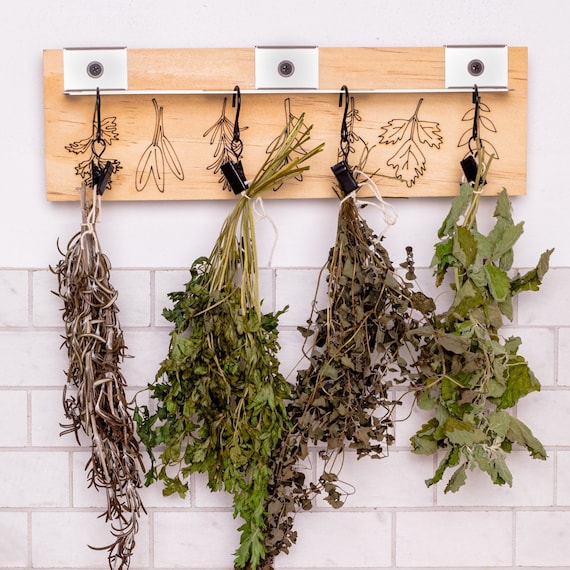
Create a rustic backdrop by attaching a section of chicken wire to the wall behind the drying rack. A reclaimed wooden frame adds even more character. Use clothespins to hang individual rosemary and thyme sprigs. The chicken wire provides ample space for air to circulate around the herbs, promoting even drying.
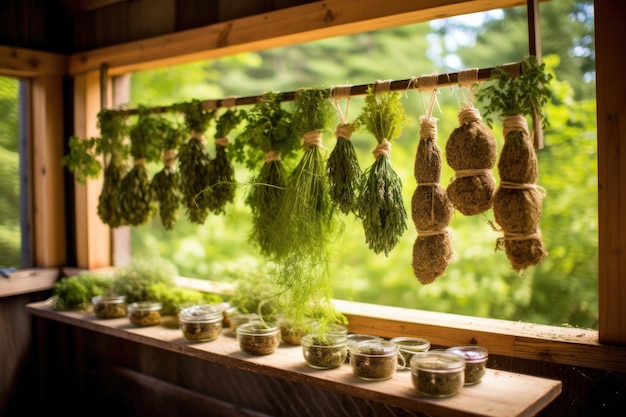
Canning Jar Bundles: Tidy & Charming
For larger herb bundles, tie them securely with twine (natural jute twine is ideal) and suspend them from the rafters (if you have exposed beams) or from the drying rack using more twine. To add a touch of tidiness and visual appeal, place the bundles inside upcycled vintage canning jars. This prevents any herbs from falling and keeps things organized.
3. Cottagecore Styling: The Finishing Touches
Embrace the cottagecore aesthetic with these carefully curated details:
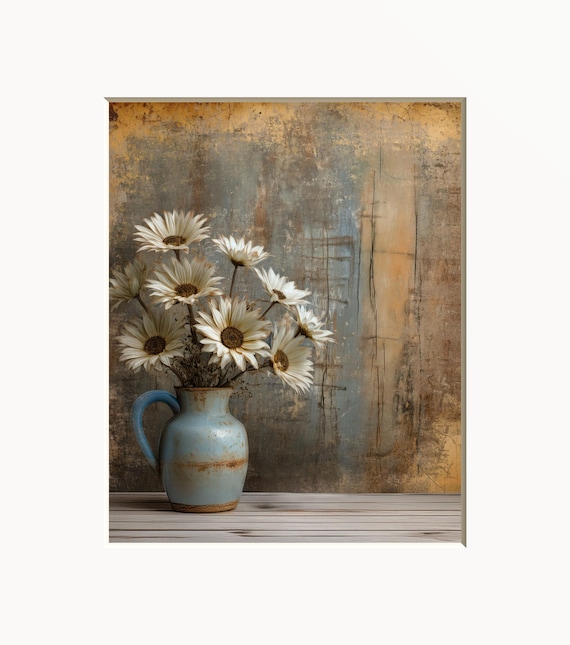
Color Palette: Muted & Natural
Stick to a muted color palette of greens, browns, and creams. Think aged wood, dried herbs, and natural fabrics. Use ivory-colored twine to tie the herbs, reinforcing the natural, understated elegance.
Fabric Accents: A Touch of Softness
Drape a linen tea towel over one section of the drying rack. Choose a towel in a muted green or cream color with a simple floral pattern. This adds a touch of softness and visual interest.
Lighting: Warmth & Magic
Natural light is essential for drying herbs properly. Supplement with warm-toned fairy lights woven through the drying rack for a magical evening glow. The soft light enhances the nostalgic and inviting atmosphere.
4. Sensory Experience: More Than Just Drying Herbs
This isn't just about drying herbs; it's about creating a holistic sensory experience.
Aroma
The aroma of drying chamomile and lavender will fill your kitchen with a calming and relaxing fragrance. This natural aromatherapy can help reduce stress and promote a sense of well-being.
Visual Texture
The visual texture of the herbs and repurposed materials creates a comforting, nostalgic atmosphere. The varying shapes, sizes, and colors of the herbs add depth and interest to your kitchen décor.
Touch
The touch of the dried herbs provides a grounding connection to nature. Running your fingers through the dried leaves releases their fragrance and provides a tactile experience that connects you to the earth.
Tips for Successful Herb Drying:
- Air Circulation is Key: Ensure good air circulation around the herbs to prevent mold growth. Avoid overcrowding the drying station.
- Low Humidity: Aim for a low-humidity environment. If your kitchen is particularly humid, consider using a dehumidifier.
- Avoid Direct Sunlight: While sunlight is helpful, direct sunlight can bleach the herbs and reduce their flavor. Filtered light is ideal.
- Drying Time: Drying time will vary depending on the herb and the humidity levels, but generally, it takes 1-3 weeks. The herbs are dry when the leaves crumble easily.
Storing Your Dried Herbs:
Once the herbs are completely dry, store them in airtight containers in a cool, dark place. Glass jars are ideal. Properly stored dried herbs can last for up to a year.
From Drying Station to Table: Culinary Uses
Don't forget the most important part – using your homegrown, dried herbs! Sprinkle rosemary on roasted potatoes, add thyme to soups and stews, infuse lavender into baked goods, or steep chamomile for a calming tea. The possibilities are endless.
Conclusion: A Touch of Farmhouse Magic
Crafting a hearthside herb-drying station is a simple yet rewarding way to bring the warmth and charm of the farmhouse into your home. It combines practicality with beauty, creating a space that nourishes both body and soul. By repurposing vintage items and incorporating natural elements, you can create a truly unique and enchanting addition to your farmhouse kitchen. Remember, the key is to embrace the process, experiment with different herbs and styling techniques, and create a space that reflects your personal taste and style.
Call to Action: Share Your Hearthside Herb Magic!
We'd love to see your own herb-drying setups! Share your creations using #FarmhouseHerbMagic and #BHHLiving. Let's inspire each other to create warm, rustic, and sustainable homes. Visit BHHLiving.com for more farmhouse inspiration and DIY projects!