Harvesting Joy: 5 Simple Ways to Preserve Your Late Summer Bounty and Brighten Your Winter Days
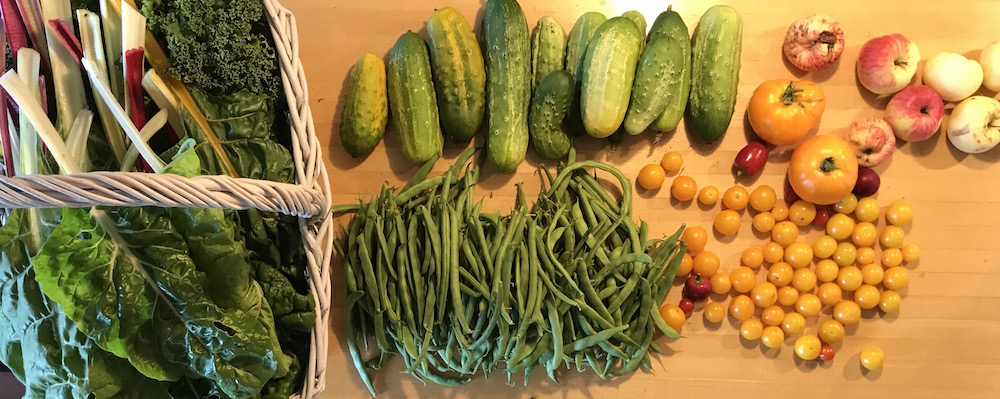
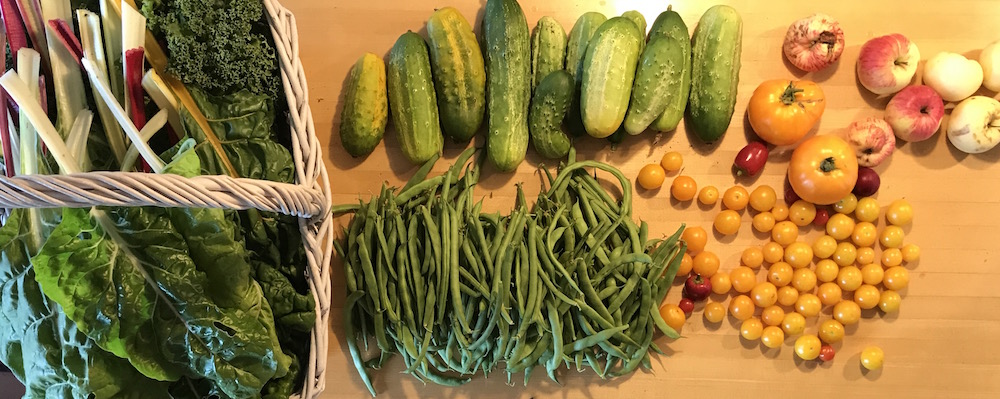
The late afternoon sun, a painter of gold, casts long shadows across the garden rows. The air, still warm, carries the intoxicating perfume of ripe tomatoes, mingled with the earthy scent of freshly turned soil. Bees hum a drowsy tune as they flit from fading blossom to plump berry. It's a scene of abundance, a symphony of late summer's generosity. And you, dear friend, with overflowing baskets and dirt-stained hands, stand in the heart of it all.
But this abundance doesn't have to end with the first frost. Imagine opening your pantry on a snowy January day, reaching for a jar of sunshine-yellow tomato sauce, or steeping a cup of homegrown peppermint tea, the aroma instantly transporting you back to these sun-drenched days. It's possible, and easier than you think! With a few simple techniques, you can capture the essence of summer's bounty and savor it throughout the long winter months. Let’s dive into 5 ways to preserve the fruits (and vegetables!) of your labor, bringing warmth and flavor to your table all year long.

1. Canning: Bottling Summer's Goodness
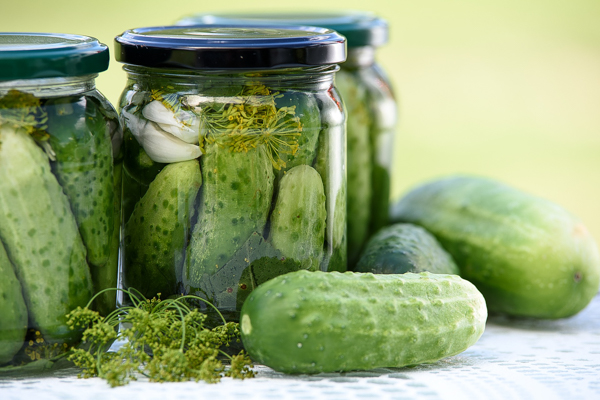
Canning is a classic method for preserving fruits, vegetables, and even meats. It involves sealing food in sterilized jars and heating them to a temperature that destroys harmful microorganisms, creating a vacuum seal that prevents spoilage.
Actionable Steps:
- Choose your recipe: Start with tested recipes from reputable sources like the Ball Blue Book or the USDA Complete Guide to Home Canning. These recipes ensure proper acidity and processing times for safe canning.
- Sterilize your jars: Wash jars, lids, and rings in hot, soapy water. Then, sterilize the jars by boiling them for 10 minutes.
- Prepare your food: Wash, chop, and prepare your fruits or vegetables according to your chosen recipe.
- Pack the jars: Fill the sterilized jars with the prepared food, leaving the recommended headspace (usually ½ inch to 1 inch).
- Process the jars: Place the filled jars in a boiling water bath canner or a pressure canner, following the processing time specified in your recipe.
- Cool and check the seals: After processing, let the jars cool completely. Check the seals by pressing down on the center of each lid. If the lid doesn't flex, it's sealed properly.
Personal Anecdote: I’ll never forget my first attempt at canning tomato sauce. I was so excited to use my homegrown tomatoes, but I didn't follow the recipe exactly. The sauce was delicious, but a few jars didn't seal properly. Now, I'm meticulous about following tested recipes! I also started composting the tomato scraps!

2. Freezing: A Quick and Convenient Option
Freezing is a simple and effective way to preserve many fruits and vegetables. It's especially great for items that you plan to use in cooked dishes.
Actionable Steps:
- Blanching (for most vegetables): Blanching involves briefly boiling or steaming vegetables before freezing them. This helps to stop enzyme activity that can cause them to lose color, flavor, and texture during freezing.
- Prepare your produce: Wash, chop, and blanch your fruits or vegetables as needed.
- Cool quickly: After blanching, immediately cool the vegetables in an ice bath to stop the cooking process.
- Package properly: Pack the prepared food into freezer-safe bags or containers, removing as much air as possible.
- Label and date: Label each package with the contents and the date.
- Freeze quickly: Place the packages in the freezer in a single layer to ensure they freeze quickly.
Personal Anecdote: I love freezing berries! I simply wash them, spread them out on a baking sheet to freeze individually, and then transfer them to freezer bags. This way, I can easily grab a handful for smoothies or baking throughout the winter.
3. Drying Herbs: Capturing Aromatic Flavors
Drying herbs is a wonderful way to preserve their flavors and aromas for use in cooking, teas, and even homemade beauty products.
Actionable Steps:
- Air Drying:
- Harvest herbs in the morning after the dew has dried.
- Tie small bunches of herbs together with twine.
- Hang the bunches upside down in a cool, dark, and well-ventilated place.
- Allow the herbs to dry for several weeks, until they are brittle and crumbly.
- Using a Dehydrator:
- Wash and dry the herbs.
- Arrange the herbs in a single layer on the dehydrator trays.
- Set the dehydrator to the appropriate temperature (usually around 95-115°F) and dry for several hours, until the herbs are brittle.
- Air Drying:
Personal Anecdote: One year, I had a massive amount of basil. I decided to try drying it in my oven on the lowest setting. While it worked, I accidentally scorched a batch! Lesson learned: a dehydrator or air drying is much gentler.

4. Root Cellaring: Nature's Refrigerator
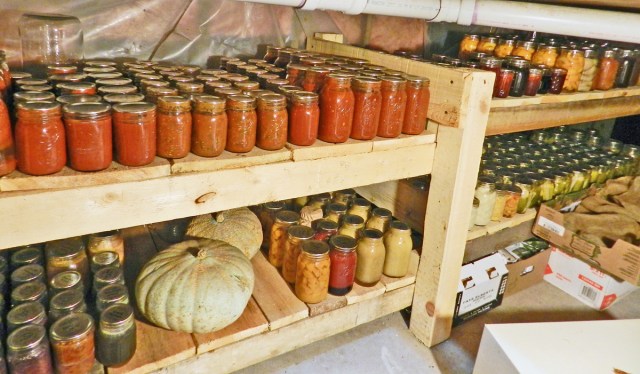
Root cellaring is an age-old method of storing root vegetables, fruits, and other produce in a cool, humid, and dark environment. It's a fantastic way to extend the harvest without using electricity.
Actionable Steps:
- Choose appropriate crops: Root cellaring works best for root vegetables like potatoes, carrots, beets, turnips, and parsnips, as well as apples, onions, and garlic.
- Harvest carefully: Harvest crops carefully, avoiding any bruising or damage.
- Prepare the storage space: A root cellar can be a dedicated room in your basement, a buried container, or even a simple hole in the ground. The ideal temperature is between 32-40°F, with high humidity.
- Store properly: Store root vegetables in bins of damp sand or sawdust to maintain moisture. Apples can be stored on shelves, spaced apart to prevent rotting. Onions and garlic should be hung in mesh bags.
Personal Anecdote: While I don't have a traditional root cellar, I utilize a cool, dark corner of my basement. I've found that storing potatoes in burlap sacks filled with sawdust helps them last much longer.
5. Making Jams and Jellies: Sweet Summer Memories
Turning your excess fruit into jams and jellies is a delicious way to preserve their flavors. There's nothing quite like spreading homemade strawberry jam on a warm piece of toast on a cold winter morning.
Actionable Steps:
- Choose your fruit: Select ripe, slightly underripe fruit for the best results.
- Prepare your fruit: Wash, chop, and cook the fruit according to your chosen recipe.
- Add pectin (if needed): Pectin is a natural substance that helps jams and jellies thicken. Some fruits, like apples and cranberries, are naturally high in pectin, while others require added pectin.
- Cook to the gel point: Cook the jam or jelly until it reaches the gel point, which is typically around 220°F.
- Canning: Using the same canning method described above (sterilized jars, proper headspace, and boiling water bath)
- Process the jars: Place the filled jars in a boiling water bath canner or a pressure canner, following the processing time specified in your recipe.
- Cool and check the seals: After processing, let the jars cool completely. Check the seals by pressing down on the center of each lid. If the lid doesn't flex, it's sealed properly.
Personal Anecdote: My grandmother's raspberry jam was legendary. She taught me her secret: a squeeze of lemon juice to brighten the flavor and enhance the color. Now, I always add lemon juice to my own raspberry jam.
Beyond the Garden: Sustainable Home Integration
These preserved treasures aren't just about stocking your pantry; they're about creating a more sustainable and fulfilling home environment. Imagine simmering a hearty vegetable soup with your frozen garden vegetables, brewing a soothing chamomile tea with your dried herbs, or gifting a jar of your homemade jam to a friend. Consider using dried herbs to create homemade bath salts or infused oils. Preserving the harvest connects you to the seasons, reduces food waste, and allows you to enjoy the fruits (and vegetables!) of your labor all year round. And you can link this into a broader theme of creating a sustainable home
Closing Reflection
As the days grow shorter and the leaves begin to turn, take heart in knowing that you have the power to capture the joy of summer and carry it with you through the winter. Embrace the abundance of the season, experiment with these preservation methods, and savor the satisfaction of self-sufficiency. Don't forget to compost your scraps to keep your organic gardening efforts cyclical.
Now is the perfect time to start planning your spring garden, dreaming of the next harvest. And, be sure to share your own preservation tips and experiences in the comments below! We’d love to hear what you’re working on.
For more seasonal tips and inspiration, subscribe to the Better Homes and Harvests newsletter! Let's cultivate a life of connection, creativity, and cozy living, together. And for a simple and tasty way to use some of those preserved vegetables, check out this delicious DIY soup recipe.