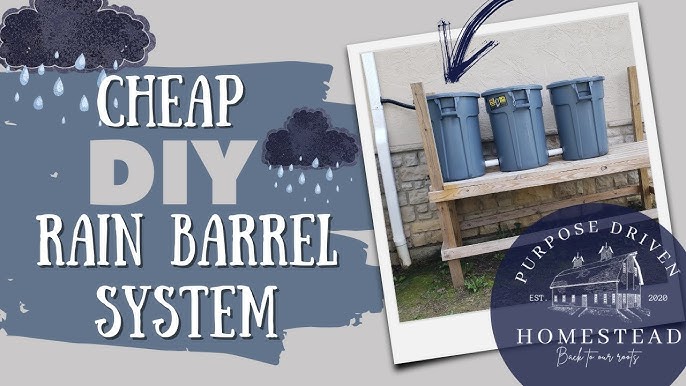
Harvest the Rain: Building a Simple & Affordable Rain Barrel System for Your Homestead
Remember that dry spell last summer? The one where your well started sputtering, and your tomatoes looked more like shriveled raisins than juicy fruits? I do. It was a wake-up call for me, a reminder that water, even in our relatively lush corner of the world, is a precious resource. That's when I decided to take control and start harvesting the rain. Building a DIY rain barrel system wasn't just about saving water; it was about increasing our homestead's resilience and becoming more self-sufficient. And you can do it too!
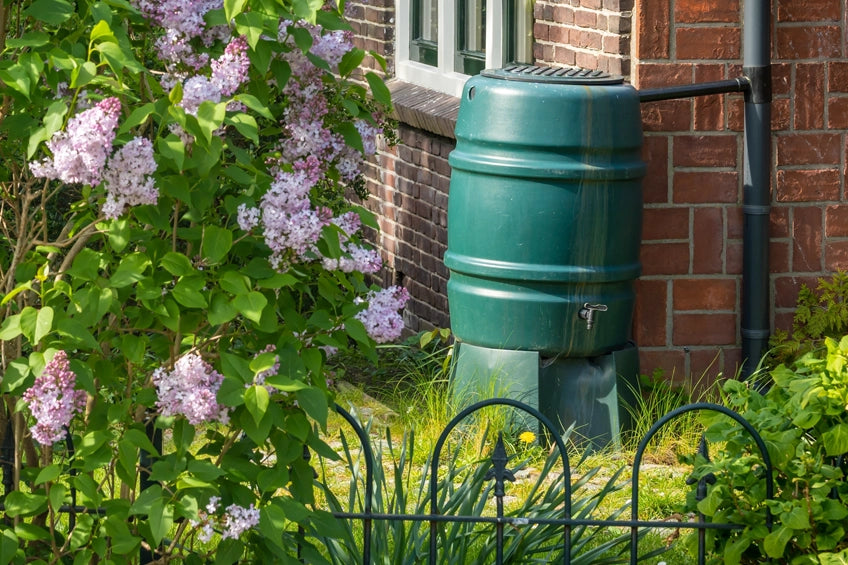
In this guide, I'll walk you through the steps to build a simple and affordable rain barrel system that will not only help you weather those dry spells but also save you money and contribute to a more sustainable way of life. Ready to ditch the guilt every time you water your garden? Let’s get started!
Why Harvest Rainwater? The Benefits of a Rain Barrel System
Before we dive into the nitty-gritty, let’s talk about the "why." Why should you bother with building a rain barrel system? Here are a few compelling reasons:
- Cost Savings: Municipal water bills can add up quickly, especially during the peak gardening season. Rainwater is free!
- Environmental Responsibility: Rainwater harvesting reduces your reliance on municipal water sources, conserving valuable resources and lessening the strain on local ecosystems.
- Better for Your Plants: Rainwater is naturally soft and free of chemicals like chlorine and fluoride, which can sometimes harm plants. Your garden will thank you!
- Increased Homestead Resilience: Having a backup water supply can be crucial during droughts or well issues. A rain barrel system provides a buffer, ensuring your garden and animals have the water they need.
- Contributes to Sustainable Gardening Water: By using rainwater, you reduce runoff, which helps prevent erosion and pollution in local waterways.
Step-by-Step Guide to Building Your Rain Barrel System
This guide focuses on building a single rain barrel system. You can easily adapt it to add more barrels for increased storage.
Materials You’ll Need (Focus on Affordability!):
- Food-Grade Plastic Barrel (55-gallon recommended): Check local listings (Craigslist, Facebook Marketplace) for used food-grade barrels. Food-grade is crucial to ensure no harmful chemicals leach into the water. A new one might set you back $50-80, but a used one can often be found for $20-40.
- Spigot: A standard garden hose spigot (brass or plastic) is fine. ($5-10)
- Bulkhead Fitting: To connect the spigot to the barrel. Make sure it matches the spigot size. ($5-10)
- Drill with Hole Saw Attachment: The size of the hole saw should match the diameter of your bulkhead fitting.
- Screening: To cover the inlet and prevent mosquitoes and debris from entering. Fiberglass window screen or hardware cloth works well.
- Downspout Diverter: This handy device diverts rainwater from your downspout into the barrel. ($15-30)
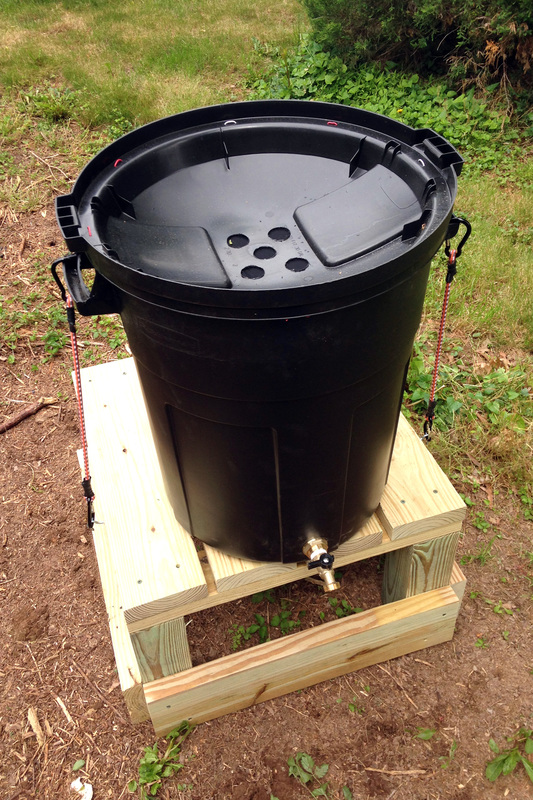
- Short Length of Hose: To connect the downspout diverter to the rain barrel.
- PVC Pipe and Fittings (Optional): To create an overflow system.
- Teflon Tape: For sealing threaded connections.
- Silicone Caulk (Optional): For extra sealing, especially around the bulkhead fitting.
- Gravel or Concrete Blocks: To elevate the rain barrel. Elevation provides gravity for better water pressure.
Tools You'll Need:
- Drill
- Hole Saw Attachment
- Wrench
- Screwdriver
- Measuring Tape
- Utility Knife or Scissors
Instructions:
Prepare the Barrel: Thoroughly clean the inside of the barrel with soap and water. Rinse it multiple times to remove any residue.
Drill the Spigot Hole: Measure and mark the location for the spigot near the bottom of the barrel. Use the hole saw attachment to drill a hole that is the correct size for your bulkhead fitting.
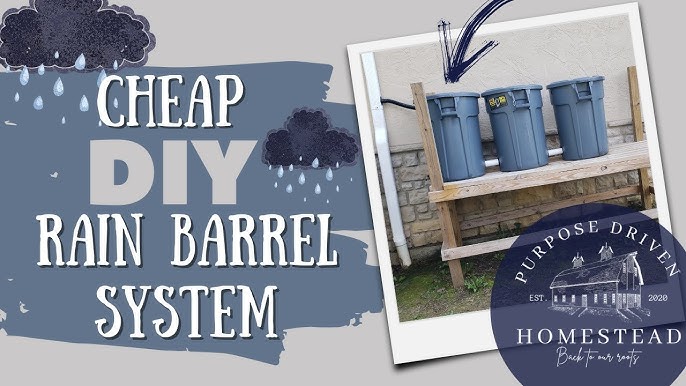
Install the Bulkhead Fitting and Spigot: Insert the bulkhead fitting into the hole. You may need to use silicone caulk to create a watertight seal. Tighten the fitting securely. Wrap Teflon tape around the threads of the spigot and screw it into the bulkhead fitting.
Create the Inlet: Cut a large hole in the top of the barrel. This will be where the water enters. Make sure the hole is large enough to accommodate the hose from the downspout diverter.
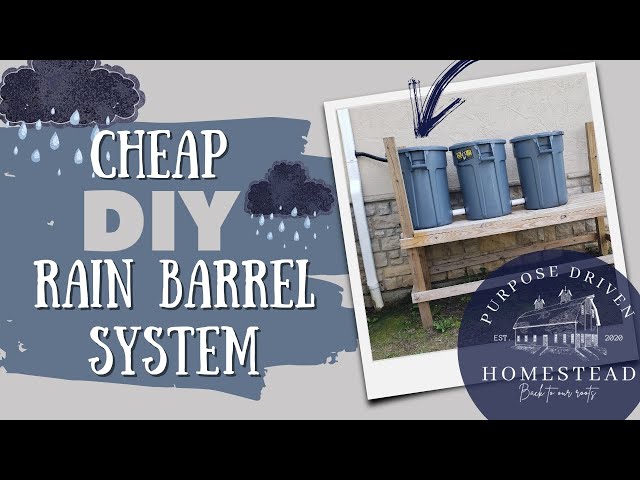
Install the Screening: Cover the inlet hole with screening to prevent mosquitoes and debris from entering the barrel. Secure the screening with heavy-duty tape or a clamp. You can also build a small wooden frame to hold the screen in place.
Install the Downspout Diverter: Cut your existing downspout and install the downspout diverter according to the manufacturer's instructions. Most diverters require you to cut a section out of the downspout and insert the diverter in its place.
Connect the Diverter to the Barrel: Connect the hose from the downspout diverter to the inlet hole on the top of the rain barrel.
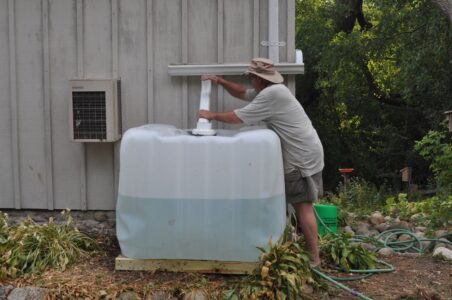
Elevate the Barrel: Place the rain barrel on concrete blocks or a gravel bed to elevate it. This will provide gravity for better water pressure when using the spigot.
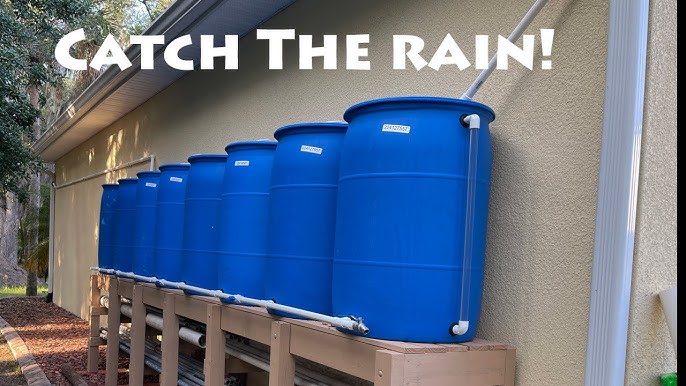
Optional: Install an Overflow System: If you anticipate heavy rainfall, install an overflow system to prevent the barrel from overflowing and potentially damaging your foundation. This can be as simple as a PVC pipe connected to a hole near the top of the barrel, directing excess water away from your house.
Safety Tips:
- Always use a food-grade barrel to avoid contamination.
- Elevate the barrel on a stable surface to prevent it from tipping over.
- Never drink the water from the rain barrel without filtering and disinfecting it. Rainwater is generally safe for gardening but not for human consumption unless properly treated.
- Be careful when drilling holes in the barrel. Wear safety glasses and gloves.
Troubleshooting & FAQs
- Algae Growth: Algae can grow in rain barrels, especially in sunny locations. To prevent algae growth, paint the outside of the barrel a dark color or place it in a shaded area. You can also add a small amount of copper sulfate to the water to inhibit algae growth (follow product instructions carefully).
- Mosquito Control: Mosquitoes can breed in standing water. To prevent mosquitoes, make sure the inlet is tightly screened and consider adding mosquito dunks (Bacillus thuringiensis israelensis or Bti) to the water. Bti is a natural and safe way to kill mosquito larvae.
- Winterizing: In cold climates, drain the rain barrel completely before winter to prevent it from freezing and cracking. Disconnect the downspout diverter and reconnect the downspout to allow water to flow away from your house.
- How do I connect multiple rain barrels? You can connect multiple rain barrels together using PVC pipe and fittings. Connect the barrels at the bottom with a pipe and install an overflow pipe on the last barrel in the series.
Embrace the Rain: A Call to Action
Building a rain barrel system is a simple yet impactful way to enhance the efficiency, resilience, and self-sufficiency of your homestead. It's a project that connects you to the rhythms of nature and empowers you to take control of your water resources. Don't just read about it; do it!
We want to hear about your experiences with rainwater harvesting! Share your tips, challenges, and successes in the comments section below. Post photos of your completed rain barrel systems on social media using the hashtag #BetterHomesHarvestRainwater.
And be sure to sign up for the "Better Homes and Harvests" newsletter for more homesteading tips, projects, and inspiration! Let's build a more sustainable future, one rain barrel at a time.