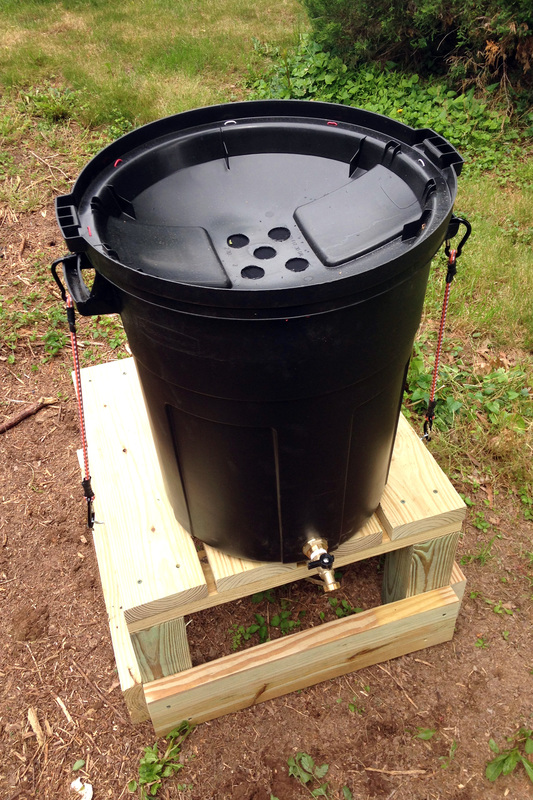
Harvest Rainwater, Save Money: DIY Rain Barrel for Homestead Water Conservation
Are you looking for a simple, effective way to embrace homestead water conservation, reduce your water bill, and lessen your reliance on municipal water? Building a DIY rain barrel system is the perfect weekend project to achieve just that! It's a fantastic starting point for beginner homesteaders interested in sustainable living and creating a more self-sufficient lifestyle. This guide will walk you through each step, transforming an ordinary barrel into a valuable rainwater harvesting system for your homestead.
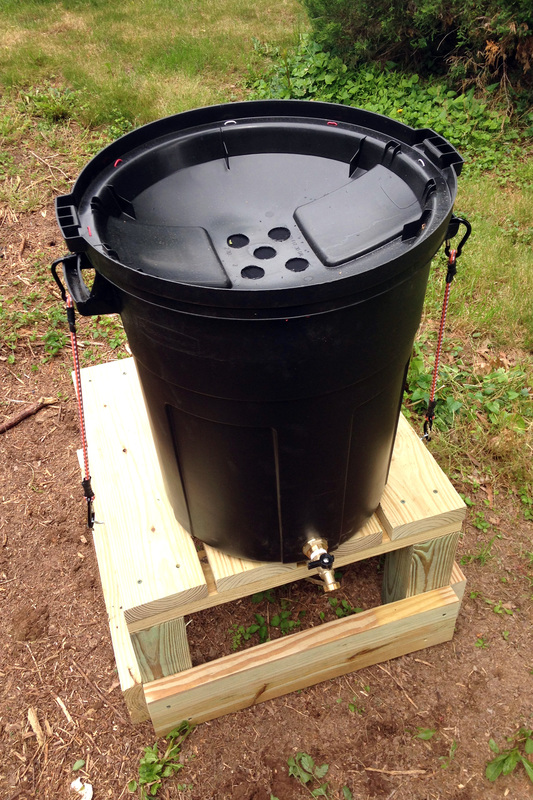
Like many of you, I was tired of watching precious rainwater run off my property and down the drain. The idea of capturing this resource to water my garden and reduce my water consumption was incredibly appealing. Building a rain barrel system was surprisingly straightforward, and the impact on my homestead's water security has been significant. I use it primarily for my vegetable garden, and it has noticeably reduced my water bill during the summer months. Plus, knowing I'm using naturally soft rainwater, free of chemicals, feels good.
Why Build a Rain Barrel System?
Before we dive into the how-to, let's quickly recap why building a rain barrel system is a worthwhile endeavor for any homestead:
- Water Conservation Homesteading: Capturing rainwater reduces your demand on municipal water sources, promoting conservation and responsible water usage.
- Reduce Water Bill Homestead: Using collected rainwater for gardening, washing tools, or other non-potable uses can significantly lower your water bill.
- Cost-Effective Rainwater Harvesting System: Building your own rain barrel system is significantly cheaper than purchasing a pre-made one.
- Sustainable Homesteading: Rainwater is a naturally soft, chemical-free water source that is ideal for plants.
- Homestead Water Security: Having a readily available water source can be crucial during droughts or water restrictions.
Assembling Your DIY Rain Barrel: Materials and Tools
For this project, you'll need the following readily available materials and tools:
- A Food-Grade Barrel: A 55-gallon plastic drum is ideal. Look for food-grade barrels (often used for transporting olives or pickles) to ensure the water is safe for your plants. You can often find these at local food processing plants or online marketplaces.
- Rain Barrel Diverter: This device connects to your downspout and directs rainwater into the barrel while preventing overflow.
- Spigot: A ¾-inch brass spigot will allow you to easily access the collected water.
- Bulkhead Fitting: This fitting will connect the spigot securely to the barrel.
- Hole Saw Kit: You'll need a hole saw to create openings for the diverter, spigot, and overflow.
- Drill: To power the hole saw and install the fittings.
- Screen Mesh: To cover the inlet and prevent mosquitoes and debris from entering the barrel.
- PVC Pipe and Fittings (for Overflow): To create an overflow system that directs excess water away from your foundation.
- Teflon Tape: To seal the threaded connections and prevent leaks.
- Safety Glasses: Protect your eyes from debris while drilling.
- Gloves: To protect your hands.
- Measuring Tape: For accurate placement of holes.
- Marking Pen: To mark drill locations.
Step-by-Step Guide to Building Your Rain Barrel
Now, let's get to the fun part – building your DIY rain barrel!
Step 1: Preparing the Barrel
- Clean the Barrel: Thoroughly clean the inside of the barrel with soap and water. Rinse it completely to remove any residue. This is especially important if it wasn't originally used for food-grade materials.
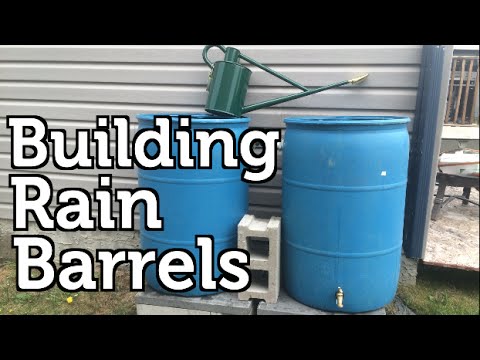
- Cut the Inlet Hole: Use your hole saw to cut a hole in the top of the barrel, sized according to the instructions for your rain barrel diverter. The location should be offset from the center to allow for easy access.
Step 2: Installing the Rain Barrel Diverter
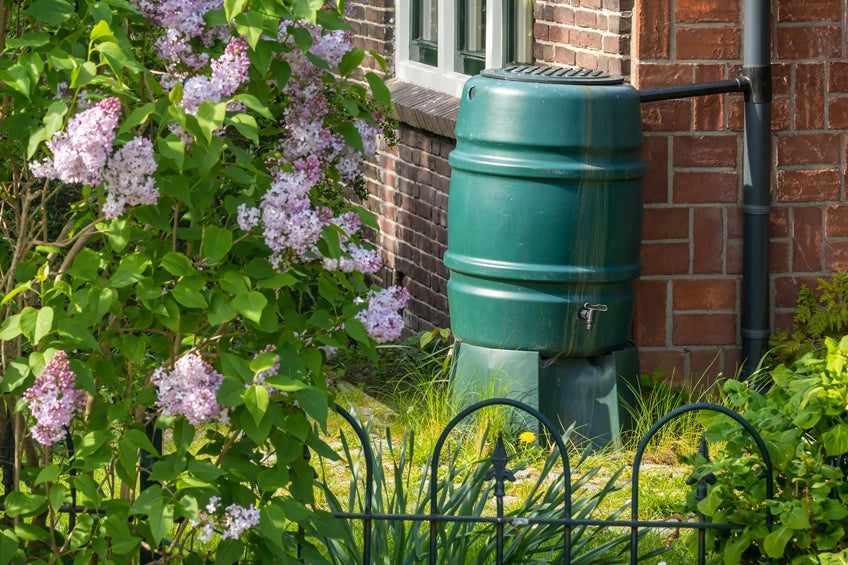
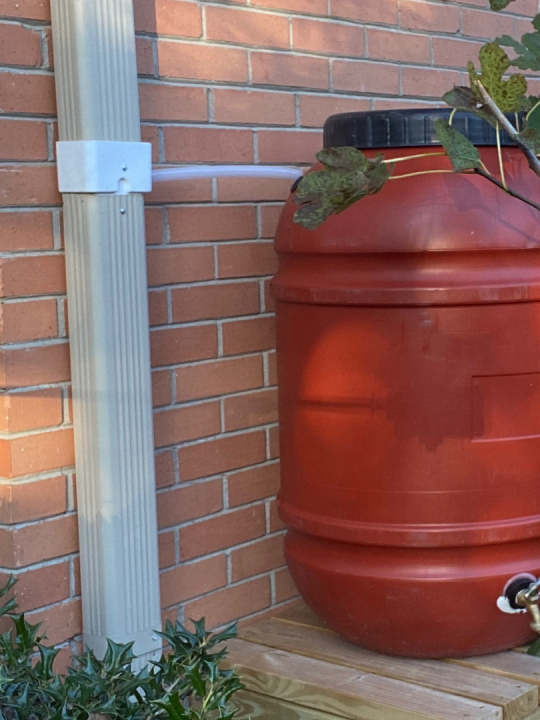
- Connect the Diverter: Follow the manufacturer's instructions to install the rain barrel diverter into your downspout. Typically, this involves cutting a section of your downspout and inserting the diverter. Ensure it is securely attached and properly aligned to direct water into the barrel.
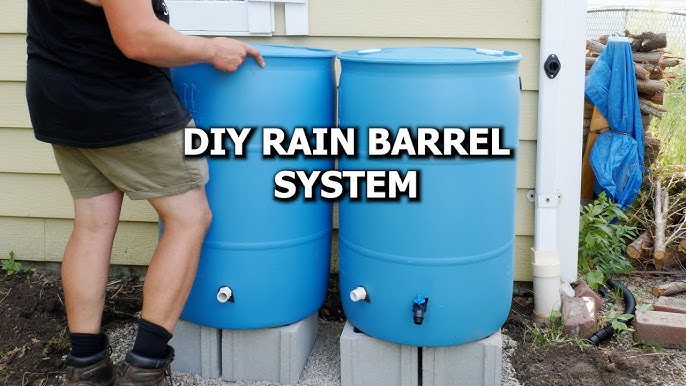
- Attach the Hose: Connect the hose from the diverter to the inlet hole on the top of the barrel. Secure it with clamps if necessary.
Step 3: Setting Up the Spigot
- Drill the Spigot Hole: Use your hole saw to drill a hole near the bottom of the barrel for the spigot. Ensure it's high enough to allow you to easily fill watering cans or attach a hose.
Install the Bulkhead Fitting: Insert the bulkhead fitting into the hole and tighten it securely according to the manufacturer's instructions.
Attach the Spigot: Wrap the threads of the spigot with Teflon tape and screw it into the bulkhead fitting. Tighten it until snug.
Step 4: Creating an Overflow System
- Drill the Overflow Hole: Drill a hole near the top of the barrel for the overflow outlet.
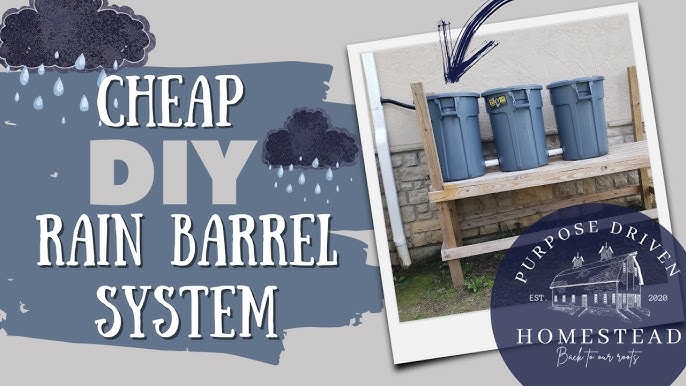
- Install PVC Fittings: Connect PVC pipe and fittings to the overflow outlet to direct excess water away from your foundation. Ensure the overflow pipe slopes away from your house.
Step 5: Adding the Finishing Touches
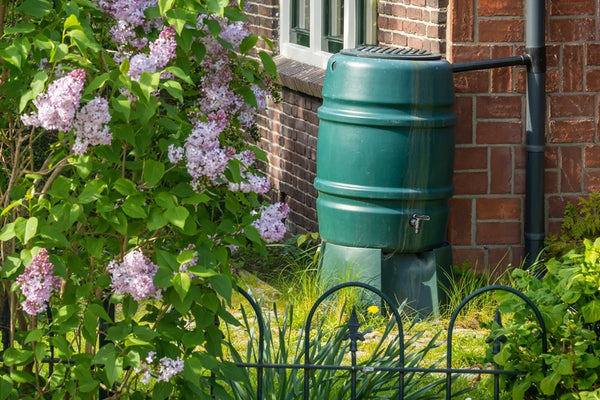
- Install a Screen: Cover the inlet hole with screen mesh to prevent mosquitoes and debris from entering the barrel. Secure it with a rubber band or zip ties.
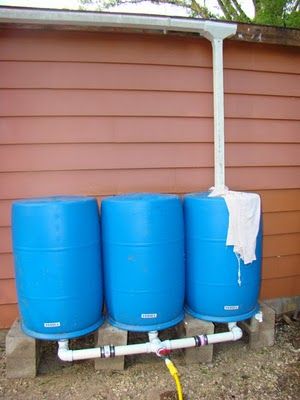
- Elevate the Barrel: Place the barrel on concrete blocks or a sturdy platform to increase water pressure and make it easier to fill watering cans.
- Test for Leaks: Fill the barrel with water and check for any leaks around the fittings. Tighten them as needed.
Step 6: Maintaining Your Rain Barrel
- Regular Cleaning: Clean your rain barrel at least once a year to remove any accumulated sediment or debris.
- Inspect the Screen: Regularly check the screen mesh and clean it as needed to ensure proper water flow.
- Winterization: In colder climates, disconnect the diverter and drain the barrel before freezing temperatures arrive to prevent damage.
Embrace Sustainable Homesteading Today!
Building a DIY rain barrel is a simple yet powerful step towards homestead water conservation and a more sustainable lifestyle. By harvesting rainwater, you can reduce your water bill, conserve precious resources, and provide your plants with naturally soft, chemical-free water.
We encourage you to give this weekend homesteading project a try! Share your experiences, tips, and questions in the comments below. Let's build a community of sustainable homesteaders, one rain barrel at a time!