Harvest Hues: Simple Natural Dyeing Projects from Your Backyard
The vibrant hues of a summer sunset, the rich browns of autumn leaves – nature is an endless source of color. We celebrate this abundance in our gardens and kitchens, preserving the season’s bounty in jams, pickles, and dried herbs. But have you ever considered unlocking the hidden colors within your seasonal harvest, even the scraps? Natural dyeing offers a beautiful and sustainable way to extend the life cycle of your plants and food waste, transforming them into unique, earth-toned dyes for fabrics and fibers. This year, let's go beyond just food and embrace the art of natural dyeing! By the end of this post, you'll be equipped with the knowledge to start your own natural dyeing journey using readily available materials from your gardens and kitchens.

Building Your Backyard Dye Garden
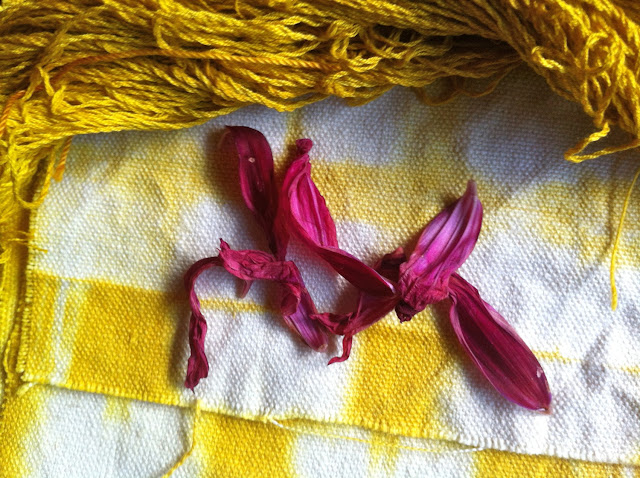
Imagine stepping into your backyard and picking the colors you need for your next dyeing project. A dye garden is not only practical but also a beautiful addition to any homestead. When planning your dye garden, consider what colors you want to achieve. For yellows and oranges, marigolds, coreopsis, and cosmos are excellent choices and relatively easy to grow. Woad and weld offer beautiful blues and yellows, respectively, while madder provides stunning reds. These plants thrive with organic gardening practices and are relatively easy to grow in your garden and harvest when mature. Soil health is key; amend your soil with compost to ensure your dye plants are thriving.
When starting your dye garden, consider your region and climate. Native plants will generally thrive with less intervention. You can also responsibly forage for wild dye plants, such as black walnuts for brown dye, ensuring you leave plenty for the ecosystem to thrive. A well-planned dye garden is both an ornamental space and a practical resource for sustainable home projects. The key is to start small, experiment, and expand as your knowledge and confidence grow.

Gathering and Preparing Your Dye Materials
The secret to vibrant natural dyes lies in proper harvesting and preparation. The best time to harvest dye plants is usually when the flowers are at their peak, or the leaves are at their most vibrant. For example, harvest marigold flowers when they are fully open for the richest yellow. Once harvested, dry your plant materials in a cool, dark place to preserve their color. You can hang them upside down in bundles or spread them out on screens. Store the dried materials in airtight containers away from sunlight until you're ready to use them.
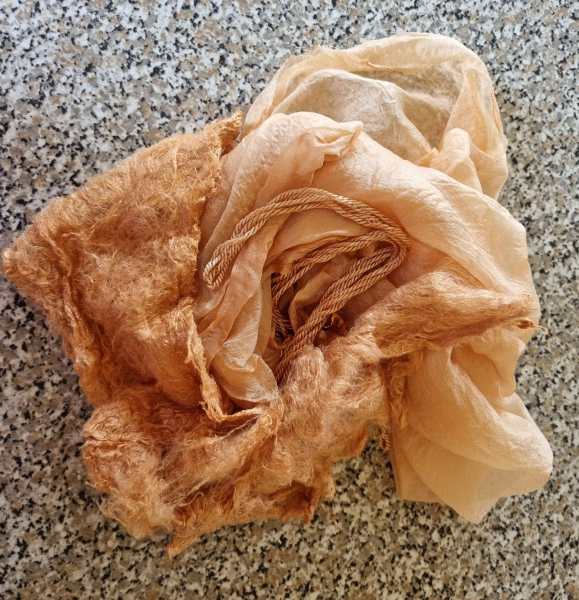
Don't overlook the potential of kitchen waste! Onion skins create beautiful yellows and oranges, avocado pits yield lovely pinks and tans, and carrot tops can produce a soft green. These items contribute to low-waste living as you're extending the use of each item, not just throwing it away. Before dyeing, it's crucial to clean and "scour" your fabrics. This removes any oils or finishes that could prevent the dye from absorbing properly. Wash your fabrics with hot water and a mild, pH-neutral soap.
For most natural dyes, you'll need a mordant to help the dye bond permanently to the fabric. Alum (potassium aluminum sulfate) is a common and relatively safe mordant for cellulose fibers like cotton and linen, while iron (ferrous sulfate) can be used to darken colors and add depth. Always use mordants in a well-ventilated area and wear gloves to protect your skin. Follow mordant instructions carefully, as overuse can damage your fabrics.
The Natural Dyeing Process: A Step-by-Step Guide
Now for the fun part! Here's a beginner-friendly guide to the natural dyeing process:
- Choose your dye pot: Use a stainless steel or enamel pot, as reactive metals can alter the dye color. Avoid aluminum pots.
- Create your dye bath: The ratio of plant material to water will vary depending on the dye plant and the desired color intensity. A general guideline is to use equal parts of dried plant material and water. For fresh materials, use twice the amount of plant material. Simmer the plant material in water for at least an hour, or even overnight, to extract the color. Then strain the dye bath through a cheesecloth to remove any plant debris.
- Mordant your fabric: Follow the instructions for your chosen mordant. Typically, this involves simmering the fabric in a mordant solution for an hour, then rinsing thoroughly.
- Dyeing techniques: Submerge your mordanted fabric in the dye bath, ensuring it's fully covered. Simmer the fabric in the dye bath for at least an hour, or longer for a deeper color. Stir occasionally to ensure even dyeing. Solar dyeing is another method for dyeing; place your mordanted fabric and dye materials in a jar of water, and place the jar in the sun, allowing the natural heat to activate the dye process.
- Rinsing and Washing: Once you've achieved the desired color, remove the fabric from the dye bath and rinse it thoroughly in cold water until the water runs clear. Wash the fabric with a mild soap and hang it to dry out of direct sunlight.

Remember to wear gloves and work in a well-ventilated area, especially when working with mordants and hot liquids. Experiment with different dye concentrations, temperatures, and dyeing times to achieve a range of shades and colors. Don't be afraid to get creative and document your process – natural dyeing is all about exploration and discovery.
Beyond the Basics: Expanding Your Dyeing Knowledge
Once you've mastered the basic dyeing process, you can explore more advanced techniques. Overdyeing, or layering colors, creates complex and nuanced shades. Bundle dyeing involves tightly bundling fabric with dye plants and steaming it to create unique patterns. Eco-printing transfers plant patterns directly onto fabric through contact printing. Experiment with natural modifiers like vinegar (to brighten colors) or baking soda (to shift colors towards blues and greens) to further expand your palette.
Keeping a dye journal is essential for tracking your results and refining your techniques. Record the plant materials you used, the mordant, the dyeing time, and any other relevant details. Over time, you'll develop a deeper understanding of how different factors influence the final color. There are countless resources available to further your dyeing knowledge, from books and websites to workshops and online communities. Embrace the learning process and enjoy the endless possibilities of natural dyeing!
A Sustainable Symphony of Color
From the first sprouts in your dye garden to the finished, naturally dyed textiles, the process is deeply rewarding. You're not just creating beautiful colors; you're also connecting with nature, reducing waste, and embracing a more sustainable way of life. Every small step you take towards natural dyeing contributes to a healthier planet. As the weather cools and fall harvest is upon us, try using leftover pumpkin guts to create a yellow dye for fall-themed napkins!
So, gather your materials, embrace the unexpected, and prepare to be amazed by the hidden colors of your garden and kitchen. Happy dyeing!
Share your own natural dyeing experiences and photos on social media using #BetterHomesAndHarvestsDyes! Leave a comment below with your favorite natural dye plants or dyeing tips! Sign up for our newsletter to receive exclusive DIY tutorials and gardening advice!