Harvest Gold: A Beginner's Guide to Dyeing Wool with Autumn's Backyard Bounty
Imagine a crisp autumn afternoon, sunlight dappling through the golden leaves of a maple tree. The air is filled with the scent of drying herbs and the earthy aroma of fallen leaves. Wouldn't it be wonderful to capture this seasonal essence and weave it into your crafting projects? Now you can! Discover how to transform your backyard's fall bounty into stunning, naturally-dyed wool yarn, perfect for your cozy winter projects! This beginner's guide to natural dyeing wool will teach you how to unlock the hidden colors of your autumn garden and create uniquely beautiful yarn.
Naturally dyed yarn in shades of peach and gold.
Why Natural Dyeing?
In a world saturated with synthetic colors, natural dyeing offers a refreshing connection to the earth. Unlike harsh chemical dyes, natural dyes are derived from plant materials, making them a sustainable and non-toxic alternative. The beauty of natural dyeing lies in its inherent unpredictability. Each dye bath yields unique color variations, influenced by factors such as soil composition, weather patterns, and the maturity of the plant material. This creates a depth and richness of color that synthetic dyes simply can't replicate. By embracing natural dyeing, you're not just creating beautiful yarn; you're participating in a time-honored tradition that celebrates the beauty and bounty of nature.
Gathering Your Supplies for Natural Wool Dyeing
Before you begin your natural dyeing adventure, gather the following supplies:
- Wool Yarn: Opt for undyed, natural fibers like merino wool roving or yarn. These readily accept natural dyes. Look for yarn labeled "scoured" or "prepared for dyeing."
Skeins of undyed merino wool yarn.
- Mordant: A mordant is a substance that helps the dye bind to the wool fibers, ensuring colorfastness. Common mordants include alum (potassium aluminum sulfate) and cream of tartar (potassium bitartrate). Alum brightens the colors, while cream of tartar helps to soften the wool.
A jar of alum powder.
- Dye Materials: The most exciting part! Here are a few examples of readily available autumn dye materials and the colors they produce:
- Onion skins (yellows, oranges, browns)
- Marigold flowers (bright yellows, golds)
- Black walnuts (rich browns)
- Dried goldenrod (yellows, greens)
- Pokeberries (purples and pinks - use with caution; these are poisonous and need very careful handling)
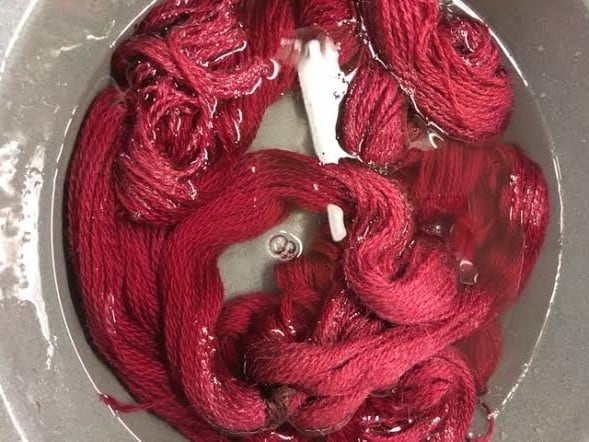
Pokeberries used for dye.
- Non-Reactive Pots: Use stainless steel or enamel pots for mordanting and dyeing. Avoid aluminum or copper, as these can react with the dyes and alter the colors.
- Stirrers and Spoons: Use stainless steel or wooden stirrers to gently agitate the wool in the dye bath.
- Kitchen Scale and Measuring Cups: Accurate measurements are essential for consistent results.
- Rubber Gloves and Apron: Protect your hands and clothing from stains.
Ethical Gathering: Remember to gather dye materials ethically and sustainably. Only take fallen leaves, berries, or flowers, and avoid stripping plants bare. If you have a compost pile, consider adding plant materials to enrich the soil and create a thriving environment for future dye plants.
The Dyeing Process: Step-by-Step
Follow these steps to transform your autumn bounty into beautifully dyed wool:
Step 1: Mordanting the Wool
Mordanting is a crucial step that ensures the dye adheres to the wool fibers and creates a lasting color.
- Weigh your dry wool yarn.
- Fill a non-reactive pot with enough water to fully submerge the yarn.
- Add alum at a rate of 15% of the weight of your wool (WOW) to the water. For example, if you have 100g of wool, add 15g of alum.
- Optional: Add cream of tartar at a rate of 6% of the WOW. This will help soften the wool and brighten the colors.
- Gently stir the mixture to dissolve the alum and cream of tartar.
- Wet the wool yarn with lukewarm water, gently squeezing out excess water.
- Carefully add the wet wool to the mordant bath, ensuring it's fully submerged.
- Heat the pot slowly over medium heat, bringing it to a simmer (not a boil).
- Simmer the wool for 1 hour, stirring occasionally to ensure even mordanting.
- Turn off the heat and let the wool cool in the mordant bath for several hours or overnight.
- Gently remove the wool from the mordant bath and rinse it in lukewarm water until the water runs clear.
- Gently squeeze out the excess water. Avoid twisting or wringing the wool, as this can cause felting.
Step 2: Preparing the Dye Bath
The method for preparing the dye bath depends on the type of plant material you're using.
- For onion skins: Fill a non-reactive pot with water. Add a generous amount of onion skins (the more you add, the richer the color). Simmer for 1-2 hours to extract the dye. Strain the dye bath through a fine-mesh sieve or cheesecloth to remove the onion skins.
- For marigold flowers: Follow the same process as with onion skins, using fresh or dried marigold flowers.

Yellow dyed wool.
- For black walnuts: Crack the walnuts and simmer the hulls in water for several hours to extract the dye. Strain the dye bath before use. Be cautious, as black walnut dye can stain surfaces easily.
- For Pokeberries: SIMMER berries in water until you have a dark liquid, use the liquid in the dying process.
Step 3: Dyeing the Wool
- Fill a non-reactive pot with your prepared dye bath. Make sure there is enough liquid to fully submerge the wool.
- Gently wet the mordanted wool yarn and squeeze out the excess water.
- Carefully add the wet wool to the dye bath, ensuring it's fully submerged.
- Heat the pot slowly over medium heat, bringing it to a simmer (not a boil).
- Simmer the wool for 1-2 hours, stirring occasionally to ensure even color distribution. The longer you simmer, the deeper the color will be.
- Turn off the heat and let the wool cool in the dye bath for several hours or overnight. This allows the dye to fully penetrate the fibers.
Step 4: Rinsing and Drying the Wool
- Gently remove the wool from the dye bath and rinse it in lukewarm water until the water runs clear.
- Wash with gentle soap and lukewarm water.
- Gently squeeze out the excess water. Avoid twisting or wringing the wool.
- Lay the wool flat on a towel or hang it to dry in a shaded area. Avoid direct sunlight, as this can fade the colors.
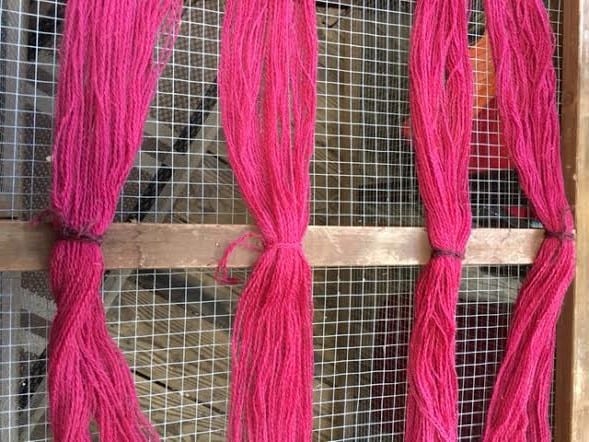
Naturally dyed yarn hanging to dry.
Troubleshooting Tips for Natural Dyeing
- Uneven Dyeing: Ensure the wool is fully submerged in the dye bath and stir it frequently to promote even color distribution.
- Fading Colors: Use a mordant to help the dye bind to the fibers. Avoid washing the dyed yarn in hot water or harsh detergents.
- Wool Felting: Handle the wool gently throughout the dyeing process. Avoid sudden temperature changes and excessive agitation.
- Weak Color: Increase the amount of dye material or extend the dyeing time.
Project Ideas with Your Naturally Dyed Wool
Now that you have your beautifully dyed wool, it's time to put it to use! Here are a few simple project ideas:
- Knit a cozy scarf to keep you warm on chilly autumn evenings.
- Crochet a set of rustic coasters to add a touch of natural beauty to your home.
- Weave a small wall hanging to showcase the unique colors of your naturally dyed yarn.
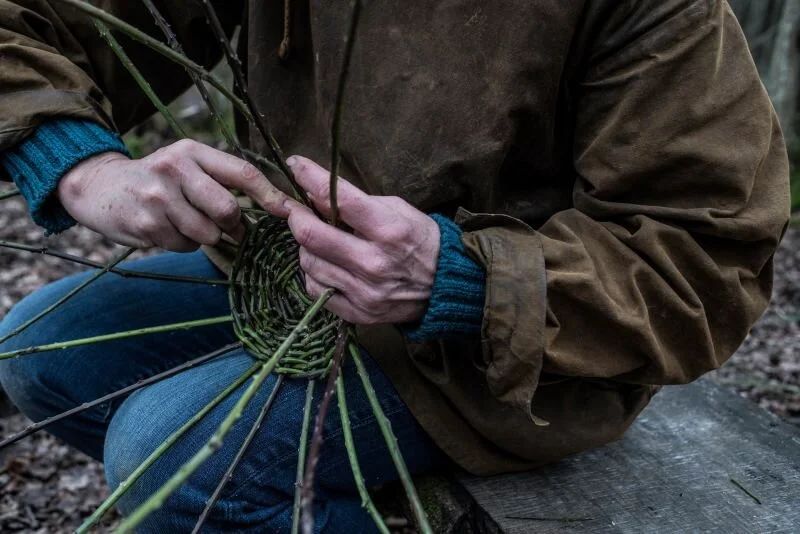
A wall hanging made with naturally dyed yarn.
Closing Reflection: Embrace the Slow, Mindful Craft
Natural dyeing is more than just a craft; it's a way to connect with the earth, embrace the slow rhythms of the seasons, and create something truly unique. By transforming your backyard's autumn bounty into naturally dyed wool, you're not just making yarn; you're weaving a story of sustainability, creativity, and connection to nature. Embrace the imperfections, celebrate the unique colors, and enjoy the mindful process of creating something beautiful with your own two hands. Share photos of your dyed wool projects on social media using the hashtag #BHHarvestDyes and tag @BetterHomesandHarvests. We can't wait to see what you create!

A crocheted pot holder created with natural yarn