Harness the Sun: DIY Solar Food Dryer for Abundant Harvests
Imagine the aroma of sun-dried tomatoes filling your kitchen, the sweet taste of homemade fruit leather, all thanks to the power of the sun and your own two hands. I still remember the first year I had a bumper crop of tomatoes. I canned and canned, gave away bags full, and still felt like I was barely making a dent. That's when I discovered the magic of solar food drying! This simple technique has revolutionized how I handle surplus produce on my homestead, allowing me to enjoy the fruits (and vegetables!) of my labor year-round.
Solar food drying is a sustainable and cost-effective method of preserving surplus produce. It reduces our reliance on electricity, concentrates those wonderful natural flavors, ensures long-term food storage, and significantly enhances self-sufficiency. Today, I'll guide you through building a simple yet effective solar food dryer that anyone can construct. Trust me, this project is far more accessible than you might think, and it perfectly embodies the spirit of "Better Homes and Harvests" – creating practical, beautiful, and sustainable solutions for your homestead.

1. Understanding Solar Food Drying Basics
So, how exactly does solar food drying work? The principle is simple: harness the power of the sun to remove moisture from food, inhibiting the growth of bacteria and enzymes that cause spoilage. This is achieved through two primary mechanisms:
- Warm Air Circulation: The dryer is designed to allow warm air to circulate freely around the food. As the air heats up, it absorbs moisture from the produce.
- Direct Sunlight (and Convection): Direct sunlight (or indirect heating) increases the temperature inside the dryer, accelerating the evaporation process. Ventilation allows the moist air to escape, replaced by drier air.
Solar drying offers several advantages over other preservation methods:
- Reduced Reliance on Electricity: Unlike electric dehydrators, solar dryers use a free and renewable energy source.
- Concentrated Flavors: The slow, gentle drying process intensifies the natural flavors of the food, resulting in delicious sun-dried treats.
- Long-Term Storage: Properly dried food can be stored for months or even years, providing a valuable source of nutrition during the off-season.
- Enhanced Self-Sufficiency: Solar drying empowers you to take control of your food supply, reducing your dependence on external resources.
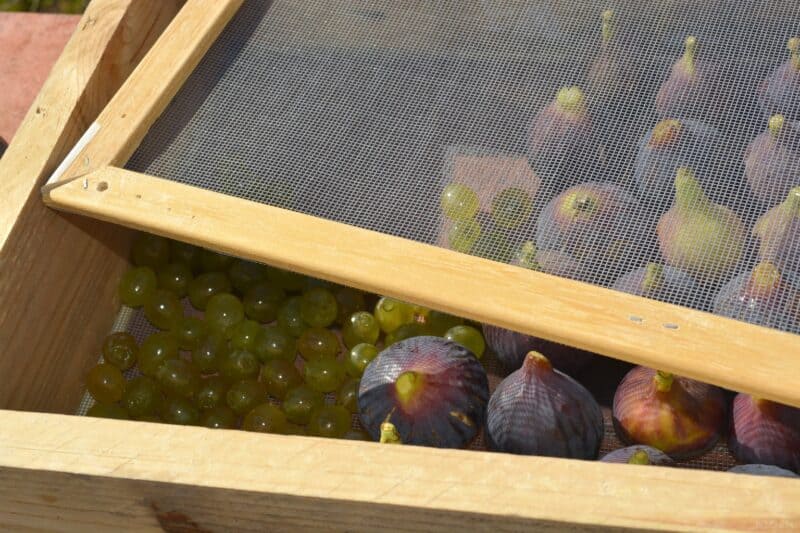
Many foods are suitable for solar drying, including fruits (apples, berries, peaches), vegetables (tomatoes, peppers, zucchini), herbs (basil, oregano, thyme), and even meats (beef jerky, sausage – exercise extreme caution and adhere to strict food safety guidelines for drying meats). Proper food preparation is crucial for optimal drying. This often involves slicing fruits and vegetables into thin, even pieces and blanching some vegetables to help preserve their color and texture.

2. Gathering Your Materials - Budget-Friendly Options
Before you start building, gather your materials. The beauty of this project is that you can often use repurposed or readily available items. Here's a list with approximate costs (remember, these can vary):
- Frame:
- Reclaimed lumber (2x4s): Free - $20 (depending on source and amount)
- Old pallets (disassembled): Free
- New wood (pine or cedar): $30 - $50
- Dimensions: Aim for a frame approximately 2ft x 3ft x 1.5ft (adjust to suit your needs)
- Glazing:
- Clear plastic sheeting (6 mil): $10 - $20
- Repurposed window pane: Free - $15 (check salvage yards)
- Polycarbonate panel: $20 - $30 (more durable and UV resistant)
- Screen:
- Insect netting (fiberglass or nylon): $5 - $10
- Fine-mesh stainless steel screen: $20 - $30 (best for food safety)
- Aluminum screen: $15 - $25
- Racks:
- Wooden dowels (1/4" - 1/2" diameter): $5 - $10
- Wire mesh (hardware cloth): $10 - $15
- Repurposed oven racks: Free - $10
- Ventilation:
- Small diameter PVC pipe (2"): $5 - $10
- Repurposed vent covers: Free
- Fasteners:
- Screws (wood screws): $5 - $10
- Nails: $5
- Hinges (2 small hinges): $5 - $10
- Paint/Sealant (Optional):
- Non-toxic, food-safe paint or sealant: $15 - $25
Alternative Materials & Cost Savings:
- Frame: Pallet wood is a great free option for the frame. Just ensure it's heat-treated (HT) and not chemically treated.
- Glazing: Heavy-duty clear plastic sheeting is the most affordable option, but it may need replacing after a few seasons.
- Racks: Look for discarded oven racks or wire shelving at thrift stores or online marketplaces.
Safety Considerations: When using repurposed materials, be sure to clean them thoroughly and inspect them for any signs of contamination or damage. Avoid using treated lumber or materials that may leach harmful chemicals into your food.

3. Step-by-Step Construction - Building Your Solar Dryer
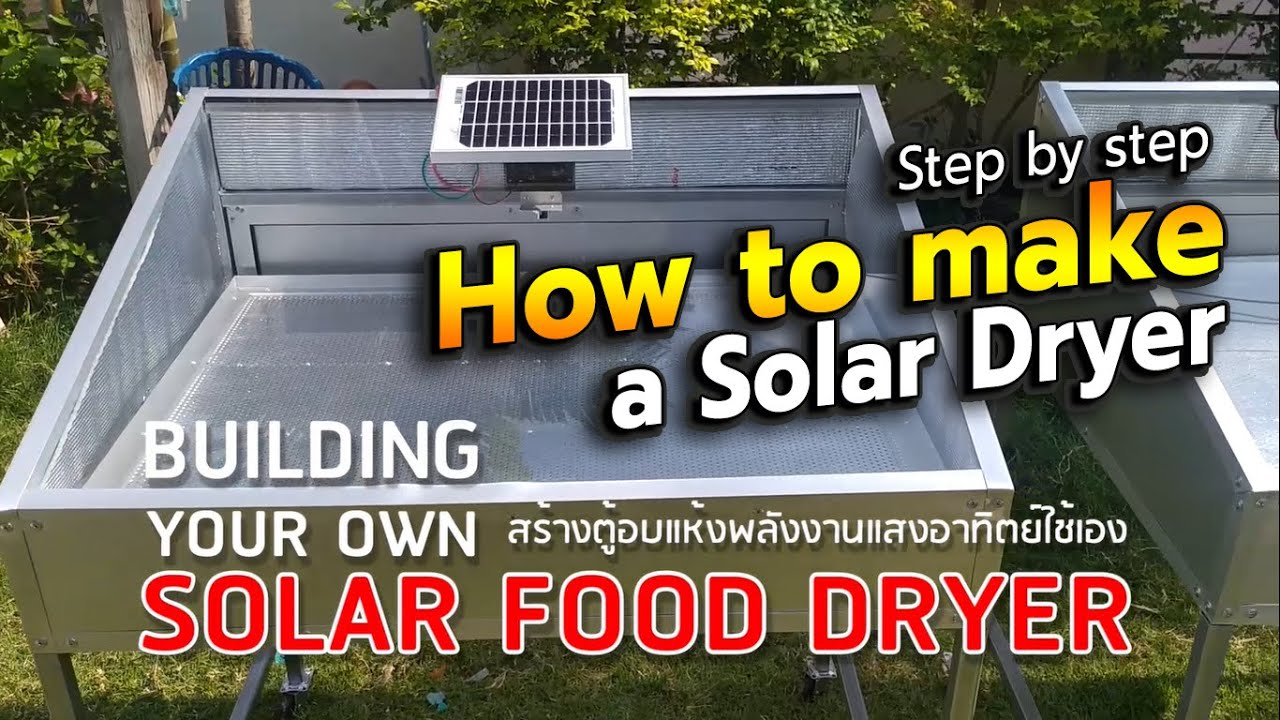
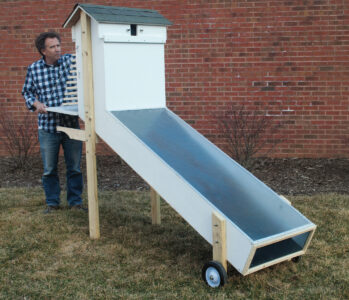
Now for the fun part! Here's a step-by-step guide to building your solar food dryer:
Step 1: Building the Frame:
- Cut the lumber (or pallet wood) to the desired dimensions. For our example (2ft x 3ft x 1.5ft), you'll need:
- Four 3ft pieces for the long sides
- Four 2ft pieces for the short sides
- Four 1.5ft pieces for the legs (if desired)
- Assemble the frame using screws or nails. Ensure the corners are square.
- Attach the legs to the bottom corners of the frame for added stability and improved airflow. (Optional, but recommended)

Step 2: Adding the Glazing:
- Cut the glazing material (plastic sheeting, window pane, or polycarbonate) to fit the top of the frame. Allow for a slight overlap.
- Securely attach the glazing material to the frame using staples, screws, or clamps. If using plastic sheeting, consider adding a layer of cardboard underneath to protect it from tearing.
- Seal the edges of the glazing with weather stripping or caulk to prevent air leaks and maximize heat retention.

Step 3: Installing the Drying Racks:
- Measure the inside dimensions of the frame.
- Cut the wooden dowels or wire mesh to create drying racks that fit snugly inside the frame. You can create multiple racks to increase drying capacity.
- Attach the drying racks to the inside of the frame using screws, nails, or glue. Ensure proper spacing between the racks for optimal airflow.
I recommend having your racks be able to slide in and out for easy rotation!

Step 4: Creating Ventilation:
- Drill ventilation holes near the bottom and top of the frame to allow for air circulation. The bottom holes allow cool, dry air to enter, while the top holes allow warm, moist air to escape.
- Attach small pieces of insect netting or vent covers to the ventilation holes to prevent insects from entering the dryer.
- Consider adding adjustable vents to control the airflow and temperature inside the dryer.

Step 5: Adding Finishing Touches:
- Sand any rough edges or splinters on the wood frame.
- Paint or seal the wood with a non-toxic, food-safe paint or sealant to protect it from the elements and extend its lifespan.
- Attach hinges to one side of the frame to create a door for easy access to the drying racks. Add a latch or closure to keep the door securely closed.

SAFETY FIRST: Always wear appropriate safety gear, such as eye protection and gloves, throughout the construction process.
4. Using Your Solar Dryer - Tips and Best Practices
Now that your solar dryer is built, it's time to put it to work! Here are some tips and best practices for using your dryer effectively:
- Food Preparation: Slice fruits and vegetables into thin, even pieces to promote faster and more uniform drying. Blanch some vegetables (such as green beans) to preserve their color and texture.
- Drying Times and Temperatures: Optimal drying times and temperatures vary depending on the type of food. Generally, aim for a temperature range of 90-130°F (32-54°C). Drying times can range from a few hours to several days.
- Monitoring the Drying Process: Check the food regularly to monitor its progress. Rotate the racks and rearrange the food to ensure even drying. The food is done when it is leathery and pliable, with no visible moisture.
- Troubleshooting:
- Insects: Ensure that all ventilation openings are covered with insect netting.
- Mold: If mold develops, discard the affected food and clean the dryer thoroughly. Increase airflow and reduce humidity.
- Uneven Drying: Rotate the racks and rearrange the food to ensure even drying.
Consider using a thermometer to track the drying temperature inside your dryer.

5. Maintaining and Storing Your Dried Goods
Proper storage is crucial for preserving the quality of your dried foods. Here's how to store your harvest effectively:
- Airtight Containers: Store dried foods in airtight containers, such as glass jars, plastic containers, or vacuum-sealed bags.
- Cool, Dark Storage: Store the containers in a cool, dark, and dry location to prevent spoilage.
- Cleaning and Maintenance: Clean the solar dryer regularly to remove any debris or food particles. Store the dryer in a dry location during periods of non-use.
- Check Regularly: Periodically check dried foods for any signs of mold or spoilage. Discard any food that shows signs of deterioration.

6. Embrace Sustainable Food Preservation
Solar food drying is a fantastic way to embrace self-sufficiency, sustainability, and cost savings on your homestead. It allows you to preserve your abundant harvests, reduce your reliance on electricity, and enjoy delicious, nutrient-rich foods year-round.
I remember one particularly bountiful summer where my zucchini plants went wild. I was making zucchini bread and fritters every day, and still had mountains of it! Desperate, I sliced it thin, dried it in my solar dryer, and then ground it into flour. That flour was added into winter stews and lent a subtle sweetness. I was so proud!
Now it's your turn. Let's create a community of homesteaders who are preserving their own food using the power of the sun.

Ready to start preserving your harvest? Share this post with your fellow homesteaders! And be sure to tag us in your solar dryer projects using #BetterHomesHarvestsSolar.