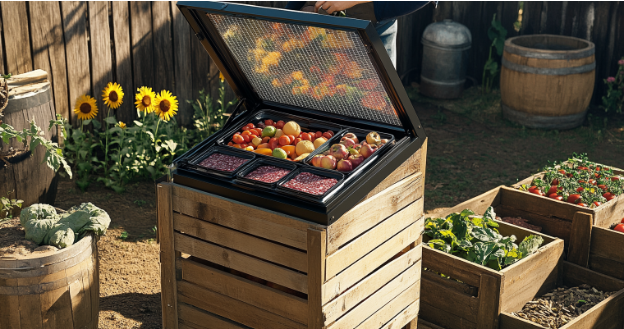
Harness the Sun: Build Your Own Solar Food Dehydrator for Autumn's Bounty
As the days grow shorter and the nights cooler, our thoughts turn to preserving the abundant harvest for the winter months ahead. What better way to extend the life of your garden's bounty than with a solar food dehydrator? This simple, yet ingenious device uses the power of the sun to gently remove moisture from fruits, vegetables, and herbs, creating delicious and nutritious dried snacks and pantry staples. And the best part? You can build your own with intermediate DIY skills and readily available materials!
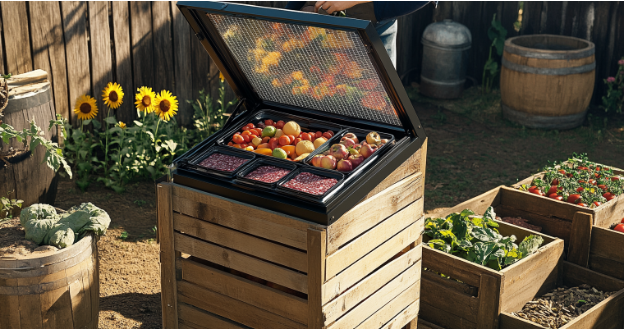
This project isn't just about making healthy snacks; it's about embracing self-sufficiency, reducing food waste, and conserving energy. By building your own solar food dehydrator, you're taking a tangible step towards a more resilient and sustainable lifestyle. So, gather your tools and let's get started!
Why a Solar Food Dehydrator?
Before we dive into the construction process, let's briefly explore the benefits of using a solar food dehydrator:
- Energy Conservation: Unlike electric dehydrators, a solar dehydrator relies on the sun's free energy, minimizing your carbon footprint and saving you money on electricity bills.
- Nutrient Retention: The gentle, low-temperature drying process helps preserve more of the vitamins and minerals in your food compared to high-heat methods.
- Food Waste Reduction: Dehydrating is an excellent way to preserve surplus fruits and vegetables from your garden, preventing them from going to waste.
- Cost-Effective: Building your own solar dehydrator is significantly cheaper than purchasing a commercial electric model.
- Self-Sufficiency: Mastering the art of solar dehydration empowers you to become more self-reliant and less dependent on store-bought processed foods.
Project Overview: The Upcycled Refrigerator Solar Dehydrator
We'll be focusing on building a low-energy food dehydrator using a repurposed refrigerator. This approach is eco-friendly, utilizes a readily available resource, and provides ample space for dehydrating large quantities of food. Don't worry if you don't have a spare refrigerator; you can adapt these principles to build a smaller dehydrator using wood and other materials.
Materials and Tools
Here's what you'll need:
- Old Refrigerator: A standard-size refrigerator is ideal. Ensure it's clean and free of any refrigerant.
- Plywood: For creating the internal shelving and baffles. 1/4" or 1/2" plywood works well.
- Clear Polycarbonate or Plexiglass: For the front panel to allow sunlight to enter.
- Black Paint: To paint the interior of the refrigerator for maximum heat absorption.
- Hardware Cloth or Mesh Shelving: For the drying racks.
- Ventilation Openings: Drill or cut holes for air circulation.
- Door Hinges and Latches: To secure the front panel.
- Caulk or Weather Stripping: To seal any gaps and prevent heat loss.
- Tools: Saw, drill, screwdriver, measuring tape, level, sandpaper, paintbrushes, safety glasses, and gloves.
Step-by-Step Instructions
1. Refrigerator Preparation:
- Safety First: Disconnect the refrigerator from the power source. Remove the door (you may re-attach it later or build a new one).
- Cleaning: Thoroughly clean the interior and exterior of the refrigerator. Remove any shelves, drawers, or other components that are not needed.
- Refrigerant Removal (If Necessary): Important! If the refrigerator still contains refrigerant, it's crucial to have it professionally removed by a certified technician. Improper handling of refrigerants is harmful to the environment and potentially dangerous.
2. Interior Modification:
- Painting: Paint the entire interior of the refrigerator with black paint. This will help absorb and retain heat from the sun. Apply multiple coats for better coverage.
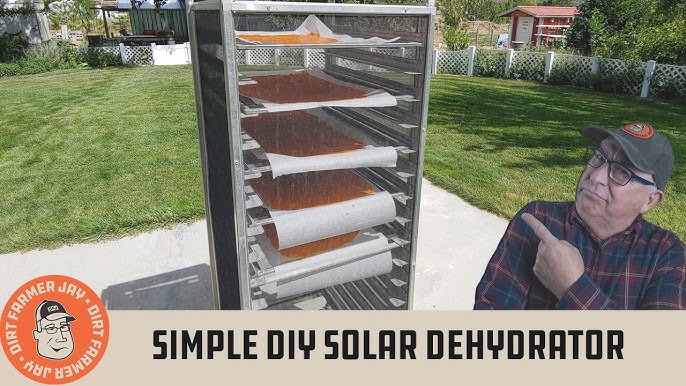
- Shelving Installation: Measure and cut plywood to create shelves that fit inside the refrigerator. Allow for adequate spacing between shelves to ensure proper airflow. Secure the shelves to the refrigerator walls using screws or adhesive. Alternatively, you can purchase adjustable wire shelving units that fit inside.
- Drying Racks: Place hardware cloth or mesh shelving on top of the plywood shelves to create the actual drying surfaces. This allows for maximum airflow around the food.
3. Front Panel Construction:
- Clear Panel: Cut the polycarbonate or plexiglass to fit the opening of the refrigerator. This panel will act as a solar collector, trapping heat inside the dehydrator.
- Framing (Optional): Build a simple wooden frame around the polycarbonate or plexiglass panel for added durability and a more finished look.
- Hinges and Latches: Attach hinges to the frame (or directly to the polycarbonate/plexiglass) and the refrigerator body. Install latches to securely close the front panel.
4. Ventilation:
- Air Intake: Drill a few holes (approximately 2-3 inches in diameter) near the bottom of the refrigerator to allow cool air to enter. Cover these holes with screen mesh to prevent insects from entering.
- Air Outlet: Drill similar holes near the top of the refrigerator to allow warm, moist air to escape. The size and placement of these vents are crucial for proper airflow and preventing condensation.
- Chimney: Adding a small chimney made of a painted can or PVC pipe can help increase air flow.
5. Finishing Touches:
- Sealing: Apply caulk or weather stripping around the edges of the front panel to seal any gaps and prevent heat loss.
- Testing: Place a thermometer inside the dehydrator and monitor the temperature on a sunny day. Adjust the ventilation openings as needed to maintain an optimal drying temperature (around 95-135°F or 35-57°C).
Tips for Successful Solar Dehydration
- Placement: Position your solar food dehydrator in a location that receives direct sunlight for at least 6-8 hours per day.
- Food Preparation: Slice fruits and vegetables into thin, even pieces for consistent drying. Pre-treat fruits like apples with lemon juice to prevent browning.
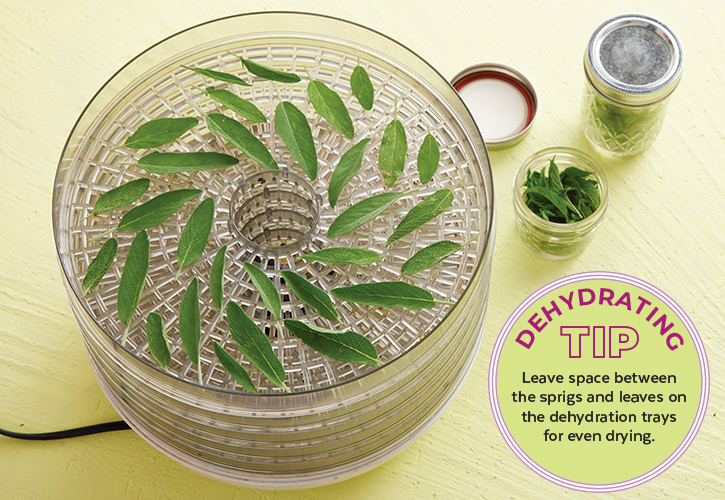
- Loading the Dehydrator: Arrange the food in a single layer on the drying racks, leaving space for air to circulate.
- Monitoring: Check the food regularly and rotate the trays to ensure even drying.
- Drying Time: Drying times will vary depending on the type of food, the thickness of the slices, and the weather conditions.
- Storage: Store dried foods in airtight containers in a cool, dark place.
- Preventing Mold: Make sure your dehydrator gets hot enough during the process. Consider wiping it down with vinegar.
Troubleshooting
- Condensation: If you notice condensation forming inside the dehydrator, increase the size of the ventilation openings.
- Uneven Drying: Rotate the trays regularly to ensure even drying. You may also need to adjust the placement of the food on the trays.
- Slow Drying: Ensure the dehydrator is placed in direct sunlight and that the ventilation openings are adequate. Consider adding a reflector to increase the amount of sunlight entering the dehydrator.
Adapting to Different Climates and Resources
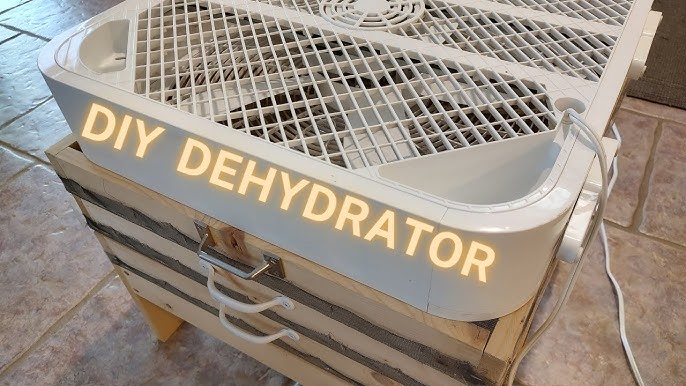
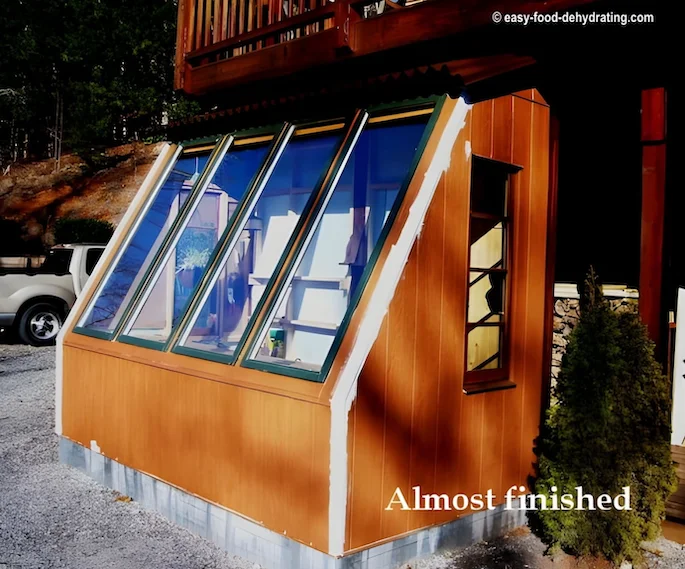
- Cloudy Climates: In regions with limited sunlight, consider supplementing your solar food dehydrator with a small electric fan to improve airflow. A greenhouse could be converted into a dehydrator as well.
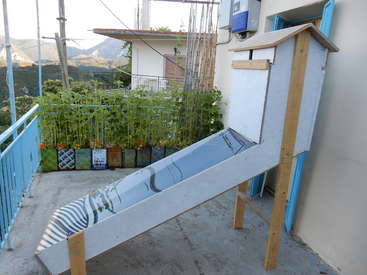
- Limited Resources: If you don't have access to an old refrigerator, you can build a smaller DIY solar dehydrator using wood, cardboard, or even a repurposed window frame.
- Greenhouse Dehydrator: A greenhouse can be used as a dehydrator during the late summer and autumn months. Just make sure there is proper ventilation to prevent mold.
Embrace the Bounty
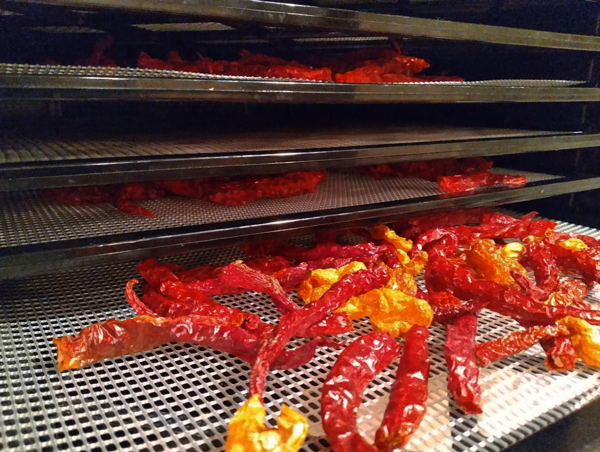
Building a solar food dehydrator is a rewarding project that allows you to harness the power of the sun to preserve the fruits of your labor. It's a testament to the ingenuity and resourcefulness of homesteading, and a powerful step toward a more sustainable and self-sufficient lifestyle. As you dehydrate your garden's bounty, from apples and tomatoes to herbs and peppers, remember that you're not just preserving food; you're preserving a connection to nature and a commitment to a more resilient future.
Now that you have the knowledge, it's time to take action! Don't be afraid to experiment and adapt the design to suit your own needs and resources. The journey of building a solar food dehydrator is as valuable as the delicious dried treats you'll enjoy throughout the winter.
Share your creations! We encourage you to share photos of your own solar food dehydrator projects on social media using the hashtag #BHHDehydrators. We also welcome your drying tips and experiences in the comments below.
Looking for more inspiring DIY projects to bolster your homesteading skills? Be sure to check out our other articles on food preservation, gardening, and sustainable living on the Better Homes and Harvests website! We also have solar oven plans, how to build a root cellar, and best practices for canning on our page. Let's build a more resilient and delicious future, together!