Happy Hens, Healthy Pasture: DIY Chicken Tractor on a Budget
Are your chickens turning your backyard into a dustbowl? Tired of moving chicken wire fencing every few days, only to find your precious plants decimated? Chickens are wonderful additions to a homestead, providing fresh eggs and natural pest control. However, without proper management, they can wreak havoc on your garden and pasture. The solution? A chicken tractor!
A chicken tractor, also known as a mobile coop, is a portable enclosure that allows you to move your flock around your property, offering them fresh grazing while simultaneously benefiting your land. This step-by-step guide will show you how to build a budget-friendly chicken tractor, maximizing the benefits for both your hens and your homestead.

Building a chicken tractor offers numerous advantages:
- Improved Pasture Health: Chickens naturally fertilize the soil with their droppings, enriching it with essential nutrients. Their scratching and pecking also help to aerate the soil and control insect populations.
- Reduced Feed Costs: By allowing your chickens to forage for insects, seeds, and greens, you can significantly reduce your reliance on commercial feed.
- Fresh, Nutritious Eggs: Foraging hens produce eggs that are richer in nutrients and flavor compared to those raised solely on feed.
- Reduced Pest and Disease Problems: Moving your chickens regularly reduces the buildup of parasites and pathogens in one area, leading to healthier birds.
- Garden Bed Protection: After harvesting, you can use the chicken tractor to clean up crop residue and prepare the soil for the next planting.
The best part? You can build a functional and durable chicken tractor without breaking the bank. This guide focuses on using reclaimed and affordable materials to minimize costs and maximize sustainability. The estimated cost of this project ranges from $50-$150, depending on material availability. The build time is approximately 1-2 days.
Planning and Design: Size, Mobility, and Predator Protection
Before you start hammering and sawing, it's crucial to plan your chicken tractor's design. Consider the following factors:
- Flock Size: The size of your chicken tractor should be proportional to the number of chickens you have. A general rule of thumb is to provide at least 4 square feet of space per chicken inside the coop and 8-10 square feet in the attached run.
- Mobility: Decide whether you want wheels or skids for moving your chicken tractor. Wheels are easier to maneuver on smooth surfaces, while skids are better suited for uneven terrain.
- Predator Protection: Protect your flock from predators such as foxes, coyotes, raccoons, and hawks. Use sturdy wire mesh with small openings (1/2 inch or smaller) and secure latches on all doors and access points. Consider burying wire mesh around the perimeter of the tractor to prevent digging predators.
- Weather Protection: Provide adequate shade during hot weather and protection from rain and wind. You can use a solid roof, shade cloth, or even a simple tarp to create a sheltered area.
- Accessibility: Design your chicken tractor with easy access for cleaning, egg collection, and replenishing food and water.
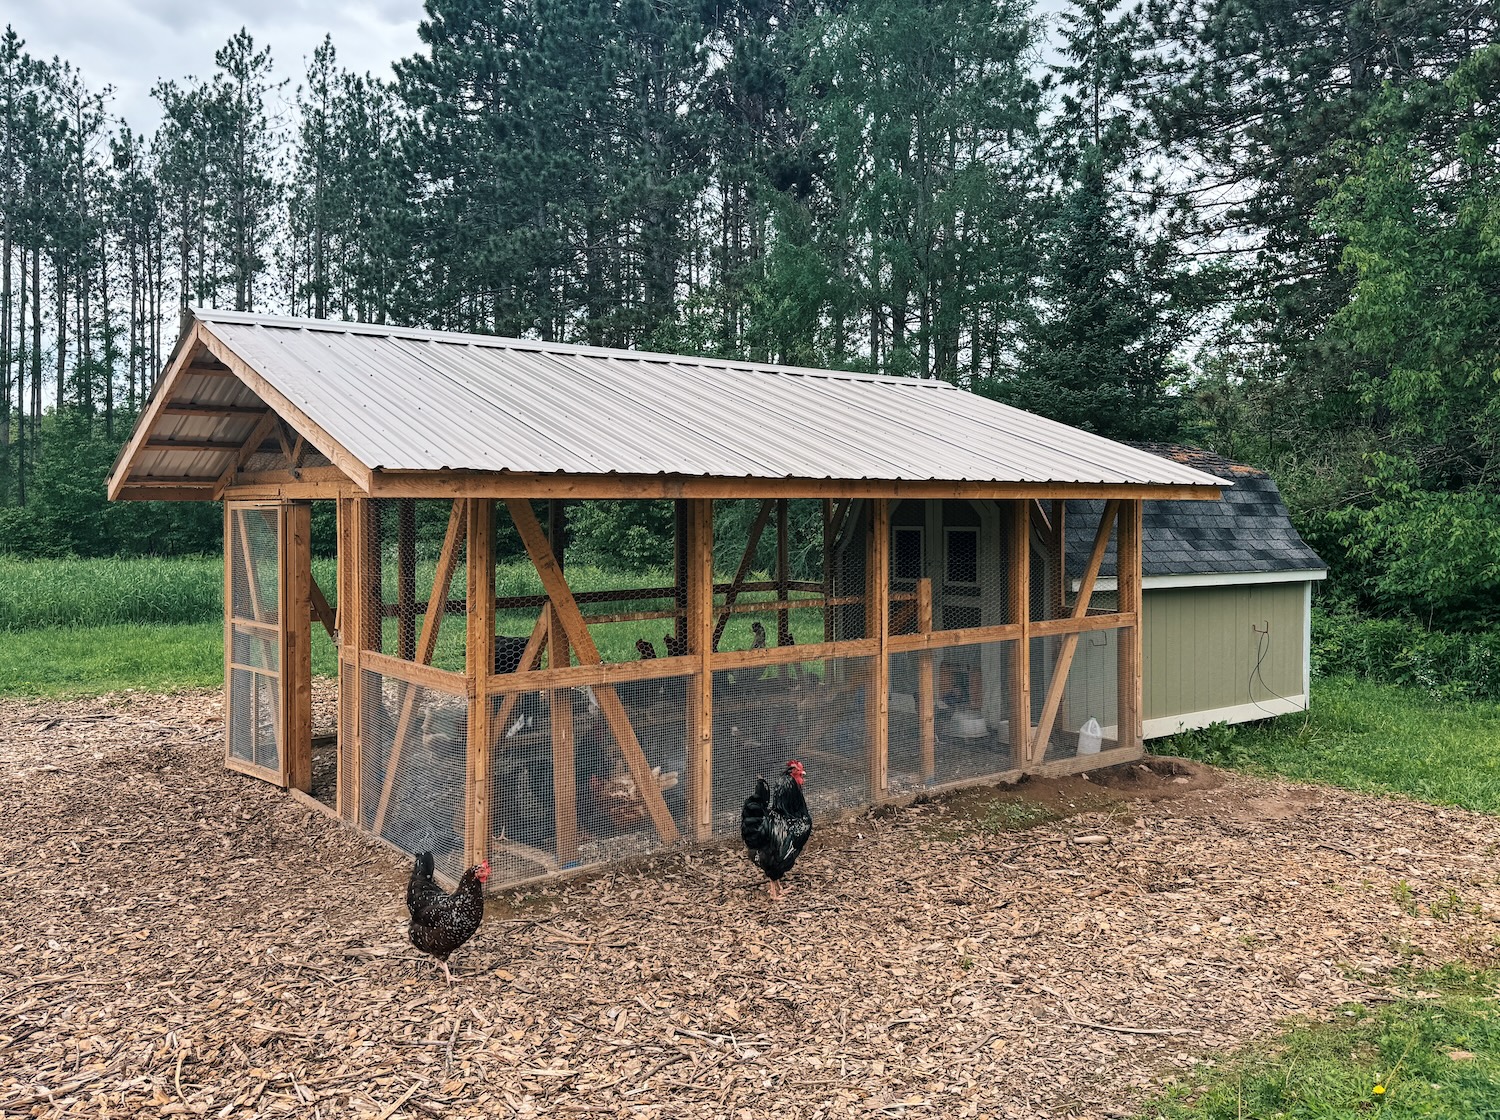
There are several design options to choose from, including A-frame, arched, and flat-roofed chicken tractors. A-frames are relatively simple to build, while arched designs offer more headroom. Flat-roofed tractors are often easier to integrate with existing structures.

Take the time to sketch out your design on paper, noting the dimensions, materials, and features you want to include. This will help you visualize the finished product and avoid costly mistakes.
Gathering Materials: Budget-Conscious Options
Once you have a design, it's time to gather your materials. Here's a list of common materials used in chicken tractor construction:
- Lumber: For the frame and roosting bars.
- Wire Mesh: For the walls and floor of the run. Use 1/2-inch hardware cloth for best predator protection.
- Hardware: Screws, nails, hinges, latches, etc.
- Wheels or Skids: For mobility.
- Roofing Material: Corrugated metal, plywood, or tarp.
To save money, consider sourcing reclaimed or inexpensive materials:
- Pallet Wood: Disassemble pallets carefully to obtain lumber for the frame. Be sure to check for nails and staples before using.
- Reclaimed Lumber: Look for reclaimed lumber from old fences, sheds, or construction sites.
- Scrap Metal Roofing: Use scrap metal roofing for weather protection.
- Used Wheels: Find used wheels from carts, dollies, or even bicycles.
- Habitat for Humanity ReStores: Check your local ReStore for discounted building materials.
When disassembling pallets, wear gloves and eye protection to prevent injuries. Use a pry bar and hammer to carefully remove the boards. Inspect the wood for rot, insect damage, and chemical treatments before using it.

If you don't have access to reclaimed materials, you can still build a budget-friendly chicken tractor by using inexpensive fencing or chicken wire. However, keep in mind that these materials may not be as durable or predator-resistant as reclaimed lumber and hardware cloth.
Construction Step-by-Step: Building Your Mobile Coop
Now for the fun part: building your chicken tractor! Follow these step-by-step instructions:
- Build the Frame: Construct the frame of your chicken tractor according to your design. Use screws or nails to securely join the pieces of lumber. Make sure the frame is sturdy and level.
- Attach the Wire Mesh: Attach the wire mesh to the frame, using staples or screws. Overlap the edges of the mesh to prevent gaps. Pay close attention to the corners and seams, as these are potential weak points.
- Add Wheels/Skids: Attach the wheels or skids to the frame, ensuring they are securely fastened. If using wheels, consider adding brakes to prevent the chicken tractor from rolling on uneven ground.
- Construct the Roosting Bars: Install roosting bars inside the coop, providing a comfortable place for your chickens to sleep. Use round, smooth branches or lumber to avoid injuring their feet.
- Create a Nesting Box: Build a nesting box inside the coop, providing a private and comfortable place for your hens to lay eggs. Fill the nesting box with straw or wood shavings.
- Add a Door and Secure Latches: Install a door to allow access to the coop for cleaning and egg collection. Use secure latches to keep predators out.
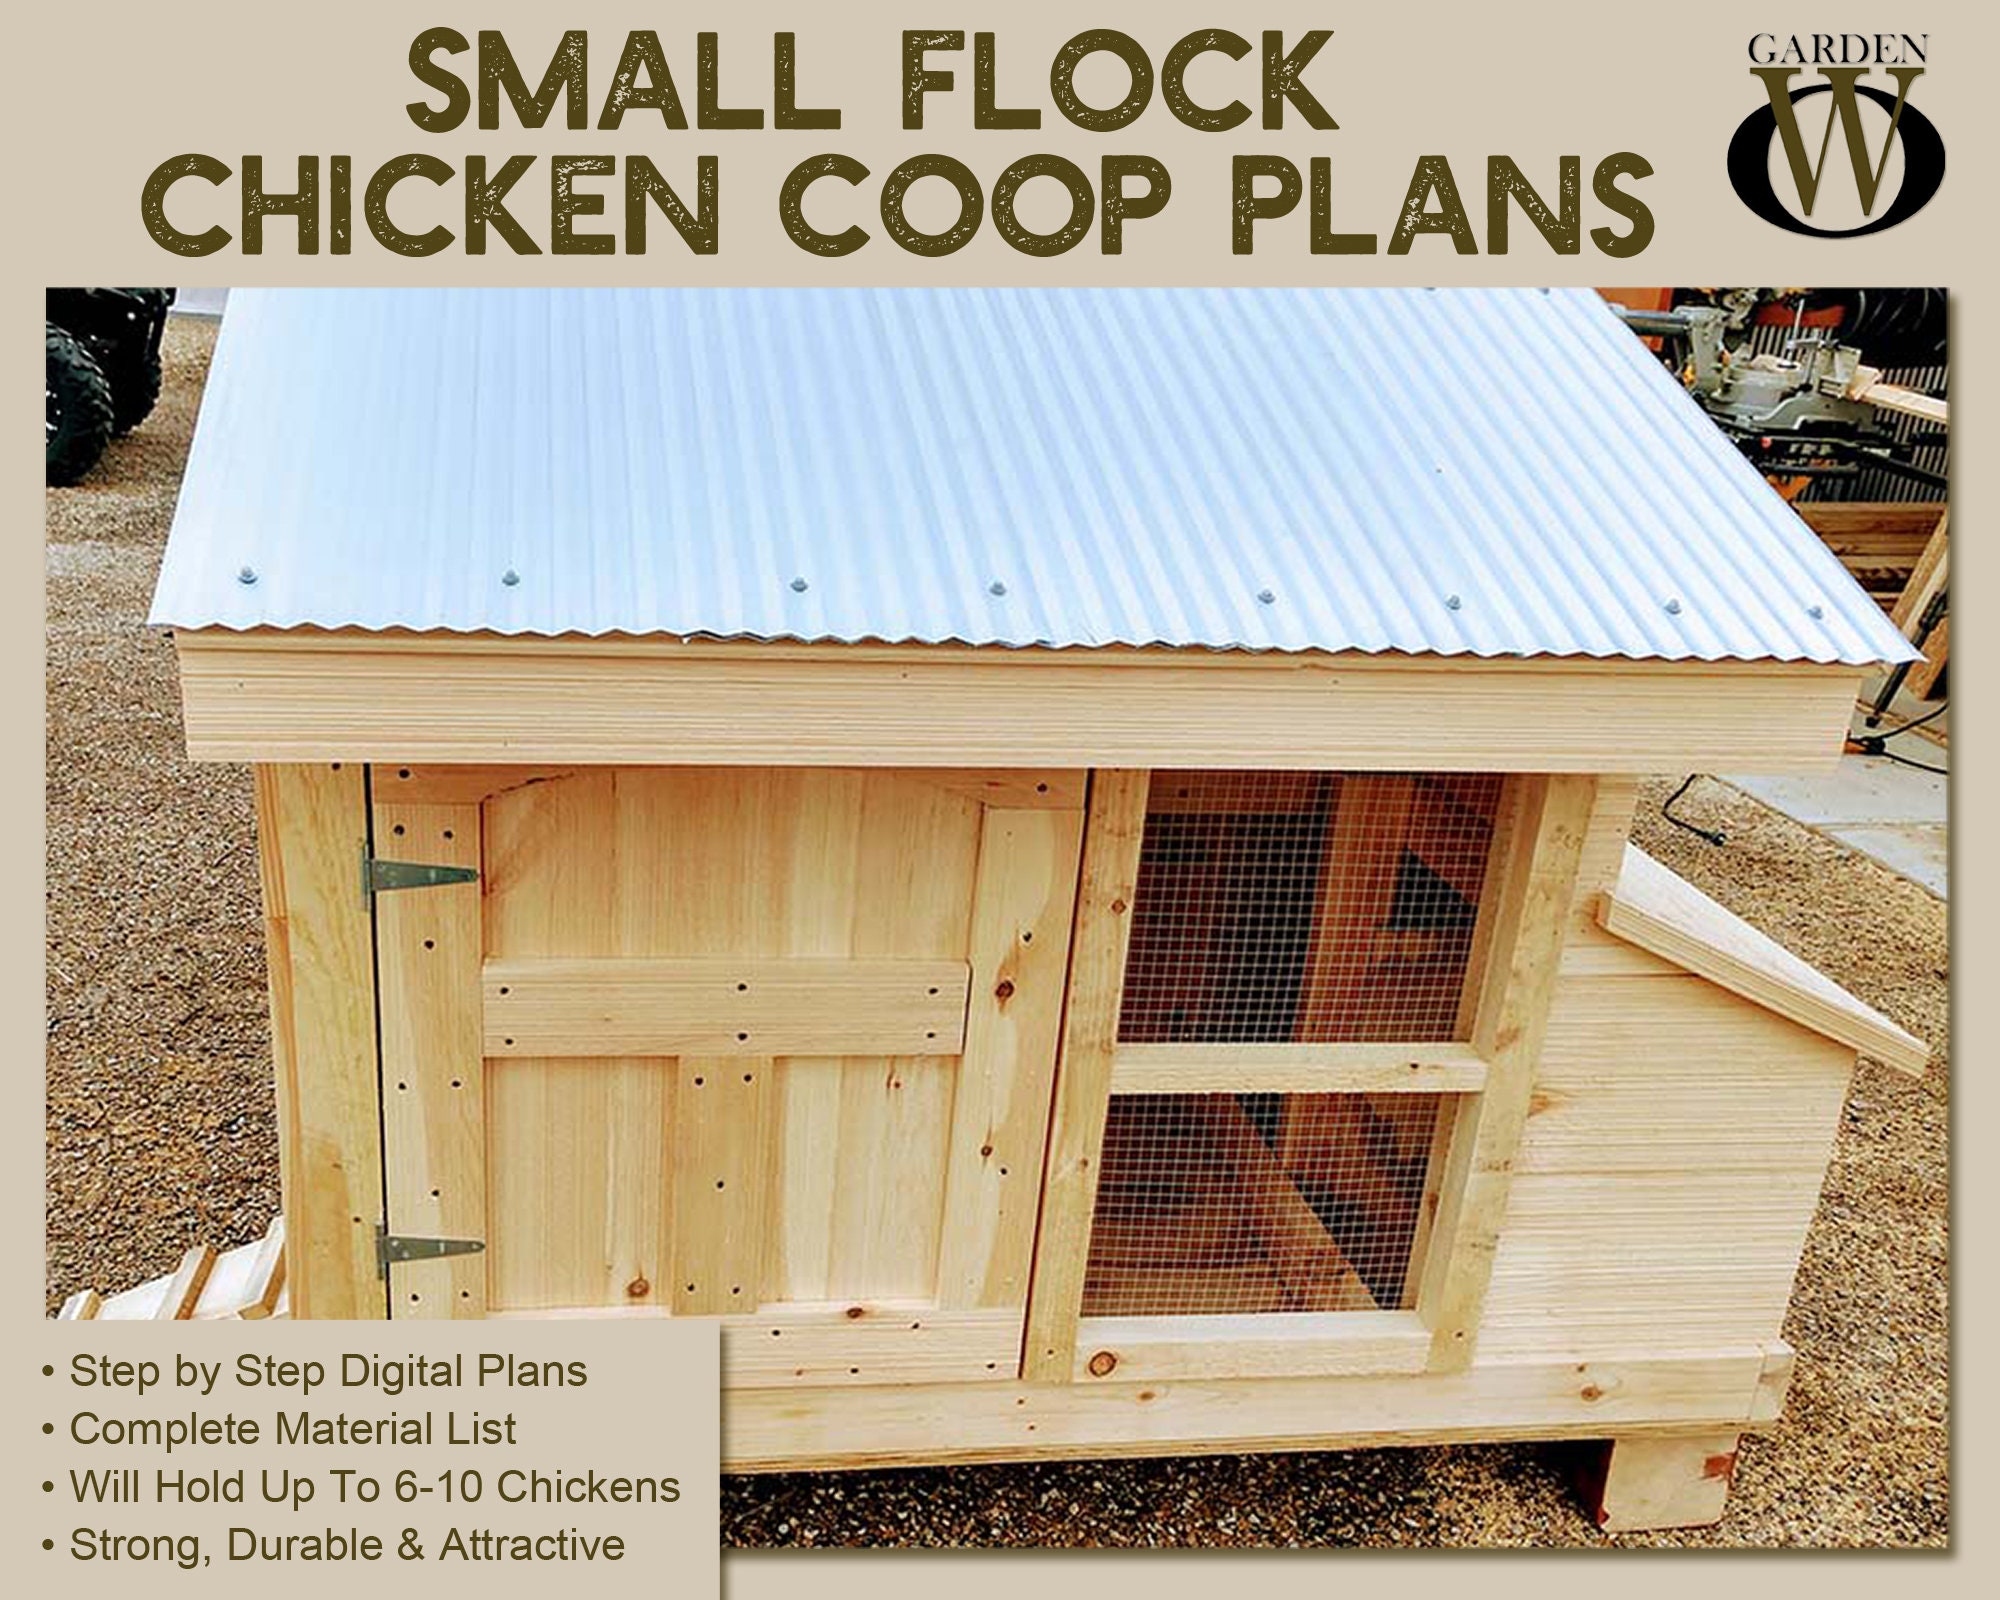
- Provide a Roof or Rain Cover: Cover the top of the coop with roofing material to protect your chickens from the elements. Use corrugated metal, plywood, or a tarp.

Throughout the construction process, wear gloves and eye protection to prevent injuries. Use power tools safely and follow all manufacturer's instructions. If you're unsure about any step, consult with a more experienced builder.
Adding Features for Chicken Comfort and Efficiency
Once your chicken tractor is built, you can add additional features to improve its functionality and make your chickens more comfortable:
- Automatic Watering System: Install a gravity-fed watering system using a repurposed container or a commercially available chicken waterer.
- Dust Bathing Area: Create a dust bathing area inside the tractor, filled with sand and wood ash. Dust baths help chickens control parasites and keep their feathers clean.
- Small Vegetable Garden: Plant a small vegetable garden inside the tractor with chicken-friendly greens such as lettuce, spinach, and kale. This will provide your chickens with fresh forage and improve the soil.
- Removable Tray: Add a removable tray under the roosting bars for easy cleaning.
- Shade Cloth: Use shade cloth or tarp to provide additional sun protection during hot weather.
- Predator Deterrents: Install reflective tape or motion-activated lights around the perimeter of the tractor to deter predators.

These additions, while not strictly necessary, can significantly improve the overall experience for both you and your chickens.
Pasture Rotation and Management: Regenerative Agriculture
The key to maximizing the benefits of a chicken tractor lies in proper pasture rotation and management.
Move your chicken tractor every 1-3 days to provide your chickens with fresh grazing and prevent overgrazing in one area. Rotate the chicken tractor through different sections of your pasture or garden, allowing the chickens to fertilize the soil and control pests.
After moving the chicken tractor, reseed any bare spots with grass seed or cover crops. Control weeds by hand or with organic herbicides. Protect young plants with netting or cages.

By following these practices, you can create a healthy and productive ecosystem that benefits both your chickens and your land.
Embrace Self-Sufficiency with a Chicken Tractor
Building and using a chicken tractor is a rewarding DIY project that can significantly improve your homestead's self-sufficiency. By providing your chickens with fresh grazing, you can reduce feed costs, improve egg quality, and enhance the health of your pasture.
I built my first chicken tractor using reclaimed pallet wood, and it's been a game-changer for my garden. The chickens happily patrol the rows after harvest, cleaning up crop residue and fertilizing the soil. I've noticed a significant improvement in soil health and reduced pest problems.
Take control of your food system and create a healthier, more sustainable homestead with this rewarding DIY project!
What are your favorite ways to conserve water on your homestead? Share your tips and experiences in the comments below!