Grow Your Roots: Ditch the Drought and Embrace DIY Rainwater Harvesting!
Are you tired of sky-high water bills and feeling helpless during dry spells? Do you dream of a lush, thriving garden without draining your bank account or depleting precious resources? Then get ready to embrace the ultimate homestead game-changer: DIY rainwater harvesting! It's time to take control of your garden's destiny and tap into nature's free bounty. We’re going to show you how to set up a small-scale rainwater harvesting system for garden irrigation that’s both affordable and effective. It’s easier than you think, and the rewards are plentiful. Let's dive in and turn your homestead into a thriving oasis!
Why Harvest Rainwater? The Benefits Bloom Before Your Eyes
Before we get our hands dirty, let's talk about why rainwater harvesting is a must-have for any aspiring homesteader.
- Save Money: Kiss those hefty water bills goodbye! Rainwater is free, and with a well-designed system, you can significantly reduce your reliance on municipal water for irrigation.
- Conserve Water: Be a water conservation hero! Rainwater harvesting helps reduce the strain on local water supplies, especially during droughts. It's a sustainable choice that benefits your community and the environment.
- Healthier Plants: Rainwater is naturally soft and free of chemicals like chlorine and fluoride, which can harm plants. Your garden will thrive with this pure, gentle source of hydration.
- Increased Self-Sufficiency: Take control of your water supply and build resilience on your homestead. Knowing you can provide water for your garden, regardless of the weather, brings peace of mind.
- Environmentally Friendly: Reduce your carbon footprint and embrace a more sustainable lifestyle. Rainwater harvesting is a simple yet powerful way to minimize your environmental impact.
Step-by-Step: Building Your Budget-Friendly Rainwater Harvesting System
Ready to get started? This step-by-step guide will walk you through building a simple and effective rainwater harvesting system using a rain barrel. We'll focus on affordability and ease of installation, so even if you're not a seasoned DIYer, you can tackle this project with confidence.
Materials You'll Need:
- Rain Barrel: A food-grade plastic barrel (55-gallon is a good starting point). Check local classifieds, breweries, or food processing plants for affordable options.
- Downspout Diverter: This device channels rainwater from your gutter into the rain barrel. Choose one that fits your downspout size.
- Spigot: A brass or plastic spigot for dispensing water from the barrel.
- Hose Adapter: To connect your garden hose to the spigot.
- Screen/Mesh: To cover the top of the barrel and prevent debris and mosquitoes from entering.
- Concrete Blocks or Bricks: To elevate the rain barrel (this provides gravity for better water pressure).
- Drill and Drill Bits: For installing the spigot and hose adapter.
- PVC Pipe and Fittings (Optional): For extending the downspout or creating a more elaborate drainage system.
- Basic Tools: Measuring tape, level, saw (if cutting PVC pipe), wrench, screwdriver.
Step 1: Prepare Your Rain Barrel
- Clean the Barrel: Thoroughly clean the rain barrel with soap and water to remove any residue. Rinse well.
- Drill Spigot Hole: Drill a hole near the bottom of the barrel, sized to fit your spigot.
- Install Spigot: Insert the spigot into the hole and tighten it securely. You may need to use plumber's tape to create a watertight seal.
Step 2: Choose a Location and Prepare the Base
- Select a Spot: Choose a location near a downspout that is also convenient for accessing the water for your garden. Ensure the ground is relatively level.
- Create a Base: Place concrete blocks or bricks on the ground to create a stable, elevated base for the rain barrel. Use a level to ensure the base is even.
Step 3: Install the Downspout Diverter
- Cut the Downspout: Measure and cut the downspout to create space for the diverter. Follow the instructions that came with your specific diverter model.
- Install the Diverter: Attach the diverter to the downspout, ensuring it is securely in place.
- Connect to the Barrel: Position the rain barrel under the diverter outlet. You may need to use a short length of PVC pipe to connect the diverter to the barrel opening.
Step 4: Secure the Screen and Test the System
- Cover the Opening: Place the screen or mesh over the top of the rain barrel to prevent debris and mosquitoes from entering. Secure it with a bungee cord or zip ties.
- Test the System: Wait for a rainstorm and observe how the system works. Check for leaks and make any necessary adjustments.
Step 5: Connect Your Garden Hose and Start Irrigating!
- Attach Hose Adapter: Connect the hose adapter to the spigot.
- Connect Garden Hose: Attach your garden hose to the adapter.
- Water Your Garden: Open the spigot and water your plants with the collected rainwater!
Pro Tips for Rainwater Harvesting Success
- First Flush Diverter: Consider adding a first flush diverter to your system. This device diverts the first bit of rainwater, which often contains the most pollutants, away from your barrel. This will help keep your harvested water clean.
- Multiple Barrels: Expand your system by connecting multiple rain barrels together to increase your water storage capacity.
- Regular Maintenance: Clean your rain barrel and gutters regularly to prevent clogs and ensure the water remains clean.
- Winterize Your System: In cold climates, disconnect the rain barrel from the downspout and drain it completely before winter to prevent freezing and damage.
- Water Wisely: Use soaker hoses or drip irrigation to deliver water directly to the roots of your plants, minimizing water waste.
Savings and Sustainability: A Win-Win for You and the Planet
One of the best things about DIY rainwater harvesting is its positive impact on both your wallet and the environment. By reducing your reliance on municipal water, you'll save money on your water bills and conserve a precious resource. Plus, you'll be providing your plants with naturally soft, chemical-free water, helping them thrive and reducing your need for fertilizers.
This project utilizes existing resources, like a recycled barrel. Buying new can become costly. Check classified ads or ask friends if they have extra materials you can use. One homesteader's trash is another homesteader's treasure!

A Personal Anecdote: My Rainwater Harvesting Journey
I remember the first time I set up a rainwater harvesting system on my homestead. I was so excited to finally have a sustainable way to water my garden, especially during those scorching summer months. It wasn't without its challenges – I definitely underestimated how heavy a full rain barrel could be! But after a few tweaks and adjustments, I had a fully functioning system that provided ample water for my vegetable garden. Seeing my plants thrive on the collected rainwater gave me a huge sense of accomplishment and connection to the land. It truly felt like I was living in harmony with nature.
Don't Be Afraid to Get Creative!
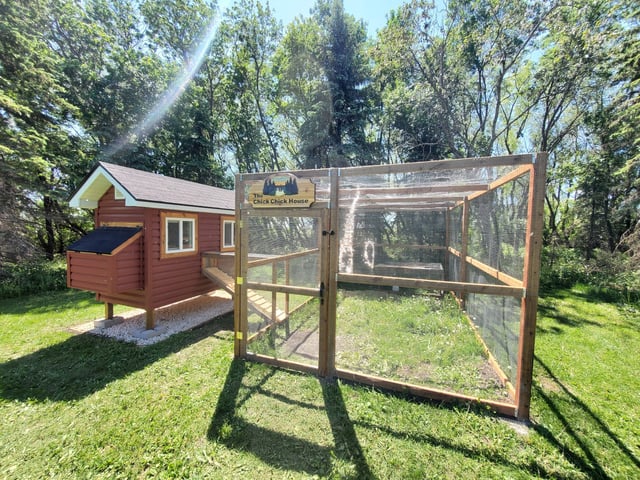
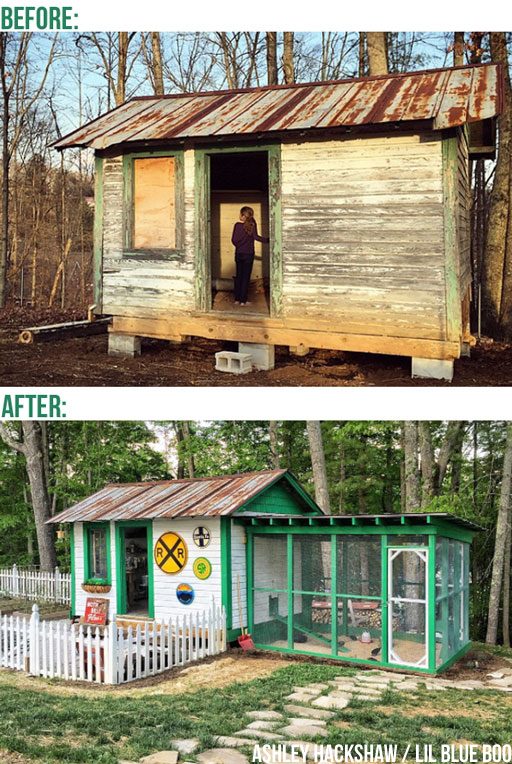
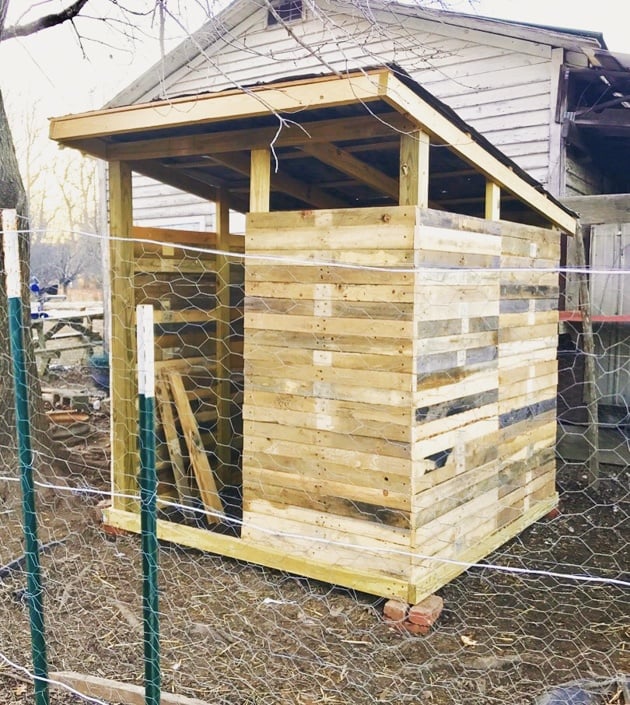
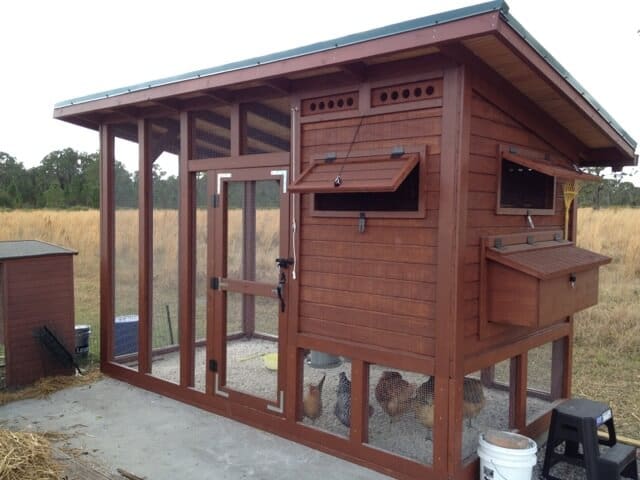
There are countless ways to customize your rainwater harvesting system to suit your specific needs and resources. Feel free to experiment with different materials, designs, and techniques. The most important thing is to get started and learn as you go. You might even find that building a budget-friendly chicken coop with repurposed materials or creating a highly efficient raised garden bed system utilizing vertical space could pair nicely with your rainwater system.

The Final Harvest: Take the Plunge and Grow Your Roots!
DIY rainwater harvesting is more than just a practical solution for water conservation; it's a gateway to a more self-sufficient, resilient, and fulfilling life. By embracing this simple yet powerful technique, you'll not only save money and resources but also deepen your connection to nature and your homestead.
So, what are you waiting for? Grab your tools, gather your materials, and get ready to transform your garden into a thriving oasis. The satisfaction of watering your plants with rainwater you've collected yourself is truly unparalleled.
Now it's your turn! Have you tried rainwater harvesting before? Share your tips and experiences in the comments below! We'd love to hear from you. And don't forget to sign up for our newsletter for more homesteading tips and inspiration. Let's grow our roots together!
