Grow Your Own Water: A Step-by-Step Guide to Building a Rainwater Harvesting System for Your Homestead (and Saving Money on Your Water Bill!)
Are you tired of skyrocketing water bills? Do you dream of a more self-sufficient homestead, less reliant on municipal water? Then rainwater harvesting might be the perfect solution for you! Imagine collecting free water straight from the sky to nourish your garden, provide for your livestock, or even supplement your household needs. In this comprehensive guide, we'll walk you through building a simple, above-ground rainwater harvesting system, saving you money and making your homestead more resilient.
I remember the first time I harvested rainwater. Our well had run dry during a particularly harsh summer. Watching that first barrel fill up during a storm was incredibly empowering. It felt like a real step towards self-reliance, and it drastically reduced the stress of watering our precious vegetable garden. We haven't looked back since!
Why Rainwater Harvesting? The Benefits for Homesteaders
Before we dive into the how-to, let's quickly cover the why. Rainwater harvesting offers a multitude of benefits for homesteaders:
- Cost Savings: Reduce or even eliminate your reliance on municipal water, significantly lowering your water bill.
- Water Conservation: A responsible way to manage water resources, especially in areas prone to drought.
- Drought Resilience: Secure a backup water supply for your garden and livestock during dry periods.
- Environmental Benefits: Reduces the demand on municipal water sources and minimizes runoff pollution.
- Excellent for Plants: Rainwater is naturally soft and free of chemicals, making it ideal for irrigation.
Building Your DIY Rainwater Harvesting System: A Step-by-Step Guide
This guide focuses on a beginner-friendly, above-ground system, perfect for most homesteads. Let's get started!
Step 1: Planning and Design
Before you start buying materials, take some time to plan your system. Consider the following:
- Rainfall in Your Area: Research the average rainfall in your location to estimate how much water you can collect.
- Roof Size: The larger your roof, the more rainwater you can harvest.
- Water Needs: Determine how much water you need for your garden, livestock, or other uses.
- Storage Capacity: Choose the right size and number of storage containers (rain barrels or tanks) based on your water needs and rainfall patterns.
- Placement: Select a level, stable location for your storage container(s) near a downspout. Ensure easy access for water collection and maintenance.
Step 2: Gathering Your Materials
Here's a list of materials you'll need. Prices are estimates and may vary depending on your location and supplier.
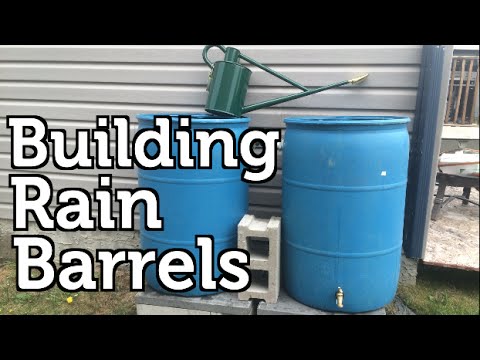
- Rain Barrel(s) or Storage Tank(s): (50-gallon barrel: $50-$100 each) Consider food-grade plastic barrels for safety, especially if using water on edible plants. Local breweries or food processing plants may sell them cheaply.
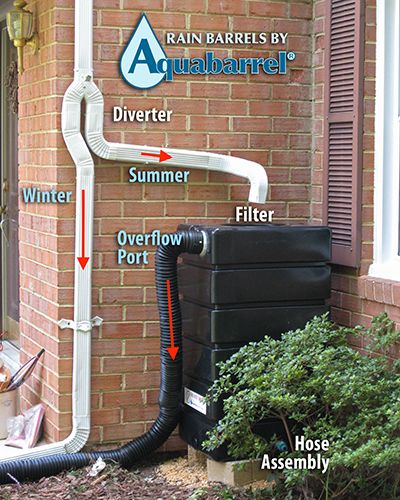
- Downspout Diverter: ($20-$40) Directs rainwater from your downspout into the barrel. Look for models with a built-in filter.
- Hose Connection/Spigot: ($10-$20) For easy access to the collected water.
- Overflow Hose: ($10-$20) To direct excess water away from your foundation. A simple garden hose works well.
- Screen Mesh: ($5-$10) To cover the inlet and prevent debris and mosquitoes from entering the barrel.
- Gravel or Concrete Blocks: ($10-$20) To create a level base for your barrel(s).
- Drill and Drill Bits: (If you don't already own one) For creating holes for the spigot and overflow.
- Hole Saw: To ensure proper holes are made for pipes.
- Plumbing Connectors: Assorted sizes to connect pipes (approximately $20)
- Optional: First Flush Diverter: ($30-$50) Diverts the initial dirty rainwater away from your storage.
Sourcing Suggestions:
- Local Hardware Stores: A great place to find most of the materials.
- Online Retailers: (Amazon, etc.) Convenient for ordering specific parts or complete kits. As an Amazon Associate I earn from qualifying purchases.
- Brewery or Food Processing Plants: A source for cheap or free food-grade barrels.
- Recycling Centers: Sometimes offer used barrels or other useful materials.
Step 3: Preparing the Base
A solid and level base is crucial for the stability of your rainwater harvesting system.
- Choose a location near a downspout and clear away any debris.
- Level the ground using a shovel.
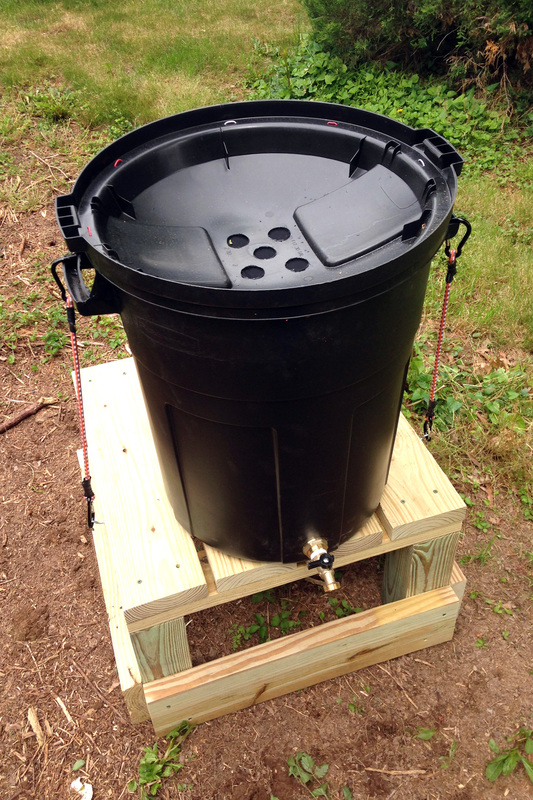
- Place gravel or concrete blocks to create a stable, level platform for your barrel(s). This elevates the barrel, making it easier to access the water with a watering can.
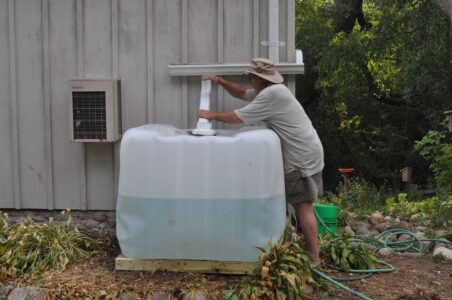
Step 4: Modifying the Rain Barrel
- Drill Holes: Using your drill and hole saw, create holes for the spigot and overflow hose near the bottom and top of the barrel, respectively. Ensure the holes are the correct size for your fittings.
- Install the Spigot: Attach the spigot to the lower hole, using Teflon tape to create a watertight seal.
- Install the Overflow Hose Fitting: Attach the overflow hose fitting to the upper hole, also using Teflon tape.
- Cover the Inlet: Cut a piece of screen mesh larger than the barrel's inlet and secure it with a rubber band or zip ties. This prevents debris and mosquitoes from entering.
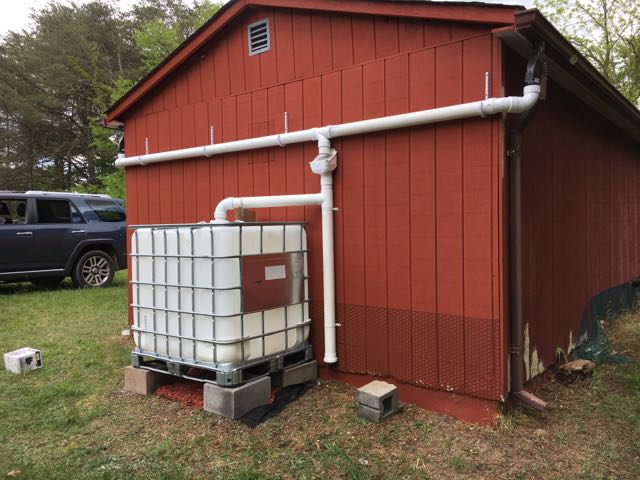
Step 5: Installing the Downspout Diverter
- Cut the Downspout: Measure and cut a section of your downspout to accommodate the diverter.
- Install the Diverter: Follow the manufacturer's instructions to install the downspout diverter. Ensure it's securely attached to the downspout and positioned correctly to direct water into the barrel.
Step 6: Connecting the Overflow Hose
- Attach one end of the overflow hose to the fitting on the barrel.
- Direct the other end of the hose away from your foundation and towards a safe drainage area.
Step 7: Testing and Adjusting
- Wait for the next rain and observe your system in action.
- Check for leaks and tighten any connections as needed.
- Ensure the overflow hose is functioning correctly and directing water away from your foundation.
- Make any necessary adjustments to the diverter or screen mesh.
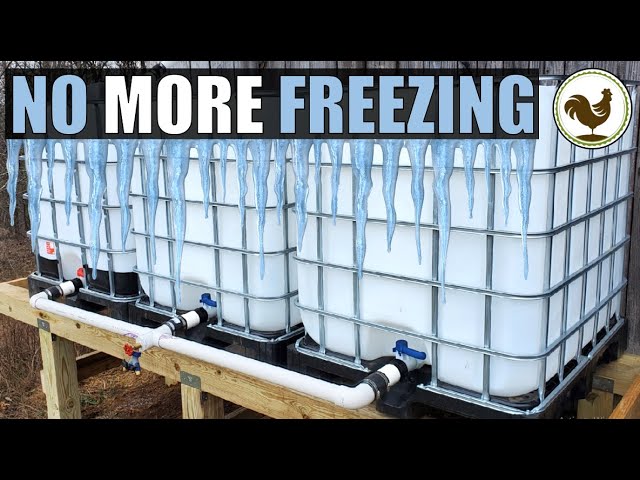
Step 8: Connecting Multiple Barrels (Optional)
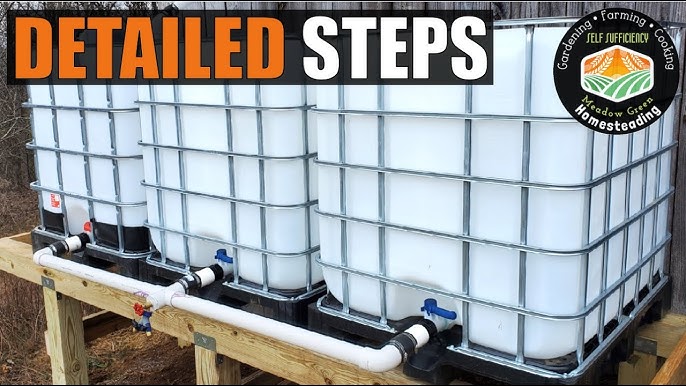
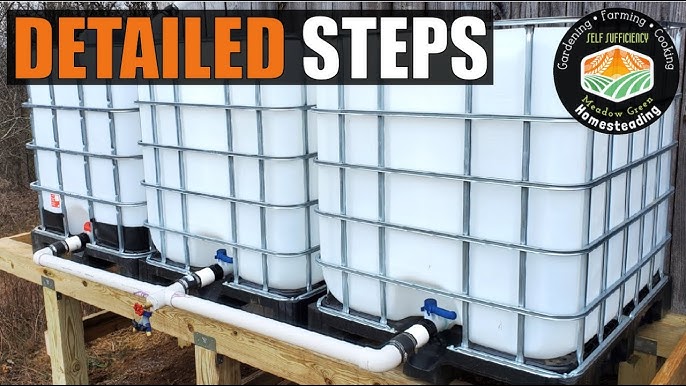
If you need more storage capacity, you can connect multiple barrels together.
- Place the barrels side-by-side.
- Drill holes near the bottom of each barrel and connect them with a short length of hose and fittings.
- Ensure the barrels are level so they fill evenly.
Adapting Your System to Different Homestead Sizes and Climates
- Small Urban Gardens: A single rain barrel might be sufficient. Focus on maximizing space and using a diverter with a built-in filter.
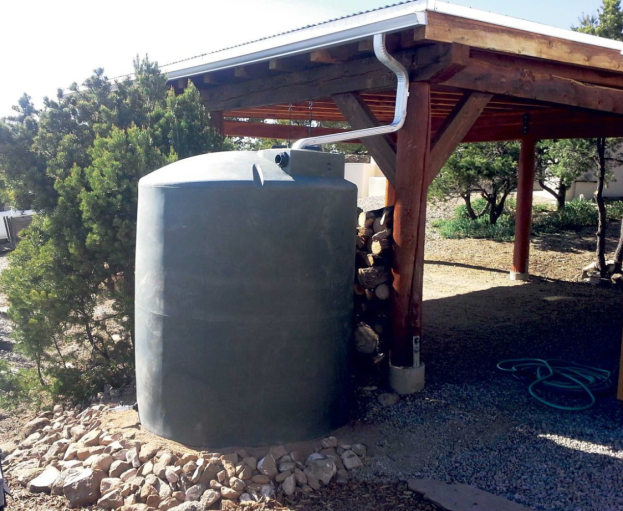
- Large Rural Properties: Consider using larger storage tanks (hundreds or even thousands of gallons) and a more sophisticated filtration system.
- Dry Climates: Maximize water collection by using larger storage tanks and strategically placing your system to capture as much rainfall as possible.
- Wet Climates: Ensure your system has adequate overflow capacity to handle heavy rainfall and prevent flooding.
Addressing Common Questions and Concerns
- How to Filter the Water? For garden use, a simple screen mesh is usually sufficient. For livestock, consider a sediment filter. Rainwater collected from roofing is not potable (safe for drinking) unless it's appropriately filtered and treated. A multi-stage filtration system, including UV sterilization, would be needed to purify the water to make it safe for human consumption, and you should consult with experts before drinking rainwater.
- How to Prevent Mosquito Breeding? Ensure your barrel is tightly sealed and use screen mesh to cover all openings. You can also add mosquito dunks (Bacillus thuringiensis israelensis) to the water.
- What are the Legal Regulations in My Area? Research local and state regulations regarding rainwater harvesting. Some areas may have restrictions on the size of your system or the uses for harvested water.
- How often should I clean my tank? It's advisable to empty, inspect and clean your tank at least once per year to ensure that there is no mold, algae, sediment or other build-up.
The First Flush Diverter
A first flush diverter is highly recommended. It works by diverting the first portion of rainwater that runs off your roof. This water typically contains a higher concentration of debris, pollutants, and contaminants that have accumulated on your roof since the last rain. By preventing this initial runoff from entering your storage tank, you can significantly improve the quality of the harvested rainwater and reduce the need for frequent cleaning and maintenance of your system. This will keep your water supply clean.
Call to Action
Ready to start growing your own water? We hope this guide has empowered you to build your own rainwater harvesting system. Share your experiences, ask questions, and post photos of your completed systems in the comments below! Let's create a community of self-sufficient homesteaders, one rain barrel at a time. Happy harvesting!
