Grow Your Own Goodness: Building an Accessible Raised Garden Bed from Reclaimed Materials
Dreaming of fresh tomatoes, fragrant herbs, and vibrant flowers right outside your door? Want to embrace the joys of homesteading without breaking the bank or your back? Then building a raised garden bed from reclaimed materials is the perfect project for you! It's a fantastic way to start small, learn valuable skills, and contribute to a more sustainable lifestyle.
In this guide, we’ll walk you through the process of creating a beautiful and functional raised garden bed DIY using readily available reclaimed resources. Whether you're a seasoned DIY enthusiast or a complete beginner, we'll break down each step in a clear, easy-to-follow manner. Get ready to get your hands dirty and transform your outdoor space into a thriving homestead garden!
Why Choose a Raised Garden Bed? The Benefits Are Blooming!
Before we dive into the how-to, let's talk about why raised garden beds are such a great addition to any homestead, especially for beginner gardening.
Improved Soil Quality: Tired of battling rocky, clay-heavy soil? Raised beds allow you to create the perfect growing medium with a custom blend of compost, topsoil, and other amendments.
Enhanced Drainage: Say goodbye to soggy roots! Raised beds promote excellent drainage, crucial for healthy plant growth.
Extended Growing Season: The soil in raised beds warms up faster in the spring, allowing you to start planting earlier. You can also easily add row covers or cold frames to protect your plants from frost and extend your homesteading garden well into the fall.
Reduced Back Strain: Bending and kneeling can be tough on the body. Raised beds bring your garden closer to you, minimizing strain and making gardening more enjoyable.
Increased Accessibility: For those with mobility issues, a accessible raised garden bed can be a game-changer. You can customize the height to make gardening comfortable and accessible for everyone.
Pest and Weed Control: Raised beds make it easier to manage weeds and protect your plants from certain soil-borne pests.
Gathering Your Reclaimed Treasures: Budget-Friendly and Eco-Conscious
One of the best things about this project is its cost-effectiveness. By using reclaimed materials gardening, you're not only saving money but also reducing waste and giving new life to discarded items. Here are some ideas for sourcing your materials:
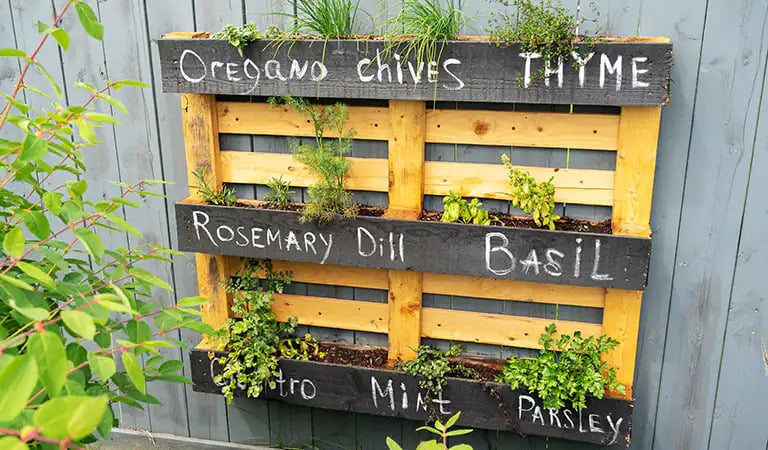
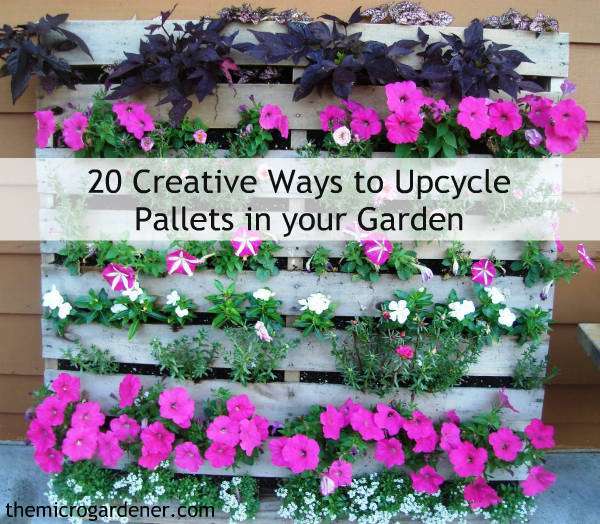
- Pallets: Often available for free from local businesses, pallets can be disassembled and used to create the sides of your raised bed. Just be sure to check the pallet for any chemical treatments and avoid using those labeled "HT" (heat treated) is generally considered safe, while "MB" (methyl bromide) should be avoided.
Scrap Lumber: Ask around at construction sites or check with local carpenters for leftover wood.
Repurposed Tires: Believe it or not, old tires can make excellent raised beds! Just be sure to thoroughly clean them before using.
Concrete Blocks or Bricks: These can often be found used or salvaged from demolition sites.
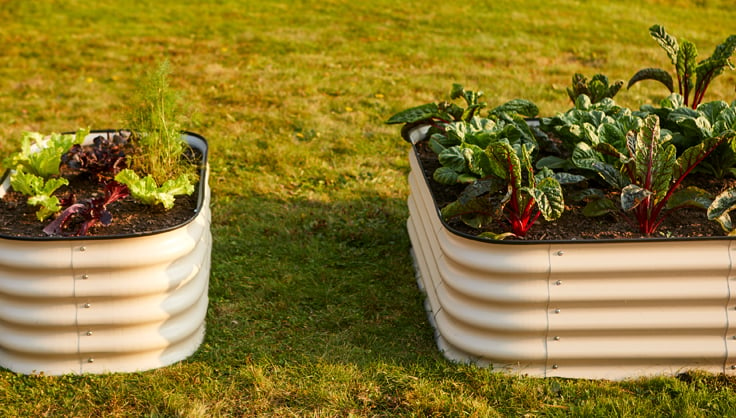
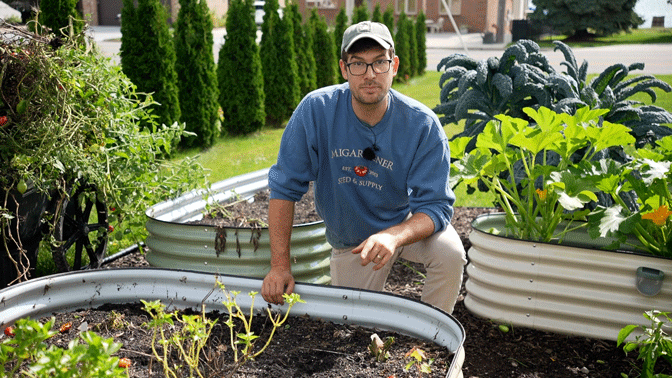
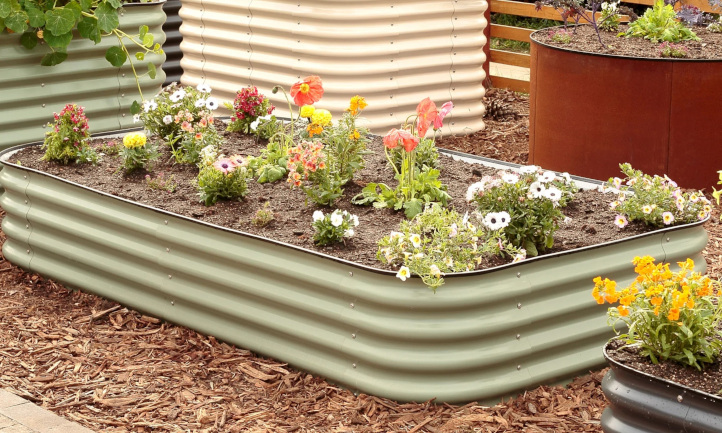
Other Reclaimed Materials: Get creative! Old metal roofing, siding, or even discarded bathtubs can be repurposed into unique and eye-catching raised beds.
Building Your Raised Garden Bed: A Step-by-Step Guide
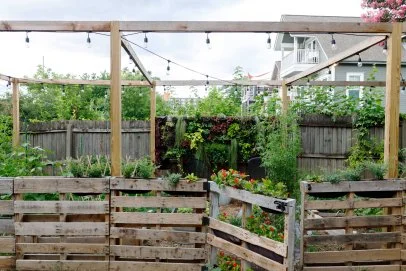
Alright, let's get building! For this example, we'll focus on using reclaimed pallet wood, as it's a readily available and affordable option for a DIY pallet garden bed. Remember to adapt these instructions based on the materials you choose.
Tools You'll Need:
- Safety glasses
- Gloves
- Hammer or Drill
- Saw (circular saw or hand saw)
- Measuring tape
- Level
- Staple gun (optional, for lining)
- Landscape fabric (optional, for lining)
Step 1: Disassemble the Pallet (If Using Pallets)
Carefully disassemble the pallet using a hammer or pry bar. Be cautious of nails and staples. Remove them as you go.
Step 2: Cut the Wood to Size
Decide on the dimensions of your raised bed. A good starting point is 4 feet long by 4 feet wide and 1 foot tall. Cut the pallet wood (or your chosen material) to the appropriate lengths.
Step 3: Assemble the Frame
Attach the sides together to form a square or rectangle. You can use nails, screws, or even wood glue for extra stability. If using screws, pre-drill pilot holes to prevent the wood from splitting.
Step 4: Reinforce the Corners
For added strength, consider adding corner supports made from scrap wood. Attach them to the inside of the frame using nails or screws.
Step 5: Line the Bed (Optional)
Lining the bed with landscape fabric can help prevent soil erosion and weed growth. Staple the fabric to the inside of the frame.
Step 6: Choose Your Location
Select a sunny spot for your raised bed, ideally one that receives at least 6-8 hours of sunlight per day. Make sure the location is relatively level.
Step 7: Fill the Bed with Soil
Now for the fun part! Fill your raised bed with a high-quality soil mix. A good blend includes equal parts topsoil, compost, and peat moss (or coconut coir).
Step 8: Get Planting!
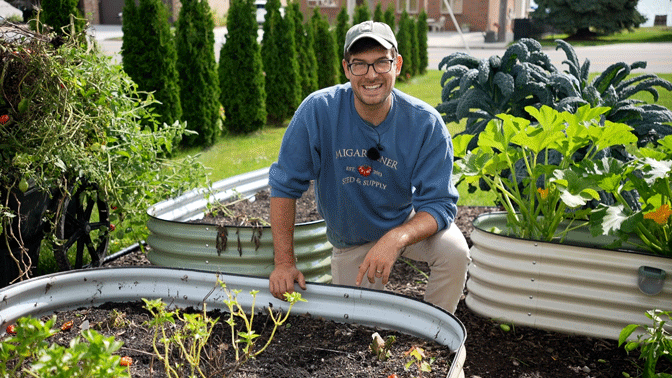
Time to plant your favorite vegetables, herbs, and flowers! Be sure to choose plants that are well-suited to your climate and growing conditions.
Accessibility Considerations: Gardening for Everyone
If you're building a accessible raised garden bed, here are a few things to keep in mind:
Height: The ideal height for an accessible raised bed is typically 24-36 inches, allowing gardeners to reach the plants without bending over.
Width: Keep the width of the bed manageable, so gardeners can easily reach across to tend to the plants. 3-4 feet is a good maximum width.
Pathways: Ensure there are wide, level pathways around the raised bed to allow for easy access with wheelchairs or other mobility aids.
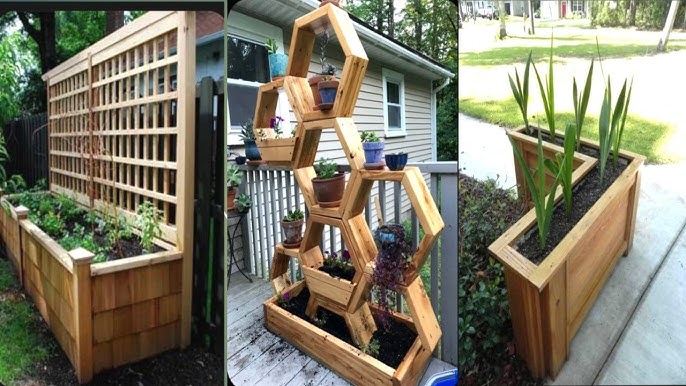
Consider adding a ledge: Adding a ledge around the top of the bed can provide a convenient place to rest tools or gardening gloves.
Extending Your Growing Season
A raised garden bed DIY is a great first step, but with a little extra effort, you can extend your growing season and enjoy fresh produce for even longer. Here's how:
Row Covers: These lightweight fabric covers protect plants from frost, wind, and pests.
Cold Frames: These mini-greenhouses provide extra warmth and protection, allowing you to start seedlings earlier and extend the harvest later.
Sustainable Gardening Tips
Compost: Add compost to your raised bed regularly to improve soil fertility and reduce waste.
Water Wisely: Use a drip irrigation system or soaker hoses to conserve water.
Mulch: Apply a layer of mulch around your plants to suppress weeds and retain moisture.
Share Your Success!
We hope this guide has inspired you to create your own beautiful and cost-effective garden bed. Building a reclaimed materials garden is a rewarding experience that connects you with nature and provides fresh, healthy food for your family.
Now, we want to see your creations! Share your own raised garden bed DIY projects in the comments below. Tag us on social media using #BetterHomesandHarvests to show off your thriving homestead garden! And don't forget to subscribe to our newsletter for more homesteading tips and inspiration. Happy gardening!
