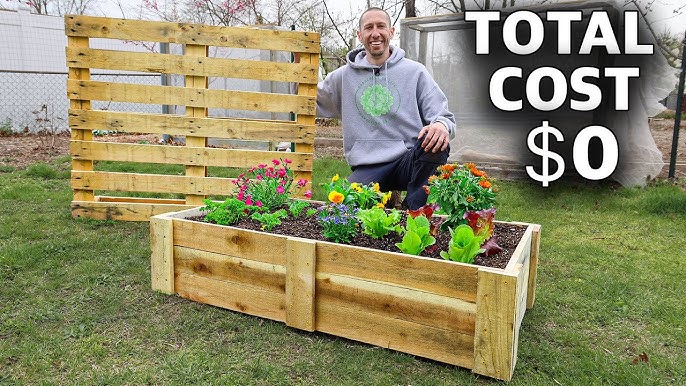
Grow Your Own Goodness: A Beginner's Guide to a Budget-Friendly Raised Garden Bed
Imagine biting into a sun-warmed tomato, bursting with flavor unlike anything you've ever tasted from the grocery store. Picture vibrant lettuces, crisp cucumbers, and fragrant herbs, all grown just steps from your kitchen. This is the joy of growing your own food, and it’s more accessible than you think!
Homesteading, with its promise of self-sufficiency, can feel overwhelming, especially when you're just starting out. But don't let the grand vision intimidate you. Small steps can lead to big rewards, and one of the easiest and most rewarding first steps you can take is building your own DIY raised garden bed. This beginner gardening project is simple, affordable, and can transform even the smallest backyard into a productive garden space. And the best part? You can do it on a budget using reclaimed materials! Let's dive in and see how you can build your own cheap raised garden bed.
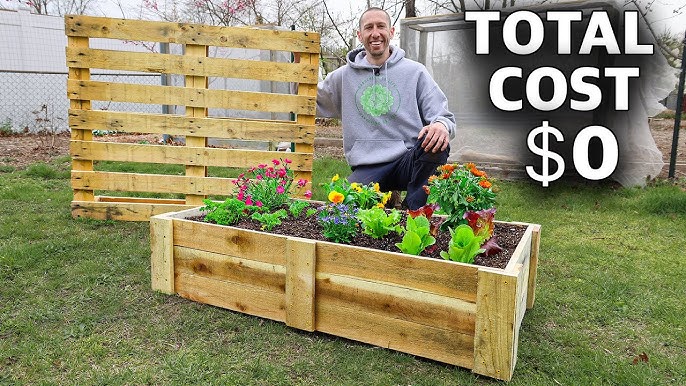
Why Choose a Raised Garden Bed?
Before we get into the how-to, let's talk about why raised garden beds are a great choice, especially for beginners:
- Improved Soil: Raised beds allow you to create the perfect soil environment for your plants, even if your existing soil is poor or compacted.
- Better Drainage: Excellent drainage prevents root rot and promotes healthy growth.
- Weed Control: Easier to manage weeds compared to in-ground gardens.
- Accessibility: Reduces bending and kneeling, making gardening more comfortable.
- Extended Growing Season: The soil in raised beds warms up faster in the spring, allowing you to start planting earlier.
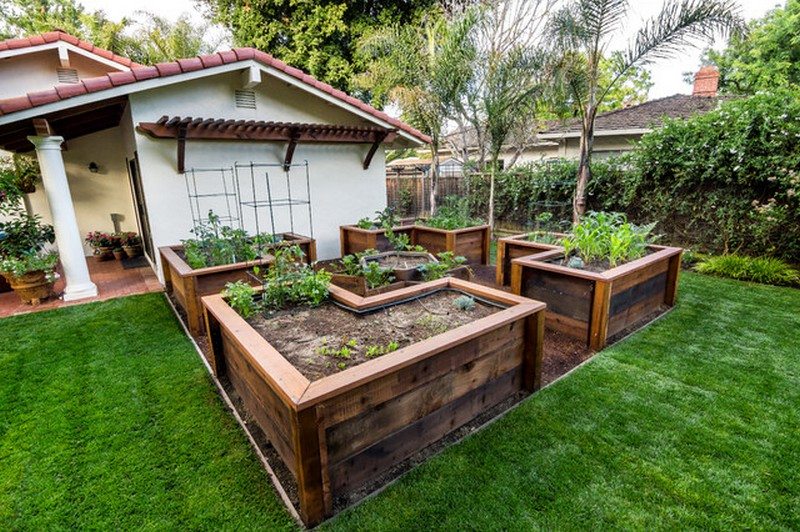
- Aesthetics: Raised beds can add visual appeal to your outdoor space.
Gathering Your Reclaimed Materials: Embrace the Budget!
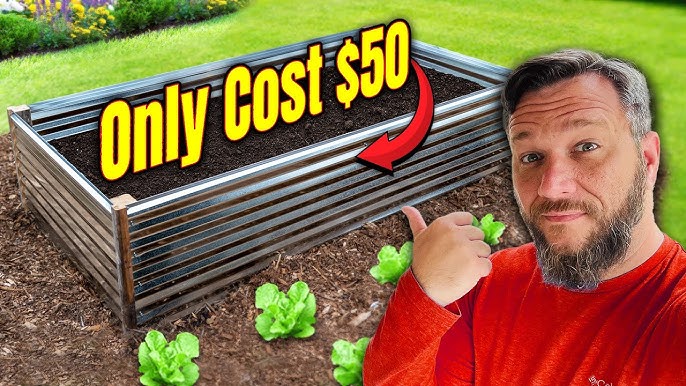
The beauty of this project is its affordability. By using reclaimed materials, you can build a fantastic raised garden bed for under $50. Here are some ideas for sourcing materials:
- Pallets: Old wooden pallets are a fantastic resource. Check with local businesses (grocery stores, hardware stores) – they often give them away for free. Just be sure to avoid pallets treated with harsh chemicals (look for the "HT" stamp, which indicates heat treatment).
- Scrap Wood: Leftover lumber from previous projects, discarded fencing, or even old siding can be repurposed.
- Concrete Blocks: Concrete blocks or bricks can also be used to create the walls of your raised bed.
:max_bytes(150000):strip_icc()/September-Garden-4-27714c582b0d4ceaad95c9c24aaac9d9-25fe181085014f4381c4323f8ff30f3f.jpg)
Budget Breakdown:
- Reclaimed Materials: $0 (or very minimal if you need to buy screws/nails)
- Landscape Fabric (optional): $10 - $20
- Soil: $30 (depending on the size of your bed and the type of soil you choose)
Total Estimated Cost: Under $50
Step-by-Step Guide: Building Your DIY Raised Garden Bed
Here’s how to build your own raised garden bed using reclaimed wood pallets (the steps are easily adaptable for other reclaimed materials). This is a great homesteading project for beginners.
Tools You'll Need:
- Safety Glasses
- Gloves
- Measuring Tape
- Saw (hand saw or circular saw)
- Drill with Screws or Hammer with Nails
- Staple Gun (optional, for landscape fabric)
- Level
- Shovel
Step 1: Disassemble the Pallet(s)
Carefully disassemble your pallet(s) using a pry bar or hammer. Be cautious of nails and staples. Remove them as you go.
Step 2: Cut the Wood to Size
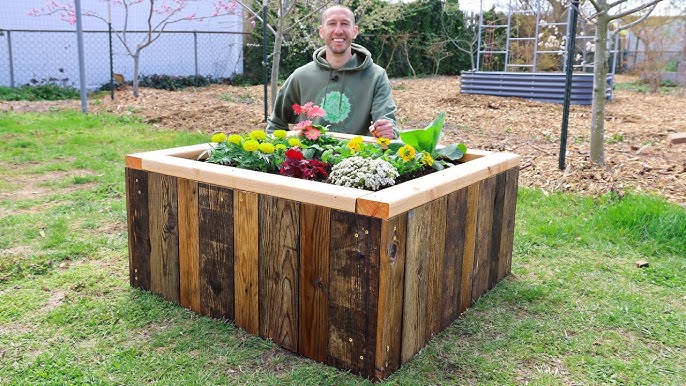
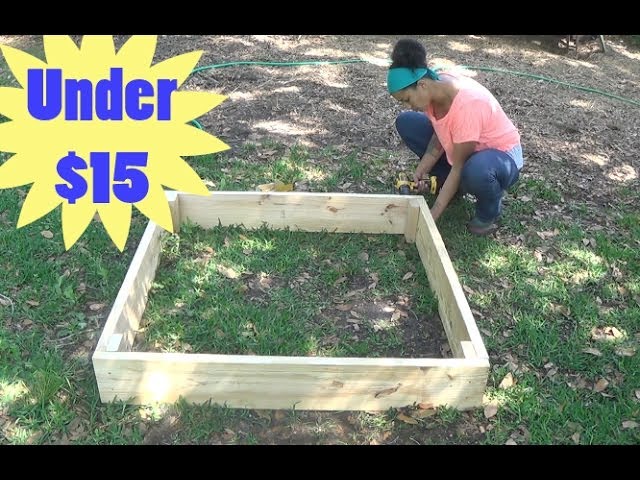
Decide on the dimensions of your raised bed. A good size for beginners is 4ft x 4ft or 3ft x 6ft. Cut the pallet wood to the desired lengths using your saw. Aim for consistent lengths for a neater appearance.
Step 3: Assemble the Frame
Using screws or nails, attach the wood pieces together to create a rectangular frame. Make sure the corners are square using a speed square or by measuring diagonally.
Step 4: Add Corner Supports (Optional but Recommended)
For added stability, cut four pieces of wood to create corner supports. Attach these to the inside corners of the frame.
Step 5: Line the Bed (Optional)
Line the inside of the raised bed with landscape fabric. This will help prevent soil from eroding and keep weeds out. Secure the fabric with staples or nails.
Step 6: Choose the Right Location
Select a sunny location for your raised bed that receives at least 6-8 hours of sunlight per day. Ensure it's close to a water source for easy watering. Level the ground where you plan to place the bed.
Step 7: Place the Bed and Add Soil
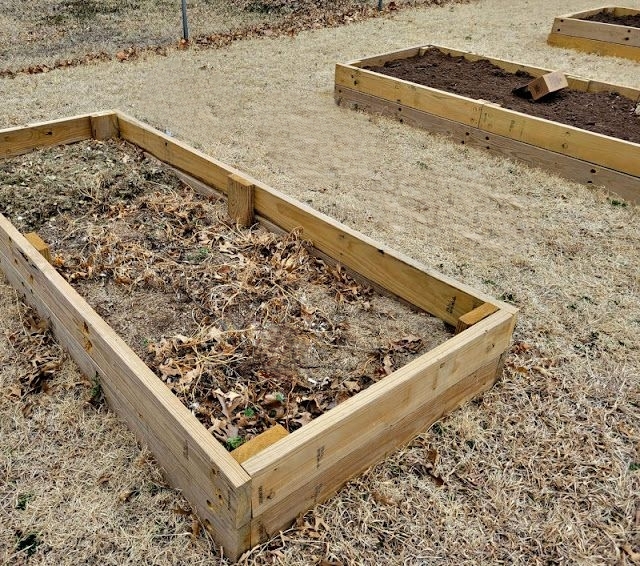
Carefully place the assembled raised bed in your chosen location. Fill it with a high-quality soil mix specifically designed for raised beds. A good mix typically contains compost, topsoil, and peat moss or coconut coir.
 .jpg)
.jpg)
Step 8: Start Planting!
Now for the fun part! Choose your favorite vegetables, herbs, or flowers and get planting. Consider companion planting to maximize your garden's productivity. (Check out our article on Companion Planting [link to BHH companion planting article] for more ideas!)
Estimated Time to Complete: 4-6 hours (over a weekend)
Addressing Common Concerns
- Finding Suitable Materials: Don't be afraid to ask around! Local businesses are often happy to get rid of unwanted pallets or scrap wood. Check online marketplaces like Craigslist or Facebook Marketplace.
- Dealing with Uneven Ground: Leveling the ground before placing your raised bed is crucial. Use a shovel to remove any high spots and fill in any low spots.
- Soil Drainage: Ensure your soil mix provides good drainage. Avoid using heavy clay soil on its own. Amending with compost and other organic matter will improve drainage.
- Pallet Safety: As mentioned before, make sure your pallet hasn't been chemically treated. Look for the "HT" stamp, which indicates heat treatment, a safe alternative. If you’re unsure, it's best to avoid using the pallet.
Choosing the Right Location: Sunlight, Water, and Drainage
Location is key to a successful raised garden bed. Aim for a spot that receives at least 6-8 hours of direct sunlight per day. Easy access to a water source is also essential. Observe how water drains in your yard to avoid placing the bed in an area that becomes waterlogged. Good soil drainage is also important for healthy roots.
What to Plant in Your Beginner Raised Bed
Now that you have built your raised bed, you're probably wondering what to plant in it. Here are some easy to grow vegetables for beginners:
- Leaf Lettuce
- Radishes
- Spinach
- Bush Beans
- Zucchini
- Cherry Tomatoes
- Herbs like Basil, Mint, and Chives
Taking the Next Step: Composting and Companion Planting
Once you have your raised bed up and running, consider exploring other aspects of homesteading to improve the quality of your plants and soil. Start composting to generate rich organic matter for your soil. Read our guide to composting [link to BHH composting article]. Also, research companion planting techniques to naturally improve growth.
:strip_icc()/101625872-6007d2b72f06441192ef22045cbf8771.jpg)
Get Creative! Personalize Your Raised Bed
Don't be afraid to add your personal touch to your raised garden bed. Paint it, add decorative elements, or even build a simple trellis for climbing plants. The possibilities are endless!
Ready to Grow Your Own Goodness?
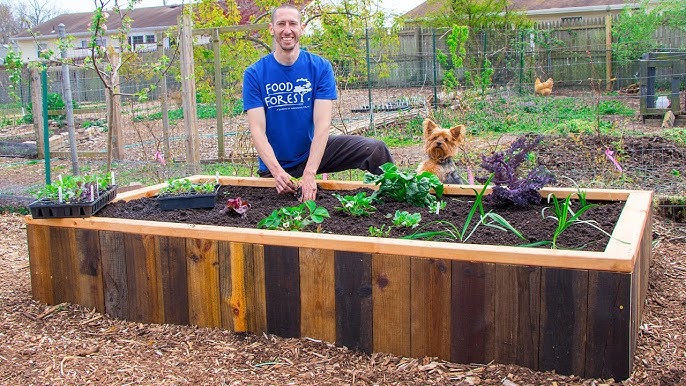
Building a DIY raised garden bed is a fantastic way to start your beginner gardening journey and take a meaningful step towards self-sufficiency. It’s a rewarding project that’s both budget-friendly and environmentally conscious. So, gather your reclaimed materials, follow these simple steps, and get ready to enjoy the delicious rewards of your own home-grown goodness!
We'd love to hear about your experiences building raised garden beds! Share your tips, questions, and photos in the comments section below. Don't forget to share photos of your completed projects on social media using the hashtag #BHHRaisedBeds.
For more beginner-friendly homesteading tips and projects, subscribe to the Better Homes and Harvests newsletter today!