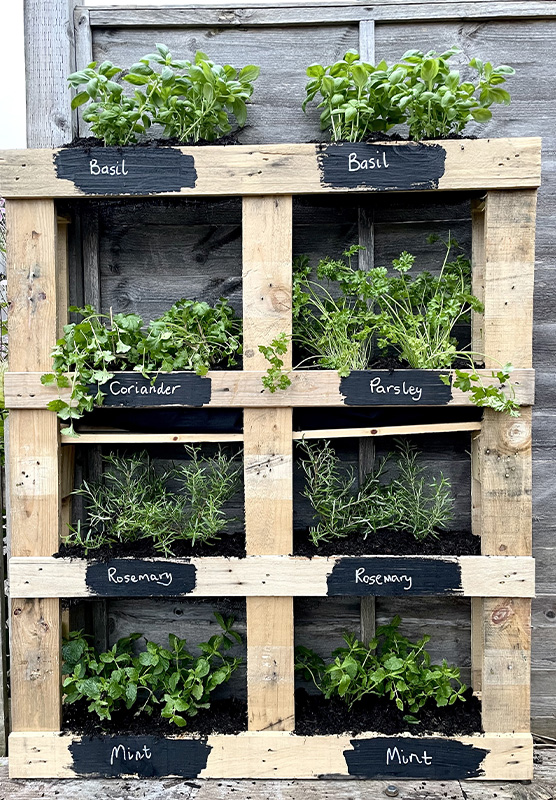
Grow Up, Not Out: Building Your Own Space-Saving Vertical Herb Garden
Dreaming of fresh herbs just steps from your kitchen, but lacking the sprawling garden space? You're not alone! Many beginner homesteaders, apartment dwellers, and those simply short on space are discovering the joys of vertical herb gardening. It's a fantastic way to boost self-sufficiency, save money on grocery bills, and connect with nature, even on the tiniest balcony. This guide will walk you through building your own DIY vertical herb garden, using readily available and affordable materials. Get ready to harvest fresh flavor year-round!
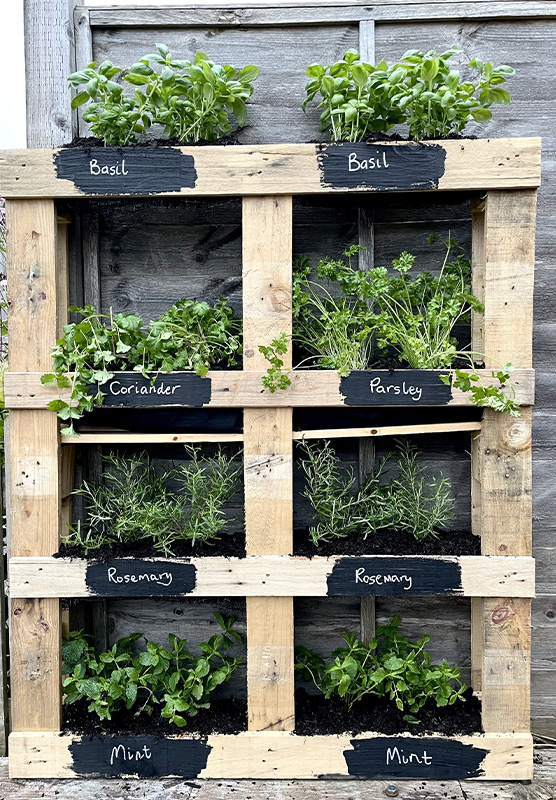
Why Go Vertical? The Benefits of a Space-Saving Herb Garden
Before we dive into the how-to, let's appreciate the why. A vertical herb garden offers a plethora of benefits:
- Space Efficiency: The most obvious advantage! Vertical gardens maximize growing space in limited areas, perfect for small homesteads, balconies, patios, or even indoors.
- Accessibility: No more bending and straining! Vertical gardens bring your herbs to eye level, making tending and harvesting a breeze.
- Aesthetics: A lush vertical garden adds a touch of green beauty to any space, creating a living work of art.
- Pest Control: Raising your plants off the ground can help deter some ground-dwelling pests.
- Microclimate Creation: Vertical structures can create sheltered microclimates, protecting your herbs from harsh winds or intense sun.
- Cost Savings: Growing your own herbs drastically reduces your reliance on expensive store-bought options.
Choosing Your Vertical Garden Design & Materials
The beauty of DIY is the freedom to customize! Here are a few popular and affordable options for building your vertical herb garden, all perfect for beginner homesteading:
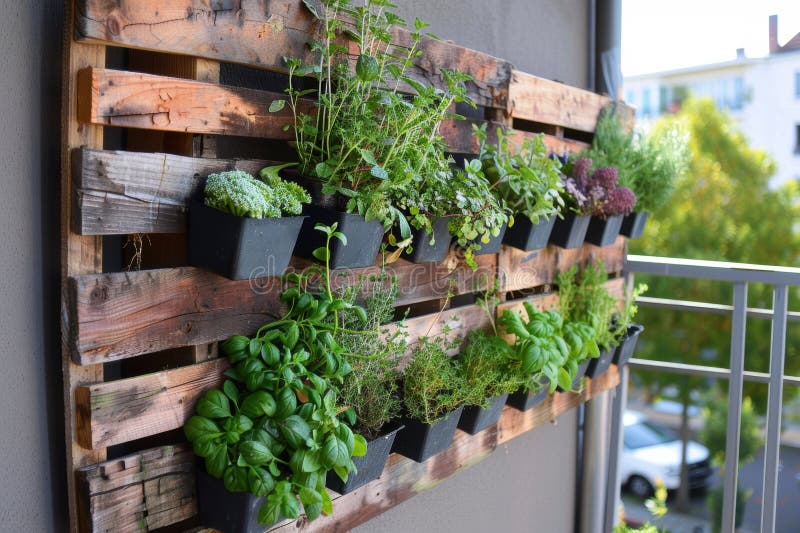
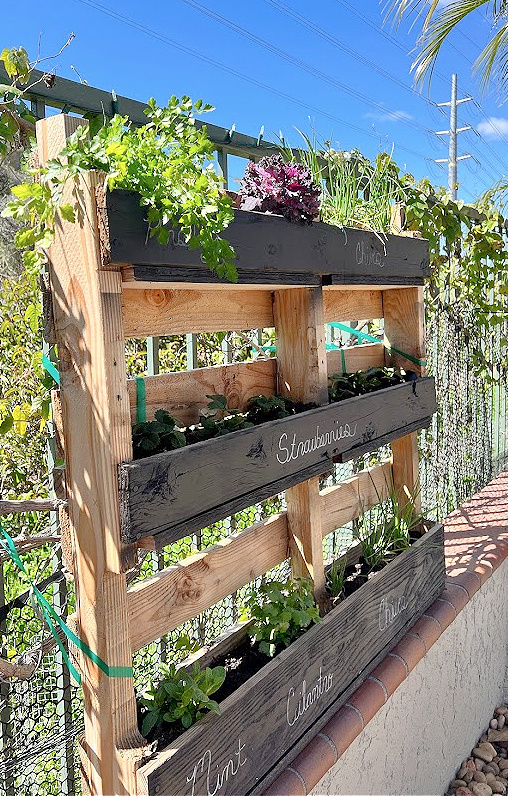
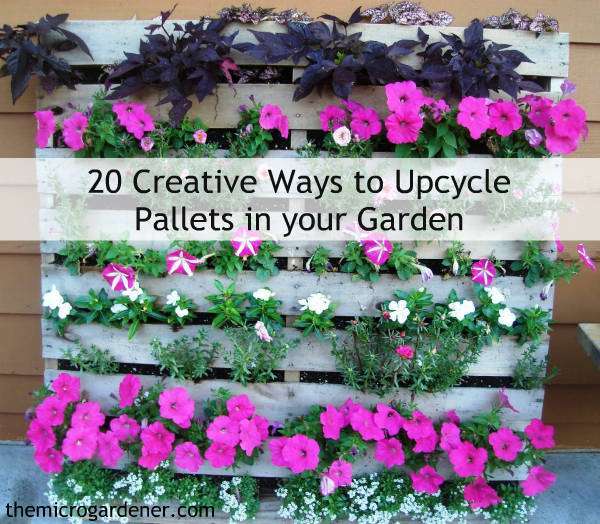
- Repurposed Pallet Garden: This is a classic for a reason! Pallets are often free or very cheap, and their structure is perfect for creating multiple planting levels.
- PVC Pipe Garden: A sleek and modern option, PVC pipes can be easily cut and configured to create a tiered vertical system.
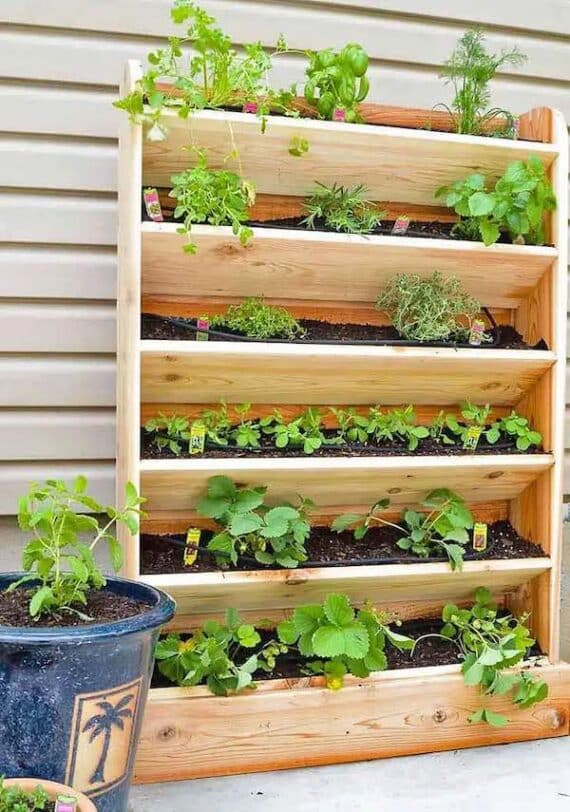
- Stacked Planter System: Simple and straightforward, stacked planters are available at most garden centers and require minimal assembly.
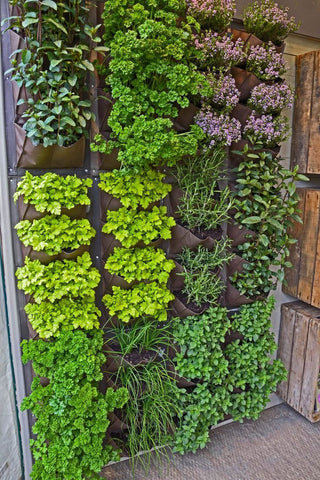
- Hanging Shoe Organizer: Believe it or not, an old shoe organizer can be repurposed into a fun and quirky vertical herb garden, especially good for balconies.
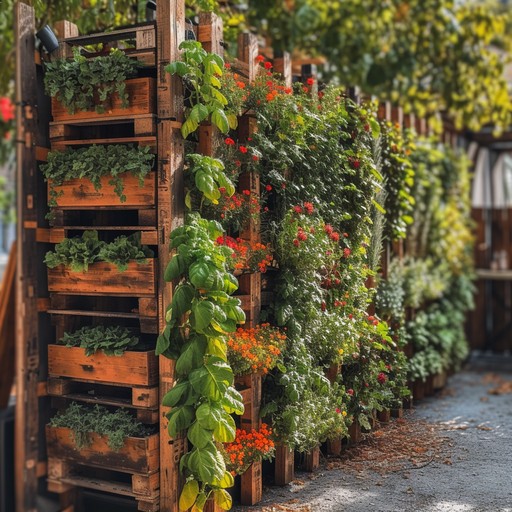
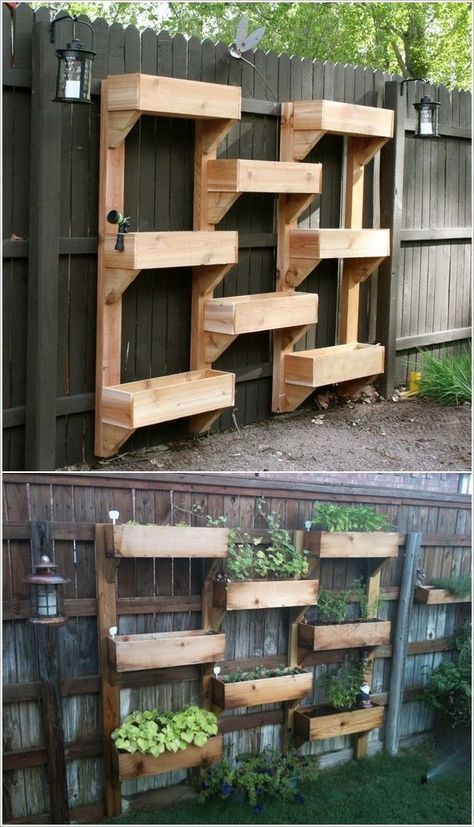
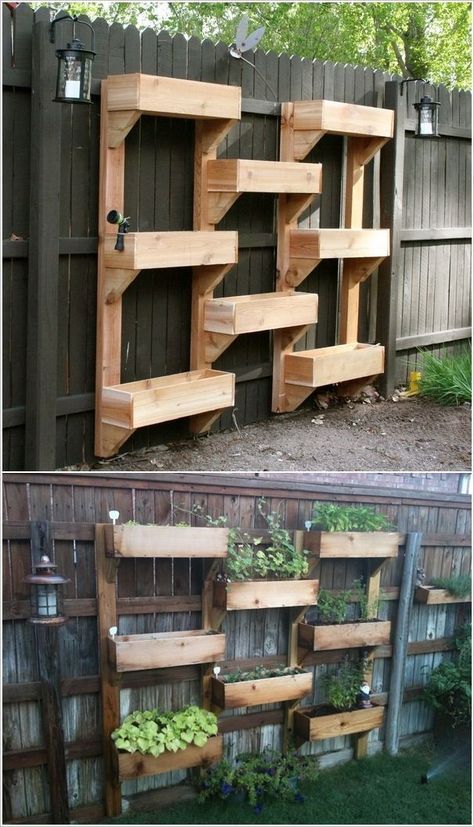
- Repurposed Wooden Crates/Boxes: Stacking wooden crates or boxes of varying sizes gives a rustic and charming look.
For this guide, we'll focus on the Repurposed Pallet Garden, as it's accessible, affordable, and offers a lot of visual appeal.
Step-by-Step: Building Your Pallet Vertical Herb Garden
Materials You'll Need:
- A wooden pallet (look for heat-treated pallets marked "HT" rather than chemically treated ones marked "MB")
- Heavy-duty landscape fabric or burlap
- Staple gun and staples
- Measuring tape
- Scissors
- Gloves
- Potting soil
- Your chosen herb seedlings or seeds
- Sandpaper (optional, for smoothing rough edges)
- Wood sealant or paint (optional, to protect the pallet)
Step 1: Preparing the Pallet
- Inspect the Pallet: Check for any loose nails, splinters, or damage. Remove or hammer in any protruding nails.
- Clean the Pallet: Use a stiff brush and soapy water to thoroughly clean the pallet. Rinse well and allow it to dry completely.
- Sand (Optional): If the pallet has rough edges, lightly sand them down for a smoother finish.
- Seal or Paint (Optional): Applying a wood sealant or paint will protect the pallet from the elements and extend its lifespan. Choose a non-toxic, outdoor-rated product. Allow to dry completely.
Step 2: Creating the Planting Pockets
- Measure and Cut the Fabric: Measure the width and depth of each section between the pallet slats where you want to create a planting pocket. Cut the landscape fabric or burlap to the appropriate size, leaving extra material for overlap.
- Create the Pockets: Line each section with the fabric, ensuring it extends up the sides and bottom. Use the staple gun to secure the fabric to the pallet, creating a pocket to hold the soil. Overlap the fabric generously to prevent soil from leaking out.
- Reinforce the Bottom (Important): For extra support, double-layer the fabric on the bottom of each pocket, as this is where the weight of the soil will be concentrated.
Step 3: Filling the Pockets and Planting
- Choose the Right Soil: Use a high-quality potting mix that drains well. Avoid using garden soil, as it can become compacted in containers.
- Fill the Pockets: Carefully fill each pocket with potting soil, leaving about an inch of space at the top.
- Plant Your Herbs: Gently remove your herb seedlings from their containers and plant them in the pockets, spacing them according to their mature size. If using seeds, follow the instructions on the seed packet.
- Water Thoroughly: Water the newly planted herbs gently but thoroughly until water drains from the bottom of the pockets.
Step 4: Finding the Perfect Spot and Maintenance
- Sunlight is Key: Most herbs need at least 6 hours of sunlight per day. Choose a location that receives ample sunlight. If you're growing indoors, consider using grow lights.
- Watering: Water your vertical herb garden regularly, especially during hot weather. Check the soil moisture by sticking your finger into the soil. Water when the top inch feels dry. Be careful not to overwater, as this can lead to root rot.
- Fertilizing: Feed your herbs with a diluted liquid fertilizer every few weeks to promote healthy growth.
- Pest Control: Regularly inspect your herbs for pests. If you spot any, treat them with an organic pest control solution, such as insecticidal soap or neem oil.
- Pruning: Regularly prune your herbs to encourage bushier growth and prevent them from becoming leggy.
Choosing the Right Herbs for Your Vertical Garden
Not all herbs are created equal when it comes to vertical gardening. Consider these factors when selecting your plants:
- Sun Exposure: Match your herbs to the amount of sunlight your garden receives.
- Water Needs: Group herbs with similar water needs together to make watering easier.
- Size: Choose compact varieties that won't outgrow their space.
Great Herbs for Beginner Vertical Gardeners:
- Basil: A warm-weather favorite for pesto, pasta sauces, and salads.
- Mint: Easy to grow and incredibly versatile, but be warned, it can be invasive, so keep it contained!
- Chives: A mild onion flavor perfect for dips, salads, and garnishes.
- Parsley: A staple herb for adding freshness to almost any dish.
- Oregano: A robust herb perfect for Italian and Mediterranean cuisine.
- Thyme: A fragrant herb that pairs well with meats, vegetables, and soups.
- Rosemary: An aromatic herb with a distinctive flavor, great for roasting meats and vegetables.
Troubleshooting Common Vertical Herb Garden Problems
- Yellowing Leaves: Could be a sign of overwatering, underwatering, or nutrient deficiency. Adjust your watering schedule and fertilize as needed.
- Leggy Growth: Usually caused by insufficient sunlight. Move your garden to a sunnier location or supplement with grow lights.
- Pests: Treat infestations promptly with organic pest control methods.
- Mold: Caused by poor air circulation and excessive moisture. Improve ventilation and avoid overwatering.
My Favorite Herbs and How I Use Them
Personally, I can't live without basil, mint, and chives in my vertical garden. I use fresh basil almost daily in my salads, pasta dishes, and, of course, homemade pesto. Mint is a must for refreshing summer drinks like mojitos and iced tea. And chives add a delicate onion flavor to my scrambled eggs, potato salad, and dips. Nothing beats the taste of freshly harvested herbs!
Ready to Grow?
Building a DIY vertical herb garden is a rewarding project that brings fresh flavor and natural beauty to your home. It's a fantastic way to embrace self-sufficiency, even in the smallest of spaces. So, gather your materials, roll up your sleeves, and get ready to grow!
Now it's your turn! What herbs are you most excited to grow in your vertical garden? Share your experiences, ask questions, and connect with fellow gardening enthusiasts in the comments below. Don't forget to share this post on social media using #BHHerbs #DIYHomestead #VerticalGarden and inspire others to create their own space-saving herb havens! Let's get growing!
