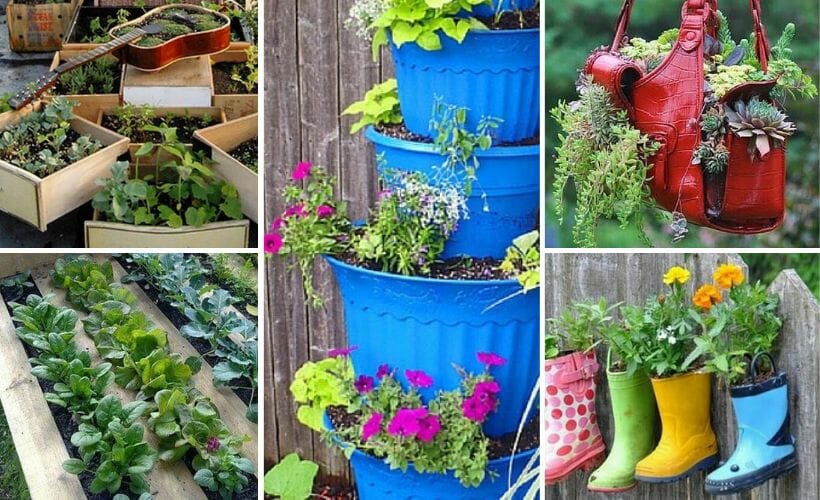
Grandma's Wisdom: Building a Self-Watering Planter System for a Thriving Homestead
There's a certain magic to watching a seed sprout, unfurl, and blossom into something that nourishes. My great-grandmother, bless her calloused hands and sun-wrinkled face, understood this magic better than anyone I knew. She could coax life from the most barren soil, and her garden was a testament to her deep connection with the land. One of her secrets? Self-watering planters. Back then, they weren't fancy store-bought contraptions; they were ingenious creations born from necessity and a deep understanding of how plants drink. Building a self-watering planter system is more than just a weekend project; it’s a step towards self-sufficiency, water conservation, and a thriving homestead garden. Plus, it’s a lot easier than you think! So, let's get our hands dirty and learn how to build one, Grandma-style.
Why should you commit to building a self-watering planter? Imagine less time spent watering, healthier plants consistently getting the moisture they need, and a significant reduction in water waste. In today's world, self-sufficiency and sustainable living are more crucial than ever. This homesteading project is your personal step in that direction.
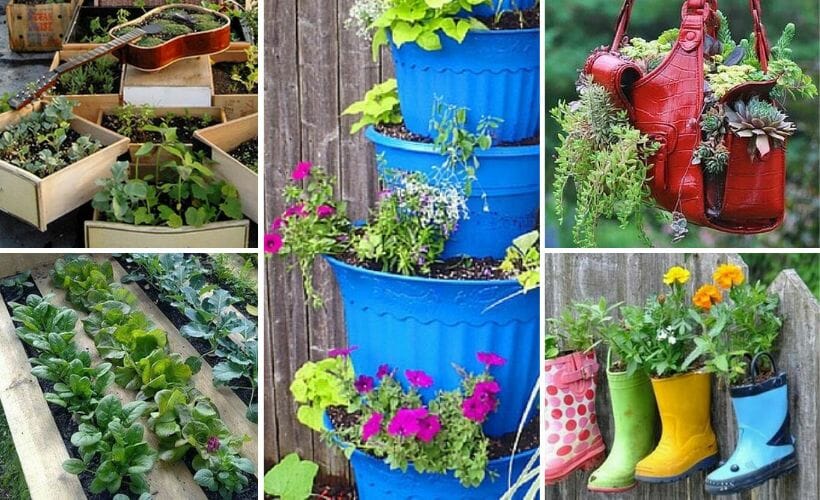
A flourishing container garden showing the potential of using self-watering planters on your homestead.
What You'll Need: Gathering Your Homesteading Supplies
Here's a breakdown of the materials you'll need to construct your self-watering planter system. I’ll include some options to save money using upcycled items.
- Two Plastic Containers: One larger container (e.g., a 20-gallon storage tote) and one smaller container that can fit inside the larger one with a few inches of space on all sides (a 5-gallon bucket works great). Look for food-grade plastic, especially if you're growing edibles. Upcycling Tip: Check with local restaurants, schools, or bakeries; they often have used buckets they're willing to give away.
- PVC Pipe: A length of 3-4 inch diameter PVC pipe, long enough to reach from the bottom of the larger container to a few inches above the top. This will be your watering tube.
- Drill with Various Drill Bits: For creating drainage holes and the watering tube hole.
- Landscape Fabric or Burlap: To act as a barrier between the soil and the water reservoir, preventing soil from clogging the system.
- Gravel or Small Rocks: To create a drainage layer at the bottom of the larger container.
- Potting Mix: A good quality potting mix, suitable for the plants you intend to grow. Avoid using garden soil, as it can compact and impede drainage.
- Water: Of course!
- Measuring Tape or Ruler: For accurate measurements.
- Optional: Mulch: To help retain moisture and suppress weeds.
Estimated Cost: $20 - $50 (depending on whether you're using new or repurposed materials).
Grandma's Step-by-Step Guide to Building Your Self-Watering Planter
This is where the real fun begins! Follow these easy steps to create your very own self-watering planter system. This DIY self-watering system is perfect for beginners.
Prepare the Outer Container: Drill several drainage holes (about 1/2 inch in diameter) in the bottom of the larger container. This prevents the reservoir from becoming waterlogged in case of heavy rain.
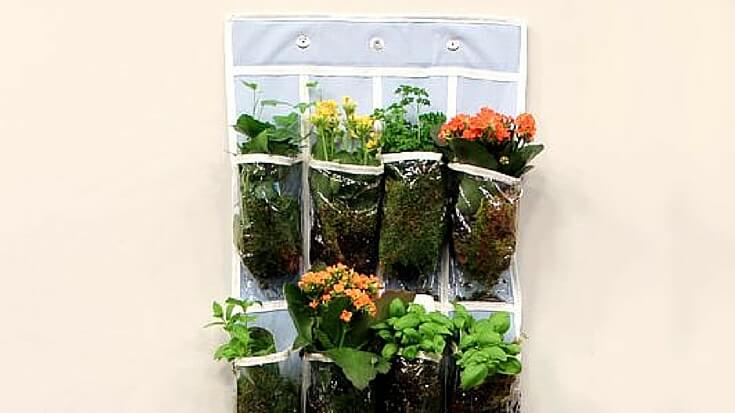
Drilling drainage holes is essential for preventing overwatering and root rot.Create the Reservoir: Add a layer of gravel or small rocks to the bottom of the larger container, about 2-3 inches deep. This layer will act as a reservoir for water.
Prepare the Inner Container: Drill numerous small holes (about 1/4 inch in diameter) along the bottom and lower sides of the smaller container. These holes will allow water to wick up into the soil.
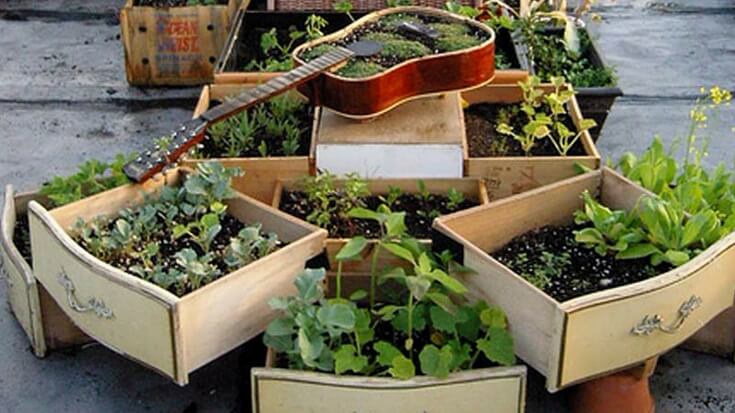
Drill holes on the lower sides of the inner bucket to ensure proper wicking action.Line with Landscape Fabric: Line the bottom of the smaller container with landscape fabric or burlap, making sure it covers all the drainage holes. This will prevent the potting mix from washing into the reservoir.
Insert the Watering Tube: Drill a hole in the side of the larger container, near the bottom, large enough to accommodate the PVC pipe. Insert the PVC pipe, making sure it reaches the bottom of the container and extends a few inches above the top. This will be your access point for watering the reservoir.

The PVC pipe allows for easy filling of the water reservoir from the top.Place the Inner Container: Place the smaller container inside the larger container, on top of the gravel layer. The bottom of the smaller container should be elevated above the bottom of the larger container, creating a water reservoir.
Add Potting Mix: Fill the smaller container with potting mix, leaving a few inches of space at the top.
Plant Your Plants: Plant your seeds or seedlings into the potting mix.
A thriving self-watering planter with healthy seedlings growing.Water the Reservoir: Pour water into the PVC pipe until the reservoir is full. You'll know it's full when water starts to come out of the drainage holes in the bottom of the larger container.
Mulch (Optional): Add a layer of mulch to the top of the potting mix to help retain moisture and suppress weeds.
Troubleshooting Tips for Self-Watering Success
Even Grandma had her off days! Here are a few common issues and how to fix them:
- Plants are Wilting: This could indicate that the reservoir is empty, the wicking action isn't working properly, or the potting mix is too compacted. Make sure the reservoir is full, check that the landscape fabric isn't clogged, and consider using a lighter potting mix.
- Soil is Too Wet: This could indicate that the drainage holes are clogged or the reservoir is overfilled. Clear the drainage holes and avoid overfilling the reservoir.
- Algae Growth: Algae can sometimes grow in the reservoir. This isn't usually harmful, but you can prevent it by using an opaque container or adding a small amount of hydrogen peroxide to the water.
Safety First!
- Always wear safety glasses when drilling.
- Be careful when using sharp tools.
- Choose food-grade plastic containers if you're growing edibles.
The Sweet Rewards of Self-Sufficiency
Building a self-watering planter system is a simple, yet powerful step towards a more self-sufficient and sustainable homestead. You'll save water, time, and energy, all while enjoying a bountiful harvest. Embrace Grandma's wisdom and give it a try! Building a DIY self-watering planter has never been easier.
A vibrant vegetable garden, the ultimate goal of homestead gardening and self-sufficiency.
What are you waiting for? Get out there, gather your materials, and start building! And don't forget to share your experiences and any questions you have in the comments below. Happy homesteading!