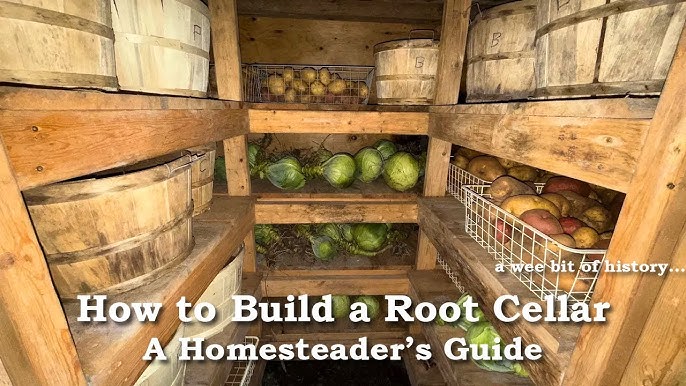
From Wasted Harvest to Root Cellar Riches: A Homesteader's Journey to Self-Sufficiency
Are you tired of watching your hard-earned garden bounty wither away before you can enjoy it? Do you dream of a pantry stocked with homegrown goodness, reducing your reliance on the grocery store and embracing a more sustainable lifestyle? If so, you're in the right place!
For years, I struggled with this very problem. Our small homestead garden produced an abundance of fruits and vegetables, but without proper storage, much of it ended up in the compost bin. The dependence on store-bought produce, often shipped from thousands of miles away, felt like a betrayal of our commitment to a more self-sufficient existence. That's when I decided it was time to tackle a long-held dream: building a DIY root cellar.
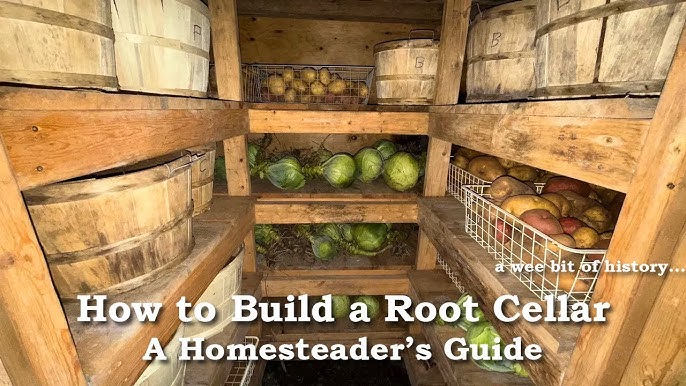
This isn't just a construction project; it's a journey towards food security, a celebration of the harvest, and a deep connection with the land. Join me as I share my experience, step-by-step guide, and the hard-earned lessons learned along the way. Get ready to roll up your sleeves and discover the satisfaction of preserving your harvest in your very own DIY root cellar!
The Before: A Tale of Wasted Abundance
I remember one particularly bountiful year for carrots. The garden was overflowing, and I was ecstatic! I envisioned months of delicious carrot soups, roasted carrots, and fresh carrot juice. But reality quickly set in. Despite my best efforts, storing them in the refrigerator resulted in limp, sad carrots within weeks. The same story played out with potatoes, onions, and apples.
It was disheartening to see all that effort and potential go to waste. The nearest grocery store became the default, filled with produce lacking the vibrant flavor and freshness of my own garden. It was time for a change.
The Spark: Researching Root Cellar Designs
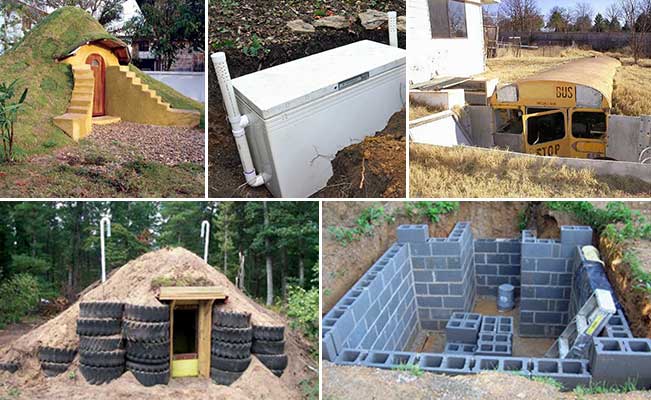
The initial research was overwhelming. There were countless root cellar designs, ranging from simple buried containers to elaborate underground structures. I spent hours poring over books, online articles, and videos, trying to determine the best approach for my specific needs and skill level.
I quickly realized that a full-blown, walk-in underground cellar was beyond my capabilities at this stage. But, I discovered several variations utilizing cinder blocks, partially buried and insulated, that seemed much more manageable. After looking at multiple affordable root cellar options, I chose a design I knew I could make my own.

Ultimately, I settled on a partially buried cinder block structure, utilizing a corner of the yard that was already slightly sloped. This would provide some natural insulation from the earth while keeping the project manageable.
The Build: A Step-by-Step Guide to Your Own DIY Root Cellar
Safety First! Before beginning any construction project, always wear appropriate safety gear, including eye protection, gloves, and sturdy footwear. Be mindful of underground utilities and always call before you dig to avoid damaging buried lines. If you're unsure about any aspect of the construction process, consult with a qualified professional.
Step 1: Planning and Site Preparation
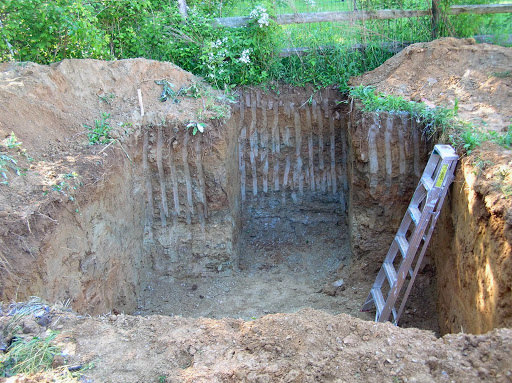
First, determine the size of your root cellar based on your storage needs. Clear the area of any vegetation and debris. Level the ground and mark out the perimeter of your structure. Remember to factor in space for the cinder block walls and any insulation you plan to add.
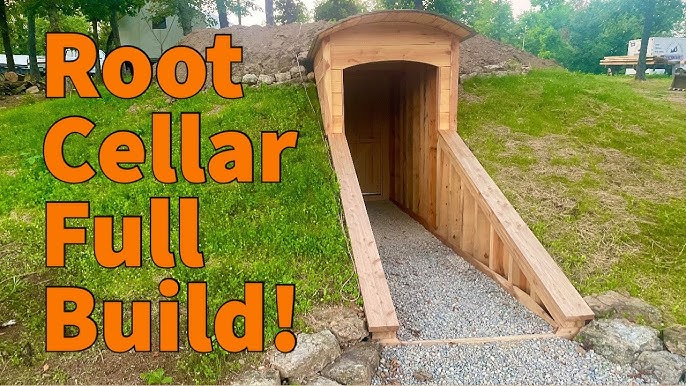
Alt Text: A cleared and marked piece of land ready for root cellar construction.
Step 2: Laying the Foundation
A solid foundation is crucial for a stable root cellar. I used a gravel base covered with a layer of compacted sand, followed by concrete pavers. This provides drainage and prevents the cinder blocks from settling unevenly. Make sure each paver is level before proceeding.
Step 3: Building the Walls
Using mortar, carefully stack the cinder blocks to create the walls of your root cellar. Stagger the joints for added strength. Ensure that the walls are plumb and level as you build. I left openings for ventilation near the top of the walls.
Alt Text: Cinder blocks being stacked to form the walls of the root cellar.
Step 4: Adding the Roof
This was the most challenging part! I opted for a simple, sloped roof made from pressure-treated lumber. The slope is important for water runoff. Cover the lumber with a waterproof membrane (like roofing felt) to prevent leaks. I then added a layer of soil over the membrane for added insulation and to help it blend in with the landscape.
Step 5: Insulation
Insulation is critical for maintaining a consistent temperature inside the root cellar. I used rigid foam insulation boards on the exterior walls, burying them against the cinder block. I also added insulation to the underside of the roof.
Alt Text: Insulation boards surrounding the external wall of the cellar.
Step 6: Ventilation
Proper ventilation is crucial for preventing mold and mildew. I installed two ventilation pipes, one near the floor and one near the ceiling, to promote air circulation. These pipes were covered with mesh screens to keep out insects and rodents.
Step 7: The Doorway
A sturdy, insulated door is essential for keeping out pests and maintaining temperature. I built a simple wooden door and insulated it with foam board. Make sure the door fits snugly and seals properly.
Step 8: Finishing Touches
Add shelving units inside the root cellar for organized storage. I repurposed old wooden pallets and shelves from a salvaged bookcase. Be sure to elevate the shelves slightly off the floor to improve air circulation.
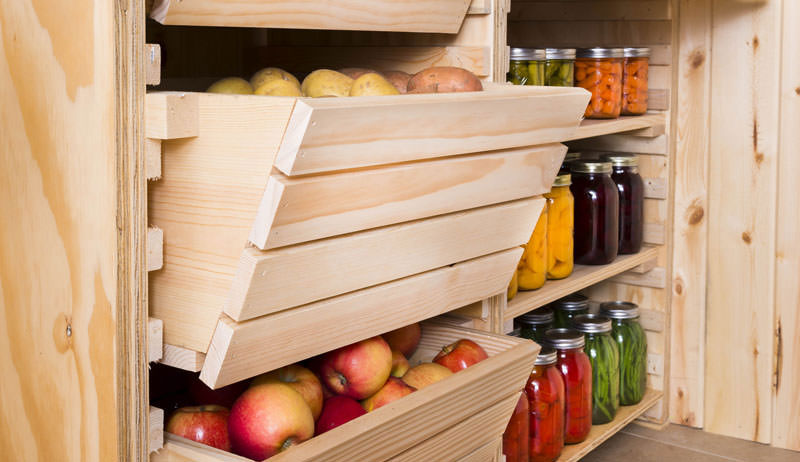
Alt Text: Root cellar storage using shelves and crates to store fruits and vegetables.
Materials Master List
Here’s a breakdown of the materials I used, along with approximate costs:
- Cinder blocks (approx. $2 each): $150
- Mortar mix: $30
- Gravel: $50
- Sand: $30
- Concrete pavers: $40
- Pressure-treated lumber: $100
- Roofing felt: $40
- Rigid foam insulation: $80
- Ventilation pipes: $20
- Wooden door: (repurposed, but new would cost approx.) $75
- Shelving (repurposed): $0
- Fasteners (nails, screws): $20
Total Approximate Cost: $635
Note: Prices may vary depending on location and availability.
Homesteader Hacks
- Repurposed Materials: I saved a significant amount of money by using repurposed materials whenever possible. The door came from an old shed, and the shelving was salvaged from a discarded bookcase.
- Local Sourcing: I purchased most of my materials from local hardware stores and lumber yards. This not only supported local businesses but also reduced transportation costs.
- DIY Insulation: Instead of buying expensive insulation, you can use straw bales for added insulation around the outside of the root cellar.
- Simple Ventilation: Use PVC pipes for ventilation which are inexpensive and readily available.
- Free Labor: Enlist the help of friends and family for the more labor-intensive tasks. Offer them a share of the harvest in return!
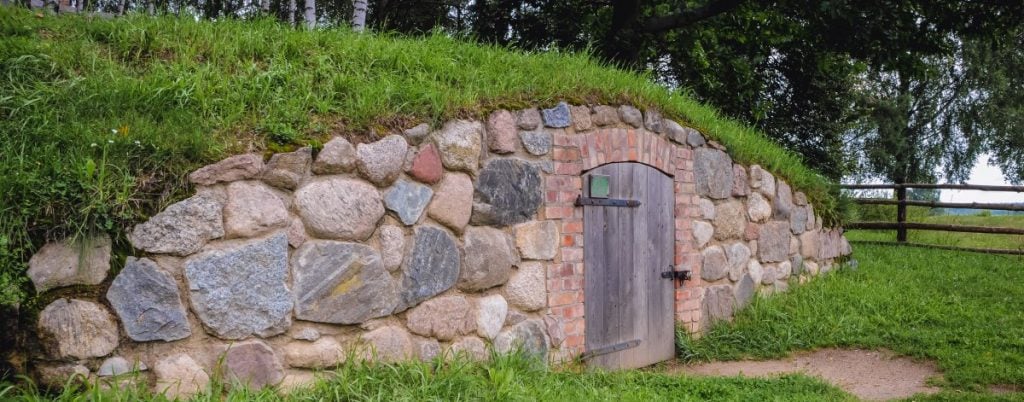
Alt Text: Close up of the completed outside ventilation of the root cellar.
The After: A Bounty of Preserved Goodness
The transformation has been remarkable. No longer do I dread the end of the growing season. Instead, I eagerly anticipate the harvest, knowing that I can store my produce properly and enjoy it throughout the winter months. The DIY root cellar has not only reduced our reliance on store-bought food but has also deepened our connection to the land and the cycles of nature.
The potatoes stay firm and delicious, the carrots retain their sweetness, and the apples remain crisp and juicy. I can now walk into my root cellar and feel a sense of accomplishment and gratitude for the abundance that surrounds me.
Maintaining Your Root Cellar
- Temperature Monitoring: Use a thermometer to monitor the temperature inside the root cellar. Aim for a temperature between 32°F and 40°F (0°C and 4°C) for optimal storage.
- Humidity Control: Maintain a humidity level of 85% to 95%. Use a hygrometer to monitor humidity. You can increase humidity by misting the floor with water or placing containers of water inside the root cellar.
- Regular Inspection: Inspect your produce regularly for signs of spoilage. Remove any rotten or damaged items to prevent them from affecting the rest of your harvest.
- Proper Air Circulation: Ensure that your ventilation system is working properly. Open the vents periodically to allow fresh air to circulate.
- Organization: Keep your root cellar organized to make it easier to find what you need. Label your shelves and containers clearly.
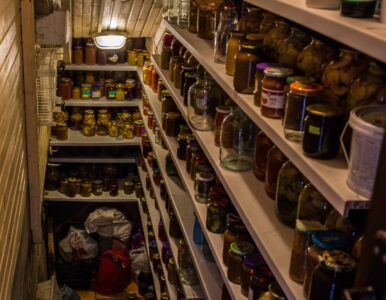
Alt Text: Jars and vegetables inside a root cellar.
Tips for Organizing Your Root Cellar
- Group similar items together: Store all root vegetables in one area, fruits in another, and so on.
- Use appropriate containers: Store potatoes in burlap sacks, onions in mesh bags, and apples in wooden crates.
- Elevate items off the floor: Place produce on shelves or pallets to improve air circulation and prevent moisture buildup.
- Label everything: Clearly label all containers with the contents and date of storage.
- Keep a record: Maintain a log of what you store in your root cellar and when you plan to use it.
Beyond the Build: The True Meaning of Self-Sufficiency
Building a DIY root cellar is more than just a construction project. It's an investment in your self-sufficiency, your health, and your connection to the land. It's about taking control of your food supply and embracing a more sustainable way of life.
It's about slowing down, appreciating the fruits (and vegetables!) of your labor, and sharing the bounty with your community. It's about knowing where your food comes from and nourishing your body with wholesome, homegrown goodness.
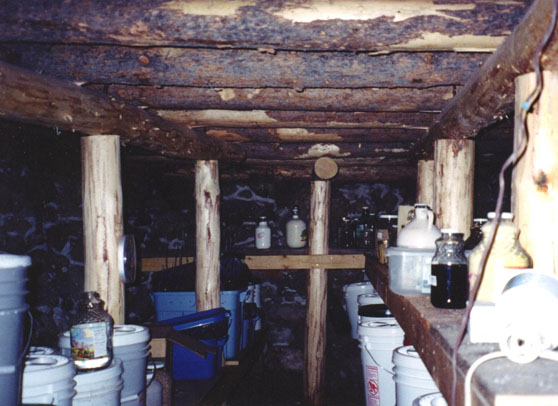
Alt Text: Root cellar storage for vegetables and dry goods.
Your Turn: Share Your Food Preservation Tips!
Now it's your turn! What are your favorite food preservation techniques? Do you have any tips for building or maintaining a root cellar? Share your thoughts and experiences in the comments below. I'd love to hear about your journey towards self-sufficiency. Let's build a community of modern homesteaders, sharing our knowledge and supporting each other every step of the way!
Are you planning to build your own root cellar? Tell me about your plans! What design are you considering? What challenges do you anticipate? I'm here to help in any way I can.
Let's cultivate a world where everyone has access to fresh, healthy, and locally grown food. Together, we can create a more sustainable and resilient future for ourselves and generations to come. Happy Homesteading!
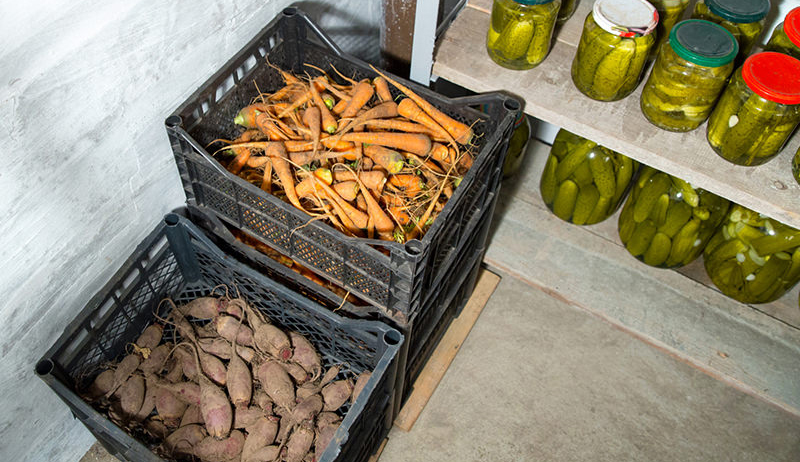
Alt Text: Fresh vegetables stored in a cool root cellar.