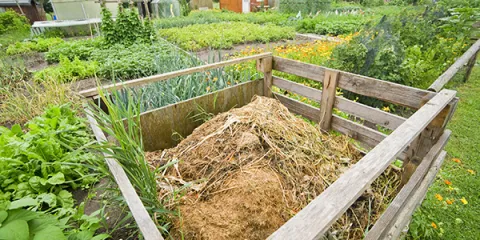
From Trash to Treasure: Mastering Kitchen Scrap Composting for Your Garden
Are you staring at an overflowing kitchen compost bin, feeling a pang of guilt as you toss away vegetable peels and coffee grounds? Do you dream of a lush, thriving garden but cringe at the thought of spending a fortune on fertilizers? What if I told you that you could transform that "waste" into nutrient-rich "black gold" that will supercharge your garden, save you money, and help the planet?
That's the magic of kitchen scrap composting! It's a simple, yet incredibly powerful, way to turn everyday food waste into a valuable resource for your garden. Whether you're a seasoned gardener or a complete beginner, and whether you have acres of land or a tiny balcony, composting is within your reach. Let’s dive in and unlock the secrets to a greener garden with the treasures hiding in your kitchen bin.
Why Compost Kitchen Scraps? The Benefits Beyond the Garden
Composting is more than just a gardening fad; it's a way of life. It's about closing the loop on your food cycle and creating a more sustainable home. The benefits extend far beyond your garden fence, touching the environment, your wallet, and even your well-being.
Here's a closer look at the incredible advantages of composting:
Environmental Hero: Landfills are overflowing with organic waste that, in the absence of oxygen, decomposes anaerobically and releases harmful greenhouse gasses like methane. By composting, you divert that waste, reducing landfill burden and mitigating greenhouse gas emissions. It's a small act with a big impact!
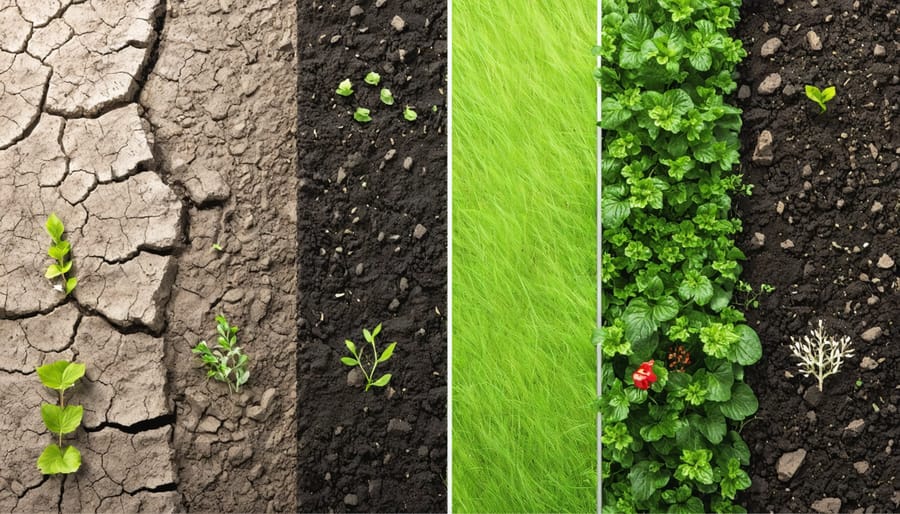
Garden's Best Friend: Compost is like a superfood for your soil. It improves its structure, allowing for better drainage and aeration. It also increases water retention, reducing the need for frequent watering, especially during the peak of the seasonal harvest. Most importantly, compost is packed with essential nutrients that plants need to thrive, naturally fertilizing your garden. By using compost, you create healthier, more resilient plants.
Financial Freedom: Store-bought fertilizers and soil amendments can be expensive. Composting allows you to create your own high-quality fertilizer for free, using materials you already have. Over time, the savings can really add up, leaving you with more money to spend on other backyard projects or that cozy living room makeover you've been dreaming about.
A Sense of Connection: There’s a deep satisfaction that comes from composting. It's a tangible way to connect with the natural world, to understand the cycle of life and death, and to participate in a system that nourishes both your garden and the planet. Witnessing the transformation of food scraps into rich, life-giving compost is truly a rewarding experience.
Reduce Chemical Use: By replacing fertilizers and chemical amendments, you reduce the use of potentially harmful chemicals in your garden, helping you to grow more organic, safer food that is better for the whole ecosystem.
What Can (and Can't) Go In? Your Kitchen Scrap Composting Guide
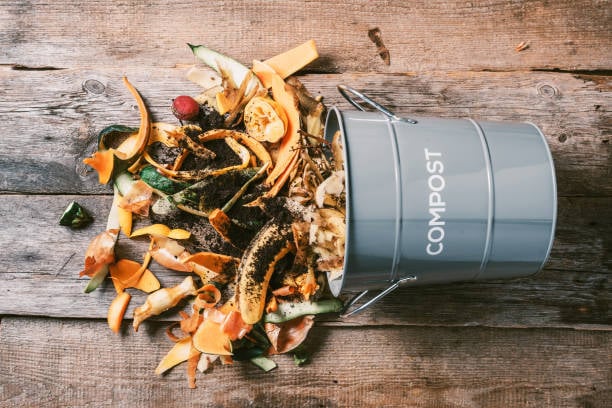
Not all kitchen scraps are created equal. To create healthy compost, it's important to understand the difference between "greens" (nitrogen-rich) and "browns" (carbon-rich) and what to avoid altogether.
Think of it like baking a cake: you need the right ingredients in the right proportions to achieve the perfect result.
"Greens" (Nitrogen-Rich): These materials provide the fuel for the composting process and are essential for a healthy compost pile.
- Vegetable scraps: Carrot peels, lettuce leaves, broccoli stems, tomato cores, and other veggie trimmings.
- Fruit peels and cores: Apple cores, banana peels, orange rinds (in moderation), melon rinds.
- Coffee grounds and filters: A fantastic source of nitrogen and trace minerals.
- Tea bags (remove staples): Another good source of nitrogen.
- Fresh grass clippings: Use in moderation, as they can become compacted.
- Manure: Great source of nitrogen.
"Browns" (Carbon-Rich): These materials provide bulk, aeration, and carbon, which is essential for the microorganisms that break down the compost.
- Dry leaves: An excellent source of carbon and a readily available material in the fall.
- Shredded paper and cardboard: Newspaper, office paper (avoid glossy paper), and cardboard boxes (remove tape and labels).
- Straw and hay: Great for adding bulk and aeration.
- Wood shavings and sawdust: Use sparingly, as they can take a long time to decompose.
- Small twigs and branches: Help to improve aeration.
What to Avoid: Some materials can harm your compost pile, attract pests, or spread disease. Avoid these items:
- Meat and dairy products: Attract pests, cause foul odors, and can take a very long time to decompose.
- Oily foods: Can slow down the decomposition process and attract pests.
- Diseased plants: Can spread disease to your compost and back to your garden.
- Pet waste: Can contain harmful pathogens that are not destroyed by composting.
- Chemically treated yard waste: Can contaminate your compost with harmful chemicals.
Preparing Your Scraps:
To speed up the composting process, chop your scraps into smaller pieces. This increases the surface area available for decomposition.
Choosing Your Composting Method: Find the Perfect Fit for Your Lifestyle
The beauty of composting is that there's a method for every home, budget, and lifestyle. Whether you have a sprawling backyard or a cozy apartment, you can find a composting system that works for you.
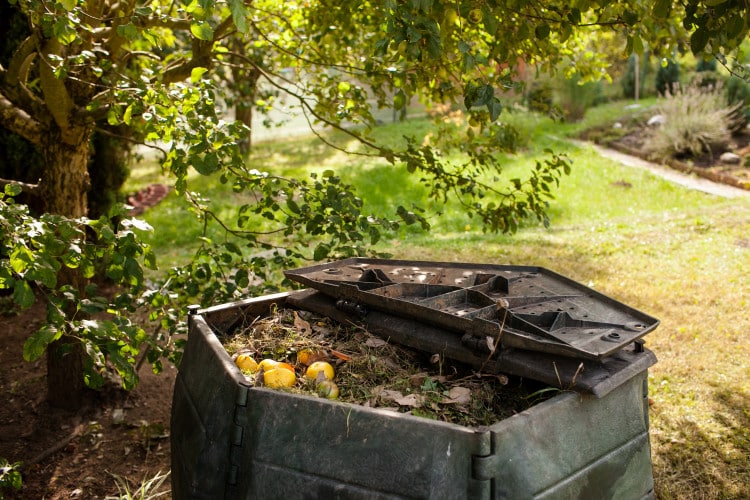
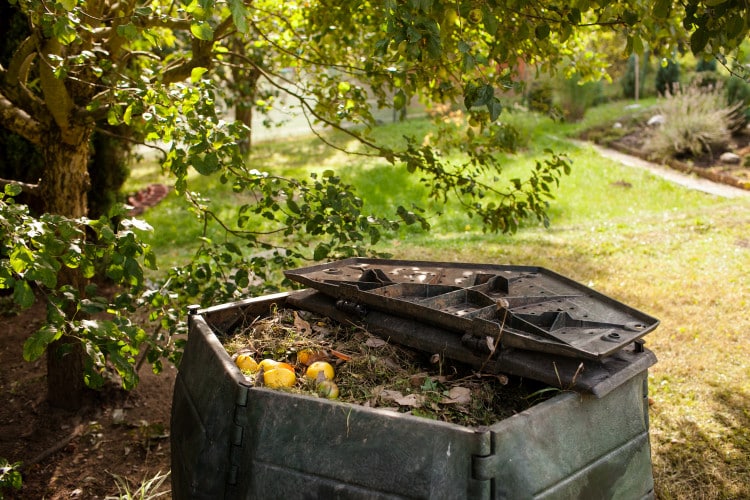
Outdoor Composting: This is the most traditional method, suitable for those with a yard or garden. You can choose from simple piles, enclosed bins, or rotating tumblers.
- Pros: Can handle a large volume of scraps, relatively inexpensive.
- Cons: Requires outdoor space, can be slower to decompose, may attract pests if not managed properly.
- Setup Tips: Choose a well-drained location, away from your house. Enclosed bins and tumblers help to contain the compost and prevent pests.
Indoor Composting (Vermicomposting): This method uses worms to break down food scraps. It's perfect for apartments and small spaces.
- Pros: Odorless (when done correctly), produces nutrient-rich worm castings, great for small spaces.
- Cons: Requires a worm bin and some initial setup, limited capacity.
- Setup Tips: Use a commercially available worm bin or build your own. Red wiggler worms are the best choice for composting. Keep the bin moist but not soggy.
Bokashi Composting: This anaerobic (oxygen-free) fermentation method uses inoculated bran to ferment food scraps. It's a great option for composting meat and dairy, which are not suitable for traditional composting methods.
- Pros: Can compost all types of food scraps, reduces odors, produces a nutrient-rich liquid fertilizer.
- Cons: Requires bokashi bran, pre-composting step needed before adding to the garden.
- Setup Tips: Use a bokashi bucket with a spigot to drain the liquid fertilizer. Layer food scraps with bokashi bran.
When deciding, consider your:
- Space: Do you have a yard or just a balcony?
- Time: How much time do you want to invest?
- Budget: How much are you willing to spend on composting equipment?
- Aesthetic Preferences: Do you need a compost system that is tidy and unobtrusive?
Building Your Compost Pile: A Step-by-Step Guide
Once you've chosen your composting method, it's time to build your compost pile! Here's a simple guide to creating a healthy, active compost.
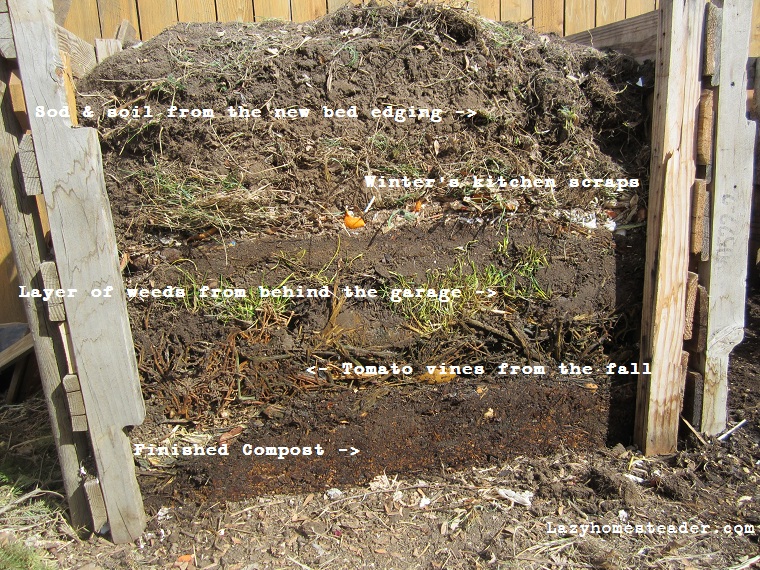
- Layering "Greens" and "Browns": The key to a successful compost pile is a good balance of "greens" and "browns." Aim for a 1:1 or 2:1 brown-to-green ratio. Start with a layer of browns at the bottom of the pile, followed by a layer of greens, and repeat.
- Maintaining Moisture: Your compost pile should be moist, like a wrung-out sponge. Too dry, and the microorganisms will die. Too wet, and the pile will become anaerobic and smelly. Add water as needed to maintain the right moisture level.
- Turning or Aerating: Microorganisms need oxygen to break down the compost. Turn or aerate the pile every week or two to introduce oxygen. Use a pitchfork or compost aerator to turn the pile.
- Troubleshooting:
- Too Wet? Add more browns, such as dry leaves or shredded paper.
- Too Dry? Add water or moisten the greens before adding them to the pile.
- Smelly? Add more browns and turn the pile to introduce oxygen.
Harvesting and Using Your Compost: Feed Your Garden the Good Stuff
After several weeks or months (depending on your composting method and climate), your compost will be ready to harvest. Here's how to tell and how to use it in your garden.
Knowing When It's Ready: Finished compost should be dark, crumbly, and have an earthy smell. You shouldn't be able to recognize any of the original food scraps.
How to Harvest:
- Outdoor Composting: Use a pitchfork to sift through the pile and separate the finished compost from the unfinished materials.
- Vermicomposting: Move the finished compost (worm castings) to one side of the bin and add fresh food scraps to the other side. The worms will migrate to the fresh food, leaving you with pure castings.
- Bokashi Composting: Once the fermentation process is complete, bury the fermented material in the garden or add it to your compost pile.
Using Compost in the Garden:
- Soil Amendment: Mix compost into your garden soil to improve its structure, water retention, and nutrient content. Add 2 cups of compost per square foot.
- Mulch: Spread a layer of compost around your plants to suppress weeds, retain moisture, and slowly release nutrients.
- Potting Mix: Mix compost with other ingredients like peat moss and perlite to create a nutrient-rich potting mix for container gardening.
Making Compost Tea: Brew up an all-natural boost for your plants! Steep compost in water, then use that water as a liquid fertilizer.
Seasonal Example: In the autumn, use your compost to prepare your raised beds for spring planting. Incorporate a generous amount of compost into the soil to enrich it and provide a nutrient boost for your spring vegetables. Also, mix compost into the soil before planting fall garlic.
The Cycle of Giving Back: From Kitchen to Garden and Back Again
Composting is more than just a task; it's a commitment to a more sustainable way of life. It's about recognizing the value of our resources, reducing waste, and nourishing the earth that sustains us. As winter approaches, why not start a worm composting bin indoors? It's a cozy project that will provide you with nutrient-rich compost for your spring garden.
So, embrace the magic of composting and transform your kitchen scraps into garden gold. Your garden will thank you, and so will the planet!
What are your favorite composting tips? Share your experiences and ask questions in the comments below! And don't forget to subscribe to the Better Homes and Harvests newsletter for more gardening inspiration and sustainable living tips. Share this post with your gardening friends!