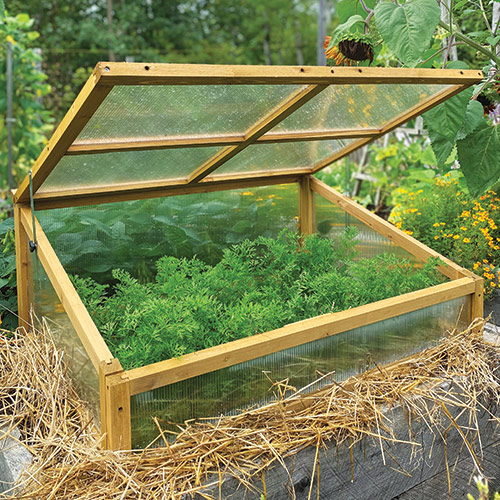
From Seed to Supper: How Cold Frames Extend Your Harvest
As summer’s vibrant hues begin to fade and a crispness fills the air, many gardeners feel a pang of sadness. The abundance of fresh, homegrown vegetables seems destined to dwindle, replaced by the limited selections at the grocery store. But what if you could extend that homegrown goodness, savoring fresh salads and herbs long after the first frost? With a cold frame, this dream can become a reality, offering a simple yet powerful way to prolong your harvest and embrace the joy of winter gardening. With increasing costs, food shortages, and global issues, it is becoming increasingly important to become resourceful.
Cold frames act as miniature greenhouses, providing a protective haven for your plants against the harsh elements. By trapping solar heat, they create a microclimate that allows you to nurture cool-season crops throughout the fall and even into the winter months. This not only extends your harvest but also enhances your self-sufficiency, reducing your reliance on commercially grown produce. In this blog post, we'll explore the wonderful world of cold frames, from understanding their basic principles to building your own and selecting the best crops to grow. Get ready to unlock year-round freshness and discover the rewarding possibilities of winter gardening!

Cold frames offer protection from frost, extending your harvest well into the colder months.
Understanding Cold Frames: The Basics
So, what exactly is a cold frame? Simply put, it's a transparent-roofed enclosure, typically made of wood and glass or plastic, designed to protect plants from the elements. Think of it as a miniature greenhouse for your garden bed. Unlike greenhouses that use supplemental heating, cold frames rely solely on solar energy to create a warmer microclimate.
How They Work:
The beauty of a cold frame lies in its simplicity. The transparent covering allows sunlight to penetrate, warming the soil and air inside. The frame then traps this heat, preventing it from escaping and creating a sheltered environment where plants can thrive, even when temperatures outside plummet. This trapped heat can raise the internal temperature by several degrees, making a significant difference for tender plants.
Types of Cold Frames:
Cold frames come in various shapes and sizes, catering to different needs and preferences. You can purchase pre-made cold frames or, for a more budget-friendly option, build your own using readily available materials. The most common designs include:
- Angled Top: These frames have a sloped roof, typically facing south, to maximize sunlight capture.
- Flat Top: Simpler in design, flat-top frames are easier to build and are well-suited for smaller spaces.
- Hoop Houses: While technically not cold frames, small hoop houses made with PVC pipe and plastic sheeting offer similar protection.
- Raised Bed Cold Frames: Cold frames custom made to fit on top of raised garden beds.
Location Matters:
Choosing the right location for your cold frame is crucial for its success. Consider these factors:
- Sun Exposure: A south-facing location is ideal, as it receives the most sunlight throughout the day, especially during the winter months.
- Drainage: Ensure the area has good drainage to prevent waterlogging, which can lead to root rot.
- Proximity to the House: A location near your house makes it easier to monitor and tend to your plants, especially during cold and stormy weather.
- Wind Protection: Shielding your cold frame from strong winds can help prevent heat loss and damage to the structure. Use existing structures like fences or hedges, or plant a windbreak of shrubs.
Building Your Own Cold Frame: A DIY Project
Building your own cold frame is a rewarding DIY project that can save you money and allow you to customize it to your specific needs and space. Here's a step-by-step guide to building a simple, angled-top cold frame:
Materials List:
- Lumber (cedar or redwood is recommended for durability)
- Old windows or plexiglass for the glazing
- Hinges
- Screws
- Drill
- Saw
- Measuring tape
- Pencil
- Safety glasses
- Gloves
Step-by-Step Instructions:
- Design and Cut: Decide on the size of your cold frame based on the available space and the size of your window or plexiglass. Cut the lumber according to your design. Remember the back side will be taller than the front to create the angle for the glazing.
- Assemble the Frame: Assemble the wooden frame using screws and a drill. Ensure the corners are square and the frame is sturdy.
- Attach the Glazing: Attach the window or plexiglass to the top of the frame using hinges. This will allow you to easily open and close the cold frame for ventilation and access to your plants.
- Add Ventilation: Create small vents along the sides of the cold frame to allow for airflow. These can be simple holes covered with mesh to prevent pests from entering.
- Finishing Touches: Sand any rough edges and apply a sealant to protect the wood from the elements.
Tips for a Thrifty Build:
- Repurpose Materials: Use reclaimed lumber, old windows, or even recycled pallets to build your cold frame.
- Look for Free Resources: Check online marketplaces or local construction sites for discarded materials.
- Simplify the Design: Opt for a simple flat-top design to reduce material costs and construction time.
Adaptations:
- Pallet Cold Frame: Use pallets as the frame, adding a hinged window or plexiglass top.
- Straw Bale Cold Frame: Stack straw bales around your garden bed and cover with a sheet of plastic or an old window.
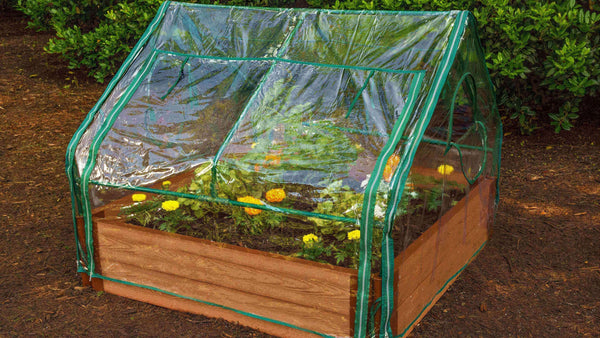
This diagram displays the various angles and measurements needed to create a successful cold frame.
What to Grow in Your Cold Frame: Extending Your Harvest
Now that you have your cold frame, it's time to start planting! Choose cool-season crops that can tolerate lower temperatures and benefit from the extra protection.
Best Vegetables for Cold Frames:
- Lettuce: A fast-growing leafy green that thrives in cool conditions.
- Spinach: Another excellent choice for cold frames, providing a nutritious and delicious harvest.
- Kale: Hardy and versatile, kale can withstand even the coldest temperatures.
- Arugula: Adds a peppery kick to salads and is quick to mature.
- Carrots: Plant early in the fall for a late-season harvest.
- Radishes: These fast-growing root vegetables are perfect for a quick and easy harvest.
- Swiss Chard: A colorful and nutritious leafy green that is cold-tolerant.
Herb Heaven:
Cold frames are also ideal for growing herbs throughout the fall and winter. Consider these options:
- Parsley: A versatile herb that adds flavor to many dishes.
- Cilantro: A favorite in Mexican and Asian cuisine, cilantro thrives in cool weather.
- Thyme: A fragrant herb that is both cold-hardy and drought-tolerant.
- Rosemary: A woody herb that adds a distinctive flavor to roasted dishes.
- Mint: Plant mint in a container to prevent it from spreading aggressively.
Succession Planting:
To maximize your yield and provide a continuous harvest, practice succession planting. This involves planting new crops every few weeks, ensuring a steady supply of fresh vegetables and herbs throughout the season.
Timing is Key:
The best time to plant your cold frame crops depends on your region and climate. In general, aim to plant 4-6 weeks before the first expected frost. Consult your local extension office for specific planting recommendations.
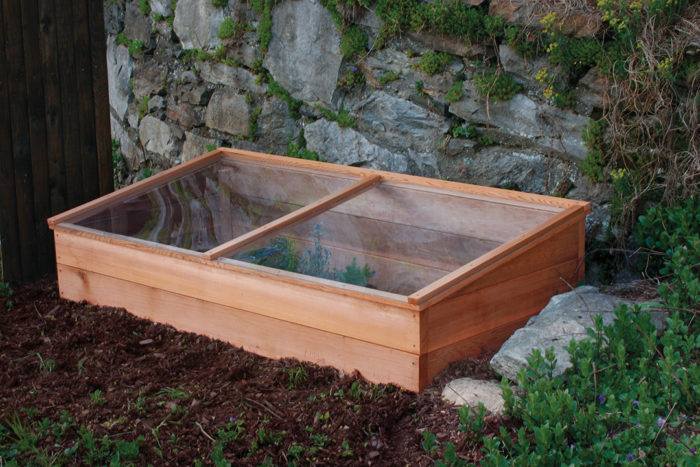
A variety of herbs and vegetables thrive when planted in a cold frame during colder months.
Caring for Your Cold Frame Garden: Tips & Tricks
Maintaining a healthy cold frame garden requires a bit of attention, but the rewards are well worth the effort. Here are some essential tips and tricks:
Ventilation is Crucial:
Ventilation is perhaps the most important aspect of cold frame care. On sunny days, even in the winter, the temperature inside the cold frame can quickly rise to scorching levels, potentially harming your plants. Open the cold frame lid or vents during the day to allow for airflow and prevent overheating. Close them again in the evening to trap heat.
Watering Wisely:
Water your plants regularly, but avoid overwatering. Soggy soil can lead to root rot and other problems. Water in the morning to allow the foliage to dry before nightfall, reducing the risk of fungal diseases.
Pest and Disease Control:
Monitor your plants regularly for pests and diseases. Use organic pest control methods, such as insecticidal soap or neem oil, to manage infestations. Ensure good airflow to prevent fungal diseases.
Insulation for Extreme Cold:
During periods of extreme cold, provide extra insulation to protect your plants. Cover the cold frame with blankets, straw bales, or other insulating materials.
Soil Health Matters:
Maintain healthy soil by adding compost and other organic amendments regularly. Healthy soil promotes strong plant growth and resilience.
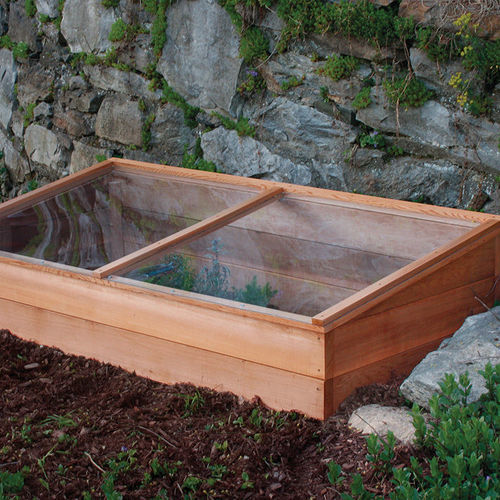
Watering the plants inside your cold frame is crucial to keeping them healthy and preventing root rot.
Embrace the Bounty of Every Season
As the snowflakes dance outside your window, imagine stepping into your garden and harvesting a fresh salad from your cold frame. This is the magic of extending your harvest and embracing the bounty of every season. Building a cold frame is a simple yet profound way to connect with nature, enhance your self-sufficiency, and enjoy the taste of homegrown goodness throughout the year.
I remember the first winter I used a cold frame. The satisfaction of pulling fresh spinach leaves in January was incredible. It felt like a little victory against the grey skies and frozen ground. It's a reminder that even in the depths of winter, life can flourish with a little ingenuity.
So, take the leap and embark on your cold frame adventure. What are your favorite winter gardening tips? Share them in the comments below! We’d love to hear your experiences and learn from your successes. Let's build a community of gardeners who celebrate the joy of homegrown food, no matter the season.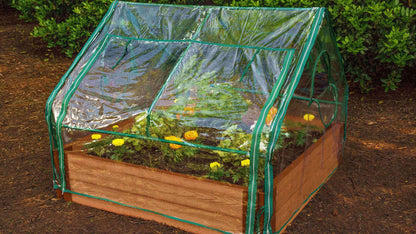
Even in the depths of winter, cold frames can give your crops the protection needed to thrive and be harvested.