From Seed to Supper: Harvesting Fall's Bounty and Preserving It for a Cozy Winter
The air is crisp, carrying the scent of woodsmoke from the nearby farm. A kaleidoscope of crimson, gold, and russet leaves flutter from the branches, carpeting the ground in nature's artistry. You stroll through your garden, gathering the last of the season's treasures – plump tomatoes, fragrant herbs, and hearty root vegetables, all basking in the golden light of the autumn sun. It's a moment of pure, simple joy.
But don't let your hard work fade with the season! Discover 4 simple ways to preserve the flavors of your fall garden and enjoy homegrown goodness all winter long. This year, bring that warmth of autumn into the cold winter months by learning easy ways to preserve your harvest.

1. Canning the Last of the Tomatoes: Summer in a Jar
There's nothing quite like the taste of a sun-ripened tomato, especially in the dead of winter. Canning is a fantastic method for preserving this taste.
My Canning Confession: The first time I tried canning tomatoes, I forgot to sterilize the jars properly. The result? A few weeks later, I had a collection of very bubbly, very fermented tomato sauce. Lesson learned! Now, sterilization is my golden rule.
Step-by-Step Instructions for Canning Tomatoes:
Gather Your Supplies: You'll need a large stockpot or canning pot with a rack, canning jars with lids and rings, a jar lifter, a wide-mouth funnel, a ladle, a clean damp cloth, and your beautiful tomatoes (Roma or San Marzano varieties work best).
Checklist of Essential Supplies:- Canning pot with rack
- Canning jars, lids, and rings
- Jar lifter
- Wide-mouth funnel
- Ladle
- Clean damp cloth
- Large pot for blanching tomatoes
- Slotted spoon
Prepare Your Jars: Wash jars, lids, and rings in hot, soapy water. Sterilize the jars by boiling them in your canning pot for 10 minutes. Keep them hot until ready to use. Place lids in simmering water to soften the rubber sealing ring.
Blanch the Tomatoes: Score the bottom of each tomato with an "X." Drop them into boiling water for 30-60 seconds, then transfer them to an ice bath. The skins should slip off easily.
Fill the Jars: Core the peeled tomatoes and roughly chop them. Add 1-2 tablespoons of bottled lemon juice per quart jar (this ensures proper acidity for safe canning). Pack the tomatoes into the hot jars, leaving ½ inch of headspace.
Remove Air Bubbles: Run a non-metallic utensil (like a chopstick or plastic spatula) around the inside of the jar to release any trapped air bubbles.
Wipe the Rims: Use a clean, damp cloth to wipe the rims of the jars. This ensures a good seal.
Affix Lids and Rings: Place the lids on the jars and screw on the rings finger-tight.
Process in a Boiling Water Bath: Carefully lower the jars into the boiling water bath, ensuring they are completely submerged by at least 1 inch of water. Bring the water back to a rolling boil and process for the recommended time (typically 85 minutes for quarts and 45 minutes for pints at altitudes of 0-1,000 feet. Adjust processing time for higher altitudes. Refer to a reputable canning guide for accurate processing times based on your altitude).
Cool and Check Seals: Turn off the heat, remove the lid, and let the jars sit in the hot water for 5 minutes. Then, carefully lift them out with the jar lifter and place them on a towel-lined surface to cool completely. After 12-24 hours, check the seals by pressing down on the center of each lid. If it doesn't flex, it's sealed properly.
Store Properly: Remove the rings and store the jars in a cool, dark place. The rings can trap moisture and encourage rust.
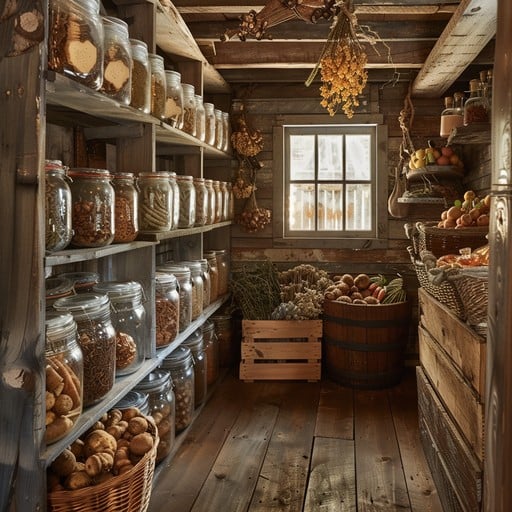
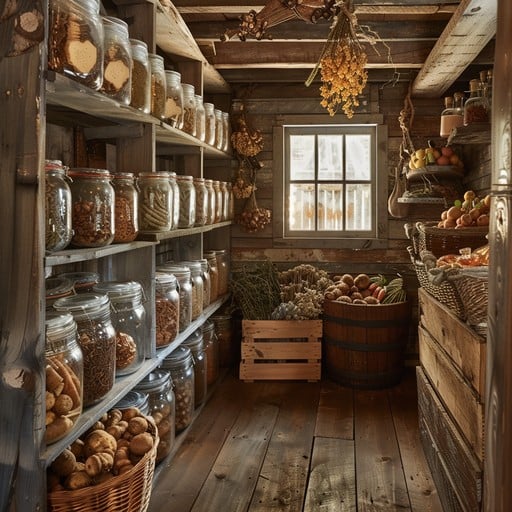
Photo Suggestion: A close-up of perfectly aligned jars of vibrant red canned tomatoes on a shelf, ready for winter.
Safety Tip: Always use proper canning techniques to prevent botulism. Ensure your jars are properly sterilized and processed for the correct amount of time.
Variations: Add a clove of garlic, a sprig of basil, or a pinch of red pepper flakes to each jar for extra flavor.
Pro Tip: Adding a pinch of ascorbic acid to your canned tomatoes will help preserve their bright color.
2. Freezing Herbs: Fresh Flavors at Your Fingertips
Don't let those delicate herbs wither away! Freezing is an incredibly easy way to preserve their vibrant flavors.
My Herb Freezing Fumble: I once tried freezing a bunch of basil without blanching it first. The result was a slimy, black mess. Now, I always blanch my herbs before freezing.
Step-by-Step Instructions for Freezing Herbs:
Harvest and Wash: Harvest your herbs (basil, parsley, oregano, thyme, etc.) in the morning after the dew has dried. Wash them thoroughly and pat them dry.
Checklist of Essential Supplies:- Fresh herbs
- Colander
- Clean kitchen towels
- Blanching pot
- Ice bath
- Freezer bags or ice cube trays
- Food processor (optional)
- Olive oil or water (optional)
Blanch (Optional but Recommended): Blanching helps preserve the color and flavor of the herbs. Drop them into boiling water for 1-2 seconds, then immediately transfer them to an ice bath.
Dry Thoroughly: Remove the herbs from the ice bath and pat them completely dry with clean kitchen towels. Excess moisture can lead to freezer burn.
Choose Your Freezing Method:
- Whole Leaves: Spread the leaves in a single layer on a baking sheet lined with parchment paper. Freeze for a few hours, then transfer them to freezer bags.
- Herb Cubes: Chop the herbs and pack them into ice cube trays. Cover with water or olive oil (olive oil works particularly well for herbs like basil and rosemary). Freeze until solid, then transfer the cubes to freezer bags.
Label and Freeze: Label the freezer bags with the date and the type of herb. Freeze for up to a year.
Photo Suggestion: Vibrant green herbs neatly arranged in ice cube trays filled with olive oil, ready for freezing.
Safety Tip: Ensure the herbs are completely dry before freezing to prevent freezer burn.
Variations: Combine different herbs to create your own custom herb blends.

3. Drying Apples: A Sweet and Wholesome Snack
Dried apples are a delicious and healthy snack, perfect for satisfying your sweet tooth on a cold winter day.
My Drying Disaster: I once tried drying apples in the oven at too high a temperature. They ended up burnt and crispy. Now, I always use a low temperature and keep a close eye on them.
Step-by-Step Instructions for Drying Apples:
Prepare the Apples: Wash, peel (optional), and core the apples. Slice them into ¼-inch thick rings.
Checklist of Essential Supplies:- Apples (firm varieties like Gala, Fuji, or Honeycrisp work best)
- Apple peeler, corer, and slicer (optional)
- Lemon juice
- Baking sheets
- Parchment paper
- Oven or dehydrator
- Airtight containers
Prevent Browning: Dip the apple slices in a mixture of water and lemon juice (1 tablespoon of lemon juice per cup of water) to prevent them from browning.
Choose Your Drying Method:
- Oven Drying: Preheat your oven to the lowest setting (ideally 170°F/77°C). Arrange the apple slices in a single layer on baking sheets lined with parchment paper. Dry for 6-8 hours, or until they are leathery and slightly pliable, flipping them halfway through.
- Dehydrator Drying: Arrange the apple slices in a single layer on the dehydrator trays. Dry according to the manufacturer's instructions (typically 6-12 hours).
Cool and Store: Let the dried apple slices cool completely. Store them in airtight containers in a cool, dark place.
Photo Suggestion: Golden brown apple slices drying in an oven or dehydrator, showcasing their appealing texture.
Safety Tip: Ensure the apples are completely dry before storing to prevent mold growth.
Variations: Sprinkle the apple slices with cinnamon, nutmeg, or other spices before drying.
4. Building a Makeshift Root Cellar: Nature's Cold Storage
For root vegetables like potatoes, carrots, beets, and turnips, a root cellar is an ideal way to extend their shelf life.
My Root Cellar Revelation: Before I had a proper root cellar, I used to store my potatoes in the garage. They sprouted within weeks! Building a simple root cellar was a game-changer.
Step-by-Step Instructions for a Makeshift Root Cellar:
Choose Your Location: Select a cool, dark, and humid location, such as an unheated basement, garage, or shed.
Checklist of Essential Supplies:- Root vegetables (potatoes, carrots, beets, turnips, etc.)
- Wooden crates or bins
- Straw, sawdust, or sand
- Thermometer
- Hygrometer
- Good ventilation
- Dark Storage Location
Prepare Your Vegetables: Brush off any excess dirt, but don't wash the vegetables. Washing can encourage rot.
Layer and Store: Layer the vegetables in wooden crates or bins, alternating with layers of straw, sawdust, or sand. This helps to insulate them and maintain humidity.
Monitor Temperature and Humidity: Use a thermometer and hygrometer to monitor the temperature and humidity. The ideal temperature is between 32°F and 40°F (0°C and 4°C), and the humidity should be around 80-90%.
Provide Ventilation: Ensure there is adequate ventilation to prevent the build-up of moisture.
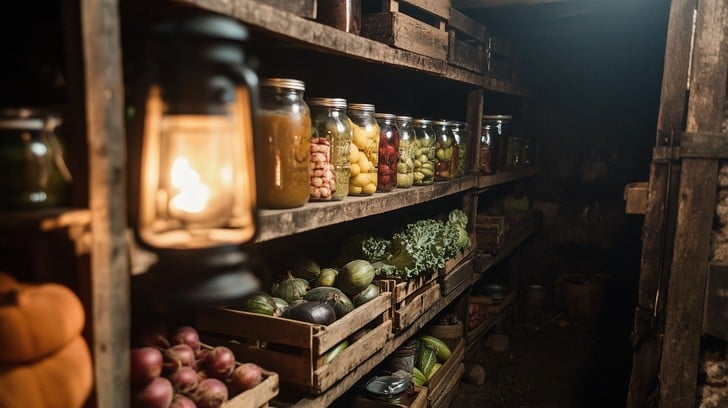
Photo Suggestion: A cozy, dimly lit corner in a basement or shed, filled with crates of root vegetables nestled in straw.
Safety Tip: Regularly check the vegetables for signs of spoilage and remove any that are rotting to prevent the spread of mold.
Variations: For added humidity, place a container of water near the vegetables. You can also cover the crates with burlap sacks or damp towels.

Preserving the fall harvest is more than just a way to save money and reduce food waste. It's a way to connect with nature's cycles, to savor the fruits (and vegetables!) of your labor, and to bring the warmth and bounty of the garden into your home all winter long. From canning to drying, and storing, these timeless techniques will give you a direct connection to the food you eat.
What are your favorite fall harvest recipes? Share your tips and tricks in the comments below, and let's celebrate the season together! Bonus points for posting a photo of your homegrown harvest or preserved goods on Instagram with #BetterHomesAndHarvests and #HarvestHome.