From Seed to Supper: Growing Your Own Salad Garden in Spring
The crisp morning air, still holding the promise of winter's end, whispers through the budding branches of the apple tree. The soil, dark and rich with the promise of life, invites our touch. Spring is here, and with it, the irresistible urge to dig in the earth and nurture new beginnings. Are you dreaming of fresh, vibrant salads gracing your table, bursting with flavors you've cultivated yourself? Then join me! This spring, let's embark on a journey from seed to supper, creating your very own salad garden – a simple yet deeply rewarding experience. Whether you're a seasoned gardener or just starting out, this guide will equip you with the knowledge and inspiration to grow a delicious and bountiful salad right in your backyard.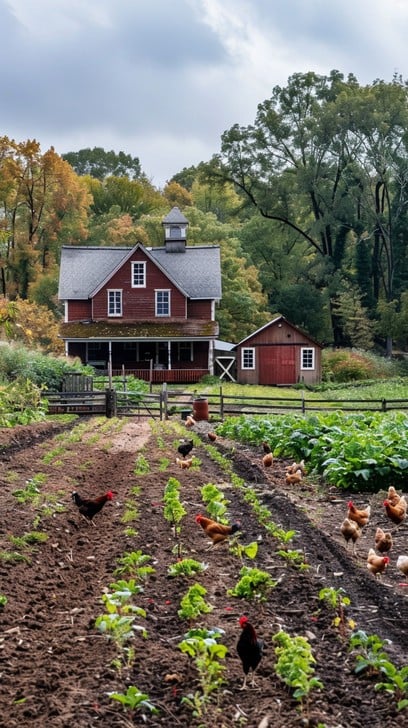
Planning Your Perfect Spring Salad Patch
Before you even touch a seed packet, a little planning goes a long way. Think about what you love to eat! There's no point growing kale if you're not a fan.
Consider your space and sunlight. Most salad greens need at least 6 hours of sun, but some, like lettuce, can tolerate partial shade.
Sketch out a rough plan. This doesn't have to be perfect, but it helps visualize what will go where.
Actionable Tip: Building a DIY Cold Frame for Early Spring Greens. Extend your growing season and get a head start on your salad garden by building a simple cold frame.
Here's a step-by-step guide:
- Gather Your Materials: You'll need some old windows or clear plastic sheeting, lumber (untreated is best!), screws or nails, and basic tools like a saw, hammer, or drill. Old storm windows work great and are often free!
- Build the Frame: Cut the lumber to create a rectangular frame. The back (north side) should be slightly taller than the front (south side) to allow for sunlight to enter at an angle. A good size is around 4ft wide by 2ft deep.
- Attach the Glazing: Secure the windows or plastic sheeting to the top of the frame, creating a hinged lid. This allows you to easily vent the cold frame on warmer days.
- Placement is Key: Choose a sunny, sheltered spot in your garden. The cold frame should face south to maximize sun exposure.
- Troubleshooting: If your cold frame gets too hot, prop the lid open with a small stick or brick. If it's extremely cold, you can add extra insulation like blankets or straw bales around the frame. Be sure to check on your plants regularly, especially during fluctuating temperatures.
- Plant your cold frame: Plant some of your favorite greens, and water!
I remember one year I forgot to vent my cold frame on a sunny day, and my poor little seedlings got cooked! It was a tough lesson, but now I set a reminder on my phone to check the temperature every afternoon.
Seed Starting 101: Nurturing Tiny Sprouts
Starting your own seeds gives you more control over varieties and saves money.
You'll need seed starting trays, a good seed starting mix (not regular garden soil!), and a spray bottle.
Sow your seeds according to the packet instructions. Usually, this means planting them about ¼ inch deep.
Keep the soil consistently moist, but not soggy.
Once seedlings emerge, provide plenty of light. A sunny windowsill or grow light will do the trick.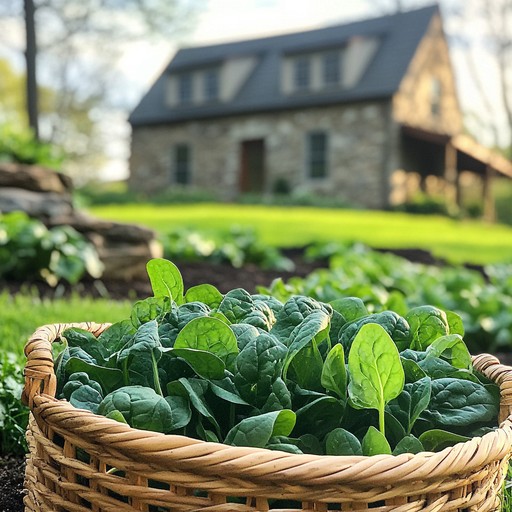
Choosing Your Salad Stars: Varieties to Savor
Lettuce is a must-have! Try different varieties like romaine, butterhead, and loose-leaf for a mix of textures and flavors.
Spinach adds a nutritional punch and thrives in cooler weather.
Radishes provide a peppery bite and are quick to mature.
Arugula offers a spicy, nutty flavor.
Don't forget the herbs! Basil, parsley, and chives add delicious aromas and enhance the overall taste of your salad. I love the way the basil smells when I'm out gardening!
Planting Time: Giving Your Seedlings a Home
Once your seedlings have a few sets of true leaves (the ones that look like miniature versions of the adult plant), it's time to transplant them into your garden.
Harden them off first by gradually exposing them to outdoor conditions for a week or so.
Prepare your garden bed by amending the soil with compost. This improves drainage and provides essential nutrients.
Space your plants according to the packet instructions.
Water thoroughly after planting.
Watering, Weeding, and Watching Them Grow
Consistent watering is crucial, especially during dry spells.
Weed regularly to prevent competition for nutrients and water. Mulching with straw or wood chips can help suppress weeds.
Keep an eye out for pests and diseases. Natural solutions, like insecticidal soap or neem oil, are often effective. I have found companion planting is very helpful too. Learn more about companion planting here! [placeholder link to companion planting article].
The Joy of the Harvest: From Garden to Plate
Harvest your greens as soon as they're big enough to eat.
Cut the outer leaves of lettuce and spinach, leaving the inner leaves to continue growing.
Radishes are ready to harvest when they're about an inch in diameter.
Wash your greens thoroughly before enjoying them.

Composting: The Secret Ingredient to a Thriving Garden
Composting is an essential part of sustainable gardening. It transforms kitchen scraps and yard waste into a nutrient-rich soil amendment.
Start a compost bin or pile in a corner of your yard.
Add a mix of "green" materials (vegetable scraps, coffee grounds) and "brown" materials (dried leaves, shredded paper).
Turn the compost regularly to aerate it.
In a few months, you'll have a dark, crumbly compost that will nourish your salad garden.
Embracing the Farmhouse Life: More Than Just a Garden
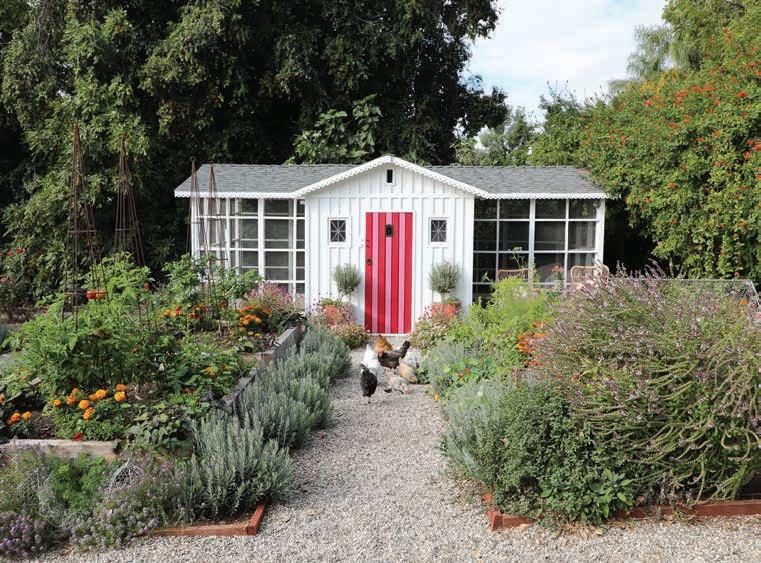
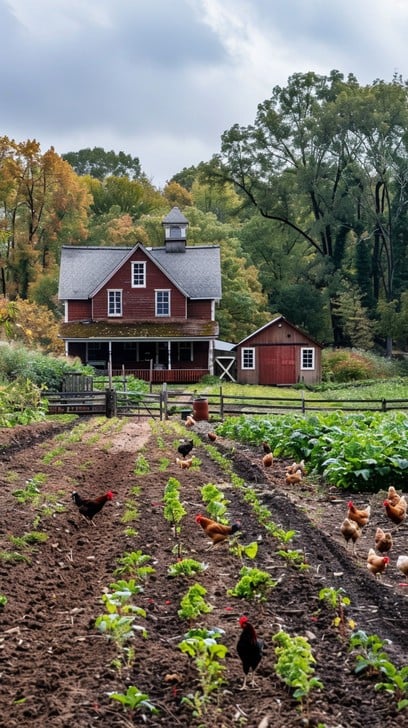
Growing your own salad is about more than just food. It's about connecting with nature, embracing the seasons, and creating a more sustainable and fulfilling lifestyle. It's about slowing down, appreciating the simple things, and savoring the flavors of homegrown goodness. I love the way my backyard looks when I can sit on the patio, enjoy the sun, and look over my garden!
This spring, I encourage you to take the leap and create your own salad garden. Embrace the challenges, celebrate the successes, and enjoy the journey from seed to supper. There's nothing quite like the taste of a salad you've grown yourself.
What are your favorite vegetables to grow in a spring salad garden? Share them in the comments below!
