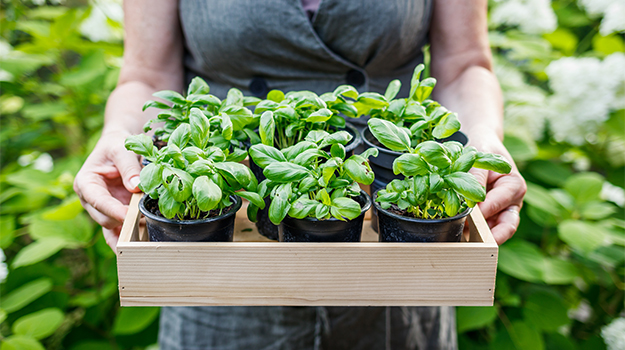
From Seed to Supper: Growing and Cooking with Basil – A Homesteader's Guide
The late summer sun warms the brick of our farmhouse as the scent of basil hangs heavy in the air. The bees are buzzing around the flowering stalks, a symphony of late-season abundance. But it wasn't always this way. I used to struggle getting basil to thrive, ending up with spindly plants and disappointing harvests. Now, the secret is out, and I’m practically swimming in pesto! In this guide, I'll share my proven tips and tricks for successfully growing and cooking with basil, so you can enjoy its fresh, vibrant flavor all season long.
Section 1: Seed Starting Success
The Journey Begins: Starting Basil Seeds Indoors
Starting basil from seed is a rewarding way to get a jumpstart on the growing season, especially if you live in a cooler climate. It gives you more control over the early stages of growth, ensuring strong, healthy plants ready to thrive outdoors. Here's how I do it:
- Gather Your Supplies: You'll need seed-starting trays or small pots, a seed-starting mix (I prefer a seed-starting mix that's light and airy, like [PRO-MIX Seed Starting Mix]), basil seeds (Genovese, Thai, Lemon – the choice is yours!), a spray bottle, and a heat mat (optional, but helpful).
- Sow the Seeds: Moisten the seed-starting mix and fill your trays or pots. Sow the basil seeds about ¼ inch deep, spacing them about an inch apart. Gently cover the seeds with more mix.
- Provide Warmth and Light: Basil needs warmth to germinate, so place the trays on a heat mat if you have one. Cover the trays with a clear plastic dome or plastic wrap to create a humid environment. Place the trays under a grow light or in a very sunny windowsill. Aim for 12-14 hours of light per day.
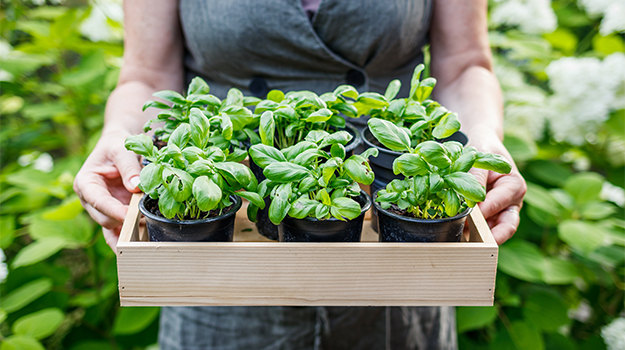
- Keep Moist: Use a spray bottle to mist the soil regularly, keeping it consistently moist but not soggy.
- Wait Patiently: Basil seeds typically germinate in 5-10 days. Once the seedlings emerge, remove the plastic cover.
Troubleshooting Tip: If your seedlings are leggy, they need more light! Consider using a grow light for 12-14 hours per day.
Section 2: Transplanting and Garden Care
From Seedling to Garden Superstar: Transplanting and Nurturing Your Basil
Once your basil seedlings have developed a few sets of true leaves (usually about 4-6 weeks after sowing), they're ready to be transplanted into the garden.
- Harden Off: Before transplanting, you'll need to harden off the seedlings to acclimate them to outdoor conditions. Gradually expose them to longer periods of outdoor light and temperatures over a week or two. Start with an hour or two of indirect sunlight and increase the time each day.
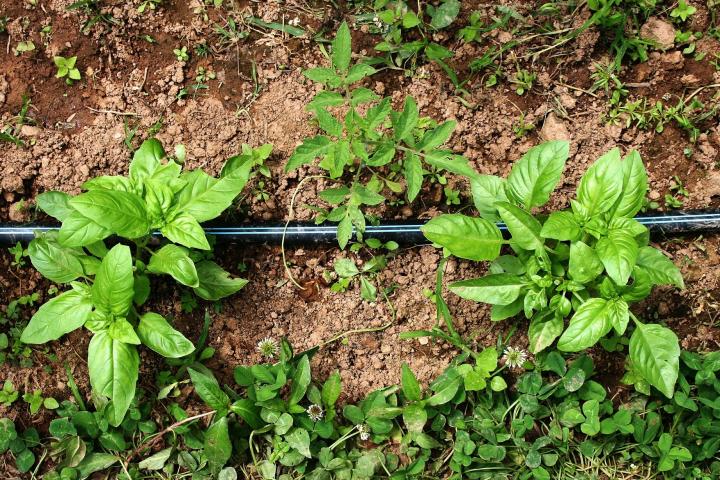
- Choose the Right Spot: Basil thrives in a sunny location with well-drained soil. Amend the soil with compost to improve drainage and fertility.
- Transplant Carefully: Gently remove the seedlings from their trays or pots, being careful not to damage the roots. Plant them about 12-18 inches apart in the garden.
- Water Deeply: After transplanting, water the basil plants deeply.
- Watering Practices: Water deeply but infrequently, allowing the soil to dry out slightly between waterings. Avoid overhead watering, as this can lead to fungal diseases.
- Pest Control: Companion planting basil with tomatoes can help deter pests. Basil also repels aphids and whiteflies. You can also use organic pest control methods like insecticidal soap if needed.
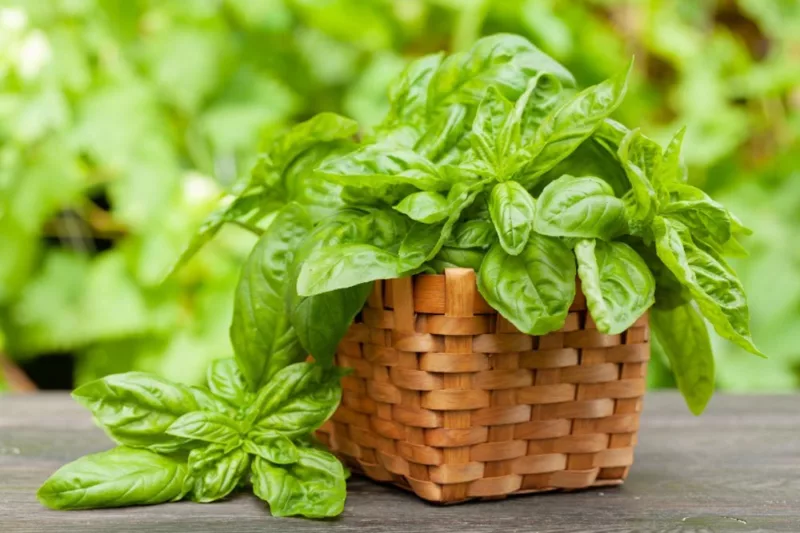
Personal Anecdote: One year, I planted basil near my tomatoes, and the difference in pest control was amazing! Plus, the aroma was heavenly.
Section 3: Harvesting and Preserving the Bounty
The Sweet Reward: Harvesting and Preserving Your Basil
Harvesting basil regularly encourages the plant to produce more leaves. The more you harvest, the bushier it gets!
When to Harvest: Start harvesting basil when the plants are about 6-8 inches tall. Harvest in the morning, after the dew has dried, for the best flavor.
How to Harvest: Pinch off the leaves just above a leaf node (where the leaves grow from the stem). This will encourage the plant to branch out and produce more leaves.
Preserving Basil:
- Drying: Hang bunches of basil upside down in a cool, dry, and well-ventilated place. Once the leaves are completely dry, crumble them and store them in an airtight container.
- Freezing: Chop basil leaves and freeze them in ice cube trays filled with water or olive oil. Once frozen, transfer the cubes to a freezer bag.
- Basil-Infused Oil: Combine basil leaves with olive oil in a blender and pulse until smooth. Strain the mixture through a cheesecloth to remove the solids. Store the basil-infused oil in the refrigerator.
- Making Pesto: Pesto is a delicious way to preserve basil and enjoy its flavor all year long.
Simple Basil Pesto Recipe:
- 2 cups fresh basil leaves
- 1/4 cup pine nuts
- 2 cloves garlic
- 1/2 cup grated Parmesan cheese
- 1/2 cup olive oil
- Salt and pepper to taste
Combine the basil, pine nuts, garlic, and Parmesan cheese in a food processor. Pulse until finely chopped. Gradually add the olive oil while the food processor is running, until the pesto is smooth. Season with salt and pepper to taste. Store in the refrigerator for up to a week or freeze for longer storage.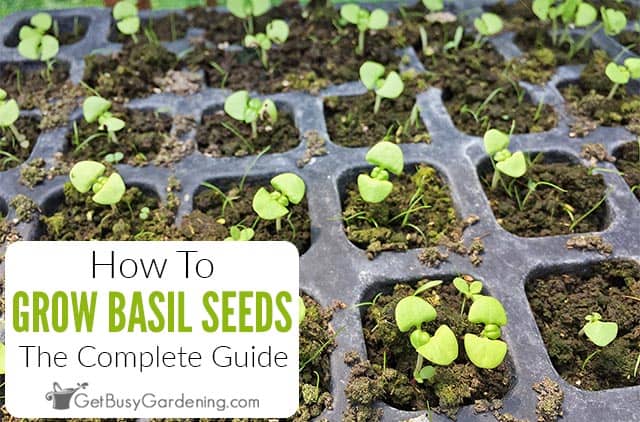
Section 4: Kitchen Creations: Cooking with Your Homegrown Basil
Basil in the Kitchen: Simple Recipes for a Seasonal Harvest
Homegrown basil adds a burst of fresh, vibrant flavor to any dish. Here are a few simple recipes to showcase your harvest:
- Caprese Salad: Slice fresh tomatoes and mozzarella cheese. Arrange them on a plate and top with fresh basil leaves. Drizzle with olive oil and balsamic glaze. Season with salt and pepper.
- Basil-Infused Olive Oil Pasta: Cook your favorite pasta according to package directions. Drain the pasta and toss it with basil-infused olive oil, chopped fresh tomatoes, and a sprinkle of Parmesan cheese.
- Summer Tomato Soup with Basil: Sauté onions and garlic in olive oil. Add diced tomatoes, vegetable broth, and a bay leaf. Simmer for 20 minutes. Remove the bay leaf and blend the soup until smooth. Stir in chopped fresh basil and season with salt and pepper.

Growing basil is a rewarding experience that connects us to the land and provides fresh, flavorful ingredients for our tables. Don't be afraid to experiment and find what works best for you. Now, I'd love to hear your experiences! What are your favorite ways to grow and use basil? Share your tips and recipes in the comments below! As the days get shorter, be sure to harvest your basil before the first frost!