From Seed to Supper: Growing a Rainbow Salad Garden in Your Backyard This Spring
Spring is in the air! The days are getting longer, the birds are singing, and there’s an undeniable urge to get our hands dirty. I still remember the childlike wonder I felt the first time I harvested a bowlful of colorful lettuce I had grown myself. The crisp texture, the slightly peppery bite, the sheer satisfaction of nurturing something from seed to supper - it's an experience everyone should have. This spring, you can easily create your own vibrant salad garden, no matter your experience level. We'll guide you through the essential steps to grow a rainbow of flavors right in your backyard, bringing a touch of the farmhouse life to your table.
Choosing Your Greens
Living in Zone 6a, we experience distinct seasons, so planning is key. For a thriving spring salad garden, focus on cool-weather greens that flourish before the summer heat arrives. Here are some of my favorites:
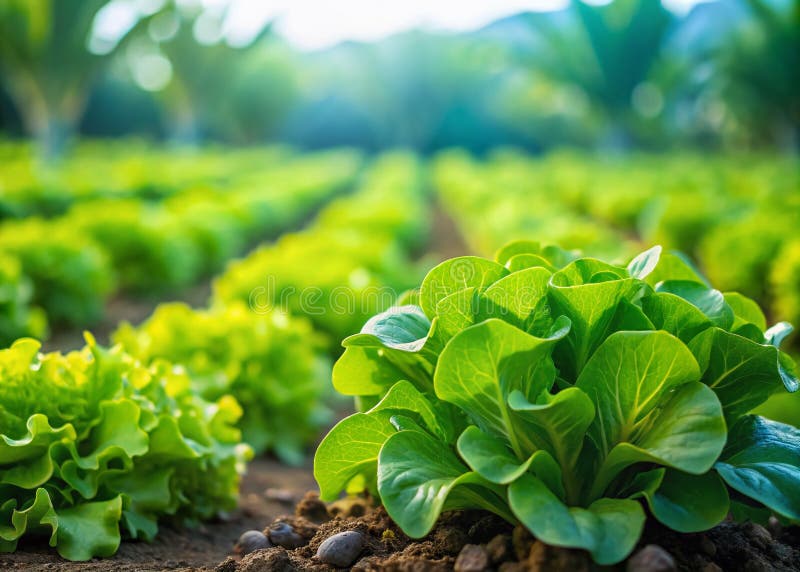
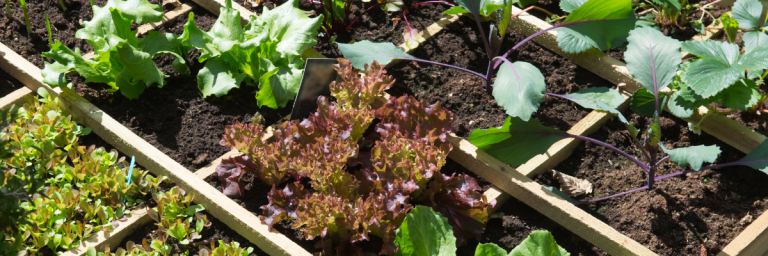
- Lettuce: The undisputed queen of the salad garden! From the buttery smoothness of Butterhead to the crisp crunch of Romaine and the frilly texture of Oakleaf, there's a lettuce variety for every palate. Look for disease-resistant options like 'Black Seeded Simpson' (loose leaf) or 'Red Sails' (red leaf) for a reliable harvest. Lettuce is packed with vitamins A and K, offering a healthy crunch to any meal.
- Spinach: A nutritional powerhouse! Spinach adds a deep green color and earthy flavor to your salads. Choose varieties like 'Bloomsdale Long Standing' or 'Winter Bloomsdale' for their bolt resistance (meaning they are slower to go to seed in warmer weather). Spinach is an excellent source of iron and antioxidants.
- Arugula: For a peppery kick, arugula is a must-have. Its delicate leaves add a zesty bite to salads and pair perfectly with creamy cheeses and balsamic vinaigrette. Arugula is relatively easy to grow and quickly provides a harvest. It contains glucosinolates, compounds known for their potential health benefits.
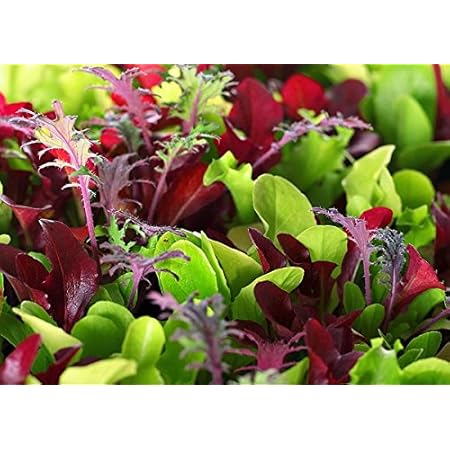
- Kale: Don't underestimate the versatility of kale! Baby kale leaves are tender and mild enough for salads, offering a slightly sweet and earthy flavor. 'Red Russian' kale adds a beautiful splash of purple to your garden. Kale is loaded with vitamins, minerals, and fiber.
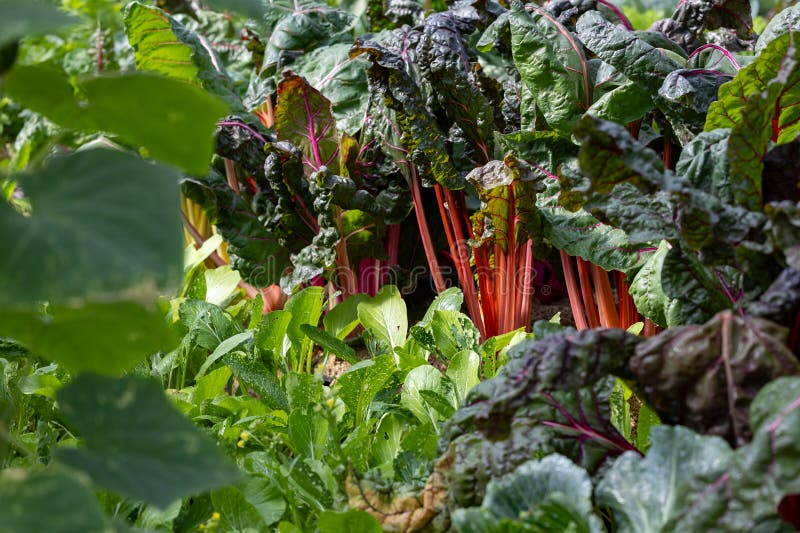
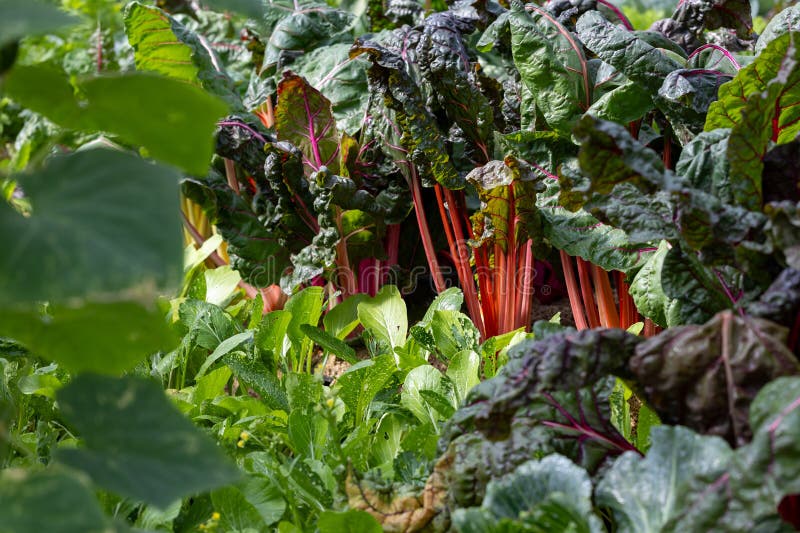
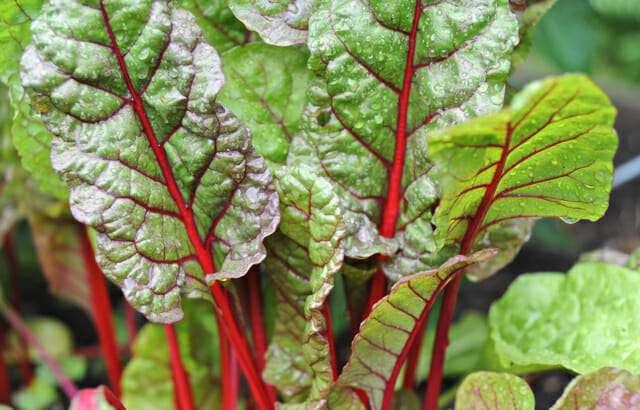
- Swiss Chard: Another colorful and nutritious option. The brightly colored stems (red, yellow, orange) add visual appeal to your garden and your plate. Chard has a mild, earthy flavor similar to spinach. It's rich in vitamins A, C, and K.
Preparing Your Garden Bed
The secret to a successful salad garden lies in well-prepared soil. Whether you opt for a raised bed or an in-ground garden, focusing on soil health is crucial.
- Choose Your Location: Salad greens need at least 4-6 hours of sunlight per day. A spot that receives morning sun and afternoon shade is ideal in warmer climates.
Clear the Area: Remove any existing grass, weeds, rocks, and debris from the garden bed.
Amend the Soil: This is the most important step! Salad greens thrive in loose, fertile soil that drains well. Amend your soil with plenty of compost. Compost improves soil structure, provides essential nutrients, and helps retain moisture. Aim for a soil pH of 6.0 to 7.0, which is slightly acidic to neutral. You can purchase a simple soil pH testing kit at most garden centers. If your soil is too alkaline (pH above 7.0), you can add sulfur to lower the pH.
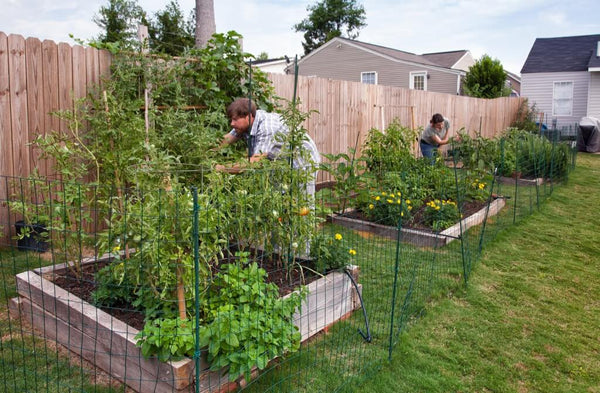
- Consider Raised Beds: Raised beds offer excellent drainage and allow you to control the soil composition. They also make gardening easier on your back! If building a raised bed, use untreated lumber or naturally rot-resistant wood like cedar.
Remember to avoid synthetic fertilizers, which can harm beneficial soil microbes and lead to nutrient imbalances. Organic gardening practices promote a healthy ecosystem that supports plant growth naturally.
Sowing and Spacing
You have two options for starting your salad green seeds: direct sowing or starting indoors.
- Direct Sowing: This is the easiest method, especially for greens like lettuce, arugula, and spinach. Simply sow the seeds directly into the prepared garden bed, following the instructions on the seed packet. Sow seeds about ¼ inch deep and gently cover them with soil.
- Starting Indoors: If you want a head start, you can start seeds indoors 4-6 weeks before the last expected frost. Use seed-starting trays or small pots filled with seed-starting mix. Transplant the seedlings into the garden bed once they have a few sets of true leaves.
Proper spacing is crucial to prevent overcrowding. Overcrowded plants compete for sunlight, water, and nutrients, leading to smaller, weaker plants. Follow the spacing recommendations on the seed packet. As a general rule, space lettuce and spinach plants about 6-8 inches apart, arugula 4-6 inches apart, and kale 12-18 inches apart.
For an extended harvest, practice succession planting. Sow a new batch of seeds every 2-3 weeks. This ensures a continuous supply of fresh salad greens throughout the spring.
Watering and Sunlight
Salad greens need consistent moisture to thrive. Water deeply and regularly, especially during dry spells. Aim for about 1 inch of water per week. A soaker hose is an excellent way to water efficiently, delivering water directly to the soil without wetting the foliage. This helps prevent fungal diseases.
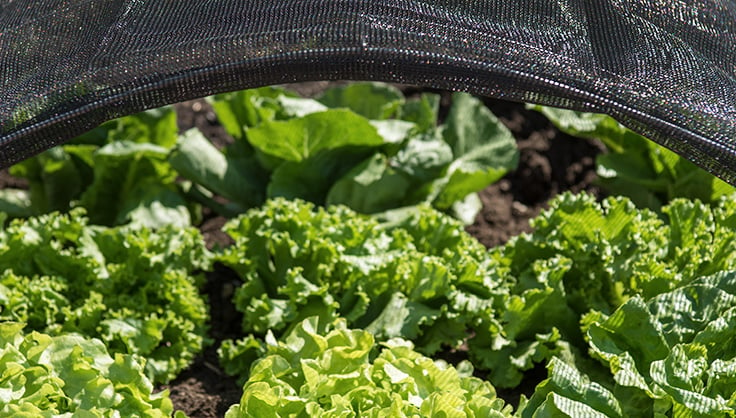
While salad greens need sunlight, they can also suffer from heat stress, especially in warmer climates. Provide some afternoon shade if possible, either by planting them in a location that receives partial shade or by using shade cloth.
Avoid overwatering, which can lead to root rot and other fungal diseases. The soil should be moist but not soggy.
Pest Control and Maintenance
Even in a small salad garden, pests can occasionally become a problem. Here are some natural and organic methods for pest control:
- Companion Planting: Plant herbs like basil, dill, and cilantro near your salad greens to deter pests. Marigolds are also excellent companion plants, repelling nematodes and other harmful insects.
- Row Covers: Floating row covers are lightweight fabric covers that protect your plants from pests while allowing sunlight and water to penetrate.
- Neem Oil: Neem oil is a natural insecticide and fungicide that can be used to control a variety of pests and diseases. Apply neem oil according to the package directions.
- Handpicking: Regularly inspect your plants for pests and handpick them off as needed.
- Weeding: Keep your garden bed free of weeds, which compete with your salad greens for resources.
- Thinning: Thin seedlings to the recommended spacing to prevent overcrowding and ensure good air circulation.
Common salad green pests include aphids, slugs, and cabbage worms. Learn to identify these pests and take action promptly to prevent them from causing significant damage.
Harvesting and Enjoying
The best time to harvest salad greens is in the morning, after the dew has dried but before the sun has had a chance to wilt the leaves. Use scissors or a sharp knife to cut the leaves about an inch above the soil. This allows the plants to regrow and provide multiple harvests.
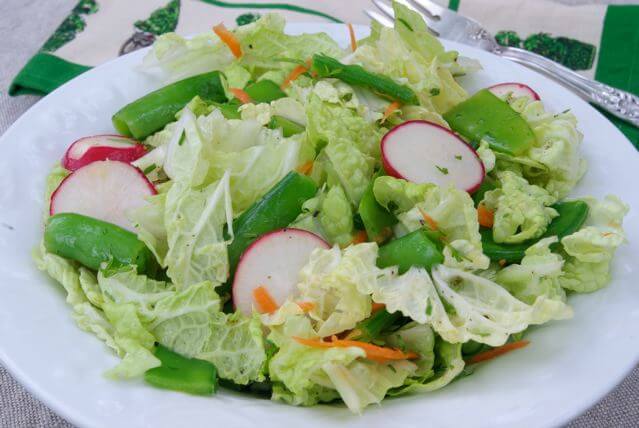
Enjoy your homegrown salad greens in a variety of ways! Use them in fresh salads, sandwiches, wraps, or as a topping for pizzas and tacos. Sauté them lightly with garlic and olive oil for a delicious side dish. Get creative and experiment with different flavor combinations.
Closing Reflection
Growing your own salad garden is a rewarding experience that connects you to nature and provides you with fresh, healthy food. Don't be afraid to experiment and learn from your mistakes. Each season brings new opportunities to refine your gardening skills and create a more bountiful harvest.
"The glory of gardening: hands in the dirt, head in the sun, heart with nature. To nurture a garden is to feed not just the body, but the soul." - Alfred Austin
Now, go forth and create your own rainbow salad garden! We'd love to hear about your gardening experiences and see photos of your homegrown bounty in the comments below. Happy gardening!
