From Seed to Supper: Growing a Rainbow Radish Harvest in Your Spring Garden
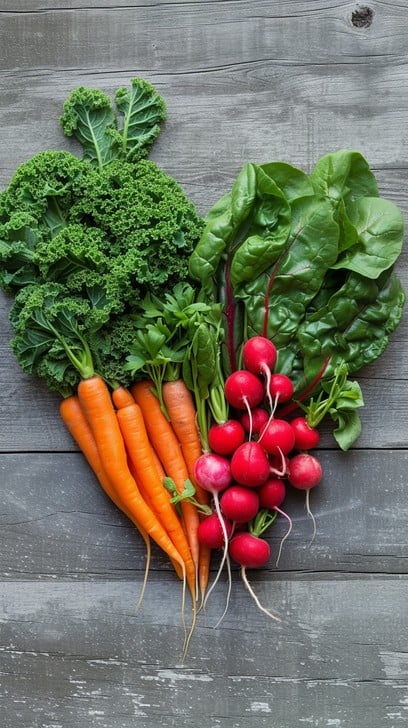
Ah, spring! That magical time of year when the first robin's song fills the air, the days stretch a little longer, and a deep yearning for fresh, homegrown flavors bubbles up inside. After months of hearty winter stews and root vegetables from storage, our taste buds crave the crisp, peppery bite of something new. Imagine baskets brimming with vibrant radishes, a kaleidoscope of pinks, purples, whites, and reds, all grown with your own two hands. This year, let’s paint our plates with a rainbow radish harvest! We’ll guide you through every step, from selecting your seeds to savoring your first delicious salad, even if you only have a small balcony garden. Get ready for a rewarding journey from seed to supper!
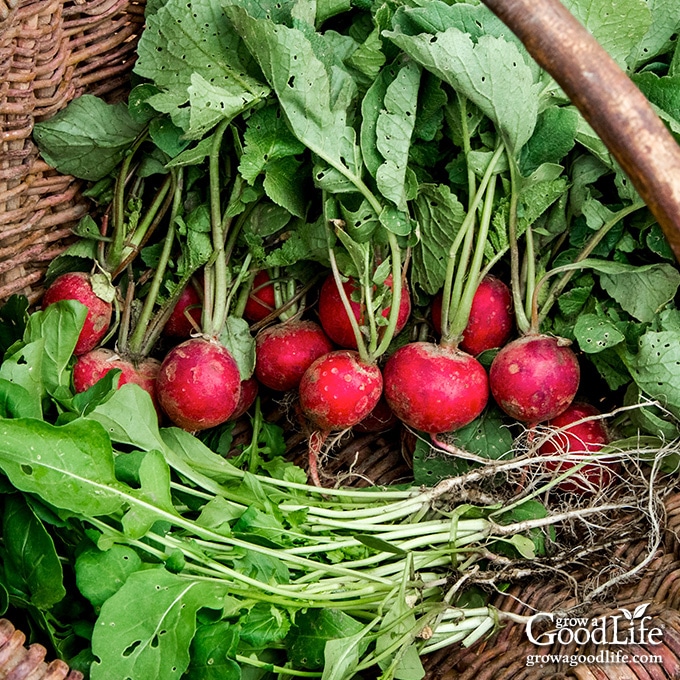
Why Radishes?
Why radishes, you ask? These little gems are perfect for the impatient gardener (like many of us in early spring!). They're incredibly quick to grow, often ready to harvest in as little as three to four weeks. They’re also relatively easy to care for, making them a great choice for beginners. Beyond their speed and simplicity, radishes boast numerous health benefits, packed with vitamins and antioxidants. And let's not forget their visual appeal! A vibrant bunch of homegrown radishes adds a touch of beauty to any meal. They are truly a quick win in the garden and a delicious reward for your efforts.
Choosing Your Radish Rainbow
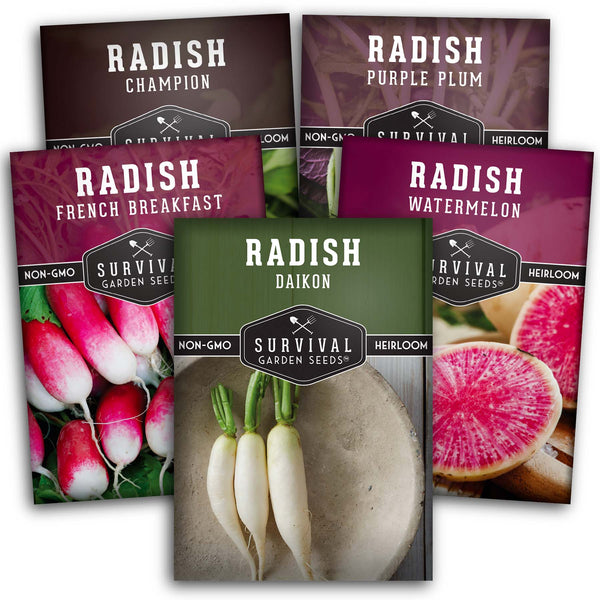
The world of radishes is surprisingly diverse! Instead of sticking with the standard red globe radish, let’s explore some colorful and flavorful varieties. Selecting a mix of seeds will create a stunning visual display in your garden and on your plate. Here are a few of our favorites:
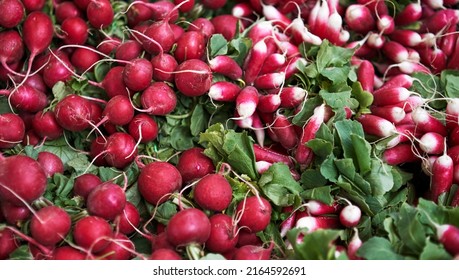
Cherry Belle: A classic for a reason! These bright red, round radishes have a mild, slightly peppery flavor and are incredibly reliable.
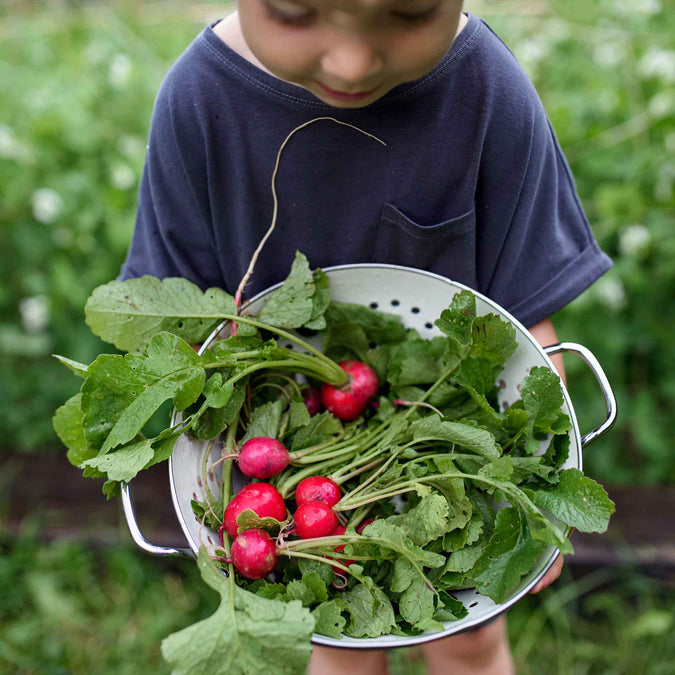
French Breakfast: These elongated radishes are known for their delicate flavor and beautiful pink tops with white bottoms. Their mildness makes them perfect for enjoying raw.
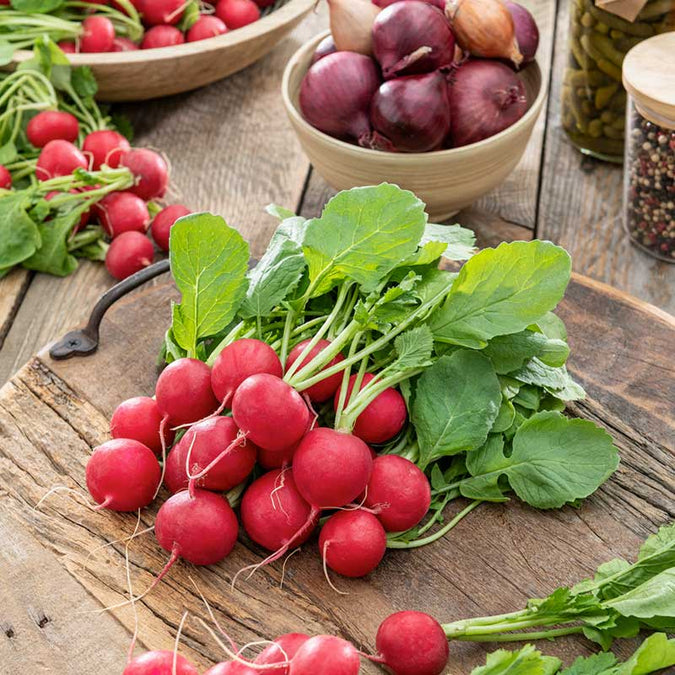
Watermelon Radish: Don't let the name fool you; these radishes don't taste like watermelon! However, their pale green exterior gives way to a vibrant pink interior, resembling a miniature watermelon. They have a slightly sweet and peppery flavor.
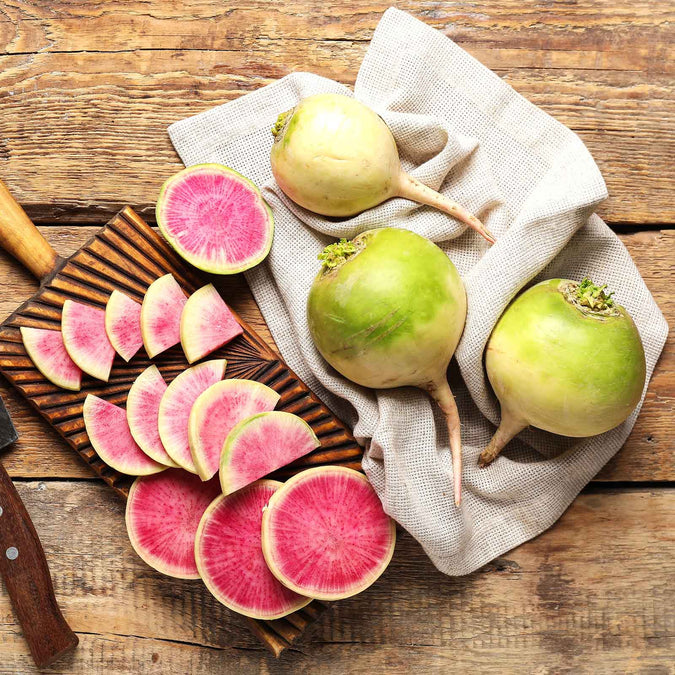
Easter Egg Blend: This mix of radishes comes in a variety of colors, including red, pink, purple, and white. The surprise of each harvest is part of the fun!
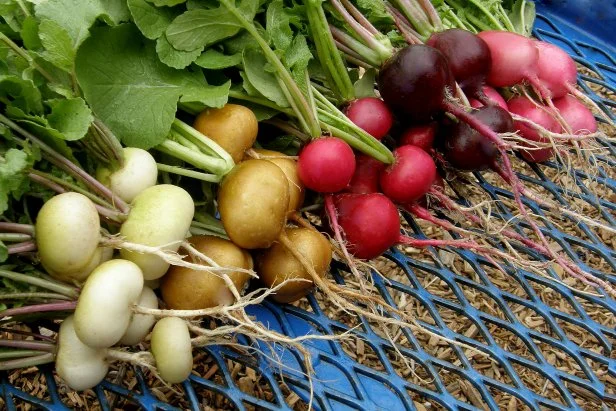
Consider purchasing seeds from reputable suppliers like Baker Creek Heirloom Seeds, Johnny's Selected Seeds, or Seed Savers Exchange for the best quality and selection. You can also find great options at your local nursery.
Sowing the Seeds of Success
Now for the fun part: planting! Radishes are incredibly easy to sow directly in your garden. Here's a step-by-step guide:
Soil Preparation: Radishes prefer loose, well-drained soil. Before planting, amend your soil with plenty of compost to improve drainage and fertility. Compost is the backbone of organic gardening! (Learn more about composting [here](insert link to a composting blog post on Better Homes and Harvests]).) Remove any rocks or debris that could hinder root growth.
Timing: Radishes are a cool-season crop, best planted in early spring or late summer. For a continuous harvest, practice succession planting, sowing a new batch of seeds every 1-2 weeks. This will ensure a steady supply of fresh radishes throughout the season.
Spacing: Sow seeds about ½ inch deep and 1 inch apart in rows spaced 6 inches apart. If you’re planting in a container, make sure it’s at least 6 inches deep to accommodate the growing roots.
Watering: Keep the soil consistently moist, especially during germination. Radishes need adequate moisture to develop crisp, plump roots. Avoid overwatering, which can lead to rot.
Sunlight: Radishes need at least 6 hours of sunlight per day. Choose a sunny spot in your garden for best results.
I remember one year, I was so eager to get my radishes in the ground that I didn't bother to amend the soil properly. The result? A bunch of stunted, oddly shaped radishes! Lesson learned: good soil preparation is key!
Nurturing Your Crop
While radishes are relatively low-maintenance, there are a few common challenges to be aware of:
Flea Beetles: These tiny pests can create small holes in radish leaves. To prevent flea beetle damage, cover your seedlings with row covers. You can also spray with an organic insecticide like neem oil.
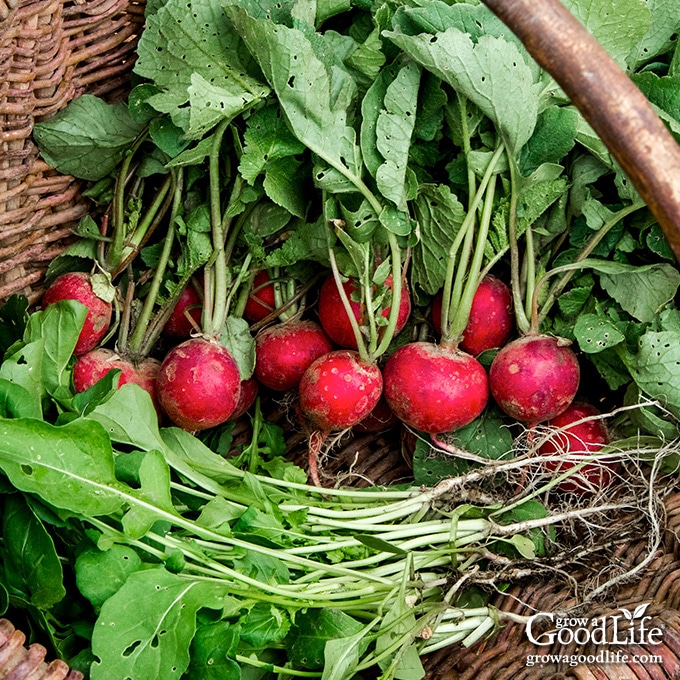
Thinning: Once your seedlings emerge, thin them to about 2 inches apart. This will give the remaining plants enough space to grow and develop properly. Don’t toss the thinnings! Radish greens are edible and can be added to salads or stir-fries.
Bolting: Bolting occurs when radishes send up a flower stalk instead of developing a plump root. This is often caused by hot weather or inconsistent watering. To prevent bolting, plant radishes in early spring or late summer, provide consistent moisture, and choose bolt-resistant varieties.
Harvesting and Enjoying
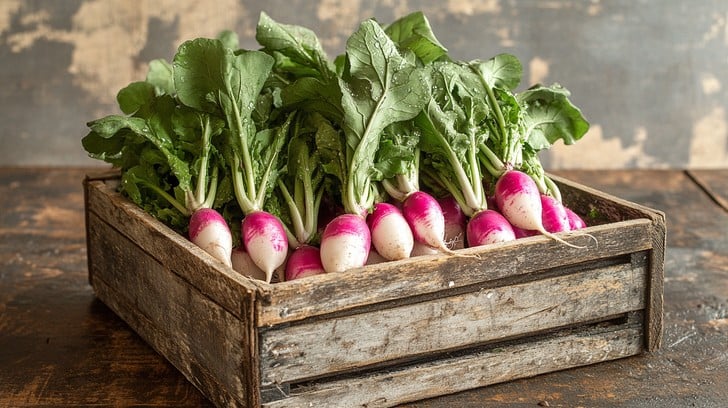
Radishes are typically ready to harvest about 3-4 weeks after planting. Look for roots that are about 1 inch in diameter. To harvest, gently pull the radishes from the soil. Wash them thoroughly and remove the tops (leaving about an inch of stem attached). Store radishes in the refrigerator in a plastic bag for up to a week.
Now for the best part: enjoying your harvest! Radishes are incredibly versatile. Here's a simple and delicious recipe idea:
Radish and Butter Sandwiches:
- Thinly slice your fresh radishes.
- Spread salted butter on slices of crusty bread.
- Arrange the radish slices on top of the butter.
- Sprinkle with flaky sea salt and freshly ground black pepper.
- Enjoy!
Or try this simple Radish Salad: Combine thinly sliced radishes, cucumber, and fresh dill in a bowl. Dress with a simple lemon vinaigrette (lemon juice, olive oil, salt, and pepper). Feel free to experiment with other additions, such as crumbled feta cheese or toasted walnuts.
We encourage you to share your own favorite radish recipes in the comments below!
Closing Reflection
Growing radishes is a simple yet incredibly rewarding experience. From the moment you sow the seeds to the joy of harvesting your colorful crop, you'll feel a deeper connection to nature and the rhythms of the season. As you savor the crisp, peppery flavor of your homegrown radishes, remember the satisfaction of nurturing something from seed to supper.
And while you're enjoying your radish harvest, don't forget about other spring gardening tasks! Now is a great time to start herbs indoors, prepare the soil for tomatoes, and plan your summer garden. Embrace the beauty and bounty of spring, and let the joy of fresh, homegrown food nourish your body and soul.
Call to Action
Ready to bring a rainbow to your garden and plate? Share this post with fellow gardening enthusiasts and let us know in the comments which radish varieties you're most excited to grow this spring! We can’t wait to see your colorful harvests!
