From Seed to Supper: A Beginner's Guide to Growing Your Own Salad Garden This Spring
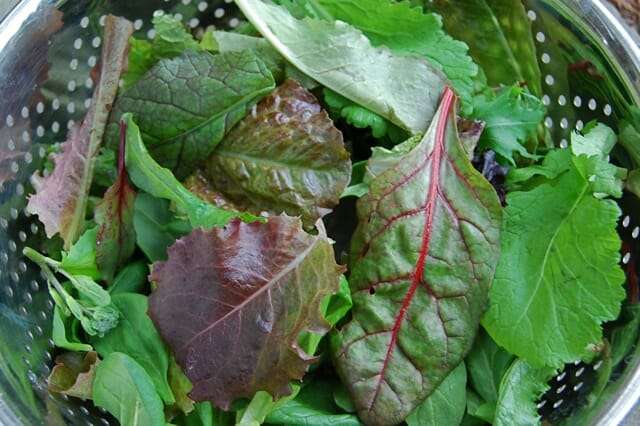
Imagine stepping into your backyard and snipping fresh, crisp lettuce for tonight's dinner. The aroma of sun-warmed herbs fills the air, mingling with the earthy scent of the soil. The vibrant greens, speckled with morning dew, practically beg to be tossed in a simple vinaigrette. With a little planning and our easy guide, that dream can become a reality! This spring, let's cultivate a thriving salad garden together, no matter your gardening experience. We’ll break down the process into simple, manageable steps, so you can enjoy the taste of homegrown goodness in every bite. Get ready to embrace organic gardening, seasonal harvest, and the satisfaction of a truly sustainable home.
Step 1: Planning Your Salad Patch
The key to a successful salad garden lies in careful planning. Before you even think about seeds, consider these crucial factors:
Finding the Sunshine
Salad greens thrive in sunlight. Most varieties need at least 6 hours of direct sunlight per day to flourish. Observe your yard throughout the day to identify areas that receive ample sunshine. Keep in mind that the angle of the sun changes throughout the season, so a spot that's sunny in March might be shaded in May. A sun calculator app or even careful observation can help you track this.
Choosing the Right Location
You have several options when it comes to location:
- Raised Beds: These offer excellent drainage and allow you to control the soil quality. They also warm up faster in the spring, giving you a head start.
- Containers: Perfect for small spaces or balconies. Choose containers that are at least 6 inches deep to accommodate the roots of salad greens. Make sure your containers have drainage holes to avoid waterlogging.
- Directly in the Ground: A classic choice, especially if you have well-drained soil. Just ensure the area is free of weeds and debris.
Soil Preparation
Good soil is the foundation of a healthy salad garden. Salad greens prefer loose, well-drained soil rich in organic matter. If your soil is heavy clay or sandy, you'll need to amend it. Here’s a simple recipe for amending your garden soil:
- Remove any rocks, weeds, or debris from the planting area.
- Spread a 2-3 inch layer of compost over the soil surface.
- Add a handful of organic fertilizer per square foot. (Optional, but beneficial)
- Work the compost and fertilizer into the top 6-8 inches of soil using a garden fork or tiller.
- Rake the soil smooth and level.
Step 2: Selecting Your Salad Greens
Now comes the fun part: choosing what to grow!
Lettuce Varieties
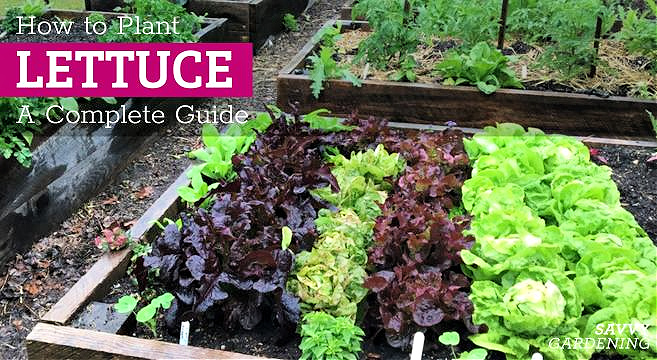
Lettuce is the star of any salad garden. Here are some easy-to-grow types perfect for beginners:
- Romaine: Classic, crisp, and upright. Great for Caesar salads.
- Butterhead: Soft, buttery leaves with a delicate flavor. Examples include 'Bibb' and 'Boston' lettuce.
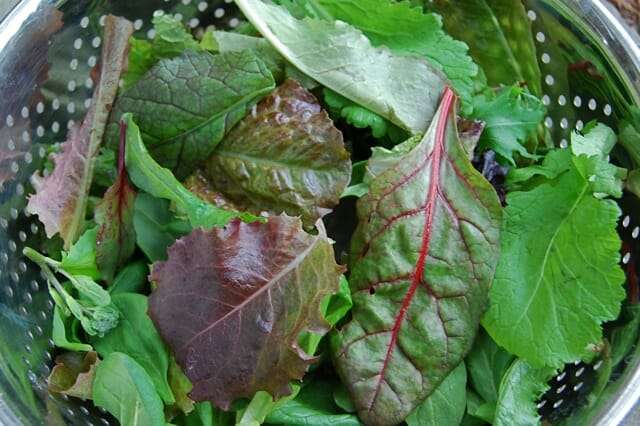
- Looseleaf: The easiest type to grow! Simply snip off leaves as needed, and the plant will continue to produce. Varieties include 'Red Sails' and 'Green Oakleaf'.
Other Salad Essentials
Don't limit yourself to just lettuce! Add these other delicious and nutritious greens:
- Radishes: Add a peppery crunch to salads. They mature quickly, making them a satisfying crop for impatient gardeners.
- Spinach: A nutritional powerhouse with a mild flavor.
- Arugula: Also known as rocket, arugula has a peppery and slightly bitter taste that adds a zing to salads.
- Herbs: Basil and parsley are essential additions to any salad garden. They add flavor and fragrance.
Consider Succession Planting
To ensure a continuous harvest throughout the season, practice succession planting. Sow a small batch of seeds every 2-3 weeks. This way, you'll have a steady supply of fresh greens without overwhelming yourself with a massive harvest all at once.
Step 3: Planting and Growing
Time to get your hands dirty!
Sowing Seeds
You can sow seeds directly into the garden or start them indoors. Starting indoors gives you a head start, especially in cooler climates.
Direct Sowing:
- Create shallow furrows in the prepared soil, about 1/4 inch deep.
- Sprinkle seeds evenly into the furrows.
- Gently cover the seeds with soil.
- Water thoroughly.
Starting Indoors:
- Fill seed trays or small pots with seed-starting mix.
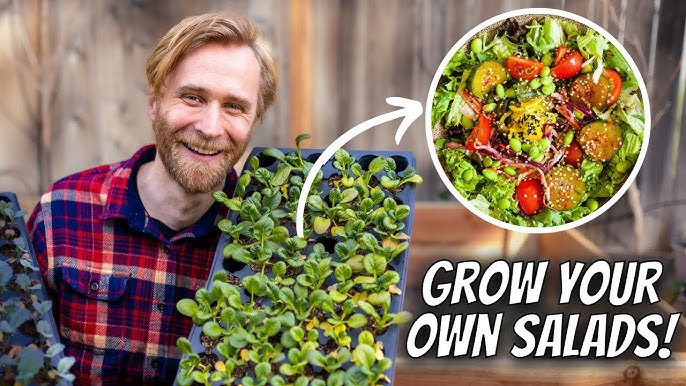
- Sow 2-3 seeds per cell or pot.
- Cover the seeds lightly with soil.
- Water gently.
- Place the trays or pots in a warm, sunny location or under grow lights.
- Keep the soil moist but not soggy.
- Once the seedlings have developed a few sets of true leaves, transplant them into the garden.
Watering and Fertilizing
Consistent watering is essential, especially during dry spells. Aim to keep the soil consistently moist, but avoid overwatering, which can lead to root rot. A good rule of thumb is to water deeply when the top inch of soil feels dry. Consider using a soaker hose or drip irrigation to deliver water directly to the roots.
Feed your salad greens with a natural fertilizer like compost tea every few weeks. Compost tea is easy to make: simply steep a bag of compost in a bucket of water for a few days, then strain the liquid and use it to water your plants.
Protecting Your Plants
Protect your young plants from pests and frost using row covers. These lightweight fabric covers create a protective barrier while allowing sunlight and air to reach the plants. Alternatively, you can make your own covers using old sheets or blankets.
Troubleshooting
- Pests: Aphids, slugs, and snails are common pests of salad greens. Handpick them off the plants or use organic pest control methods like insecticidal soap or diatomaceous earth.
- Diseases: Fungal diseases like powdery mildew can sometimes affect salad greens. Improve air circulation by spacing plants properly and avoid overhead watering.
- Bolting: Bolting is when lettuce plants prematurely produce a flower stalk, causing the leaves to become bitter. This is often triggered by hot weather. To prevent bolting, choose heat-tolerant varieties and provide shade during the hottest part of the day. Also make sure that they get plenty of water.
Step 4: Harvesting and Enjoying
The most rewarding part of gardening!
When to Harvest
You can start harvesting looseleaf lettuce as soon as the leaves are big enough to eat. For head lettuce, wait until the head is firm and well-formed. Radishes are ready to harvest when they are about an inch in diameter.
Harvesting Techniques
For looseleaf lettuce, simply snip off the outer leaves with scissors or a knife, leaving the inner leaves to continue growing. For head lettuce, cut the entire head at the base.
Washing and Storing
Wash your harvested greens thoroughly in cold water to remove any dirt or debris. Pat them dry with a clean towel or spin them in a salad spinner. Store the greens in a plastic bag or container in the refrigerator. To keep them crisp, add a damp paper towel to the bag or container. They will typically last for up to a week.
Salad Inspiration
Enjoy your homegrown harvest in a simple and delicious salad:
Simple Spring Salad
- 4 cups mixed salad greens (lettuce, spinach, arugula)
- 1/2 cup sliced radishes
- 1/4 cup chopped fresh herbs (basil, parsley)
- 2 tablespoons olive oil
- 1 tablespoon lemon juice
- Salt and pepper to taste
Combine the salad greens, radishes, and herbs in a bowl. Drizzle with olive oil and lemon juice, and season with salt and pepper. Toss gently and enjoy!

Growing your own salad garden is easier than you think, and the rewards are immeasurable. From the satisfaction of nurturing plants from seed to the joy of enjoying fresh, organic greens, a salad garden is a gift that keeps on giving. Don't be afraid to start small and experiment with different varieties. Embrace the process, learn from your mistakes, and enjoy the journey.
Share photos of your salad garden on Instagram using #BetterHomesAndHarvestsSalad for a chance to be featured! Also, download our free guide to companion planting in salad gardens here.