From Seed to Supper: A Beginner's Guide to Growing Salad Greens All Season Long
Imagine stepping out into your backyard on a crisp autumn morning. The air is cool and carries the scent of damp earth and fallen leaves. But instead of a barren garden bed, you're greeted by a vibrant patch of emerald green – your very own salad garden, thriving even as the days grow shorter. The anticipation of a fresh, flavorful salad, picked just moments before, is a uniquely satisfying experience.
Ready to enjoy fresh, organic salads all season long? Here’s how to get started, even if you’re a complete beginner. We'll cover everything from choosing the right greens to extending your harvest well into the cooler months, ensuring a constant supply of homegrown goodness for your table.
Choosing Your Greens: A Salad Bowl Rainbow
The beauty of growing your own salad greens lies in the variety you can cultivate. Forget the bland, pre-packaged mixes from the store! Think peppery arugula, buttery lettuce, earthy spinach, and spicy mustard greens. Here's a rundown of some easy-to-grow options for beginner gardeners:
- Lettuce: Classic and versatile. Consider loose-leaf varieties like 'Black Seeded Simpson' or 'Red Sails' for easy harvesting. These types allow you to snip off leaves as needed, extending your harvest.
- Spinach: Nutrient-rich and cold-hardy. 'Bloomsdale Long Standing' is a reliable choice. Remember that spinach bolts (goes to seed) quickly in hot weather, so provide shade in summer.
- Arugula: Peppery and flavorful. Arugula grows quickly and adds a zesty kick to salads. It also thrives in cooler temperatures.
- Mesclun Mix: A pre-mixed blend of various greens, often including lettuce, arugula, endive, and radicchio. This provides a diverse flavor profile in one easy planting.
- Kale: While sometimes thought of as a cooking green, baby kale leaves are delicious in salads. 'Red Russian' kale is a beautiful and relatively mild variety.
- Mustard Greens: Spicy and flavorful, offering a unique taste. 'Giant Red' mustard greens add both visual appeal and a bold flavor to your salad mix.
When choosing your seeds, look for organic gardening options to ensure you're starting with the healthiest plants possible.
Getting Started: Seed Starting Indoors vs. Direct Sowing
You have two primary options for starting your salad greens: starting seeds indoors or direct sowing them in your garden.
- Starting Seeds Indoors: This gives you a head start, especially in colder climates. Start your seeds 4-6 weeks before the last expected frost. Use seed-starting trays or small pots filled with a seed-starting mix. Keep the soil moist and provide plenty of light (a grow light is ideal).
- Direct Sowing: This is the easiest method, perfect for easy gardening for beginners. Simply sow the seeds directly into your prepared garden bed or containers. Check your seed packet for spacing recommendations.
No matter which method you choose, remember the importance of quality soil.
Soil Preparation: The Foundation of a Thriving Garden
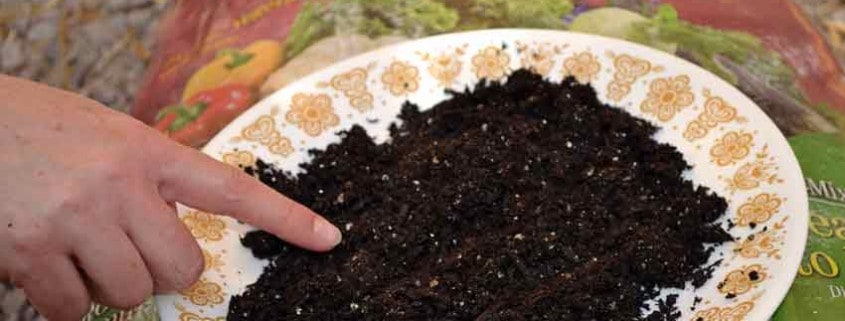
Salad greens thrive in well-drained, fertile soil. Before planting, amend your soil with compost or other organic matter. Compost improves drainage, adds nutrients, and helps retain moisture. I remember one year, I added too much uncomposted manure to my garden bed. The result? Leggy, weak plants and a rather unpleasant smell! Lesson learned: fully composted organic matter is key.
Here’s a simple recipe for great soil, especially for container gardening:
- 1 part compost
- 1 part peat moss or coco coir
- 1 part perlite or vermiculite
This mixture provides excellent drainage and aeration, crucial for healthy root development.
Planting and Spacing: Giving Your Greens Room to Grow
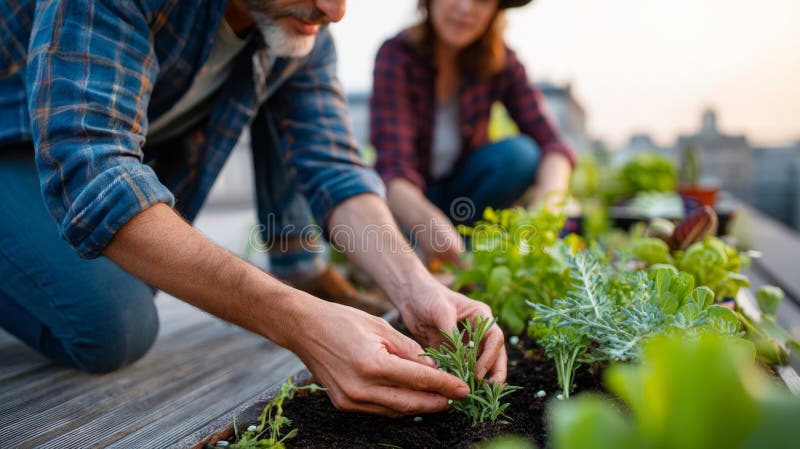
Whether you're transplanting seedlings or direct sowing, proper spacing is essential. Overcrowding leads to stunted growth and increased risk of disease. Follow the spacing guidelines on your seed packets. A general rule of thumb is to space plants 4-6 inches apart. For row planting, space rows 6-12 inches apart.
When transplanting seedlings, handle them gently to avoid damaging the roots. Water them immediately after planting to help them settle in.
Watering and Sunlight: The Keys to Lush Growth
Salad greens need consistent moisture to thrive. Water them regularly, especially during dry spells. Aim for about an inch of water per week. Water deeply, rather than frequently, to encourage deep root growth. As a bonus tip, water in the morning to prevent fungal diseases, allowing the leaves to dry out during the day.
Most salad greens prefer full sun (6-8 hours of sunlight per day), but some, like lettuce and spinach, can tolerate partial shade, especially in hot weather.
Extending Your Harvest: Succession Planting and Season Extension
To enjoy fresh salads all season long, practice succession planting. This involves planting new seeds every 2-3 weeks. This ensures a continuous supply of greens throughout the growing season.
For seasonal harvest extension, consider these techniques:
- Cold Frames: These simple structures protect plants from frost and extend the growing season into the fall and winter.
- Row Covers: Lightweight fabric covers that protect plants from frost, pests, and harsh weather.
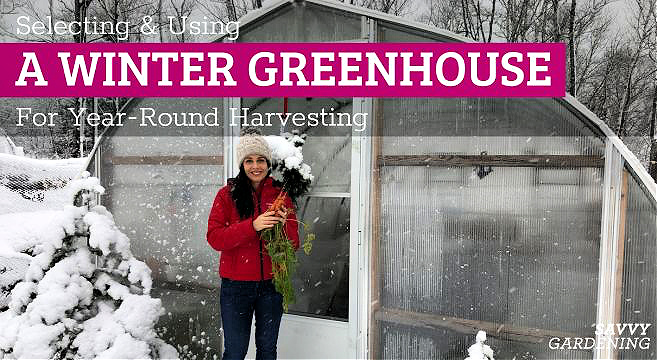
- Greenhouses: For a more substantial investment, a greenhouse allows you to grow salad greens year-round. Even a small greenhouse can significantly extend your homegrown harvest.
Pest and Disease Control: Keeping Your Greens Healthy
While salad greens are relatively easy to grow, they can be susceptible to pests and diseases. Here are a few tips for keeping your plants healthy:
- Regular Inspection: Check your plants regularly for signs of pests or diseases.
- Handpicking: Remove pests, such as slugs and snails, by hand.
- Organic Pest Control: Use organic pest control methods, such as neem oil or insecticidal soap.
- Good Air Circulation: Ensure good air circulation to prevent fungal diseases.
- Crop Rotation: Rotate your crops each year to prevent soilborne diseases.
Harvesting: Enjoying the Fruits (or Greens!) of Your Labor
Harvest your salad greens when the leaves are young and tender. For loose-leaf varieties, you can harvest individual leaves as needed, using the "cut and come again" method. Simply snip off the outer leaves, leaving the inner leaves to continue growing. For head lettuce, harvest the entire head when it's firm and well-formed.
Wash your greens thoroughly before eating. Store them in the refrigerator in a plastic bag or container lined with a paper towel.
Composting the Scraps: Closing the Loop
Don't forget to compost any leftover greens or trimmings! Composting tips are essential for the sustainable home gardener. Adding these nutrient-rich scraps back into your compost pile will help you create a continuous cycle of nourishment for your garden. We turn all of our spent salad leaves into compost, helping to improve the soil and keep our little ecosystem going!
A Final Word on Salad Greens
Growing your own salad greens is a rewarding experience that connects you with nature and provides you with fresh, healthy food. With a little planning and effort, you can enjoy a bountiful harvest of homegrown greens all season long. So, grab your seeds, prepare your soil, and get ready to enjoy the delicious taste of your own backyard bounty.
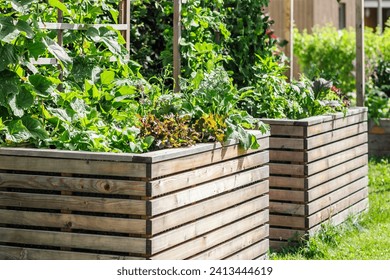
What are your favorite salad greens to grow? Share your tips in the comments below! And for more backyard projects and farmhouse life inspiration, be sure to check out our article on building a raised garden bed for small space gardening!