From Scratch to Hatch: Building Your Own Off-Grid Chicken Coop
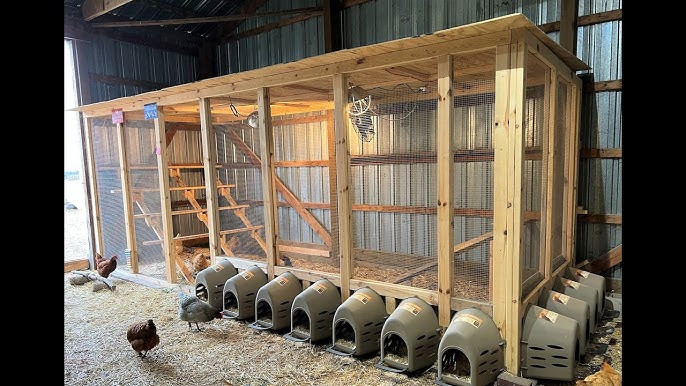
Embarking on a homesteading journey is an exciting adventure filled with opportunities to connect with nature, cultivate self-sufficiency, and enjoy the fruits (and eggs!) of your labor. One of the most rewarding projects for any aspiring homesteader is building your own chicken coop. Not only will you have a secure and comfortable home for your feathered friends, but you'll also gain valuable skills and the satisfaction of creating something with your own two hands. If you’re like me, the idea of an off-grid chicken coop that minimizes reliance on external resources is incredibly appealing. This guide will walk you through the process of building a small, cost-effective chicken coop perfect for beginners, emphasizing sustainable practices and reclaimed materials wherever possible. Let’s get started on your DIY chicken coop!
Why Build an Off-Grid Chicken Coop?
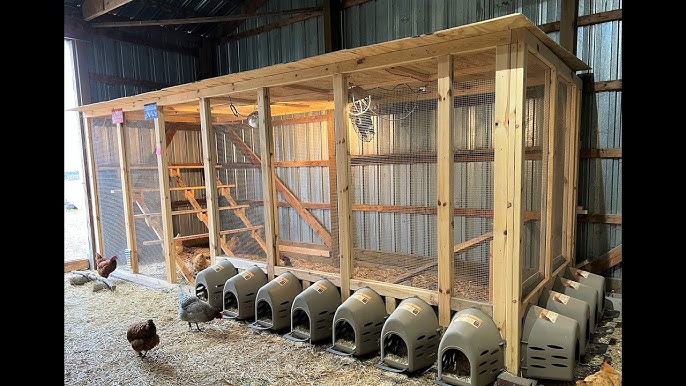
Before we dive into the how-to, let's talk about the why. Building an off-grid chicken coop aligns perfectly with homesteading values. It promotes self-reliance by reducing your dependence on external energy sources. Plus, using reclaimed lumber and other recycled materials reduces waste and lowers your environmental impact. For us, it's all about minimizing our footprint and maximizing our connection to the land. A small chicken coop tailored to your needs is also more manageable, especially for those new to raising chickens. Plus, fresh eggs every morning? Priceless!
Planning Your Coop: Size, Location, and Design
Planning is key to a successful build. Consider these factors:
- Number of Chickens: A general rule of thumb is 4 square feet of coop space per chicken and 8-10 square feet of run space.
- Location, Location, Location: Choose a well-drained area with partial shade. Protection from prevailing winds is also important.
- Predator Protection: Consider your local predators (foxes, raccoons, hawks) and incorporate features to deter them. More on that later!
- Orientation: Face the coop's entrance south or east to maximize sunlight exposure, especially in colder climates.
For our beginner chicken coop plans, we're aiming for a 4'x6' coop suitable for 4-6 chickens. This is a manageable size for a backyard chicken coop and allows us to utilize reclaimed wood effectively.
Materials List: Cost-Effective and Sustainable Choices
One of the best things about building a DIY chicken coop is the opportunity to save money and use recycled materials. Here's what you'll need:
- Reclaimed Lumber: Scour salvage yards, construction sites, and online marketplaces for used lumber. We were able to source a good amount of our wood from an old fence being torn down nearby.
- Plywood: For the floor and roof sheathing. Consider using OSB (Oriented Strand Board) as a more affordable alternative, but ensure it's properly sealed to protect against moisture.
- Hardware Cloth: Essential for the run to keep predators out. Make sure the mesh is small enough to prevent entry by smaller animals like weasels.
- Roofing Material: Reclaimed metal roofing is a great option, but asphalt shingles or even heavy-duty tarps can also work.
- Nails, Screws, and Fasteners: Stock up on a variety of sizes.
- Hinges and Latches: For the door and nesting box.
- Chicken Wire: For the top of the run (optional, but recommended if you have aerial predators).
- Roosting Bars: Natural branches or wooden dowels work well.
- Nesting Boxes: We built ours from scrap wood. One nesting box per 3-4 hens is sufficient.
- Paint or Stain: To protect the wood from the elements. Choose a non-toxic option.
Don't forget essential tools like a saw, drill, hammer, measuring tape, level, and safety glasses.
Step-by-Step Guide: Building Your Chicken Coop
Let's get our hands dirty! Here's a breakdown of the construction process:
Step 1: Building the Base
- Construct a rectangular frame using 2x4 lumber. This will be the foundation of your coop.
- Ensure the frame is level and square. This is crucial for the rest of the build!
- Attach the plywood floor to the frame using screws.

Step 2: Framing the Walls
- Cut the wall studs to the desired height. We opted for 6 feet at the front, sloping down to 5 feet at the back for better water runoff from the roof.
- Frame the walls using 2x4 lumber, ensuring you have openings for the door and any windows (optional).
- Attach the framed walls to the base using screws.
Step 3: Adding the Roof
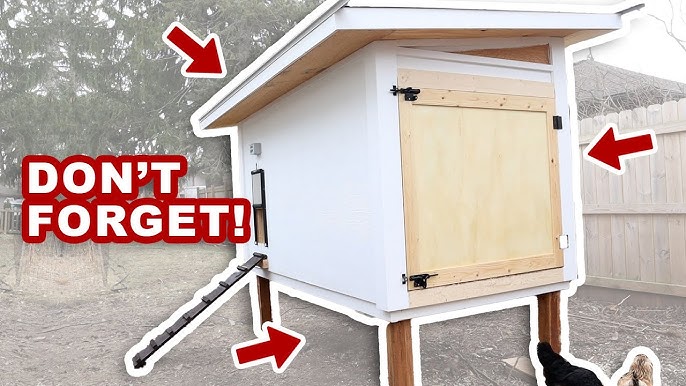
- Construct roof rafters from 2x4 lumber.
- Attach the rafters to the top of the wall frames, creating a slight slope for water runoff.
- Sheathe the roof with plywood or OSB.
- Cover the sheathing with your chosen roofing material.
Step 4: Building the Door and Nesting Boxes
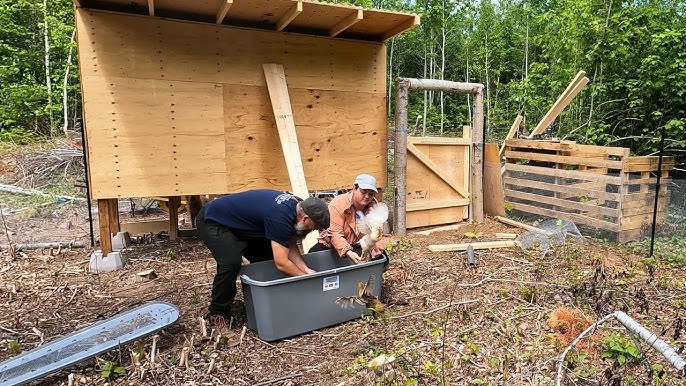
- Construct a simple door using reclaimed lumber.
- Attach hinges and a secure latch.
- Build nesting boxes from scrap wood. A size of 12"x12"x12" is generally sufficient. Place these inside the coop, easily accessible for egg collection.
Step 5: Constructing the Run
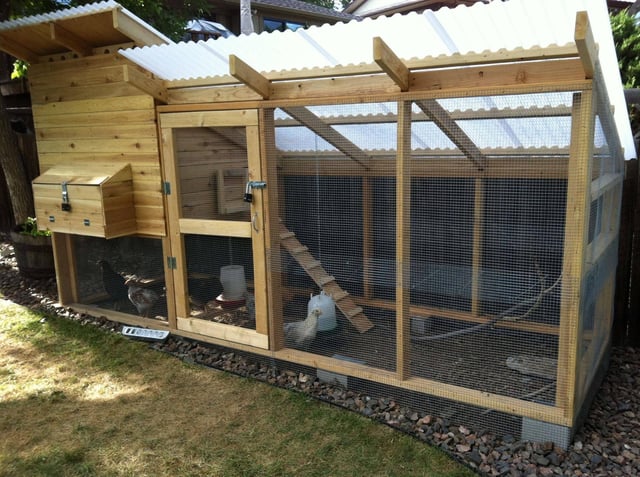
- Build a frame for the run using 2x4 lumber.
- Attach hardware cloth to the frame, ensuring there are no gaps for predators to enter.
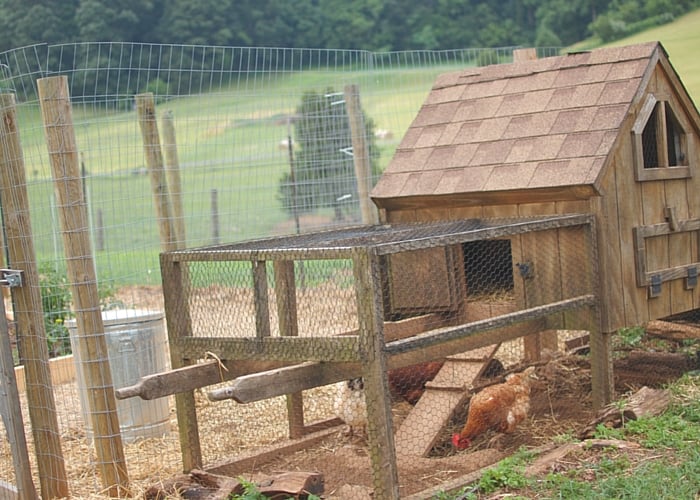
- Bury the hardware cloth at least 12 inches deep around the perimeter of the run to prevent digging predators.
- Attach the run to the coop.
Step 6: Adding Roosting Bars and Finishing Touches
- Install roosting bars inside the coop. Place them at different heights to provide options for your chickens.
- Paint or stain the coop to protect it from the elements.
- Add bedding to the coop floor (straw, wood shavings, or shredded paper).
Predator Protection: Keeping Your Chickens Safe
Predator protection is paramount. Here are some tips:
- Hardware Cloth is Key: Use hardware cloth, not chicken wire, for the run.
- Bury the Wire: Bury the hardware cloth at least 12 inches deep.
- Secure the Coop: Ensure the coop door and any windows are securely latched.
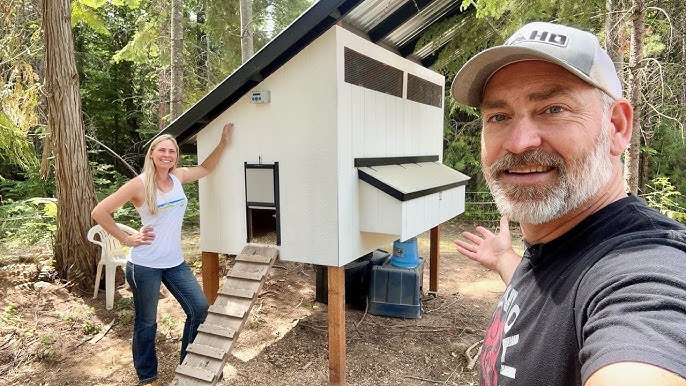
- Elevate the Coop: Raising the coop off the ground can deter some predators.
- Guard Animals: Consider a livestock guardian dog or a flock of geese.
- Motion-Activated Lights: These can deter nocturnal predators.
Cost Breakdown: Building a Chicken Coop on a Budget
While costs vary depending on the materials you use, here’s a rough estimate of our expenses:
- Reclaimed Lumber: $50 (mostly free, just the cost of transport)
- Hardware Cloth: $80
- Roofing Material: $40 (reclaimed metal)
- Fasteners: $30
- Total: $200
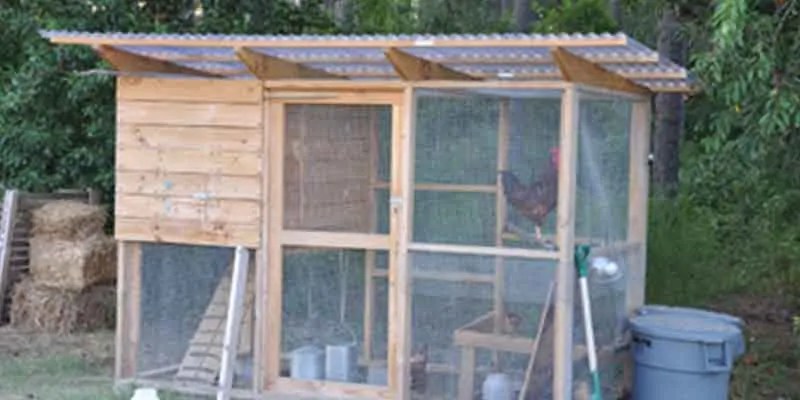
By using recycled materials and shopping around, you can build a cost-effective chicken coop without breaking the bank.
Challenges and Solutions: Troubleshooting Your Build
Every DIY project comes with its challenges. Here are a few common issues and how to overcome them:
- Warped Lumber: Use a planer to smooth out warped boards, or incorporate them into less critical areas of the coop.
- Uneven Ground: Level the ground before building the base, or adjust the height of the support posts.
- Predator Problems: Reinforce the coop and run with additional hardware cloth and consider using deterrents like motion-activated lights.
Enjoying the Fruits (and Eggs!) of Your Labor
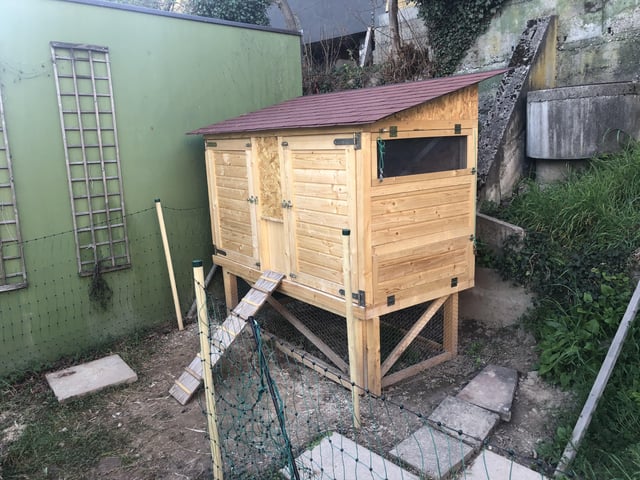
Building your own off-grid chicken coop is a challenging but incredibly rewarding experience. You'll not only have a secure and comfortable home for your chickens, but you'll also gain valuable skills and the satisfaction of creating something with your own two hands. And of course, you'll enjoy the delicious, fresh eggs that your happy hens will provide.
Call to Action: Share Your Homesteading Journey!
We hope this guide has inspired you to tackle your own DIY chicken coop project. We'd love to hear about your experiences! Share your homesteading tips and projects in the comments section below. Don't forget to share photos of your completed small chicken coop on social media using the hashtag #BHHomesteadDIY.
For more homesteading inspiration and tips, check out these related articles on Better Homes and Harvests:
- [Beginner's Guide to Raising Chickens](insert link to relevant article here)
- [Sustainable Homesteading Practices](insert link to relevant article here)
- [Building a Raised Garden Bed](insert link to relevant article here)